
Are you tired of struggling with your Milwaukee trimmer head?
Do you want to replace it but don't know where to start?
You're in the right place!
In this step-by-step guide, we'll walk you through replacing your Milwaukee trimmer head with ease.
Why You Might Need to Replace Your Milwaukee Trimmer Head
It's important to regularly inspect your Milwaukee trimmer for any signs of damage or wear.
Over time, and with consistent use, the trimmer head may experience:
Signs Of Wear And Tear
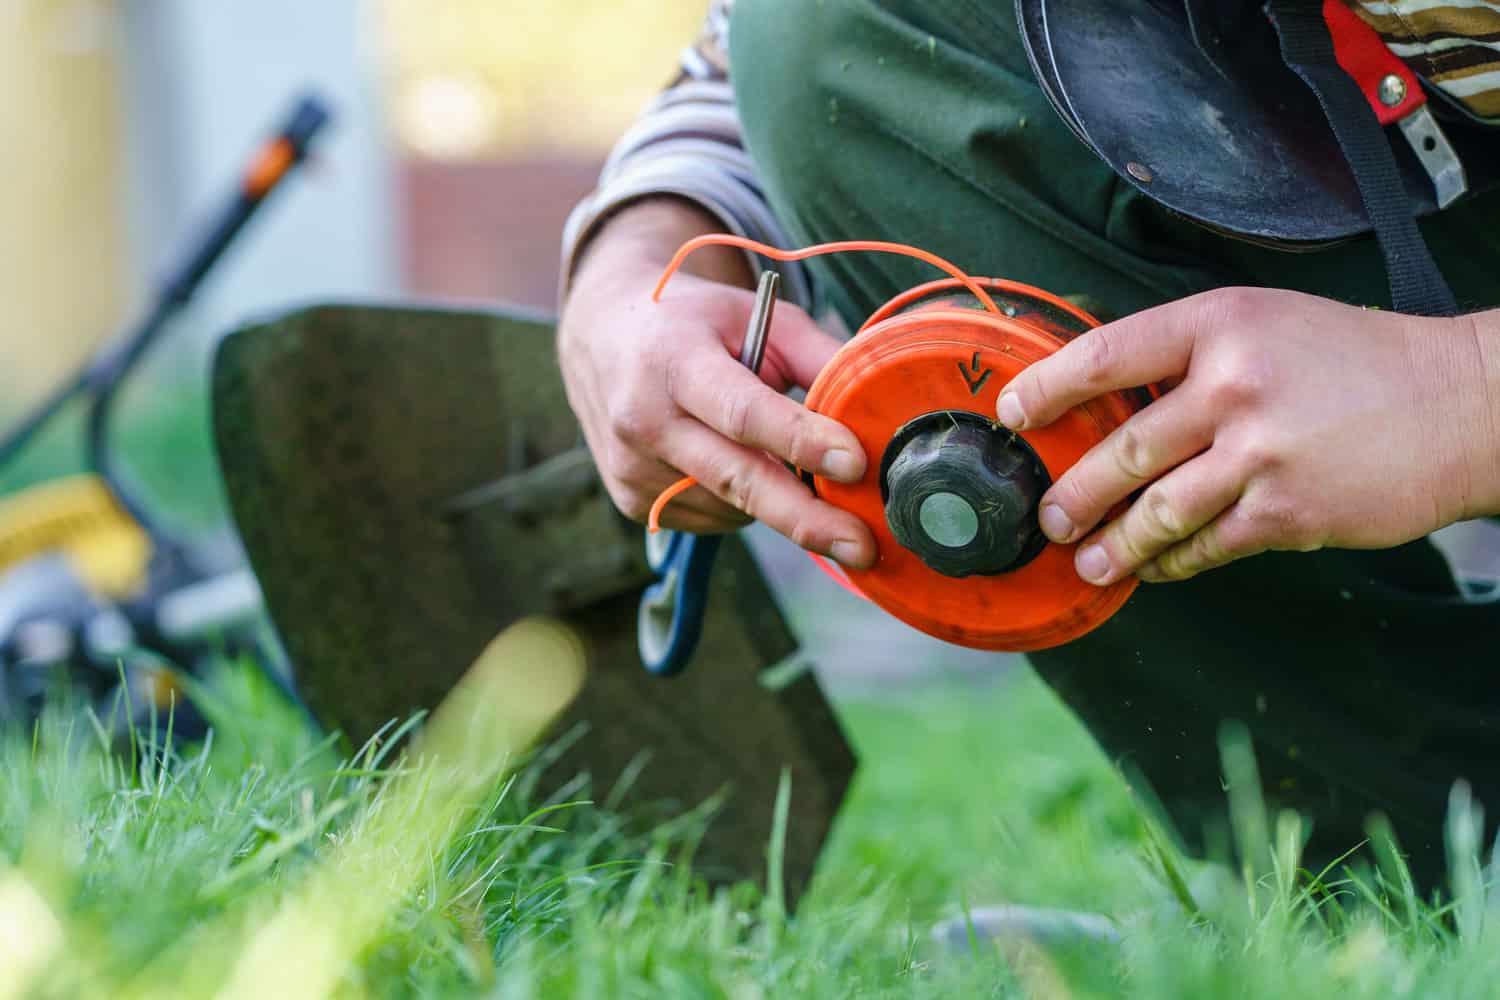
You might see visible wear, fraying, or breaks in the trimmer lines. This means your trimmer head isn't working as well and might break soon.
If you use a damaged trimmer head, the line could snap, fly off, or get tangled, which is dangerous for you and others.
So, when you see any signs of wear or damage, make sure to change your trimmer head to stay safe and trim effectively.
Related article: How To Tell The Age Of A Milwaukee Tool
Reduced Efficiency In Trimming
Another sign that it's time to replace your trimmer head is reduced efficiency in trimming.
If you notice that the trimmer is not cutting as well as it used to, or if it's leaving untrimmed areas, it could be due to a worn trimmer head.
A new trimmer head can help restore the efficiency of your trimmer, making your trimming tasks easier and more effective.
Safety Precautions When Replacing Your Milwaukee Trimmer Head
Before replacing the trimmer head on your Milwaukee string trimmer, it is essential to take certain safety precautions to avoid accidents.
Here are some key safety measures you should follow:
Disconnecting The Power Source/Battery
First and foremost, ensure that the power source or battery is disconnected before you begin replacing the trimmer head.
Doing so will help prevent any accidental startup of the trimmer head while you are working on it.
Wear The Appropriate Safety Gear
Next, ensure you wear the appropriate safety gear before you start working on your Milwaukee string trimmer.
This includes wearing safety glasses to protect your eyes from any debris that may fly up and gloves to protect your hands from sharp edges.
Working In A Well-Ventilated Area
Finally, working in a well-ventilated area is important while replacing the trimmer head on your Milwaukee string trimmer.
Especially if you're cleaning the trimmer head with chemicals or solvents, ensure you have good airflow to disperse fumes.
How To Replace A Milwaukee Trimmer Head
Replacing the trimmer head on your Milwaukee tool is a straightforward task. Follow these steps to ensure a safe and efficient process:
Step 1: Gather Tools And Materials Needed
You will need a few tools and materials to replace a Milwaukee trimmer head. Here are the essential items you should have on hand:
- String trimmer
- Gloves and safety glasses
- Screw driver
Step 2: Block The Output Shaft
The next step is to block the output shaft. To do this, you'll use the stop pin.
Step 3: Using The Stop Pin
Insert the stop pin into the designated hole on the gearbox.
As you rotate the shaft or the Milwaukee trimmer head, apply slight pressure until the pin finds its position and blocks the shaft.
Step 4: Remove The Old Trimmer Head
Start unscrewing the old trimmer head from the shaft by turning it clockwise. Once completely detached, set it aside.
Step 5: Installing The New Trimmer Head
Now, you can screw the new trimmer head onto the shaft.
Make sure you're turning it counterclockwise. Continue turning until the head comes to a complete stop.
Step 6: Secure The New Trimmer Head
Once the new head is in position, ensure it's firmly secured to prevent wobbling or misalignment during operation.
Step 7: Final Step
After you've ensured the new trimmer head is properly fixed in place, remove the stop pin.
Note: Only use the Milwaukee trimmer head provided or a specified Milwaukee replacement when replacing your trimmer head.
Using other brands or types might compromise the tool's performance or safety.
You can refer to this video to walk you through the steps outlined above.
Tips For Longevity and Maintenance Of Milwaukee Trimmer Head
Proper care can extend the life of your Milwaukee trimmer head, ensuring it functions efficiently for many seasons.
Here are some tips to keep your trimmer head in top condition:
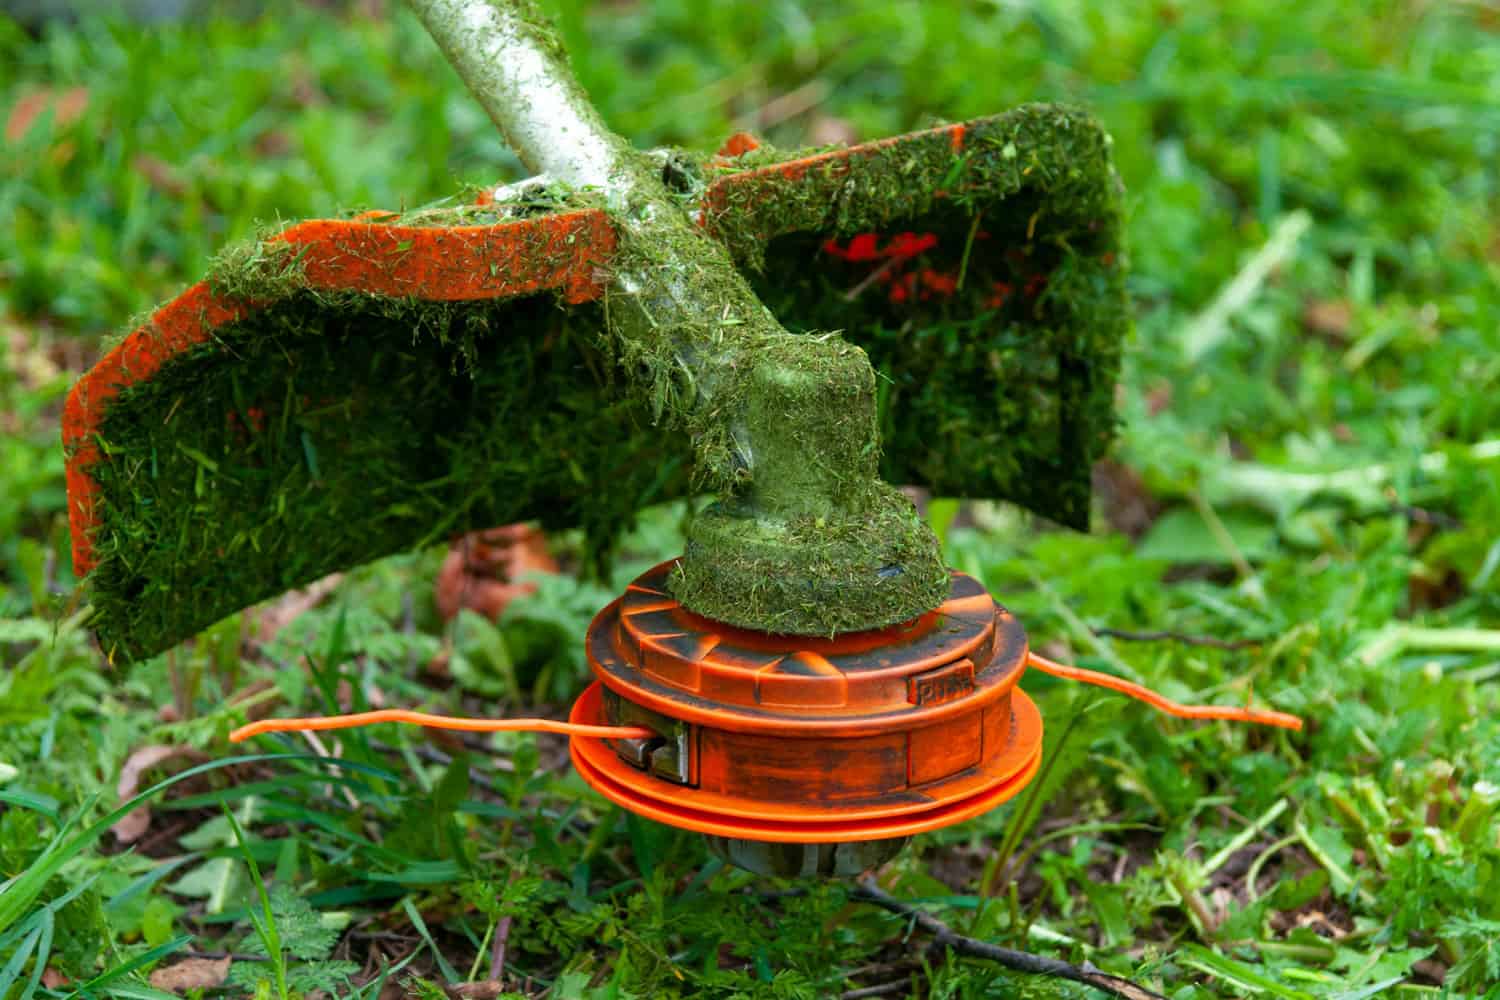
- Regular cleaning: After each use, remove grass, weeds, and other debris from the trimmer head to reduce residue build-up.
- Proper storage: Store your trimmer in a cool, dry place, preferably hanging or in its designated case.
- Avoid overloading: Don't force your trimmer through thick or dense vegetation. Overloading can cause premature wear on the trimmer head.
- Regular inspection: Periodically check the trimmer head for wear, damage, or fraying signs.
- Use official parts: If the trimmer head needs replacing, always opt for Milwaukee's official replacement parts to ensure compatibility.
- Lubricate when necessary: Some trimmer models might benefit from occasional lubrication. Refer to your user manual for more details.
- Avoid twisting or forcing line: When extending the trimmer line, do it gently to prevent unnecessary strain on the trimmer head.
Also worth the read: How To Use A Milwaukee Circular Saw [Step By Step Guide]
How Often Should I Replace My Milwaukee Trimmer Head?
On average, you should replace your Milwaukee trimmer head annually, especially if you frequently trim large areas or tough vegetation.
As mentioned, visible signs of wear, such as reduced efficiency, damage, or fraying, indicate a need for replacement.
While heavy users might change it yearly, those with lighter usage may find their trimmer head lasts several years.
Can I Use Any Brand Of Replacement Head With My Milwaukee Trimmer?
No, you shouldn't use just any brand of replacement head with your Milwaukee trimmer.
Milwaukee trimmers are specifically engineered to work best with their own branded heads.
Using a different brand may lead to an improper fit, compromising the trimmer's performance and your safety.
Furthermore, opting for non-Milwaukee parts might void any existing warranty on the trimmer.
Read this page to learn more about Milwaukee's warranty policies.
Be sure to check: Milwaukee Vs DeWalt Vs Makita: What Are The Major Differences?
Wrapping Things Up
Replacing the head on your Milwaukee trimmer is a simple process that can be done in just a few steps.
With the steps outlined in this guide, you can easily replace the head on your trimmer and get back to work quickly.
Be sure to use caution when working with power tools and follow all safety instructions the manufacturer provides!