
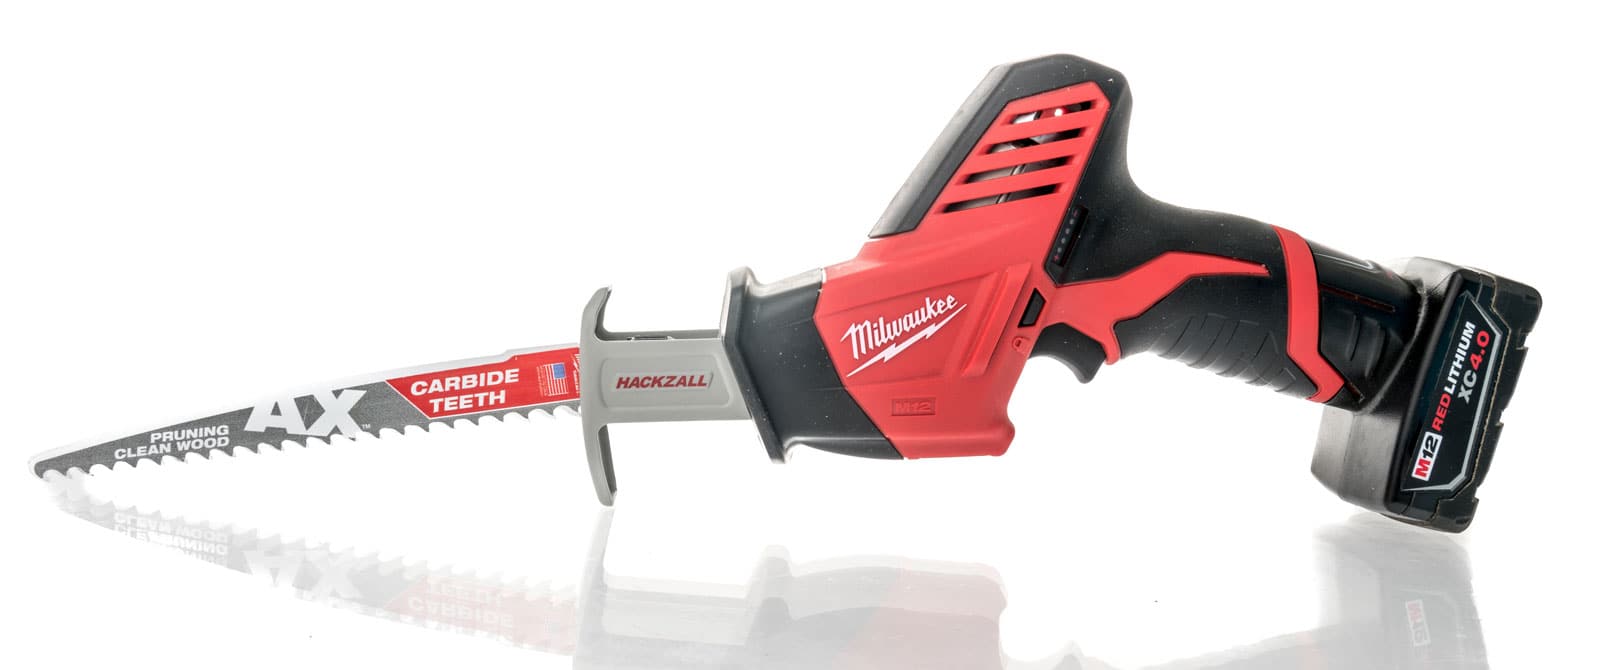
The Milwaukee Sawzall is a reliable power tool known for its efficiency and robust performance. However, like any other power tool, it might face operational issues from time to time.
One common problem reported by users is the tool ceasing to work and a light flashing. This behavior is often associated with temperature sensor issues or power source problems.
In this article, we’ve comprehensively explored the common reasons why your Milwaukee Sawzall might not be working and has a light flashing.
Reasons Why Your Milwaukee Sawzall Is Not Working & Flashes
Here are several reasons behind the issues with your Milwaukee Sawzall, along with steps to troubleshoot and resolve these problems.
Overheated Battery
Continuous use of your Milwaukee Sawzall can lead to battery overheating.
The tool has a temperature sensor to safeguard against damage to the circuit board and connectors due to excessive heat.
When the battery overheats, the sensor triggers a flashing light as a warning.
To address this, it's advisable to set the tool aside for a while to allow it to cool down. Removing the battery from the Sawzall during this cooling period is also a good practice.
You should also avoid using the tool for a prolonged time and take short breaks during lengthy tasks to allow the tool and the battery to cool down.
Discover how to safely remove a Milwaukee M18 battery by checking out this guide.
Temperature Sensor Issues
In some cases, the problem may be related to the temperature sensor itself, and there are three scenarios that can cause this:
Dirty Temperature Sensor Contacts
The temperature sensor contacts on the device and battery can accumulate dirt or rust over time, leading to incorrect readings.
This typically causes the tool to flash the warning light and cease operation.
Cleaning these contacts is essential for resolving the issue. Inspect the battery terminals and the contacts for dirt or rust, and clean them using a wire brush or sandpaper.
After cleaning, reinsert the battery securely and test the tool to check if it resolves the issue.
Loose or Bent Temperature Sensor Contacts
Loose contacts on the temperature sensor can also cause the tool to malfunction. To resolve this problem, carefully examine the battery terminals and contacts for any signs of looseness or bending.
If you notice any issues, gently realign the contacts to their correct positions using a small screwdriver and pliers.
After reinserting the battery, assess the tool’s performance to ensure it is operating correctly. If the issue persists, it’s best to reach out to customer care for assistance.
Faulty Temperature Sensor
A faulty temperature sensor in the circuit board is a more serious issue.
The sensor might be damaged or worn out, leading to incorrect temperature readings or no readings at all, which triggers the warning light.
Fixing a faulty temperature sensor often involves intricate electrical work, which a specialist should handle.
If your tool is under warranty, you can reach out to customer services for a repair or replacement.
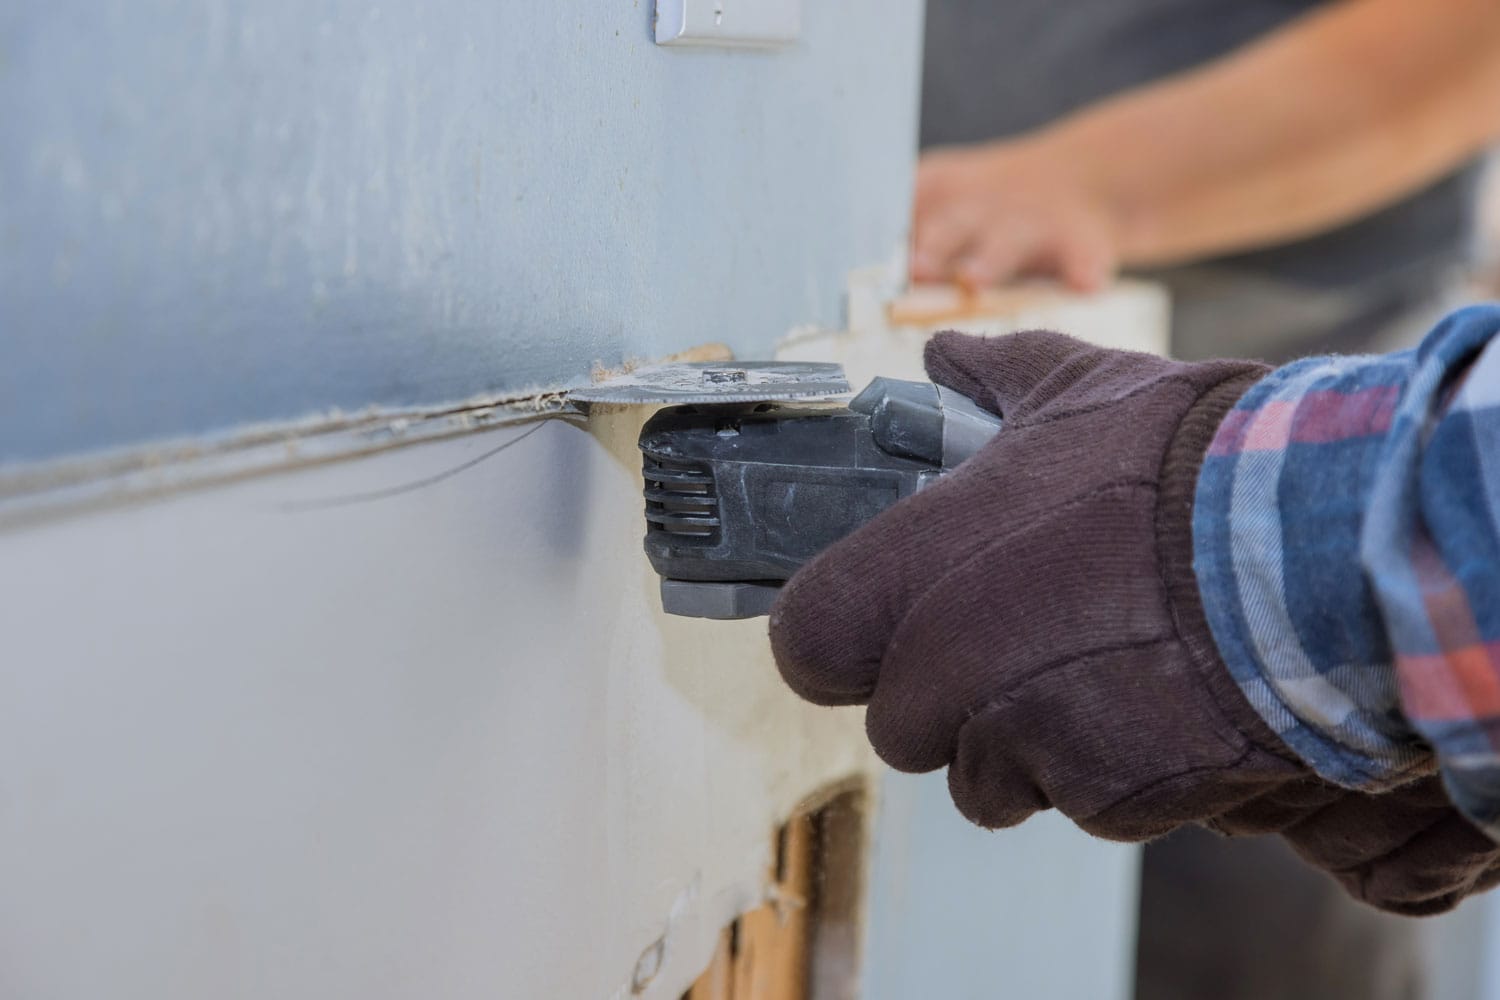
Blade Problems
Blade issues might also contribute to the malfunctioning of your Sawzall. It’s crucial to ensure that the blade is properly seated and in good condition for the tool to function correctly.
If you notice any problems with the blade, unplug the saw, remove the old blade, and replace it with a new one.
Ensuring the blade is properly seated and locked in place is crucial for optimal performance.
Motor Issues
In some instances, the motor might not turn despite a full battery. This could be due to dirty contacts or other internal problems within the motor circuitry.
Cleaning the contacts and ensuring the battery is working fine in other tools is a good first step in troubleshooting this issue.
If the problem persists, it might require professional inspection and repair to identify and fix the underlying problem with the motor.
Tips for Extending the Battery Life of Your Milwaukee Tool
If you want to extend the life of your Milwaukee tool’s battery, there are some simple steps you can take.
- Avoid overheating the batteries by not overloading them during use. Overheating can degrade battery performance over time.
- Use battery fuel gauges to monitor charge levels and prevent complete discharge. Fully discharging lithium-ion batteries can damage cells.
- Only use original Milwaukee battery chargers. Third-party chargers may not properly regulate voltage and current, which can damage the batteries.
- Carry out regular maintenance checks for physical damage or swelling. Batteries with issues have an increased risk of failure or fire.
- Consider purchasing extra batteries so you’re not left without power and can stagger charging cycles.
- When you’re not using your Milwaukee tool, make sure to store the battery in a cool, dry place.
How Can You Tell If You Have a Defective Milwaukee Battery?
If your Milwaukee Sawzall is not working and has a light flashing, it could be due to a defective battery. Here are some signs that your battery might be defective:
- The battery does not charge at all.
- The battery shows a red (or flashing) light while charging.
- Despite showing a green light, the battery does not hold a charge.
- The charging process takes longer than usual to reach a full charge.
- The battery fails to hold a charge for a long period, even after a full charge.
- The battery charges only for a short while and then stops, failing to reach a full charge.
- An instant green light starts flashing as soon as you begin charging the battery.
Ensuring the outlet has power, the charger is working properly, the battery terminals are clean, and you’re charging the battery correctly can help diagnose the problem.
If the issue persists, it’s advisable to perform a reset by completely disconnecting the battery, letting it cool, and then re-connecting it to check if the battery charges correctly.
For a step-by-step guide on how to reset a Milwaukee M18 battery, feel free to check out this comprehensive guide.
What Do the Red and Green Flashes Mean in My Milwaukee Battery?
If you’re experiencing red and green flashes in your Milwaukee battery, it could be a sign that something is wrong.
Here are some possible reasons why this is happening:
Low Battery Charge
Experiencing red and green flashes may indicate that your battery is low on charge. To address this, extend the charging period to ensure a full charge.
Verifying that the charger is properly and securely plugged in is also crucial.
Battery Overheating
Prolonged or intense usage of your Milwaukee tool may lead to battery overheating, signaled by red and green flashes.
Allowing the battery to cool down for a few minutes before using it again can help resolve this issue.
Defective Battery
Persistent red and green flashes, despite attempting the solutions above, might point to a defective battery.
Consider either replacing the battery or seeking professional repair services.
Wrapping It All Up
Troubleshooting your Milwaukee Sawzall is not as difficult as it may seem. You can quickly identify and fix the issue with a little patience and some basic knowledge of the tool.
Always start with the most obvious problems, such as checking the power source, before moving on to more complex issues.
If you are still having trouble with your Sawzall, don’t hesitate to reach out to Milwaukee’s customer service team for assistance.
Additionally, it’s important to maintain your Sawzall to prevent future problems properly.
Regularly cleaning and inspecting the tool, as well as using it according to the manufacturer’s instructions, can go a long way in prolonging the life of your tool.