
Replacing the cable on your Milwaukee drain snake can seem like a daunting task, but with the right tools and a little bit of know-how, it can be done quickly and easily.
Whether you are a seasoned plumber or a DIY enthusiast, this step-by-step guide will help you replace the cable on your Milwaukee drain snake in no time.
Why You Might Need to Replace Your Milwaukee Drain Snake Cable?
You may need to replace the drain snake cable for various reasons. Here are some of the most common reasons why you might need to replace your Milwaukee drain snake cable:
Wear and Tear
With regular use, your drain snake cable may start to wear down and become less effective at clearing clogs.
If your cable is becoming frayed or damaged, it's time to replace it.
Switching to a Different Size
Depending on the type of clog you're dealing with, you may need to switch to a different-size cable.
For example, if you're working on a smaller drain, you may need a thinner cable to get the job done.
Upgrading to a Better Quality Cable
If you're using an older or lower-quality cable, you may find that it's not as effective as you'd like.
Upgrading to a better-quality cable can help you clear clogs more quickly and effectively.
Replacing a Broken Cable
If your cable has broken or becomes stuck in a drain, you'll need to replace it to continue using your drain snake.
Regardless of why you need to replace your Milwaukee drain snake cable, it's important to do so properly to avoid damaging your drain snake or causing further damage to your plumbing system.
In the next section, we'll provide step-by-step instructions to guide you through replacing your Milwaukee drain snake cable.
Safety Precautions When Replacing Milwaukee Drain Snake
Safety should be your top priority when replacing the cable on your Milwaukee drain snake.
Here are some important safety precautions you should take before starting the task:
- Ensure your workspace is clear of any debris or obstacles that could cause you to trip or fall.
- Always use the right size cable for your drain snake to avoid damaging the machine or the plumbing system.
- To minimize injury risk, wear safety goggles and leather gloves. The cable, under pressure, can uncoil suddenly and has a sharp tip that could cause cuts.
- Never operate the Milwaukee drain snake without the proper attachments and accessories.
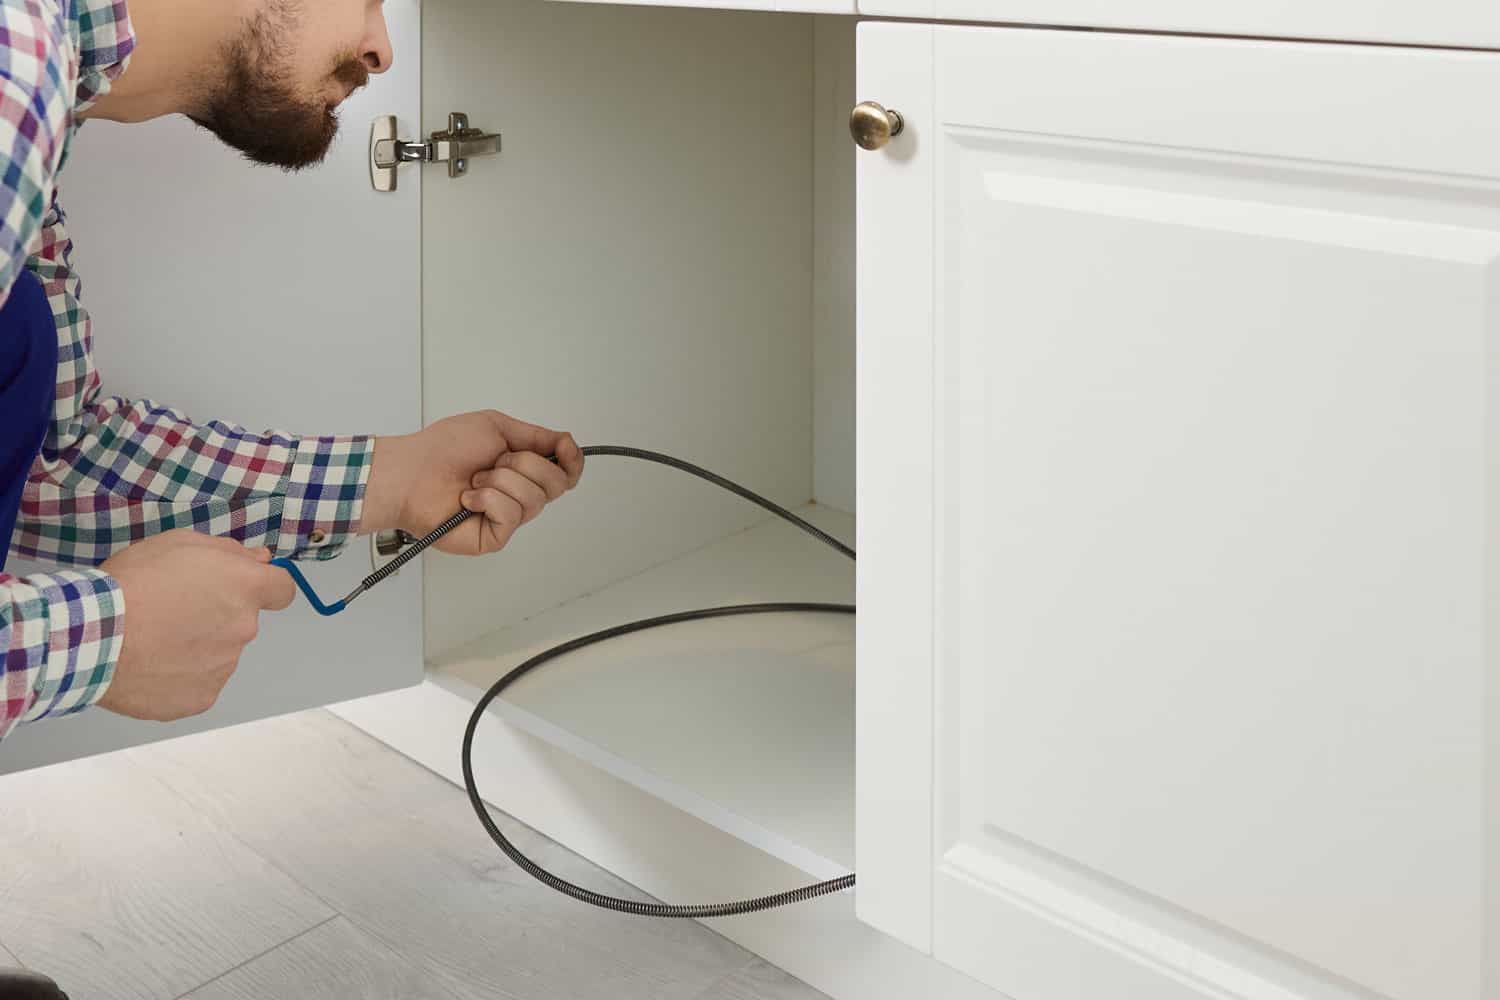
How to Replace Milwaukee Drain Snake Cable?
When replacing the cable on your Milwaukee Drain Snake, following a systematic procedure ensures a smooth and safe process.
Below is a step-by-step guide on how to replace the cable.
Step 1: Remove the Battery
Begin by removing the battery pack from the Milwaukee Drain Snake to eliminate any electrical hazard.
Step 2: Remove the Cable Attachment
Next, remove the attachment by inserting the pin key into the coupling hole and pulling the branch off the cable.
Step 3: Position the Handle
Now that you've removed the attachment, you can set the front handle to the feed position to prepare for cable extraction.
Simply set the forward/reverse switch to the forward position, then push and hold the handle.
Step 4: Remove the Cable
Pull the cable out through the front handle until the end of the cable indicator is reached.
Please note that the cable will appear stuck once this indicator is reached, which is normal.
Step 5: Neutral Positioning
Set the front handle to the neutral position by moving it to the center position, between the feed and locked positions. Pull out the remaining cable.
Step 6: Insert and Feed the New Cable
Insert the new cable through the nose of the tool until the cable catches. Set the front handle to the feed position and continue feeding the cable through the front handle.
Step 7: Reattach the Cable Attachment
Snap the attachment coupler into the cable coupler. Test the cable by inserting it into the drain to ensure the attachment does not fall off during use.
Please note that these steps are extracted from the M18 FDCPF8M18 Fuel Draink Snake manual, and there may be slight differences in the process depending on your model.
Common Issues When Replacing Milwaukee Drain Snake Cable and How to Fix
There are common issues that might arise when replacing a Milwaukee Drain Snake cable, along with solutions to fix them:
Kinked Cable
A kinked cable is one of the most common issues you may encounter when replacing the Milwaukee drain snake cable.
This can happen when the cable is not properly coiled or when it gets stuck in the drum.
You'll need to straighten out the kinked section of the cable. You can do this by gently pulling the cable in the opposite direction of the kink.
Once you have straightened out the cable, make sure to properly coil it before using it again.
Broken Cable
Another common issue that you may encounter when replacing the Milwaukee drain snake cable is a broken cable.
This can happen when the cable is old and worn out or when it gets stuck in the drain.
You can fix the issue by cutting the broken section of the cable with a cable cutter and then attaching a new cable to the old one using a cable connector.
Incorrect Cable Size
Using the wrong size of cable for the drain lines can wear out the cable faster than usual.
To avoid this issue, make sure to choose the appropriate cable size that matches the specific requirements of your M12 or M18 model and the drain you intend to work on.
Tips for Longevity and Maintenance
To ensure the longevity and optimal performance of your Milwaukee drain snake cable, it is important to take proper care of it.
Here are some tips to help you maintain your drain snake cable:
- After using the drain snake, make sure to clean the cable thoroughly with a cloth or brush to remove any debris or residue.
- Avoid using substances such as gasoline, chlorinated cleaning solvents, ammonia, and household detergents containing harsh chemicals.
- Store the drain snake cable in a dry, clean place when not in use. Avoid leaving it in damp or humid areas, promoting rust and corrosion.
- Replace the cable when it shows signs of wear. A worn cable can break unexpectedly, posing a risk of injury and potential damage to the plumbing system.
What Size Cable Do You Need to Replace Milwaukee Drain Snake?
The cable size you require depends on the specific model of your Milwaukee Drain Snake.
The Milwaukee M12 Drain Snake can accommodate cables with either a 1/4-inch or 5/16-inch diameter, and these cables are typically 25 feet in length:
For the Milwaukee M18 Drain Snake, you have several cable size options:
- 1/4-inch diameter cable (up to 50 feet)
- 5/16-inch diameter cable (available in lengths up to 50 feet for some models and 35 feet for others)
- 3/8-inch diameter cable (35 feet length)
To ensure that you choose the correct replacement cable, match the diameter and length of the cable to the specifications of your particular Milwaukee Drain Snake model.
Looking for a Milwaukee M18 drain cable replacement? Click the link below!

See this replacement cable on Amazon.
Do You Need to Hire a Professional to Replace Milwaukee Drain Snake?
Replacing the cable on a Milwaukee Drain Snake is a relatively simple process that most homeowners can do.
However, if you're not comfortable working with plumbing or don't have experience with drain snakes, it may be best to hire a professional.
Explore More on Milwaukee Tools:
- Have a Milwaukee trimmer, too? Learn how to replace its head in our How To Replace a Milwaukee Trimmer Head guide.
- Are you curious about the interchangeability of Milwaukee batteries with other brands? Check out Can You Use Milwaukee Batteries with Other Brand Tools?
- Discover the versatility of Milwaukee transfer pumps in our post on Using Milwaukee Transfer Pumps for Oil.
Final Thoughts
Replacing the Milwaukee drain snake cable is a task that anyone can do.
With the step-by-step guide provided in this article, you should have no trouble replacing your old cable with a new one.
Before starting the task, remember to take the necessary safety precautions, such as wearing gloves and safety goggles. Also, make sure you have a clear workspace to work in.
If you run into any issues while replacing the cable, don't hesitate to consult the operator's manual that came with your Milwaukee drain snake.
It contains valuable information that can help you troubleshoot any problems you may encounter.