
Changing your stair treads is a small but powerful way to update your home. With all the construction adhesives on the market, the household name of Liquid Nails comes to mind first, but is it suitable for stair treads? We've taken a look into the inner workings of adhesives to find out for you!
Liquid Nails' brand name is not the first recommended adhesive for stair treads due to its high water content. The higher the moisture levels, the more chances of warping as it dries. A polyurethane glue, such as Loctite PL Premium, is a highly recommended adhesive.
Since the stair treads, or the surface of your stairs, receives a lot of foot traffic, you'll want to make sure it's properly installed. We have insider tips and tricks on installing the strongest tread and looking at how to finish them with stains. Keep reading to learn these processes and more!

Liquid Nails
In particular, Liquid Nails have low VOC but are solvent-based and can cause warping to wood. VOC, or volatile organic compound, is the odor often associated with strong adhesives. The higher the VOC, the more intense the smell, which will require more airflow to reduce breathing it in.
There is also a long curing time to Liquid Nails that can extend your project longer than desired. Liquid Nails can be a good choice for smaller woodworking projects that require a strong bond, but it is better to use a poly construction glue for home improvement. If you only have Liquid Nails available near you, make sure it has low VOC and is not water-based. Then do a test with two pieces of wood to see how it interacts.
The dissection of a staircase
To begin, there are four main parts of stairs. The first is the base, known as the stinger. This is the full wooden cut-out board that acts as a ground to lay the treads on. Next are the stairs risers. These are the vertical faces of the stairs that meet the back and then the front of each tread.
Of course, then we have the tread itself, which is the actual stepping surface. Finally, there are the stairs nosing. The nosing is the extra bit of stair tread that over hands above the riser. You can also add a cove molding, which goes over the joint of the riser and tread. It looks similar to adding crown molding to your walls. There are a few extra teams for their build, but these are the main components.

Click here to view PL Premium on Amazon.
No matter how you decide to enhance your staircase, research your local building codes to stay within their parameters. For example, there are particular heights required for threads and how much nosing can go over the riser. Also, rails will most often be needed if it is not a closed-in stairwell.
How Do You Glue Down Stair Treads?
Start by ensuring that the stair tread and sub-tread surfaces, if applicable, are clean of any dust or debris. When working without a stair sub-tread, put globs of glue about 3-4 inches apart on the top of the risers. If there is any glue spillage, you can add a cove molding underneath the treads nosing to hide it, and dress up the stairs. A cove molding is like a skirt underneath the nosing to mask the contact point of the wood.
Subtreads are typically seen on fully closed-in stairs, such as new construction and homes with no basements. They are often made of plywood and are the unfinished version of your staircase. When you have these to work with, you'll place two rows of quarter-sized globs of adhesive 5-6 inches apart. You'll want one row in the front and the second towards the back.
Nails are absolutely recommended to use alongside adhesives. While adhesives alone have a strong grip, nails act as a clamping feature to hold the wood to the glue. The pressure from the nails helps reduce the chance of the treads shifting.
What Kind Of Nails Do You Use For Stair Treads?
In terms of size, you'll want to use either a 16 or 18 gauge nail. The nails should be a finishing nail brand, not your typical wall nail. Using these in an air pressured nail gun will give you the best hold and accuracy. There are cordless nail guns to avoid buying an air compressor. A handheld staple gun won't have enough power and length for optimal security.
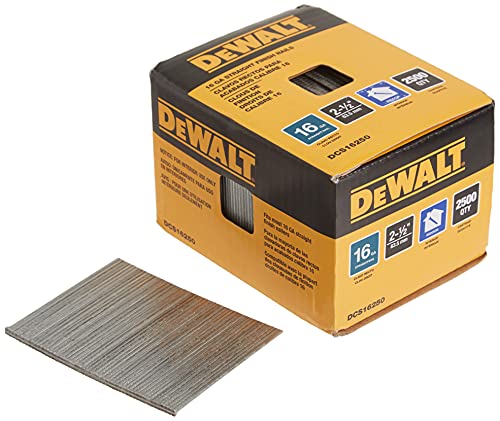
Click here to view these 16 gauge finishing nails on Amazon.
Install 3-4 the finishing nails where the risers and treads meet the stinger. The glue will act as the holder for all the parts in between. Finishing nails will also be used for the skirtboard on both sides of the stairs unless there are railings. You'll place them as needed, but 4 for each step is a good minimum.
How Do You Strengthen Stair Treads?
Safety is a huge concern when constructing stairs. There is an extra wooden piece that you can add to help strengthen the treads. Known as a glue block, these are 3-4 inch triangular or square parts that go underneath the stairs. You'll want to install these at any instance wood touches wood.
Glue blocks can be installed with just glue, and often 2 or 3 are placed on the underside where the riser meets the tread. The blocks, along with the staircases skirtboard, should be sealed with a fill caulk. After you put a line down, smooth it out and make sure no small holes appear. Sealing both will help keep moisture out and give the stairs a clean, finished look.
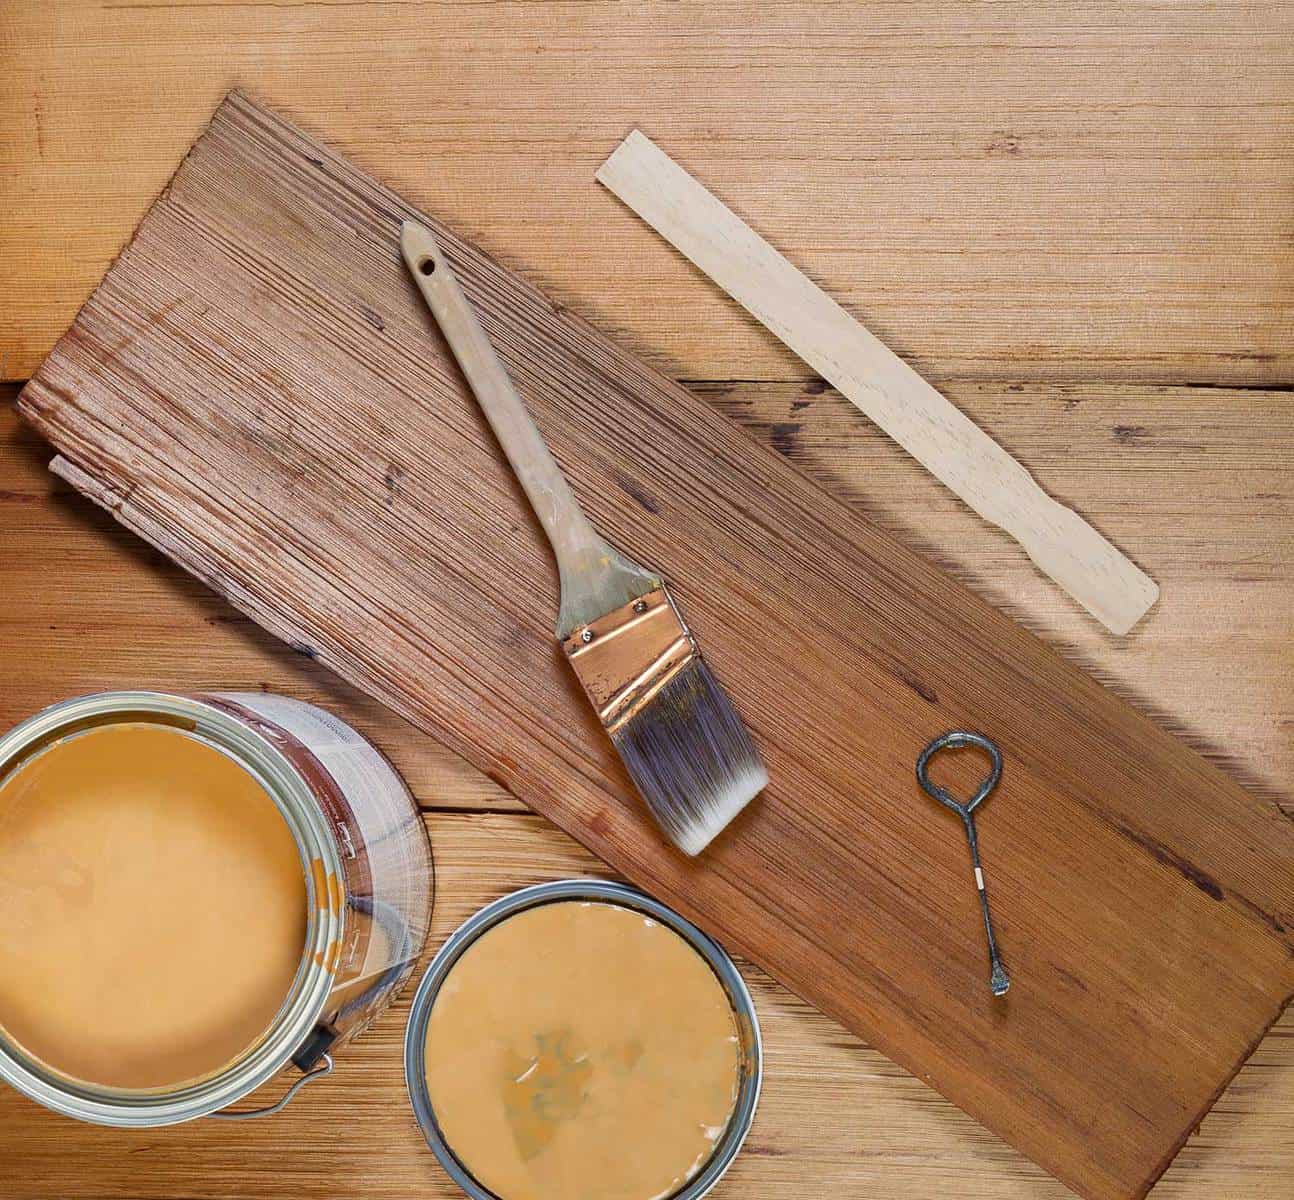
Should I Stain Stair Treads Before Installation?
Yes! Staining your treads before installing them means you'll be able to see how the stain looks once it drys. You'll save yourself the headache of trying to restain or remove your new stairs. Also, if you've never stained wood before, a good practice run will help you determine how much stain is needed and the best technique to use.
The wood should be totally dry and away from moisture before staining. One of the biggest causes of warping is when the wood planks have different moisture levels throughout. Drier parts of the wood will dry faster after the stain is applied and will tighten at a different rate than the slightly more wet areas.
Along with seeing how the stain will look, for any odd reason, if there is warping, you'll be able to fit your cut treads again into the stingers to make sure it still fits. Staining is a great way to seal your treads and give them a protective coat against heavy usage.
All in all
While Liquid Nails may not be the first recommendation for installing stair treads, you have other options. Polyurethane adhesives with low VOC will give your stair joints the strength they need. You should use finishing nails alongside an adhesive to act as a pressure hold while the glue dries. Taking time to revamp your staircase will make a huge impact on the quality of your home.
I did not even see mention of screws & glue instead of nails for use on stair steps, where squeaks are to be eliminated. WHY?
Considering it’s a high-traffic installation, screws are not very productive. it takes too much time to install or remove a screw, and you need to think ahead about maintaining these stairs, because many of these items can be pried apart with minimal damage without screws. most of these tips will sustain a good set of stairs for about 10-15 years before signs of wear become apparent, and when it comes time to open things up to change or improve, guess what gets forgotten? screws.
If you installed them from underneath the stairs, and covered it with drywall from the flight of stairs, or the crawl space below, you will likely not remember this step, and will start fighting to pull the pieces apart to open things up. When used correctly, nails offer more than enough strength to sustain stairs for a significant length of time, but they definitely make it easier to repair, change, or improve, when the time comes.
All materials in life are temporary, no matter their construction. You could be the most talented carpenter in the world, but time will still wear down your work, and someone may like to fix or improve on your work without destroying it. Think critically about this future, and what the future needs are for the work you perform, then select materials that support future maintenance.