
Gardening and lawn care are essential for homeowners, and having the right tools can make the process smoother.
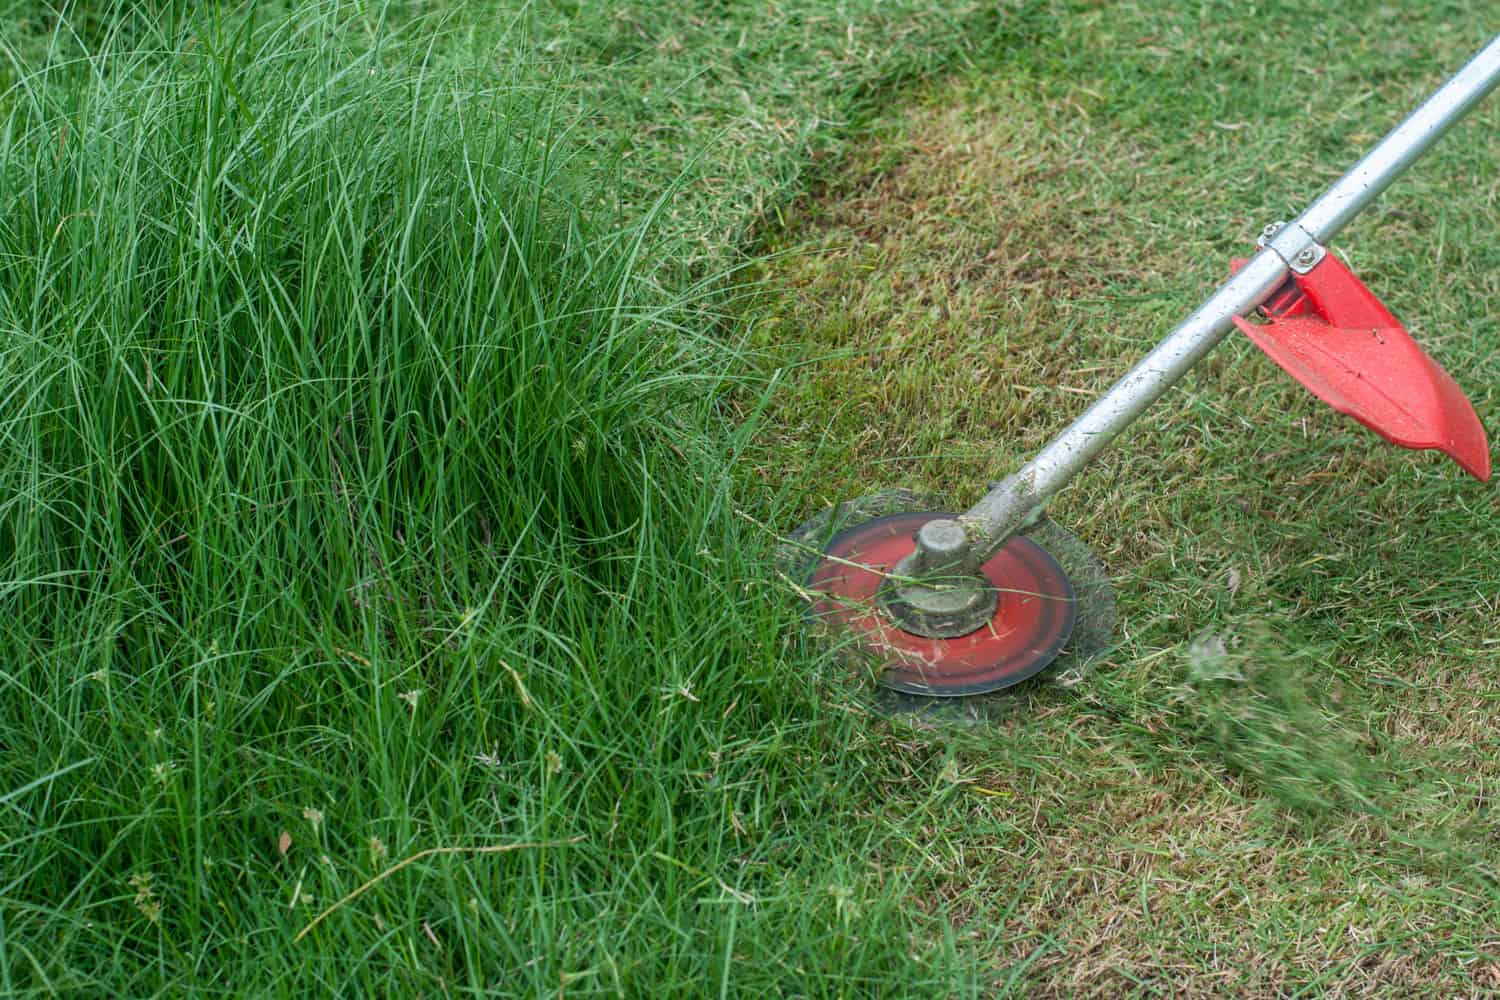
The Milwaukee Weed Wacker is reliable for many due to its efficiency and longevity.
In this guide, we'll provide comprehensive instructions on properly stringing your Milwaukee Weed Wacker and delve into its components and specific uses.
Additionally, we will highlight safety precautions to keep in mind and address common issues you may face when using the tool.
Basics of Milwaukee Weed Wacker
When using the Milwaukee Weed Wacker, you'll find the M18™ REDLITHIUM™ Battery Pack powers it.
This battery ensures you experience faster operation, longer run times, and fewer interruptions for recharging.
At the heart of its operation is the POWERSTATE™ brushless motor, designed to offer enhanced performance, speed, and durability.
Plus, with the QUIK-LOK™ system, you can easily switch between various attachments like a string trimmer or edger, enhancing the versatility of your tool.
How to String the Milwaukee Weed Wacker
Now that you know the basics of your Milwauuke Weed Wacker, let's delve into the steps of stringing your tool by following the steps below.
Step 1: Safety First
Before beginning maintenance on the trimmer, remove the battery pack from the tool. This is crucial to prevent unintentional startups and ensure your safety during restringing.
Step 2: Accessing the Spool
Turn the trimmer head upside down. Locate and push in the tabs on the trimmer head. While holding these tabs, gently pull the cover away, revealing the spool.
Step 3: Preparing the Line
Measure out a length of cutting line equivalent to three wingspans and cut it using a sharp knife or scissors.
Once you have the line, fold it in half. This folding helps you find the line's center, which you will then loop through a specific notch in the central rib of the spool.
Step 4: Winding the Line
While maintaining pressure on the line, start winding it around the spool in the direction indicated on the spool's surface.
It's important to note that both ends of the line should wind in the same direction, using the top and bottom tracks on the spool.
When you approach the end of the line, secure the remaining four to six inches in the notches located at the top of the spool.
Step 5: Reassembling the Trimmer Head
Align the notches of the spool with the metal eyelets on the cover. Push the spool into this cover.
Afterward, pull the ends of the line out of the spool's notches and feed them into the eyelets. Finally, snap the spool cover back onto the trimmer head.
Step 6: Ready to Work
With the line properly installed, your Milwaukee M18 Fuel String Trimmer is now ready for use.
Check the line periodically for wear and replace it as needed to maintain optimal performance.
For a visual guide, consider watching this YouTube video.
Please note that the process described here is a general guideline. The exact steps and methods may vary based on the specific model of your Milwaukee Weed Wacker.
So, it's always best to refer to the user manual of your specific model for precise instructions.
Did you get your Milwaukee Trimmer Head damaged? Learn how to replace your trimmer head by reading this guide.
Safety Precautions When Stringing A Milwaukee Weed Wacker
When stringing the Milwaukee Weed Wacker, safety is paramount. Here's a comprehensive guide on the safety precautions to take:
- Always turn off the device and disconnect it from the battery before performing maintenance.
- Use only a .080" or .095" spiral diameter line. Using any other size could impact the tool's performance or even damage it.
- Use safety gloves and glasses to protect against any accidental scrapes or flying debris.
- Ensure you're working in a brightly lit space so you can clearly see what you're doing.
Benefits of Using Milwaukee Weed Wacker
Using the Milwaukee Easy Load String Trimmer Head offers multiple benefits, enhancing the efficiency and ease of the stringing process:
Power & Precision
When you use the Milwaukee Weed Wacker, you'll immediately notice its powerful performance.
It can effortlessly clear dense vegetation, giving your yard a clean and neat appearance.
Plus, its precision ensures you won't have to repeatedly go over the same areas, saving time and effort.
Quick Acceleration
With its capability to reach full throttle in less than a second, you can start your trimming tasks promptly, ensuring efficient and swift work.
Balanced Design
Comfort is essential, especially for prolonged tasks.
Its ergonomically balanced design makes the tool easier to handle, reducing strain on your arms and back. This ensures a more comfortable and fatigue-free trimming experience.
Versatility
If your weed wacker comes with a QUIK-LOK™ feature, you'll love how it broadens the range of tasks you can undertake.
Beyond trimming, you can attach various tools, enhancing the range of gardening tasks you can achieve with just one device.
Attachments include a string trimmer for standard grass and weed trimming, an edger for clean lines along pathways and garden beds, a hedge trimmer for maintaining shrubs, and a pole saw for reaching and cutting higher branches.
Eco-friendly & Convenient
If you're environmentally conscious, you'll appreciate the battery-powered variants of the Milwaukee Weed Wacker.
Not only do you avoid harmful emissions, but you also escape the mess and odor associated with gasoline.
Broad Cutting Swath
Efficiency is all about getting more done in less time. With the Milwaukee Weed Wacker's broad cutting radius, you can cover larger areas quickly, reducing the time spent on each task.
How Long Does the Milwaukee Weed Wacker Battery Last?
According to a user of Milwaukee Weed Wacker on Amazon, when used more conservatively, the battery can stretch up to approximately an hour and a half.
It's essential to note that the battery gives no prior warning when it's about to deplete; the trimmer just stops.
How Do You Measure and Cut the New Trimmer Line?
It's advisable to use a .080" or .095" spiral diameter line. You can find this information in your user manual.
Once you've chosen the correct line size, the next task is determining the required length for your trimmer—a general method to measure out three arm spans or "wingspans" of the line.
Got a Dewalt tool instead? Here's our Step-by-Step Guide on Stringing a Dewalt Weed Eater.
Final Thoughts
Stringing the Milwaukee Weed Wacker is a straightforward process that you can confidently undertake.
With the comprehensive guide laid out in this article, you're well-equipped to ensure your trimmer is ready for action.
Before diving into the task, always prioritize safety: consider wearing protective gloves and working in a well-lit area.
If you encounter any challenges while handling your Milwaukee Weed Wacker, consult the user manual for insights and solutions.
It offers detailed information to guide you through any uncertainties, ensuring your tool remains in optimal condition.