
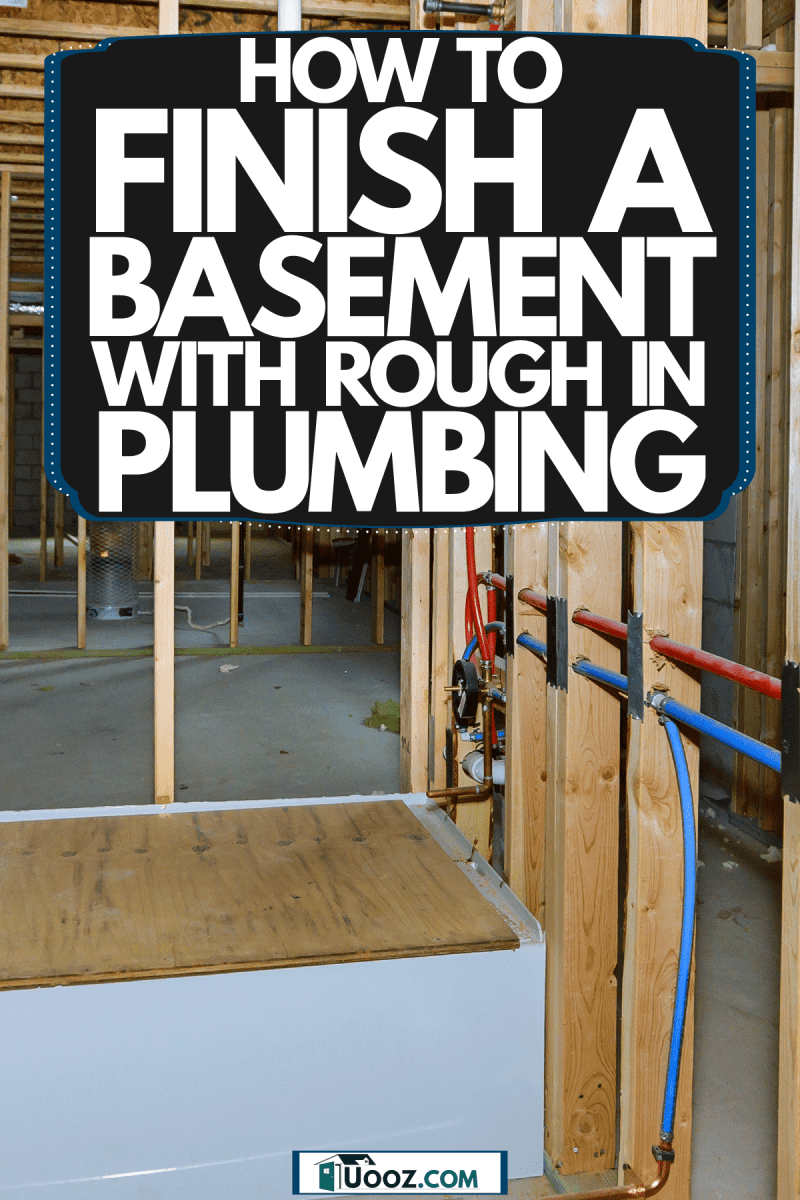
When you're renovating your home, sometimes projects are left incomplete. In this case, you would have rough-in plumbing. Meaning, it's up to you to finish renovating the basement bathroom! Is it a project that you can do yourself? If you're wondering how to finish a basement bathroom with rough-in plumbing, let's take a look!
Whether the plumbing is rough-in by choice or through other circumstances, it's time to finish the project. Finishing up the plumbing might seem like a daunting task, but it is not as difficult as you might think. The following are the steps you need to follow to complete this project:
- Install the toilet.
- Install the shower.
- Install the drywall.
- Tile up the walls and floor.
- Finally, install fixers.
Of course, a brief overview of what you'll have to finish won't be enough for some. So, you might want to know how to accomplish some of these tasks with help from a guide. Additionally, we'll go over the cost and terms of plumbing. If you'd like to know this and more, keep reading ahead.
Contents
- 1 How Do You Install a Toilet in a Bathroom With Rough-In Pipe?
- 2 How To Install Shower in a Basement Bathroom
- 3 How To Install Drywall in the Basement Bathroom?
- 4 How To Tile a Bathroom Floor and Walls?
- 5 What Is Roughed in Plumbing for a Basement?
- 6 How Do You Test Rough-In Plumbing?
- 7 How Much Does It Cost To Finish a Roughed in Basement Bathroom?
- 8 Final Takeaway
How Do You Install a Toilet in a Bathroom With Rough-In Pipe?
The first step of finishing a basement bathroom is to add the toilet, and here’s how you do it.
- Cut the toilet rough-in with a hacksaw. The best way to do it is to cut the rough-in at a 45-degree angle. Try to cut the rough-in drain as close to the floor as possible.
- Now it is time to install the flange for the toilet. You can use a PVC plastic flange or ABS flange. Make sure to choose the right size of the flange. It should fit in the toilet rough-in. If the flange is the right size but still a little bit tight, you can sand it to size it down a little bit.
- Put some solvent or ABS cement on the outer corner of the flange pipe and fit it in the toilet rough-in. Install the flange, and make sure that the bolt space on both sides of the flange is at an equal distance from the wall.
- Once the toilet flange is in the right place, drill it to the concrete floor.
- Set the wax ring on the flange.
- Once the wax ring is ready, put the toilet on top and push.
- Fit the tank, hook up the tank’s water fixer, and you are all done.
While it's useful to list the steps, visual representation is equally important. So, here's a YouTube video to aid you step by step:
How To Install Shower in a Basement Bathroom
After the toilet is installed, it is time to install the shower. But how is it done?
If the shower area is lower than the rest of the bathroom, then installing a shower would be quick. But that is not common among roughed-in basement bathrooms.
Nonetheless, here is how you can install a shower in a basement bathroom.
- The first step is to cut down the shower roughed in the drain using a hacksaw.
- Just like how we installed the flange for the toilet, install the flange for the shower.
- If you are doing a raised floor shower, you will need to get a flange with a 90-degree drain system. Fix it with a pipe at an angle. Make sure the flange is high enough to reach the height of the rigid shower base.
- Apply the thin mix on the area first, and then install the shower rigid base.
- To seal off any cracks between the shower boards, use a sand mix.
- When everything has dried down, you can tile up the floor.
How To Install Drywall in the Basement Bathroom?

Installing drywall is surprisingly easy compared to what many people anticipate it to be. All you have to do is get the drywall boards and drill them to the stud wall, and that’s it.
However, cut holes for the bathroom and toilet fixers before drilling the drywall in place. If you already have hooked up the toilet tank with the waterline, unhook it first, and install the drywall.
How To Tile a Bathroom Floor and Walls?
Tiling a bathroom is an easy job, and with the right equipment, anyone can tile their bathroom. Let’s start with the steps to tile a bathroom floor.
- Prepare the basement bathroom floor for tiling. Meaning, clean the floor and remove any chunky debris.
- With the help of a leveling tool, check if the floor is even or not.
- Once you know the floor is even, apply the tile thin-set and spread it around evenly.
- Now place the tiles next to one another while leaving ¼-inch space between each tile for grout lines.
- Leave the tiles to set and come back the next day.
- Now apply the grout on the tiles evenly and wipe off the excess with a wet cloth.
- You can tile the bathroom walls using the same technique.
What Is Roughed in Plumbing for a Basement?
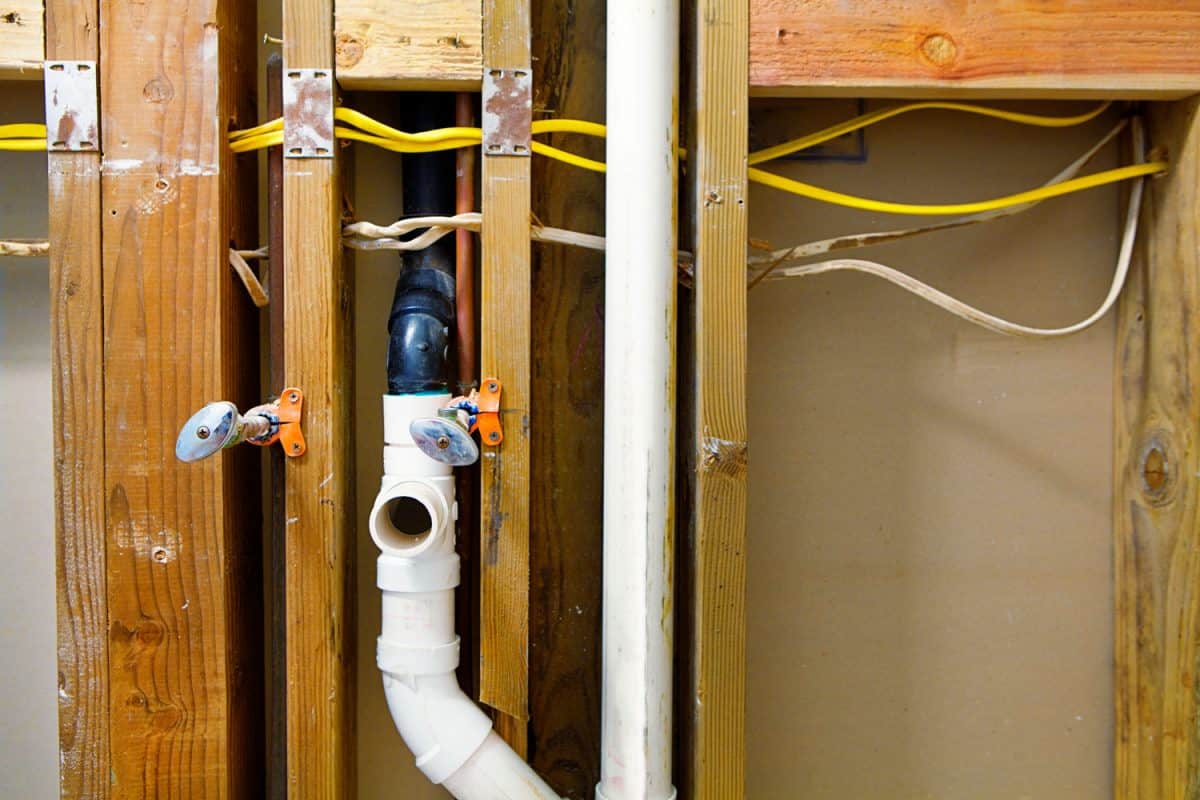
Rough-in is a general term used for many trades. You'll see the usage of this term in areas like plumbing and electrical work. As a hint, the name implies what it is.
So, what does roughed in plumbing mean? Well, in simple words, roughed-in plumbing is the first draft of plumbing. It is done after the initial framing of the house and is the very first plumbing service. Install the main tiles during the roughed-in plumbing process and the fixers, sink, and toilet later.
After the roughed-in plumbing is complete, it should get inspected by a building inspector. That is why the walls are not closed with drywall for some time. It helps the plumbing to be visible and easy to inspect.
How Do You Test Rough-In Plumbing?
The first rough-in test is to check if there are any leaks in the rough-in plumbing or not. You will require one pressure gauge and a tube that hooks to an air compressor for this test. After you have the tools, follow these steps to test your rough-in plumbing.
- Choose two water outlets (or pressure lines).
- Now, put the pressure gauge on one water outlet and connect the tube with the air compressor on the other water outlet.
- Now bring the pressure up to 100 PSI. You can check the code in your area to see how much pressure you should be using for this test.
- Let this set up sit for around 15-20 minutes and check the pressure gauge.
- If the pressure gauge is still reading 100 PSI, it indicates that the plumbing has no leaks.
What To Do if There Are Leaks in the Rough-In Plumbing?
Imagine you did the rough-in air pressure test (as mentioned above). What if the pressure does not stay at the initial pressure and drops down? Well, it means that there are leaks in your rough-in plumbing.
Walk along the roughed in pipes and try to hear a hissing sound. If you detect a hissing noise coming out of a pipe, put soap solution on the joint. The leak is where the solution starts to bubble. Repair the leak and do the rough-in air pressure test again.
To provide additional help with the process, here's a YouTube video for visual guidance:
How Much Does It Cost To Finish a Roughed in Basement Bathroom?
Rough-in plumbing is one of the most tedious processes. After it is complete, finishing the rest of the bathroom seems easier. But, how much does it cost to finish a roughed basement bathroom?
It depends on a few factors, such as the type of fixtures, toilet, tiles, and other bathroom accessories that you are using. And, if the basement bathroom is large, it will cost more to finish than finishing a small-scale basement bathroom.
All in all, $6,000 is considered an average cost to finish an already roughed-in basement bathroom. If you wish to hire someone else to do the work, you should add the hourly rate and labor hour to the cost.
Final Takeaway
When you're renovating your home, you might come across some jobs that might seem impossible for you to finish. However, with a bit of research and guidance, anyone can finish installing plumbing in the basement. This way, you ensure you avoid making any mistakes. We hope you found the information above helpful!
Before you go, do you have other basement concerns? Are you spotting cracks in some places? If you're wondering if you should fill them in, you can find out by checking our post here.
Are you considering including a floor drain in your basement? You can find out if it's a requirement to have a floor drain by checking our post here. Good luck with the plumbing!
great. I like reading your article. Hope that you will write because it is very useful for me.
Thanks guys a lot. This problem makes me headache. Now I can know useful information from your article to install a toilet with a rough in pipe.
How to install a toilet in a basement with a rough in pipe? Installing a flushable toilet in a basement is not hard if you know what to do with the necessary tools. It might seem like adding a toilet to your crawl space is expensive, but it is an easy project if you have roughed-in pipes. The best part is that the installation usually only takes a few hours, even for a beginner.