
Have you ever been in a situation where you needed to remove a screw from an anchor but weren't quite sure if it was possible?
Fortunately, you can unscrew a screw from an anchor. In fact, it's a relatively common task in various home improvement projects or when rearranging wall decorations.
The process of unscrewing a screw from a drywall anchor depends on the type of anchor used.
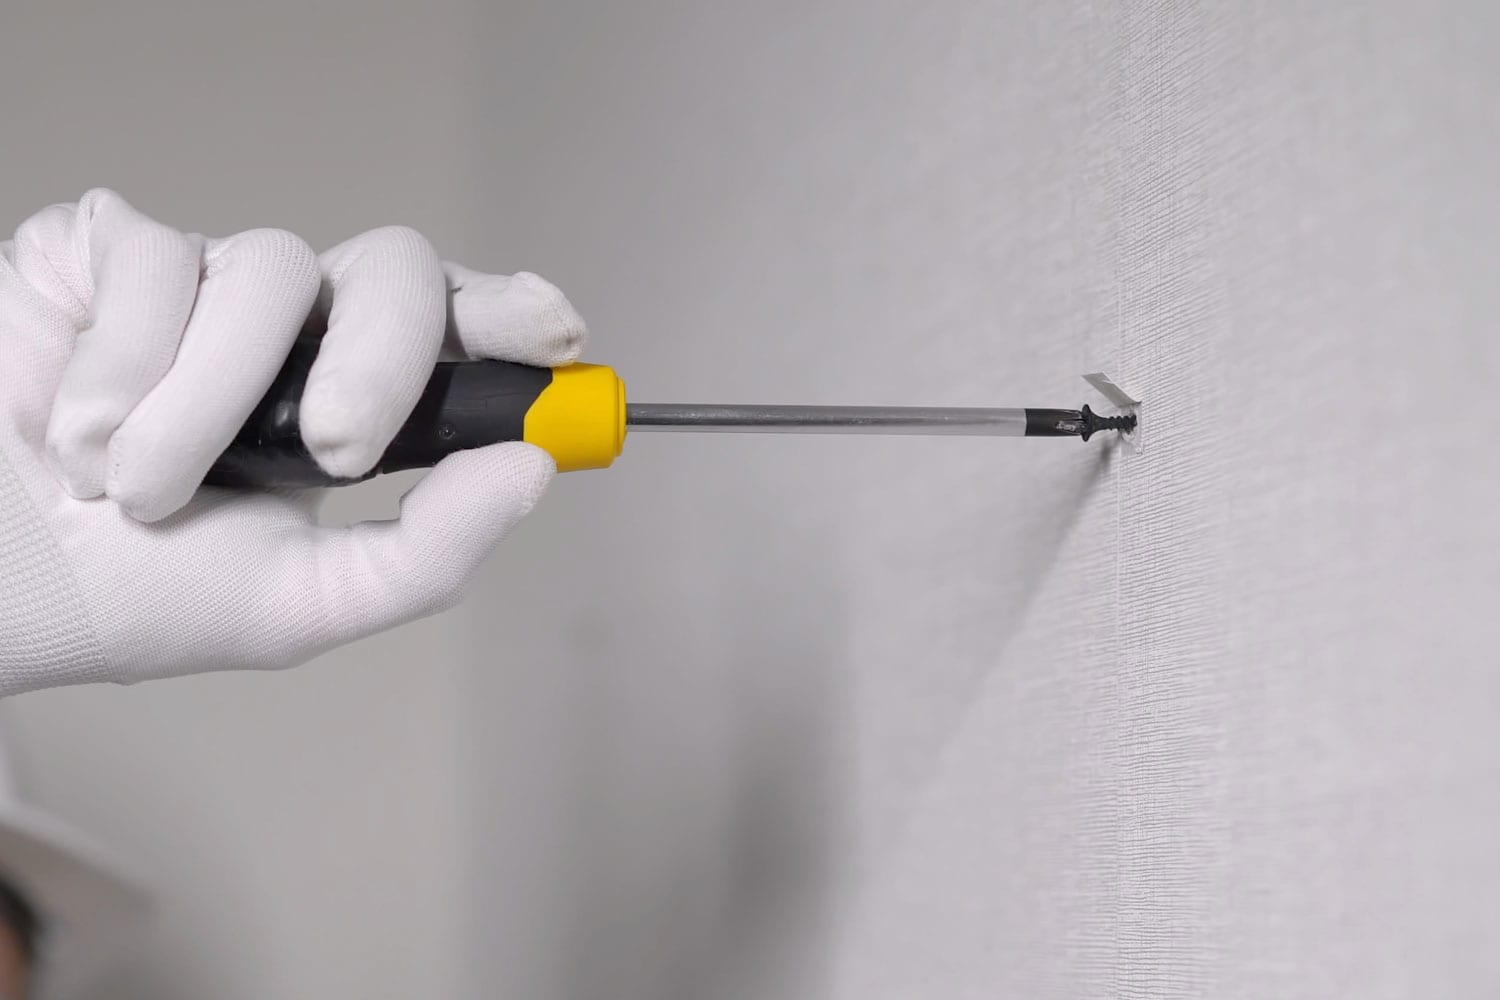
In general, you can use a screwdriver to turn the screw counterclockwise until it is completely removed.
As you venture into this task, keep in mind that different types of wall anchors may require different approaches.
So, understanding the specific anchor type is essential for effectively unscrewing the screw without causing any damage.
Now that you know it can be done, let's explore the details of how to approach each anchor type.
Safety Disclaimer: Before removing screws from anchors, ensure you have the proper safety equipment and knowledge to prevent injury or further damage to your wall.
Is It Possible to Unscrew a Screw From an Anchor?
As we have already established earlier, it is possible to unscrew a screw from an anchor. The process for doing so depends on the anchor you are using and how it was attached.
Generally, you can simply use a screwdriver to turn the screw counterclockwise until it is completely removed.
However, different wall anchors may require other methods for removing the screw. These methods will be elaborated in the following section.
How to Unscrew a Screw From an Anchor?
Below are different techniques for extracting screws from various anchors, such as toggle bolts, hollow wall anchors, self-drilling plastic anchors, and steel or plastic expansion anchors.
We've also covered how you can remove a screw if it becomes stuck in the anchor.
Toggle Bolts
Removing a screw from a toggle bolt can be done with a drill or a screwdriver with a Philips bit.
Grab hold of the screw, apply a slight pulling force, and begin unscrewing it slowly.
As you unscrew, the toggle bolt inside the wall will eventually fall off and might land on the baseplate inside the wall or stay in the insulation.
Don't worry, it won’t cause any harm. The only downside is you'll lose the toggle, and if you plan to use one again, you'll need to get a new one.
If you're a visual learner, you might benefit from watching this short video.
Self-Drilling Plastic Anchors
For self-drilling plastic anchors, gently turning the screw counterclockwise using a screwdriver will do the trick.
Make sure to apply pressure evenly to avoid damaging the anchor or the wall. If the screw becomes difficult to turn, try loosening it with a gentle rocking motion.
Hollow Wall Anchors
With hollow wall anchors, usually, a screwdriver is all you need to get the screw out.
If the anchor starts to turn with the screw, hold it still with needle-nose pliers while you work on the screw.
Some hollow wall anchors are designed to unscrew gracefully, like the winged plastic anchors, which allow for easier unscrewing.
Here's a helpful video to help you understand how this trick works.
Steel or Plastic Expansion Anchors
When removing screws from steel or plastic expansion anchors, simply reverse the installation process.
Unscrew the screw using a screwdriver or a drill. If the anchor was installed tightly, you may need to exert a little extra effort to loosen it.
Stuck Screws
In some cases, screws might become stuck in wall anchors.
To get them out, try loosening the screw with pliers by working the tips around the rim of the anchor and squeezing tightly while reversing the screw.
If that doesn't do the trick, a screw extractor tool might be needed. Screw extractors are specialized tools designed to remove stripped or stuck screws.
To use a screw extractor, first prepare the screw hole by creating a small indentation in the center of the screw head using a hammer and a center punch.
Next, drill a small hole into the center of the screw. Insert the screw extractor into the hole and use a wrench to turn it counterclockwise.
As you turn the extractor, it should grip onto the inside of the hole, allowing you to unscrew the stuck screw.
Related reading: How To Remove Brad Nails From Drywall
Alternative Ways to Remove a Screw from an Anchor
Sometimes, you might face a situation where unscrewing a screw from an anchor isn't straightforward. Here are a few other methods you can try.
Method 1: Cut and Hammer Technique
A common tool like a hammer can be your ally in removing a screw from a drywall anchor.
Before you start, wear safety goggles to keep your eyes safe from flying bits. If you have a drill, snap a 1-inch cutting wheel onto it.
Now, go ahead and slice the top of the drywall anchor. Once that's done, grab a wide nail and a hammer and tap the nail against the opening of the anchor.
A few good taps should send the anchor falling back behind the wall.
You can use a utility knife to score the drywall around the anchor head if you don't have a cutting wheel.
This technique is particularly effective if there's open space behind the wall for the anchor to fall through.
Method 2: Using a Hammer and Chisel
Pairing a hammer with a chisel could be another effective method to remove that stubborn anchor.
Before you begin, lay down a drop cloth or an old towel to catch any debris and keep your area clean.
With that done, position the chisel at the edge of the anchor, ensuring it's securely placed to avoid mishaps.
Now, gently tap the chisel with the hammer, chiseling away the drywall around the anchor.
As you proceed, the anchor will start to loosen up, and eventually, you’ll be able to pull it out of the wall easily.
Method 3: Using a Wrench
A wrench can provide the needed torque to unscrew a stubborn screw from the drywall anchor.
Start by choosing a suitable wrench - an adjustable or pipe wrench would work well.
Slide your chosen wrench over either end of the drywall anchor’s screw, ensuring its jaws have a tight grip on both sides of the screw.
Now, turn the wrench clockwise until it's tight, then switch direction and rotate it counterclockwise.
Keep alternating the rotation until the screw is entirely loosened, and you can remove it easily from the wall.
Can You Reuse Wall Anchors?
Wall anchors help hang stuff on walls. But can you use them again? Well, it depends on what they're made of.
Plastic wall anchors are mostly a one-time deal. They expand when you screw them in and don't shrink back when you take them out. So, reusing them is not a good idea.
On the other hand, there are wall anchors that are made from a mix of plastic and metal or entirely metal. These are of a higher grade and are designed to be reusable.
Unlike the plastic ones, they shrink back when you unscrew them so that you can use them again. To reuse, you just need to unscrew them slowly, and they come out ready for another use.
If you like using wall anchors again, picking the ones made of metal or both plastic and metal is smart. They might cost a little more initially, but you can use them many times.
You might also like: Why Does My Drywall Keep Cracking? [And What To Do About It]
How Do You Patch a Dry Wall After Removing the Anchor?
So, you've removed the anchor from your drywall, and now you're left with an unsightly hole.
Luckily, patching drywall is a simple process involving filling the hole and matching the surface texture.
Step 1: Gather Your Materials
First, gather your materials. You'll need a fast-drying joint compound, a putty knife, sandpaper, and some paint.
Remove any remaining debris or anchor material from the hole before you begin.
For a smooth and reliable joint compound, consider using the DAP Wallboard Joint Compound. It dries quickly, allowing you to smooth and paint over the area in no time.
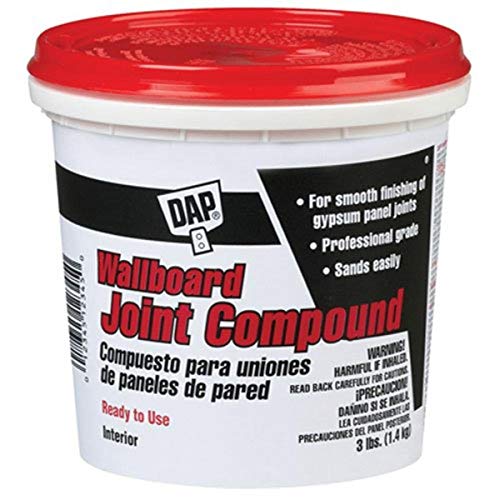
Learn more about this joint compound on Amazon!
Step 2: Add the Compound to the Hole
Apply the joint compound to the hole using your putty knife, smoothly filling the gap. Remember, less is more!
It's better to add too little compound initially and build up with additional layers if needed. Allow it to dry as directed by the product instructions.
Step 3: Smoothen and Clean the Area
Next, you'll want to sand the area until it's smooth and even with the surrounding wall surface.
Be careful not to sand too much and damage the surrounding drywall. After sanding, clean the area to remove any dust.
Step 4: Match the Your Wall's Existing Texture
Now, it's time to match the existing texture. You can use a skip trowel technique or choose a texture product that closely resembles your wall's surface.
Apply the texture and allow it to dry before moving on.
Step 5: Paint Your Wall
Finally, paint the patched area to blend with the surrounding wall. You may need to apply a primer to the patch before painting to ensure proper adhesion and color matching.
Voilà! After removing that pesky anchor, your wall should now be as good as new.
Watching this video may help guide you through the steps mentioned above.
Putting It All Together
In conclusion, it is possible to unscrew a screw from an anchor in most cases, but the process can vary depending on the type of anchor and the surface to which it's attached to.
By understanding the anchor type and using appropriate tools, you can successfully remove and replace screws as needed. Good luck with your project!