
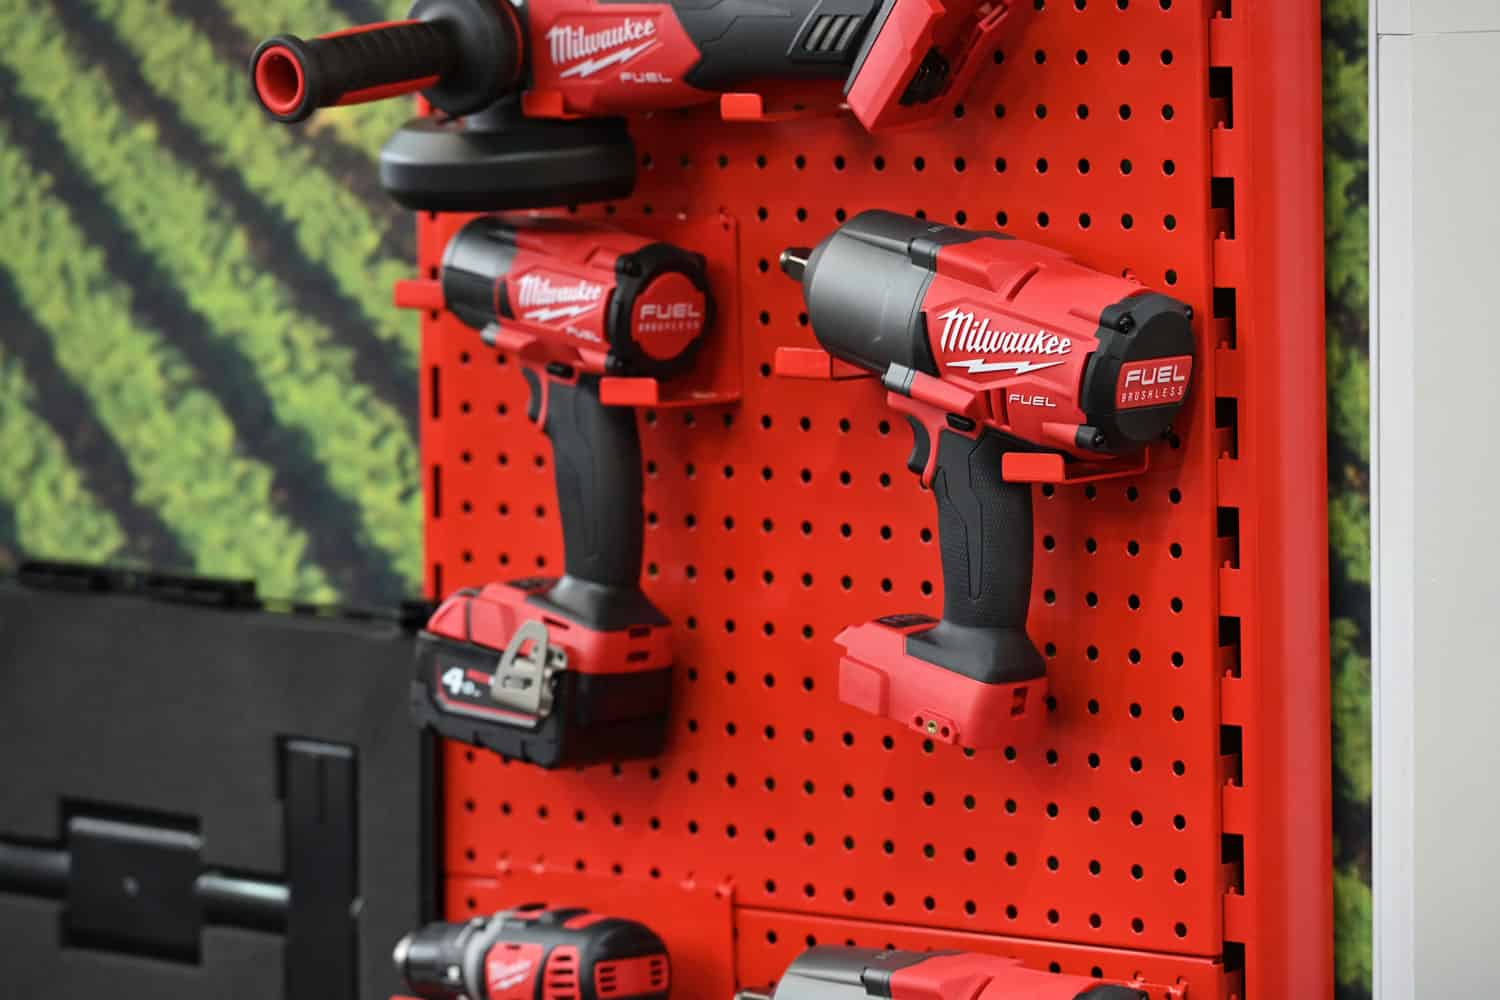
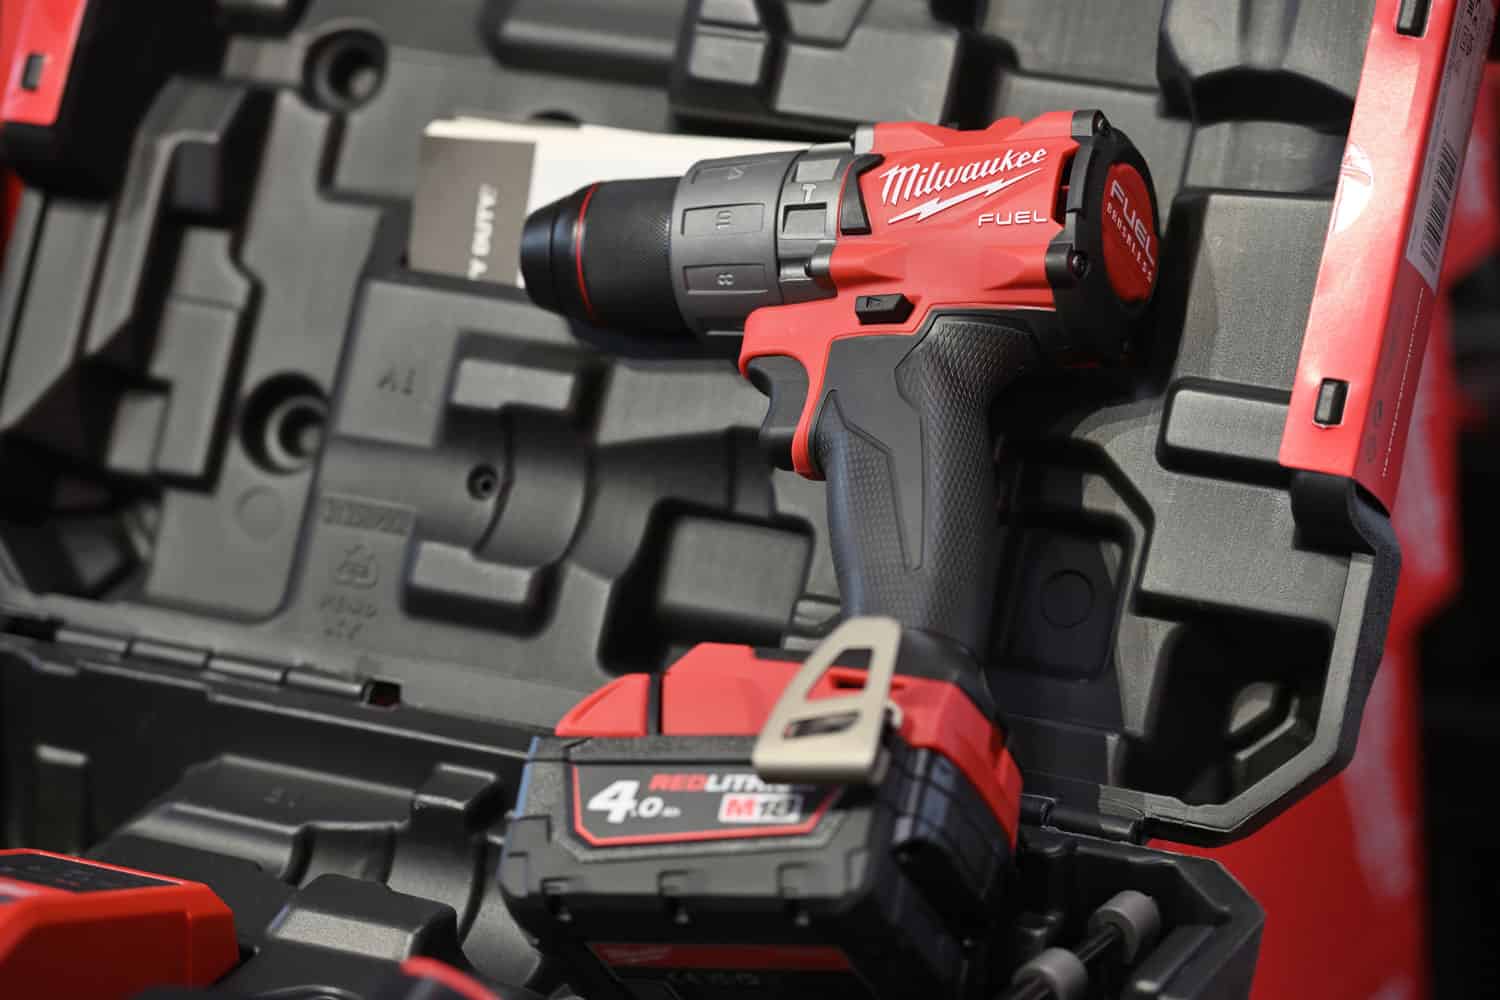
Milwaukee M18 cordless drills are known for their durability and reliability, but even the best tools need maintenance.
Removing the battery is essential to drill maintenance, as it allows you to replace it when it becomes old or damaged.
In this article, we'll show you how to remove a Milwaukee M18 battery quickly and easily without causing any damage to your drill.
So, let's get started!
When Should I Remove Milwaukee Battery M18?
Removing the Milwaukee Battery M18 can be done for a variety of reasons. Here are some common situations where you might need to remove the battery:
- Battery replacement: If your battery is dead or not holding a charge, you must remove it and replace it with a new one.
- Transportation: If you need to transport your tool, it is recommended to remove the battery to prevent any accidental activation.
- Storage: When storing your tool for an extended period, it is recommended to remove the battery to prevent corrosion.
- Maintenance: If you need to perform maintenance on your tool, you may need to remove the battery to access certain parts.
- Signs of damage: This can include cracks, leaks, or bulging. Using a damaged battery can be dangerous and may cause injury.
How To Remove A Milwaukee Battery M18
If you need to remove the Milwaukee Battery M18 from your power tool, follow these simple steps:
Step 1: Find The Release Button
First, locate the release button on the battery pack. The release button is usually on the back of the battery, near the bottom.
It's a triangular red button that you can press to release the battery from the tool.
Step 2: Push The Release Button
Once you have located the release button, press it with your thumb or finger. This will release the battery from the tool.
You may need to apply some pressure to the release button to get the battery to release.
Step 3: Carefully Slide The Battery Out
With the release button pressed, carefully slide the battery out of the tool. Be sure to hold onto the battery securely as you slide it out to avoid dropping it.
Step 4: Inspect The Battery
Once you have removed the battery from the tool, inspect it for any damage or wear.
Check the contacts on the battery and the tool to ensure they are clean and free of debris.
Step 5: Reset Or Replace The Battery
If your battery is not working properly, you may need to reset it.
To reset the battery, remove it from the tool and let it sit for a few minutes before reinserting it.
If the battery still does not work, you may need to replace it with a new one.
Also worth the read: How To Use Milwaukee Hole Dozer?
Safety Measures When Removing The Milwaukee Battery M18
When removing the Milwaukee Battery M18, it's important to take the necessary safety measures to avoid accidents.
Here are some to keep in mind:
- Always turn off your Milwaukee tool before removing the battery. This will prevent any accidental activation while you're handling the battery.
- Make sure your hands are dry before handling the battery.
- Use both hands to remove the battery. This will help you maintain a firm grip on the battery and prevent it from slipping out of your hands.
- Avoid dropping the battery. Dropping the battery can damage it and potentially cause it to leak or malfunction.
- Store the battery in a cool, dry place. Extreme temperatures or moisture can damage the battery and shorten its lifespan.
Milwaukee M18 Battery Maintenance Tips
To ensure that your Milwaukee M18 battery lasts as long as possible, it's important to take good care of it.
Follow these tips to keep your battery in top condition:
- Store your battery properly: Avoid leaving it in direct sunlight or a place that gets too hot or cold, as extreme temperatures can damage it.
- Clean your battery regularly: To clean your battery, use a soft, dry cloth to wipe away any dirt or debris.
- Charge your battery regularly: If you don't use it for an extended period, set it at least once every six months.
- Use the right charger: When charging your Milwaukee M18 battery, make sure to use the charger that came with the battery.
- Replace your battery when necessary: If your Milwaukee M18 battery is no longer holding a charge like it used to, it may be time to replace it.
You might also like: How To Tell The Age Of A Milwaukee Tool?
Can I Use M18 With M12 Tools?
The short answer is no. While M12 batteries can be used with M18 tools, M18 batteries are not compatible with M12 tools.
This is because the M18 battery is physically larger than the M12 battery, and the M12 tool is not designed to accommodate the larger battery.
If you try to use an M18 battery with an M12 tool, you may damage the tool, the battery, or both.
It's important always to use the correct battery for your tool to ensure optimal performance and avoid any potential safety hazards.
That said, if you have both M12 and M18 tools, you can still use the same charger for both batteries.
Milwaukee offers a multi-voltage charger compatible with M12 and M18 batteries, so you can charge them both with the same charger.
Want your own multi-voltage charger? Click the link below.

See the M18 and M12 Multi-Voltage Charger on Amazon.
What Is The Warranty Period For Battery M18?
The MILWAUKEE M18 with serial numbers B41D, A95, and A71 are warranted for five (5) years from the date of purchase.
The first two (2) years of the warranty are covered through the free replacement of a defective battery.
If you experience any issues with your battery within the first two years of use, Milwaukee Tool will send you a replacement battery free of charge.
After the first two years, the remaining three years of the warranty period are pro-rated.
You can find more information on your specific model's warranty by following this page.
Related article: How To Read A Milwaukee Serial Number?
How Do I Charge M18 Without Charger?
There are several ways to charge your battery without a charger.
One option is a universal battery charger or adapter providing 18-20V DC output.
This method is safe and effective, but ensuring the charger or adapter is compatible with your battery is essential.
Another option is to use an 18-20V laptop charger; just ensure it has the same voltage output.
You can also try using a variable DC voltage adapter that can provide an 18V DC output as long as the adapter is compatible with your battery.
It's important to note that using other chargers may cause personal injury or damage to your battery.
Always use a safe and appropriate charging method for your Milwaukee M18 battery.
Wrapping It All Up
Removing a Milwaukee M18 battery is a simple process that requires a little practice.
With these tips in mind, you should be able to remove the battery quickly and easily every time.
Remember always to use both hands when removing the battery. This will ensure that it doesn't accidentally fall out and get damaged.
If you're still having trouble removing the battery, consider using a pair of pliers to squeeze the tabs.
Just be careful not to apply too much pressure, which can damage the battery.