
Have you ever been working in a dark and dangerous area and wished you had an extra layer of illumination? Adding a Milwaukee light to your hard hat is the perfect solution! We've put together everything you need to do to install a Milwaukee light on your hard hat.
Not only will a Milwaukee light provide greater visibility, but it also offers added protection from potential oncoming hazards. Follow this guide on how you can enjoy your light on your hard hat:
- Choose a Hard Hat
- Install a Light Strap
- Put the Milwaukee Light on the Bracket
- Attach the Bracket to the Hard Hat
- Secure the Screws
- Connect the Wiring
- Enjoy the Milwaukee Light on Your Hard Hat
This step-by-step guide will walk you through exactly how to mount your new Milwaukee light for optimal brightness, whether you are on a construction site or in the garage. Read on to learn more about powering up with lighting solutions that fit right onto your headgear.
How Do I Put a Milwaukee Light on a Hard Hat?
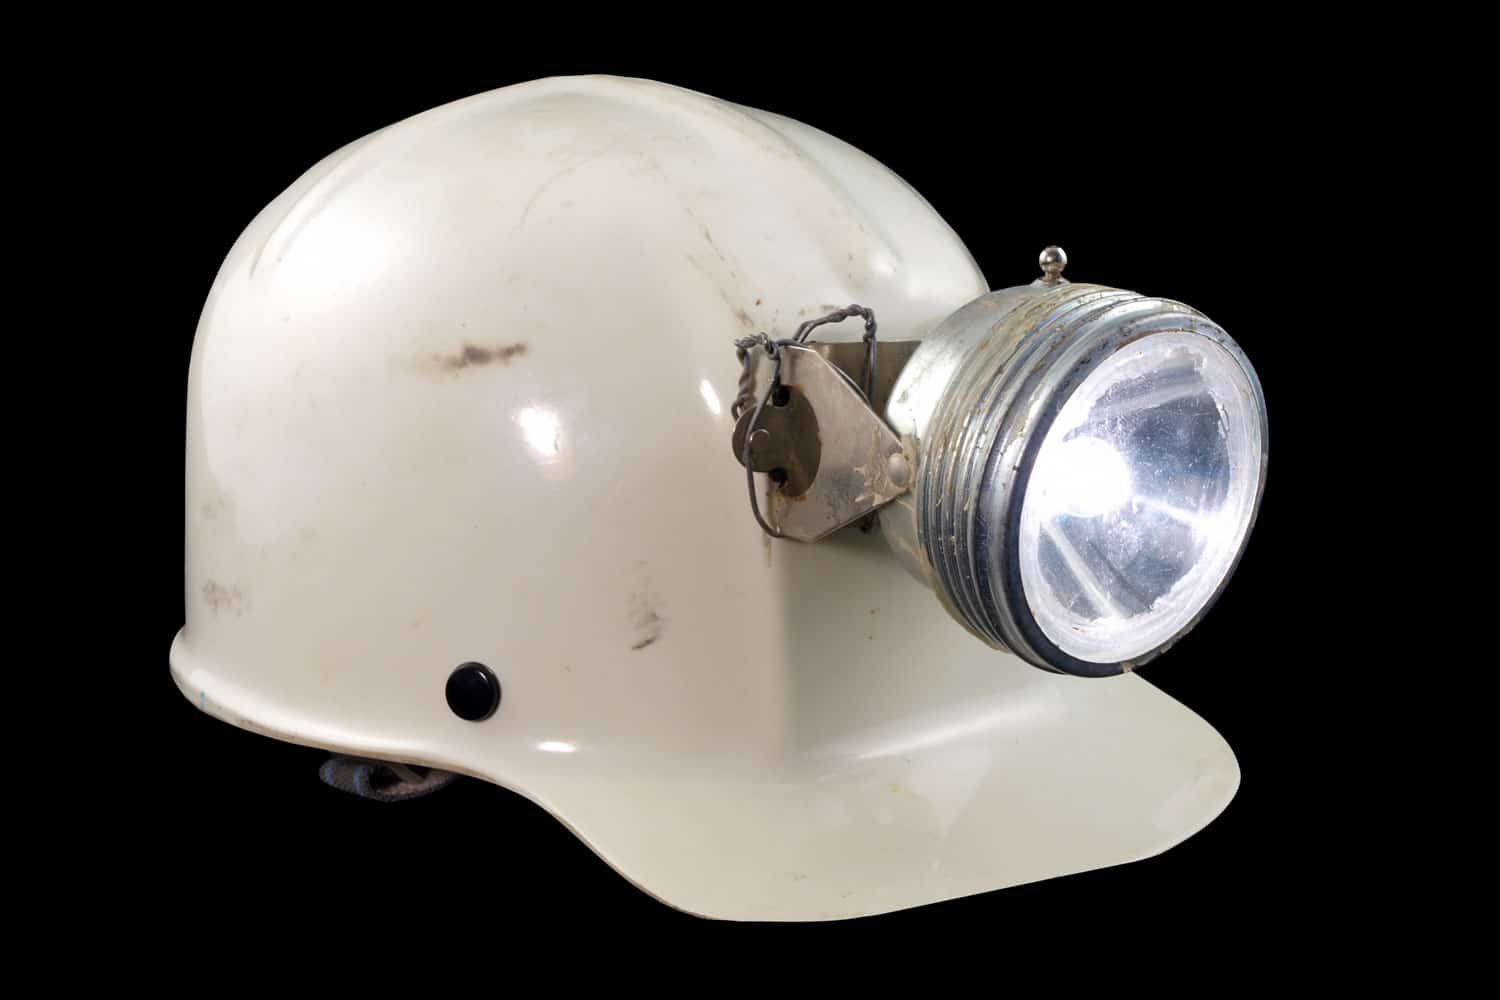
1. Choose a Hard Hat
Begin by choosing a hard hat that is compatible with the Milwaukee Light. This can be done by checking for any labels or markings indicating compatibility.
Additionally, hard hats designed for construction and industrial applications will usually be compatible. Still, it is a good idea to check if the manufacturer has certified the product for this purpose.
If you have a Milwaukee brand hard hat, it is more likely to be compatible with their light. However, other brands are also often compatible.

Click here to see this Milwaukee front-brim hard hat on Amazon
2. Install a Light Strap
After selecting the right hard hat, you can now prepare it by attaching the light strap to one side of the hard hat using the provided screws or fasteners. This usually depends on the type of strap used.
Ensure all connections are tight and secure before attaching the Milwaukee light itself.
3. Put the Milwaukee Light on the Bracket
Next, place the Milwaukee light onto its mounting bracket. Make sure it is securely in place and will not move during usage.
Depending on the model of your hard hat, this may require inserting two screws into small holes in either side of the brackets or simply slipping a plastic tab into place at one end of it.
4. Attach the Bracket to the Hard Hat
Place the mounting bracket on the top of your hard hat. Check that it is in an area where it will not interfere with any other equipment or obstruction while in use.
It is often best to attach this at a slight angle to you so you can see what you are doing while working in low-light conditions.
5. Secure the Screws
Now that you have attached the bracket to the hard hat, you can secure it properly using two screws. These will get into the small holes in either side of its base plate for stability.
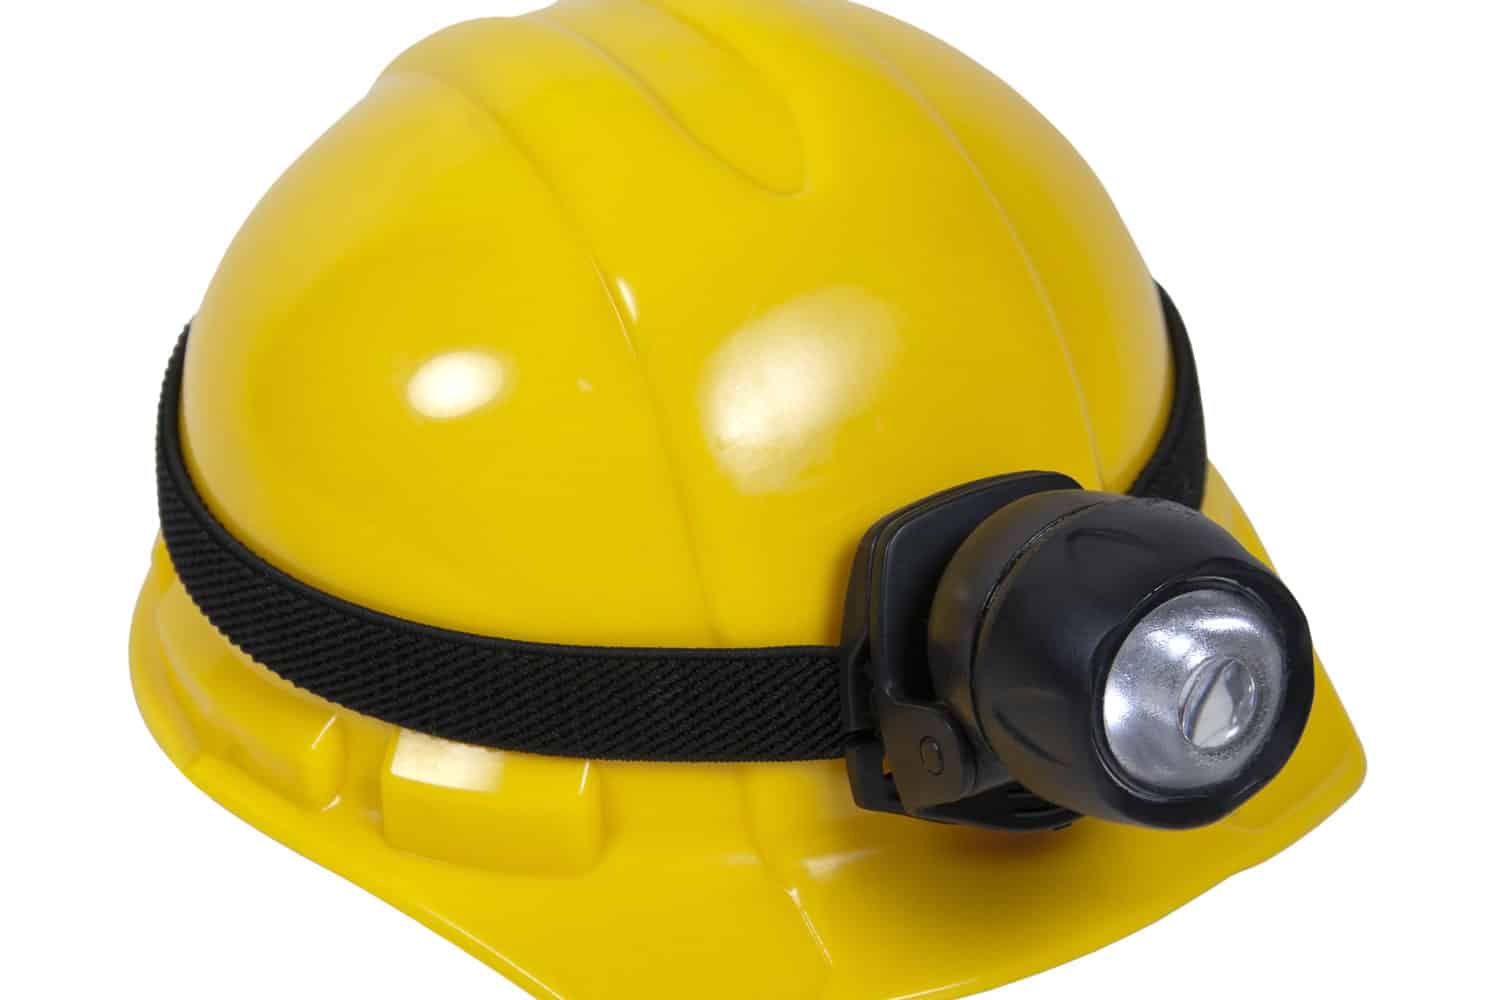
Some hard hats do not need any screws to install your light. This is often the case with Milwaukee brand hard hats. You'll simply be able to attach the light on a removable mount with a strap, like in the video below.
It is necessary to ensure that everything is tight and secure before finally turning on the light and testing it out. Try moving it around slightly to ensure that nothing comes loose during the operation.
6. Connect the Wiring
Connect any necessary power cables from your Milwaukee light to an appropriate power source. This includes your battery pack.
Follow manufacturer instructions carefully if you need to remove the light or simply attach them to the plugs without any hassle.
You can simply plug it into your USB cable in any port, including an AC wall adaptor, carport, or computer. As long as there is a power source, you can always let it recharge there.
7. Enjoy the Milwaukee Light on Your Hard Hat
Finally, turn on your Milwaukee light and test for functionality. You should now have a reliable lighting solution attached firmly to your hard hat.
Hopefully, this setup will allow you to work properly in low-light areas without compromising your safety and comfort.
Other Ways to Attach a Milwaukee Light on Your Hard Hat

You can use screws or bolts, readily available at any hardware store. This method requires the user to drill holes into the hard hat and then secure the headlamp with screws or bolts.
Yet, if you do not have access to tools and are looking for a less time-consuming way, these are the alternative to try:
1. Velcro Strap
An alternative way of securing a Milwaukee light headlamp onto a hard hat is with velcro straps. You can get these from most hardware stores.
These materials offer flexibility as you try to adjust them while positioning the light source on your helmet.
2. Magnets
Attaching magnets directly onto your helmet and then affixing metal plats on either side of your Milwaukee light headlamps can provide a secure attachment point without any additional tools or materials.
You can secure everything with adhesive tape or super glue to attach magnets properly.
3. Headbands
Another way safe way to mount a light on your hard hat or helmet is through a headband strap. You can simply pull it over the hard hat, then adjust it to fit snugly so it won't move or slip.
4. Removable Clips

Using removable clips designed specifically for mounting flashlights on helmets is another excellent option for mounting Milwaukee light headlamps on your hard hats. These clips come in various sizes, so you should be able to find one for any size.
What are the Benefits of Using a Milwaukee Light on a Hard Hat?

1. Improved Safety
Using a Milwaukee light on your hard hat provides you with improved safety in dark, low-visibility environments. The bright LED lighting comes from the Milwaukee light and can provide enough light to see clearly when working in dark spaces.
You will be able to work in low-light conditions more effectively and, most importantly, safely.
2. Increased Mobility
As opposed to large and heavy flashlights, the Milwaukee light is lightweight and sits directly on top of your hard hat. This means that your hands will be free for carrying your tools and working.
3. Durability
Milwaukee lights are designed to be durable and withstand outdoor conditions. Its rigid rubber construction also helps protect against impact if it falls or bumps against something.
4. Battery Life
One of the great features of the Milwaukee light is its impressive battery life. It can last up to 28 hours before requiring a recharge!
This gives you more time out in the working area without having to worry about running out of power midway through the job.

Get this hard hat light on Amazon.
How to Know When the Milwaukee Light Needs to Be Replaced

The right time to replace the Milwaukee light depends on a few key factors.
First, you should pay attention to any flickering or dimming of the light. This can indicate that the bulb is about to burn out and needs to be replaced.
Additionally, you should regularly check for signs of damage, such as cracking in the glass or discoloration of the filament inside the bulb.
Besides that, you should also check how long your Milwaukee light has been in use.
Generally speaking, LED bulbs have a lifespan of 50,000 hours or more. So, if your light has been in use for this length of time or longer, it may be time for a replacement.
Finally, keep an eye out for any changes in color or temperature, which might indicate that the bulb is nearing the end of its life span.
If there is a noticeable difference between what was once a bright Milwaukee light and what it is now, you can recheck it. Yellowish white or pinkish white may be an indication that it is time to replace them.
What are Some of the Best Milwaukee Light Tips and Tricks?
Maintaining your Milwaukee light on your hard work is critical to having a safe and productive working environment. To ensure your light remains in optimal condition, you should follow these steps:
1. Keep Batteries Fully-Charged
Make sure the battery in your Milwaukee light is fully charged before each use. This guarantees that your light will have sufficient power to last through the workday and provide optimal performance.
2. Secure Light Appropriately
When installing the Milwaukee light onto the hard hat, ensure it is secured tightly and locked firmly. So it will not fall off during activity or movement.
3. Double-Check the Light Regularly
Inspect the light periodically for any signs of wear and tear or damage. If you notice any issues that could interfere with its function, replace it as soon as possible to avoid other safety hazards while on the working site.
4. Clean Light Lens
Clean both lens and body of your light regularly with a cloth dampened with a mild detergent solution. This will help to remove any dirt and dust buildup that could reduce visibility or cause damage over time if left uncleaned.
5. Store Properly
Store your Milwaukee light safely when not in use by placing it in a dry area away from direct sunlight. Find a place where temperatures remain consistent, preserving its performance and longevity.
6. Keep Batteries in Tact

See Milwaukee light battery charger kit on Amazon.
Replace batteries regularly, as they can lose their charge over time even if not in use. This could result in decreased visibility due to a lack of power.
Charge it for 30 minutes to get a 50% charge or up to 2 hours for a full battery charge.
Final Words
Installing a Milwaukee light headlamp to your hard hat is simple. You can do it as your DIY project at home or ask someone to do it for you. Nevertheless, there are available items in the nearest stores to help you attach them securely.
To get more tips on keeping your personal working items in their best condition, see our posts below: