
Changing a drill bit on your Milwaukee M18 can seem daunting, but it's quite simple once you know the steps.
Whether you're a seasoned DIYer or a beginner, this step-by-step guide will show you how to change a drill bit on your Milwaukee M18 in no time.
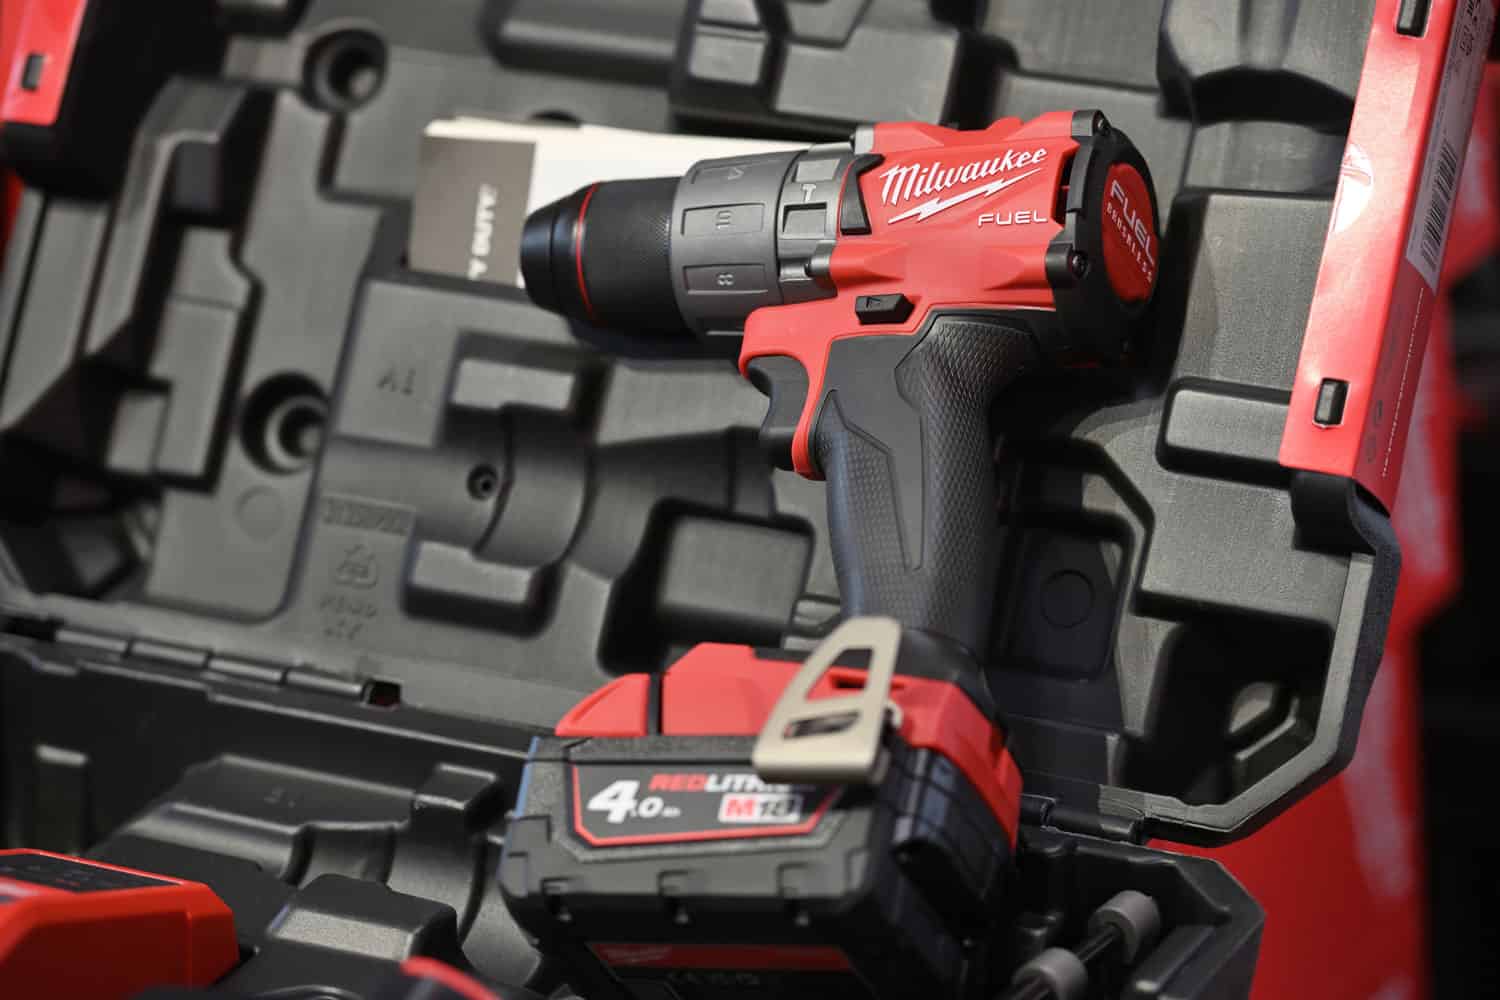
Milwaukee M18 Components
Before we dive into how to change a drill bit on the Milwaukee M18, let's first take a quick look at the components of this power drill.
The Milwaukee M18 is a cordless power drill that comes with several key components.
See the Milwaukee M18 on Amazon.
These include:
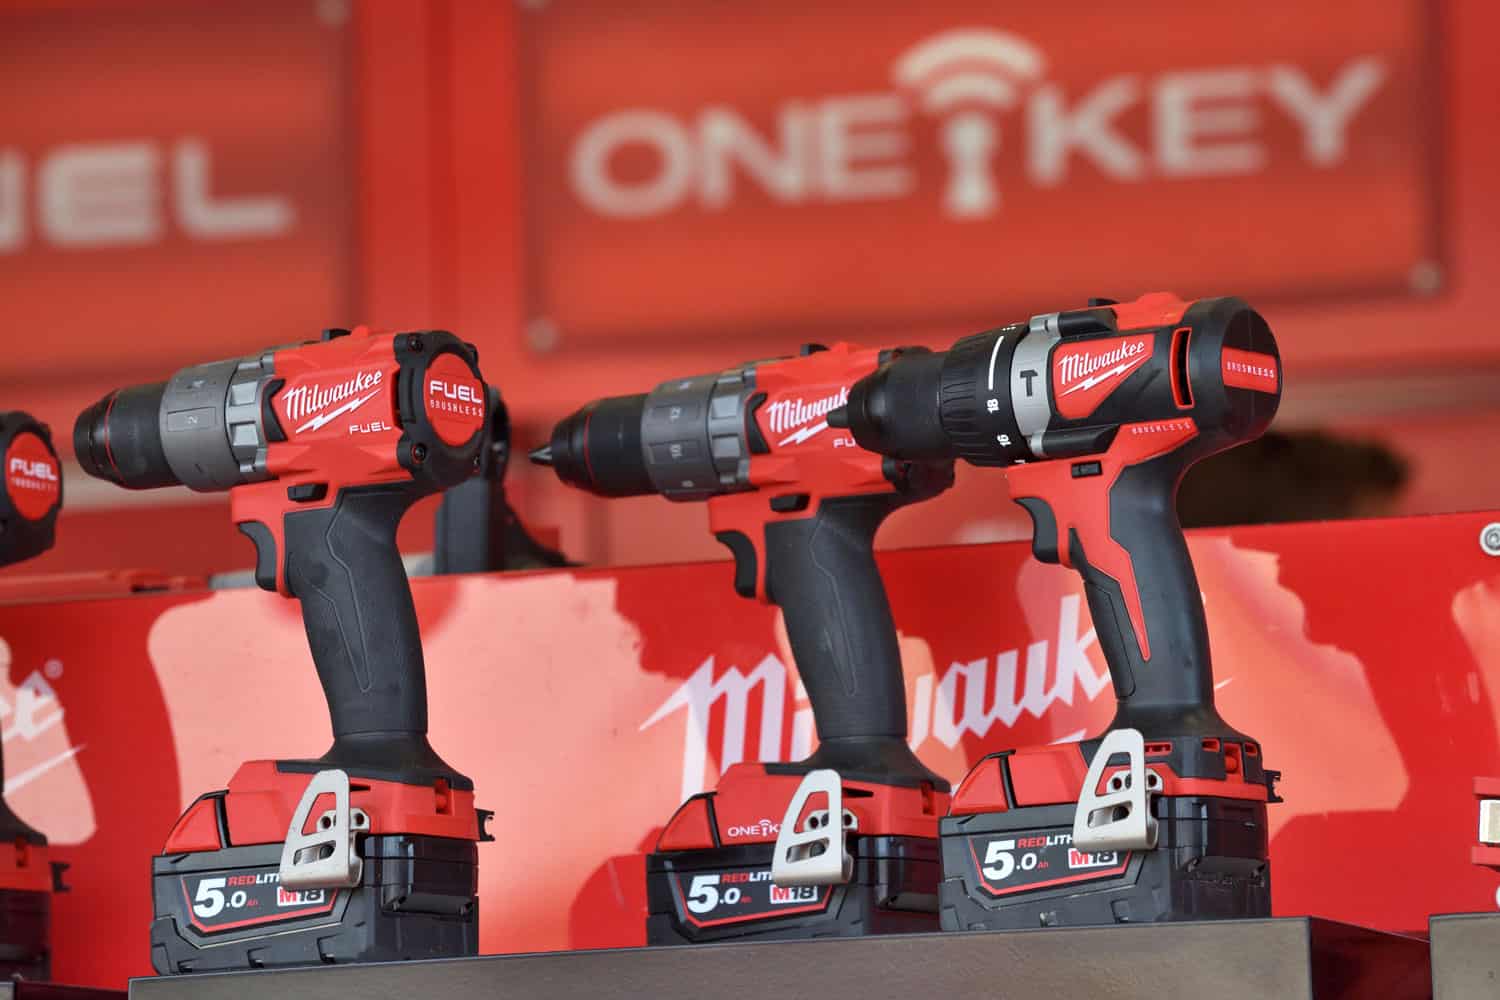
- The drill body: This is the main body of the drill and houses the motor and battery.
- The battery: The Milwaukee M18 uses an 18-volt lithium-ion battery that provides long-lasting power and runtime.
- The chuck: The M18 uses a 1/2-inch metal ratcheting chuck that securely holds the drill bit.
- The speed selector: The speed selector enables precise speed adjustments to suit specific tasks, ranging from 0 to 2,100 RPM.
- The torque selector: The torque selector allows you to adjust the torque the drill applies to the workpiece.
When Should You Consider Changing Your Drill Bit?
Knowing when to change your drill bit is essential to ensure that your drilling project goes smoothly.
Here are some signs that you should consider changing your drill bit:
Dull Or Worn-Out Drill Bit
Over time, drill bits can become dull or worn out due to frequent use.
If you notice that your drill bit is not cutting through the material as easily as it used to, it may be time to change it.
Broken Or Damaged Drill Bit
If your drill bit is broken or damaged, it's time to replace it. Using a damaged drill bit can cause serious injury and damage to your drill.
Wrong Type Of Drill Bit
If you're not using the right type of drill bit for the material you're drilling into, it can cause the bit to wear out quickly or even break.
Make sure you're using the correct drill bit for the material you're working with.
You're Not Getting The Desired Results
If you're not getting the results you want, it may be time to change your drill bit.
For example, if you're trying to make a clean hole but the bit leaves jagged edges, switching to a different one may be time.
How To Change A Drill Bit On Milwaukee M18
Ready to switch out your drill bit on the Milwaukee M18? Here are the steps to follow!
Step 1: Safety First
Before starting, always remove the battery. This prevents accidental drill activation, ensuring safety during the bit-changing process.
Related article: How To Easily Remove A Milwaukee Battery M18
Step 2: Choose The Right Bit
Make sure to select the appropriate style and size of the bit for your task. The right bit ensures efficiency and prolongs the drill's and the bit's life.
Step 3: Removing The Old Drill Bit
The Milwaukee M18 drill has a keyless chuck. This makes things easy.
To take out the bit, just hold the chuck with one hand and turn the sleeve counter-clockwise.
After loosening the chuck, pull the old drill bit straight out to remove it.
Step 4: Install The New Drill Bit
You should first allow the bit to touch the chuck's bottom.
Once it's in contact, center the bit within the chuck jaws. From there, slightly elevate the bit, raising it about 1/16" from the base.
On the other hand, when using screwdriver bits, you need to insert the bit deep enough.
Doing so ensures that the chuck jaws get a firm grip on the hex of the bit, preventing any potential slippage during operation.
Step 5: Securing The Bit
Rotate the sleeve clockwise to close the chuck jaws.
You'll know the bit is firmly in place when you hear a ratcheting sound and the sleeve doesn't rotate further.
Step 6: Test The Drill Bit
Test the drill bit to ensure it's secure by turning on the drill and running it for a few seconds.
If the bit wobbles or feels loose, repeat steps 4-5 to tighten it further.
Precautions To Take When Changing The Drill Bit
When changing the drill bit on your Milwaukee M18, it is important to take certain precautions to prevent accidents and ensure the process is smooth.
Here are some precautions you should take when changing the drill bit:
- Turn off the drill: Before changing the drill bit, ensure your drill is turned off. This will prevent any accidents from happening.
- Remove the battery: Make sure to remove the battery pack to prevent the drill from accidentally turning on while changing the bit.
- Wear gloves: It is a good idea to wear gloves when changing the drill bit. This will protect your hands from any sharp edges from the bit or chuck.
- Use the correct size bit: Using the wrong size bit can cause damage to your drill or the material you are working on.
- Secure the chuck: Make sure to secure the chuck tightly to avoid the bit from slipping or falling out while using the drill.
How To Test The New Drill Bit's Performance And Safety
After changing the drill bit on your Milwaukee M18, it is important to test the new drill bit's performance and safety to ensure it works correctly.
Here are some steps you can take to test the new drill bit:
1. Test The Drill Bit's Grip
Make sure the drill bit is securely fastened in the chuck by giving it a gentle tug. If the drill bit slips, tighten the chuck before using the drill.
2. Test The Drill Bit's Performance
Test the drill bit's performance by drilling a small hole in a scrap piece of material.
If the drill bit works correctly, it should create a clean and precise hole without wobbling or deviation from the intended angle.
3. Check The Material For Any Damage:
After drilling the hole, inspect the material for any signs of damage or cracking.
If you notice any, stop using the drill and re-evaluate the drilling process.
Also worth the read: How To Use Milwaukee Hole Dozer
Final Thoughts
You now know how to change a drill bit on a Milwaukee M18 drill.
With this skill, you can confidently take on any DIY project or home improvement task.
Always follow safety guidelines when handling power tools, and never force a drill bit into a too-small chuck.
If you encounter any issues while changing your drill bit, refer to this guide or consult the manufacturer's manual.
With practice, you'll be able to quickly and easily change your drill.