
Nail guns are fast and convenient. They let you complete a task much quicker than hand nailing. Plus, hand nailing trim can lead to scuffs and scrapes from a missed hammer strike - a problem that nail guns mostly avoid. So it's understandable to be curious whether or not you can use a brad nailer for baseboards. For your convenience, we brought you the answer.
You can use a brad nailer for baseboards, though in some cases, a finishing nailer may actually be better. Using either kind of nail gun usually gives better results than hand nailing.
- It helps nails go in straight, without bending.
- A nailer countersinks the nails well into the surface with ease, avoiding nail heads that stick out and look unsightly.
- It doesn't accidentally bash or mar the trim as a hammer can.
- It's fast! Hand nailing lots of trim is tedious and time-consuming, and most people find a nail gun is much easier.
Read on to learn more - this article will explain the necessary tools and the steps for nailing baseboards with a nail gun. It covers what size nails to use, and how long they should be. We'll cover the difference between finishing nailers and brad nailers, and help you decide which one is best for your project. Finally, we'll cover whether or not you can skip the nails and just use glue instead. Let's get into it!

The Best Nails For Baseboards
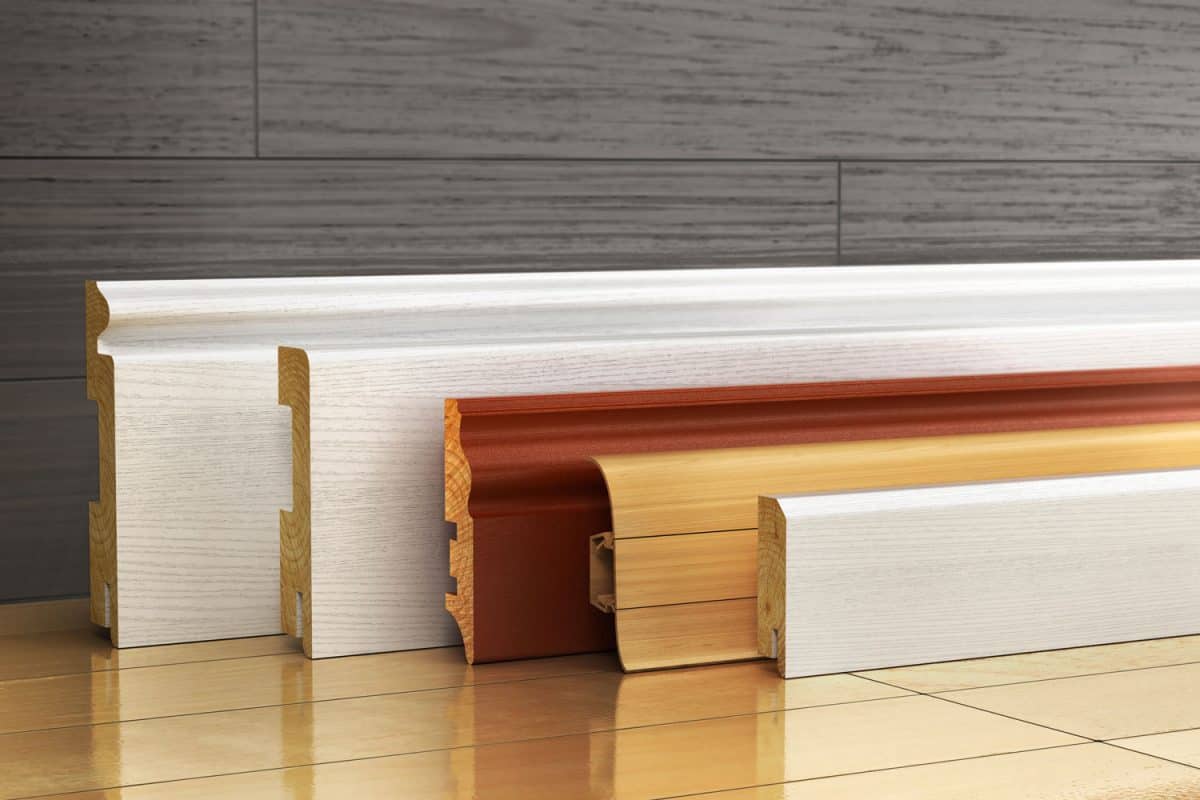
Depending on the specifics, either a brad nailer or a finishing nailer can be the appropriate choice for baseboards.
Brad nails are smaller and thinner. This makes them ideal for the very delicate pieces of trim that go with baseboards, like shoe molding. If you have any concerns that your material might crack or split from the force of nails, use brad nails.
For thicker, larger "standard" baseboards, finishing nails are a better choice. They're thicker and offer a better hold. Traditional baseboards are often 7 inches or wider, so that extra grip can be essential.
How Do You Nail Baseboards With A Nail Gun?
Using a nail gun is a fast, efficient, and easy way to install baseboards. It's much quicker than trying to put in each nail by hand.
You will need the baseboards, nails, and nail gun, of course. Other tools needed include a tape measure, a marking pencil, wood glue, and a coping saw. For finishing, use wood filler, a putty knife, fine-grit sandpaper, and caulk. Be sure to also use safety equipment like protective eyewear and gloves.
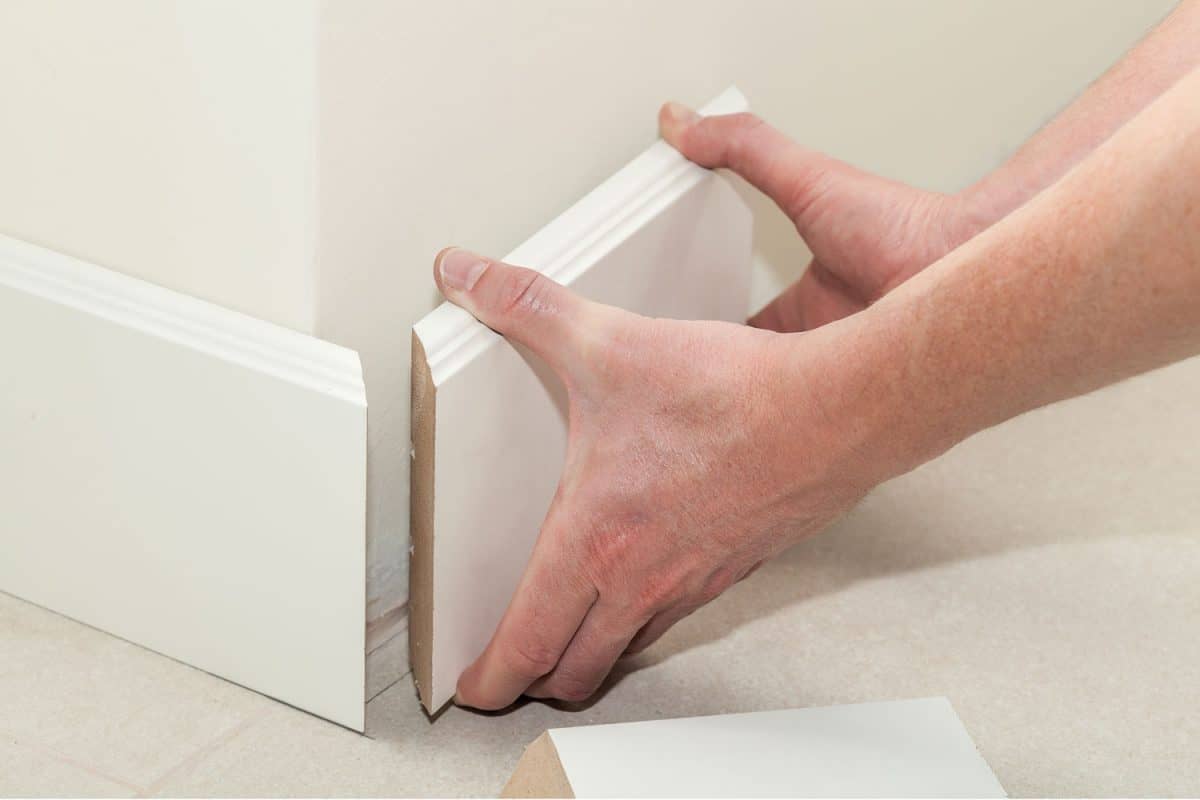
Measuring And Fitting The Baseboard
Measure the wall against the baseboard, to be sure it will fit. If the baseboard needs cut, use the coping saw to get the right length. Make it a 90-degree cut.
If it is too short, measure two pieces of baseboard to cover the wall. Cut the ends so that they meet at 45-degree angles, making a joint. Measure the baseboard lengths to ensure that the joint occurs at a stud.
Nailing It Down
The first step in the nailing process is optional. If you are concerned that the nails might damage the baseboard, you can predrill the holes. This isn't always necessary but does prevent the wood from splitting. Baseboards that are very thin or delicate are more prone to this problem.
Adding glue to the back of the baseboard can make the task easier. This helps hold the baseboard in place while you nail. Use a scrap piece of wood to push the baseboard firmly against the wall.

Click here to see this Loctite glue on Amazon.
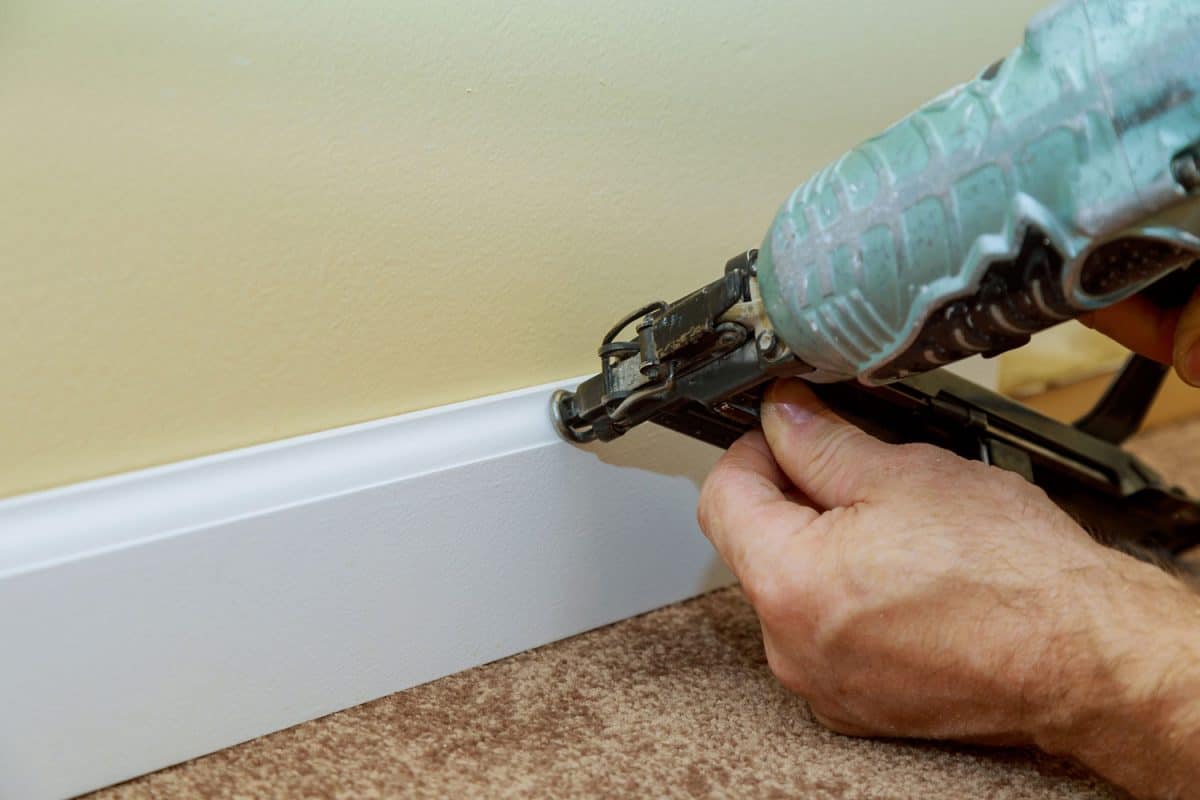
Now, finally onto the actual nailing. Put a nail on either side of the baseboard (preferably in a stud), which helps to keep it in place. Then continue adding nails along the length of the baseboard. Try to put a nail at each stud, roughly every 16 inches - see How Far Apart Should Brad Nails Be? for help finding studs.
Finishing
Use wood filler to patch in the joints where baseboards meet. You can also use wood filler to patch any holes left by the nail heads. Use a putty knife to scrape any raised material left by the nail. Be very gentle so you don't scrape the trim.
Click here to see this wood filler on Amazon.
Next add the filler, scraping it smooth with the putty knife. Wipe the excess away with a damp cloth and let it dry for several hours. Use caulk to fill in the space where the baseboard meets the wall as well.
Then use fine-grit sandpaper, something between 120 and 220, to get it smooth and level. Wipe all the surfaces with a damp cloth to remove any dust before painting.
Need more help? See: How To Hide Brad Nail Holes [4 Basic Steps To Follow]
What Size Nails Should I Use For Baseboards?
The best nail length for baseboards is usually about 2 inches. In most cases, anything longer is too much. Obviously, going too short is also a problem as you don't have enough grip on the studs.
To be more specific, the rule of thumb for brad nails is to use a nail 3x the length of whatever you are nailing. For example, if your trim is only half an inch thick, you can use a 1 and 1/2 inch nail. Thicker trim obviously benefits from a longer nail. This makes sure your nail is long enough to get through the surface and be securely in the wood underneath.
You don't necessarily have to use brad nails though. Finishing nails are appropriate for baseboards as well. Anything 15 gauge or higher can work. The smaller the gauge, the bigger the nail.
Don't use large "common" nails, as they're too big. They tend to split smaller wood, like baseboards. They also leave behind large, unattractive nail holes that need lots of patching.
Is It Okay To Glue Baseboards?
You may have noticed that gluing baseboards is listed as one of the steps in placing baseboards. As a result, it might be natural to wonder - can you just skip the nails altogether? Won't wood glue keep the baseboard in place?
Probably not, as glue alone just isn't sturdy enough. If you have contemporary decor with a very narrow baseboard, glue might work. It also is useful sometimes for small trim like quarter-round molding. Some people do prefer glue since you can skip all the hassle of filling and sanding nail holes that way.
But glue doesn't offer anywhere near the permanent hold that nails do. If you are trying to attach a large section of baseboard, the glue probably isn't able to keep it up for long. And keep in mind that baseboards can be heavy, made of anything from light pine to more hefty materials.
Of course, the traffic and use of the room should be considered as well. Not all glue can hold up in humid, damp areas like the bathroom. In high traffic areas, even the smallest trim needs nails in addition to glue - too many kicks and bumps will eventually knock it out of place.
In Closing

You can use a brad nailer to attach baseboards to the wall, though sometimes a finishing nailer might be best. Brad nails are smaller and thinner, ideal for delicate pieces of trim. Finish nails are thicker and have a stronger grip, typically the better choice for tall and long pieces of a baseboard.
Using glue before nails can help keep the baseboard secure. Generally, you can't use just glue alone, however - the glue isn't durable enough to keep most baseboards up for a long period of time. Nails are still essential to keep a good, tight fit between the baseboard and the wall.