
If you're using a nail gun to set brad nails, it can be easy to get carried away! It's so fast and fun, shooting nails, that before you know it, you've got nails everywhere. So, before you go overboard, how far apart should brad nails be? For your convenience, we've brought you the answer.
How far apart brad nails should depend on the project. If you're sinking nails into a wall, use a stud finder to determine the distance between studs. Then, place brad nails that same distance, hitting every stud.
For other projects, where spacing is more random, putting nails every 12 inches should be sufficient. Because brad nails are so light and thin, there's less risk of damaging wood by over-nailing. For this reason, it's also safe to put nails as close as a half-inch to the ends of the wood.
Continue reading to learn more about using brad nails. This article will cover the difference between brad nails and finishing nails. Then, we'll explain everything you need to know about brad nails - when to use them, how to pick the right size, and even how to set them.

How To Space Brad Nails
The project you're using brad nails for will factor into just how far apart they should be. Any time that you're nailing into a wall, it's best to sink as many nails as you can into the studs. It offers better strength and grip - a brad nail placed into drywall is likely to pop right back out sooner or later.
Use a stud finder to determine the distance between two studs. You might also be able to tell by knocking on the wall - it will sound hollow between studs and have a more muffled or "solid" sound where the stud is. According to current building codes, they should be 16 or 24 inches apart (though older homes may be less reliable).
Once you know the distance between studs, you can place a brad nail that same distance across the wall. You should be able to hit a stud regularly with each nail.
Since brad nails are so thin, they can be used for many woodworking projects as well. If your project is a bit finer, you may have to guess a bit at the proper spacing. Every 12 inches should be sufficient - or less if your project doesn't require a lot of strength and stability. While you don't want to over-nail, brad nails have a small head that tends to blend in, and they're less likely to split the wood than other nails.
No matter what your project is, take another look once you've set the nails. You can always go back and add a few if the surface seems uneven or pulls up in the middle. And because of the small diameter of brad nails, it's safe to get close to the edge of the wood - as close as a 1/2 inch.
Is A Brad Nail A Finish Nail?
Brad nails are made of steel wire and are slender, usually 18-gauge in diameter. Because of their thinner size and small head, they're perfect for places where you want to "hide" the nail and leave behind a smaller hole. They also work well on delicate surfaces, where a thicker nail is likely to split the material.
Finish nails, on the other hand, are a bit wider in diameter. The experts at Home Depot note that this makes them sturdy, giving a strong grip on thicker materials. They leave behind a wider hole that may need to be patched to ensure your surface looks smooth when you're finished.
Can You Use Brad Nails For Plywood?
Brad nails are perfectly acceptable to use for plywood. The correct nail depends on the job - there's a difference between plywood for paneling and plywood in a subfloor, for example.
When you need a strong, sturdy grip on a thick sheet of plywood, brad nails may not be the best choice. But when you're using thin plywood to cover or frame an exterior surface, the right brad nails will blend in for a more seamless look. It's also the right choice if you're worried that a thick nail might split the wood - such as with a small piece of trim.

How Deep Should A Brad Nail Be?
According to Rapid Tools, there's a simple rule of thumb to determine just how deep a brad nail should be. Multiply the thickness of the surface you are nailing by 3. For example, if you're nailing through a half-inch piece of trim, the brad nail should be 1 1/2 inches.
This is ideal when you're nailing into a pretty thick surface - for example, placing trim against a 2x4 board. If you're doing something more delicate, such as joining small pieces of wood for a birdhouse, stick to a nail that's only double the size of your surface.
How Long Should Brad Nails Be?
Brad nails range from 1/2 inch to 2 inches in length. It's important to always pick a brad nail at least three times as long as the material you are nailing to ensure it holds together. But it's also important not to go too large - the bigger the nail, the greater chance of splitting the wood.
What Is The Most Common Brad Nail Size?
For many projects, 1 1/4 inch or 1 1/2 inch brad nails are sufficient. While brad nails do come as small as 1/2 inch, it's not very often that you'll be working with material thin enough to use them. Keep in mind; the nail needs to go far enough into the top and bottom material to provide "grip" and stay secure.
On the other hand, since brad nails are often used for thin and delicate wood, it's also less common to go as large as 2-inch nails. Larger nails can be overkill - if it's too much for the wood, it can be damaged or even split. Generally, plywood would have to be a fairly chunky 3/4 inch to warrant such a large nail.
How Do You Set Brad Nails?
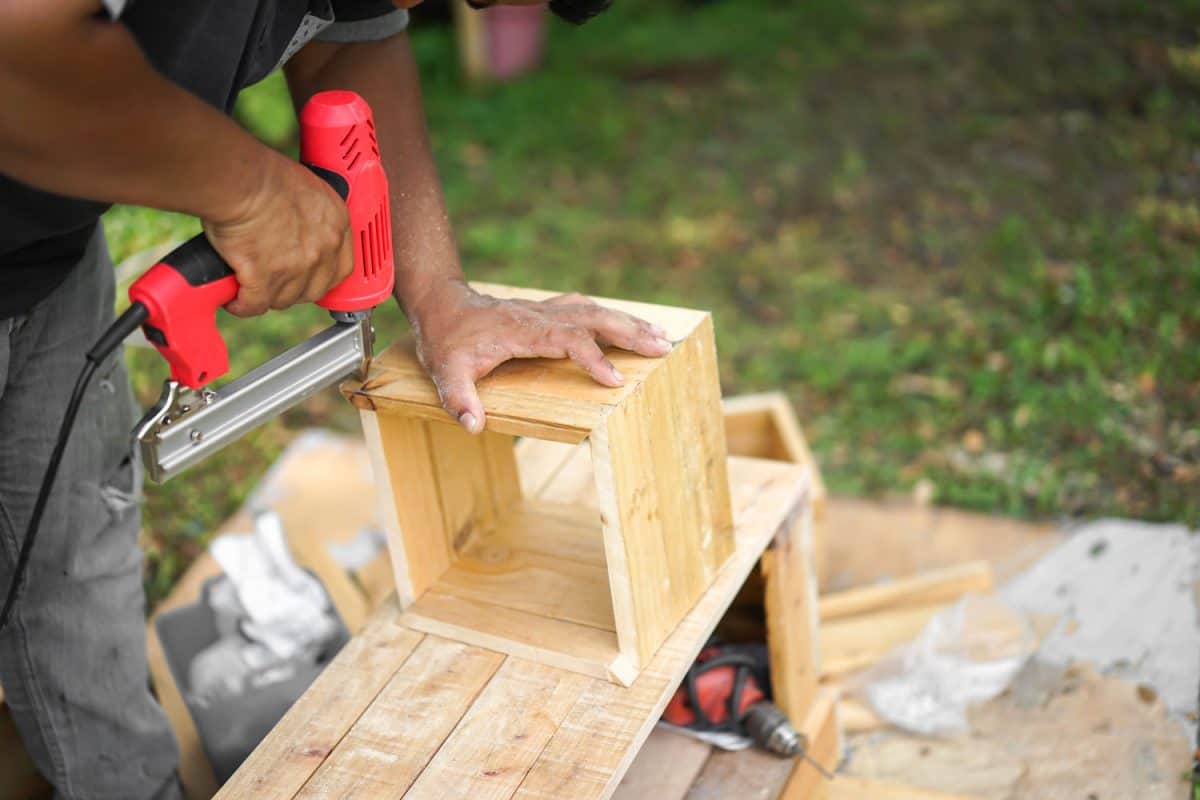
You can put in brad nails by hand, with a regular hammer. But more often, they are set with a special nail gun called a brad nailer. Because the nails are so thin, using a hammer can be a frustrating experience when the nails keep bending by accident!
If you're using a hammer, use a nail set to sink the brad nail in without scuffing the surface.
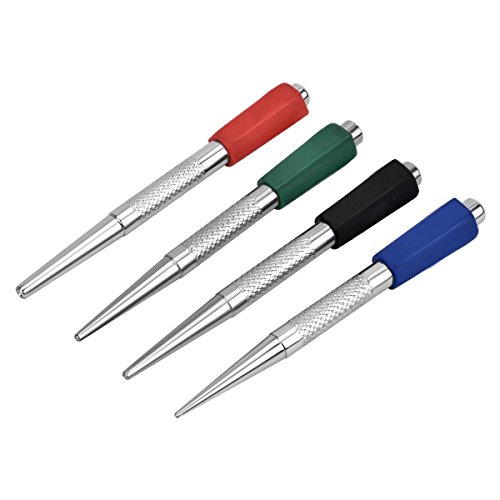
Click here to see this nail set on Amazon.
This video can help you get a nice, smooth, recessed nail:
If you prefer a nail gun, you're far from alone. In the past, nail guns used to always be pneumatic. But now, battery-operated versions have become available that make them a bit more convenient. This top-rated 20-volt power nailer by well-known tool company Dewalt is perfect for any project.

Click here to see this nailer on Amazon.
The other advantage to using a power nailer is that it's easier to protect the surface you are nailing. A hammer might accidentally scuff or damage. And if you're trying to nail through an old plaster wall, it's a recipe for disaster. A power nailer, on the other hand, is typically efficient and safe.
In Summary
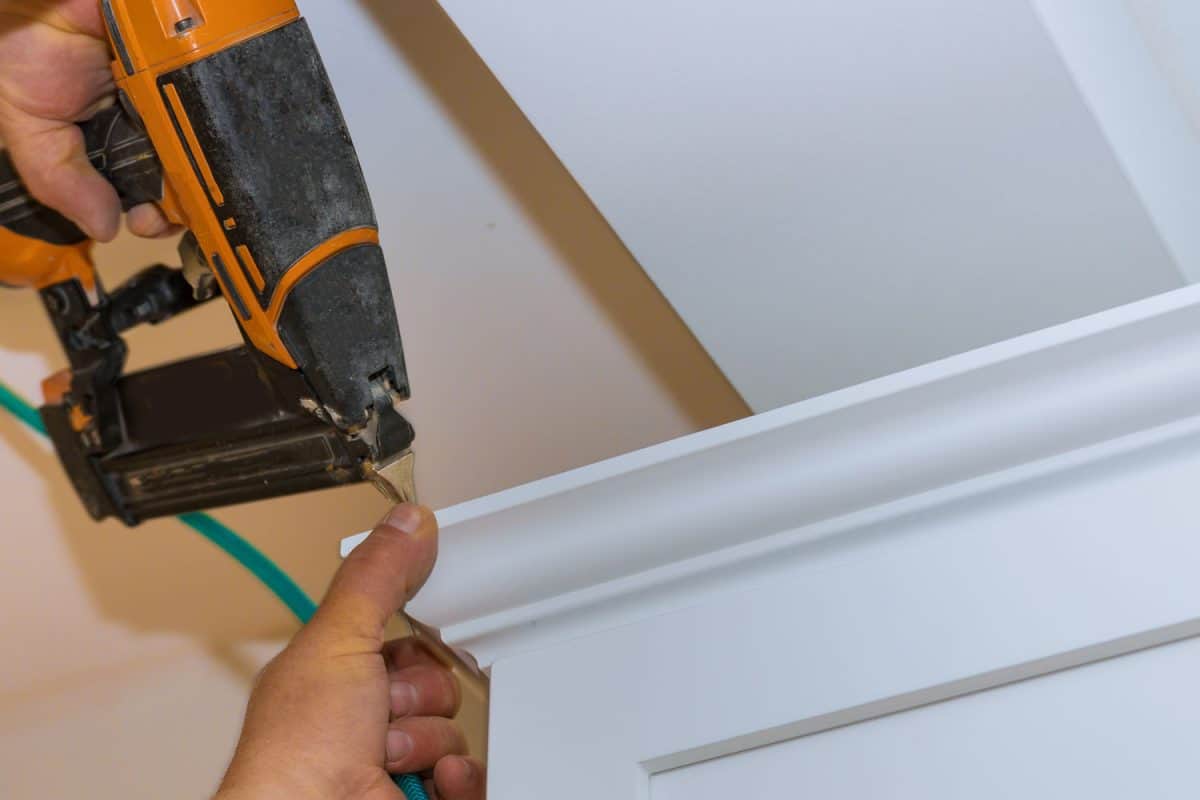
Brad nails are ideal for projects where a large nail might split delicate or thin wood. They are particularly suitable for trim - their small head size is discrete, and their slim stature provides just enough grip without damaging the wood.
Use a power nailer for the most convenience or a hammer and nail set to get nails level with the wood without scuffing or damaging the surface. Put nails in each stud where appropriate, or for other projects, stick to a spacing of about 12 inches (more or less as needed).
If you enjoyed this article, try the following: