
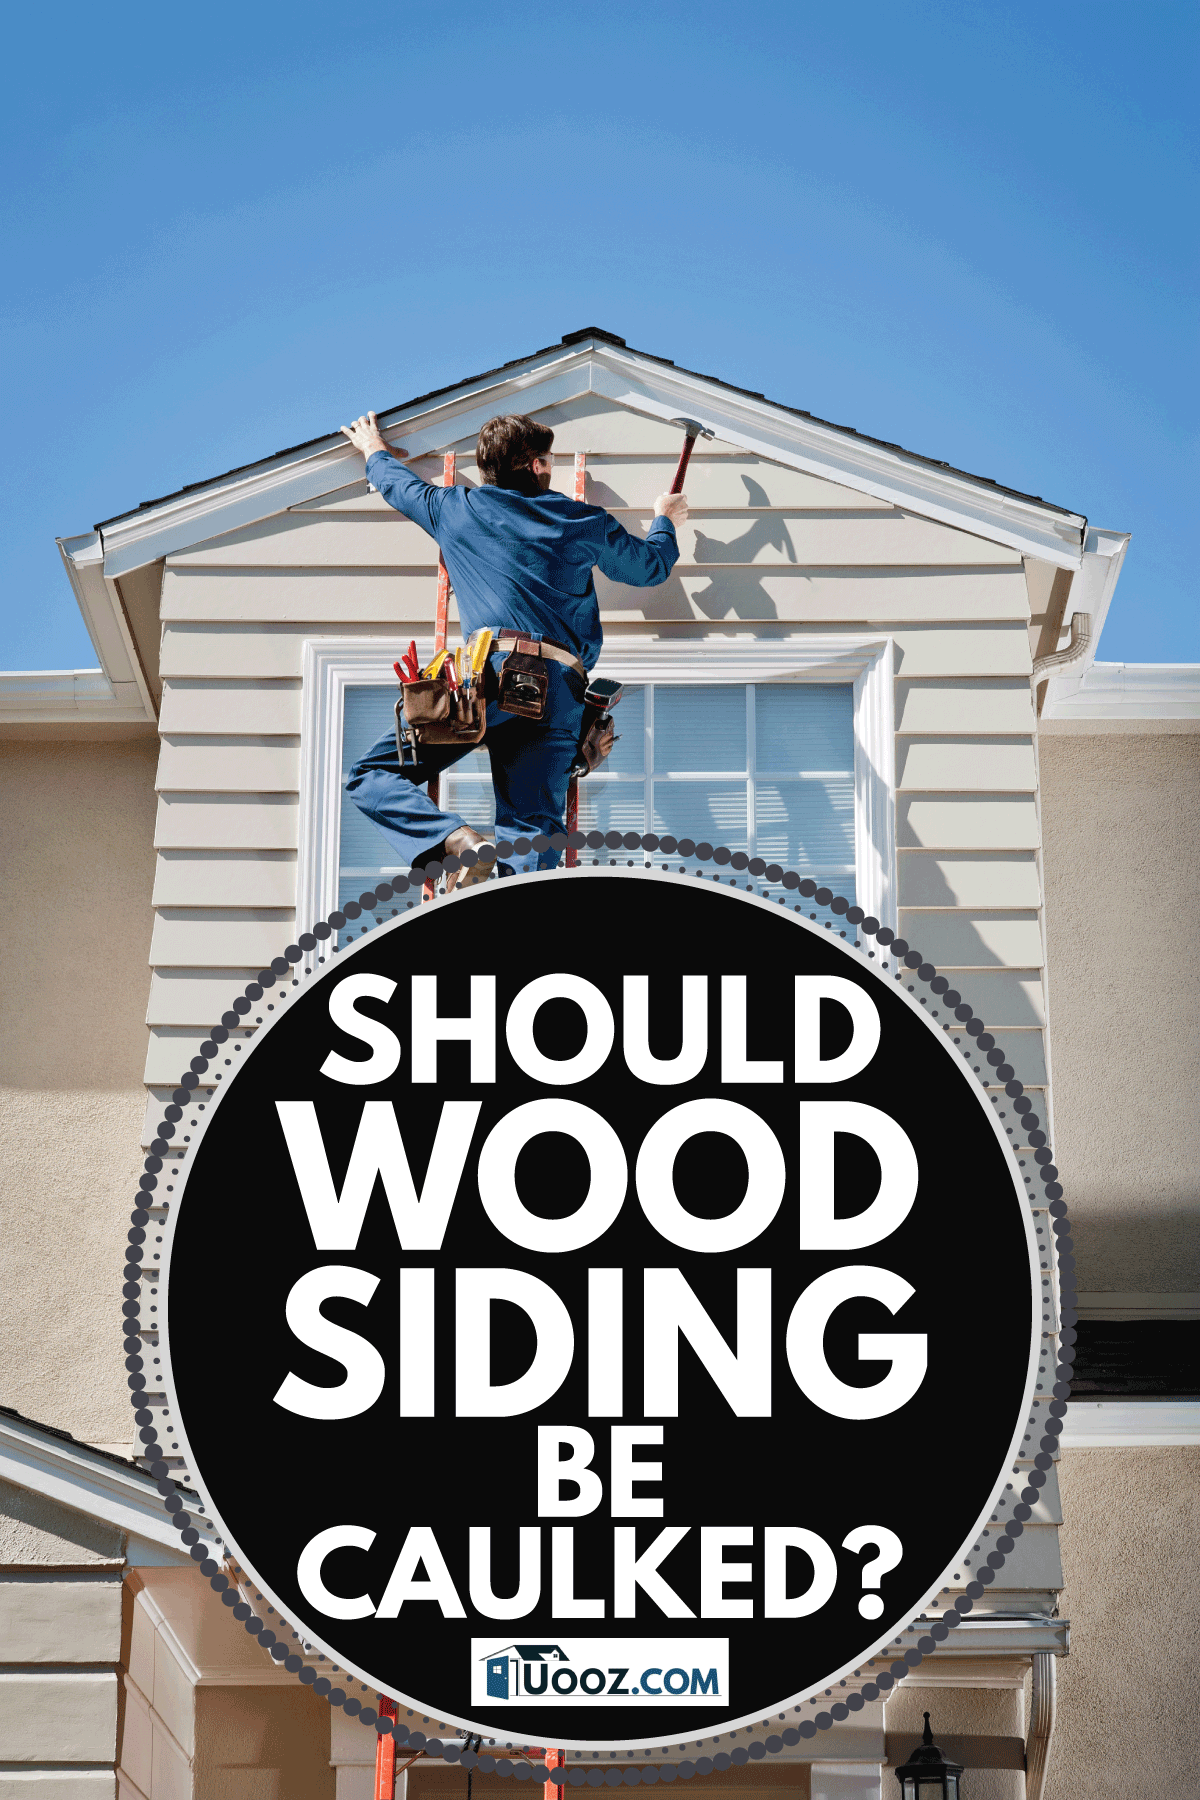
As you plan for large-scale new construction, an addition, or a residing project, caulk is definitely on your mind. This flexible adhesive is used to help finish exterior siding and seal any cracks. Wisely, however, you are wondering if wood siding should be caulked? Well, you have come to the right place. In this post, we gather contractor experience and ample research to thoroughly answer your question.
Yes, wood siding should be caulked. However, do not caulk all the cracks and joints in your wood siding. Instead, take the general approach of caulking most visible gaps while still leaving space for water to escape from your siding. The particulars of this vary based on siding type.
Keep reading the rest of this post for a detailed run-down on where to and where not to caulk your wood siding. We discuss common horizontal and vertical siding types, including general rules that can be applied to all wood siding. To finish, we include directions on how to caulk wood siding and recommend what caulk to use.
Contents
How Do You Seal Gaps In Wood Siding?
Seal gaps in wood siding through two main techniques. First, you can seal the gaps with more siding or trim. This only works for large gaps (for more siding) or gaps near windows, doors, and corners (for trim). For small gaps between pieces of siding and between siding and trim/doors/windows, use caulk.
Caulking is just one of the steps in siding a home. To get a better idea of what new siding costs, read this great article: How Much Does It Cost To Side A 1500 Sq Foot House?
Using Caulk on Wood Siding
Hiding small unsightly gaps is the main reason to use caulk on wood siding. Ideally, the finish carpenter who installs the siding and trim takes the time necessary to join siding elements tightly together. However, no matter the skill and patience of the carpenter, gaps will remain.

Be careful; over-caulking wood siding leads to oversealing. This means that any water trapped behind the siding has no way to escape. This moisture leads to rot and siding failure. Wait, you ask if you just caulk all the joints, how does moisture enter the system in the first place?
How does moisture get behind wood siding?
Well, there are a few main mechanisms water gets behind even the most caulked siding. First, moisture enters the system through imperfections in the caulking job. That is to say, there will always be a few cracks and gaps that allow moisture to enter the system. These cracks and gaps will just get worse over time. The second way moisture enters the system is through the walls from inside the house. This mechanism stems from the natural humidity in an occupied home and is unavoidable.
Because of the danger of over caulking wood siding, it is very important to only caulk some of the siding joints. Read the next two sub-sections to learn where to and where not to caulk wood siding. Read this related post to learn about caulking around crown molding: Should You Caulk Crown Molding? [Here’s When And How To]
Where Do You Caulk Wood Siding?
Caulk wood siding around trim and at butt joints or other places with unsightly gaps. Trim is the wood that borders the edges of windows, doors, and most homes' corners. Butt joints refer to when two pieces of siding meet each other within an open stretch of wall.

As long as the gap is 1/4-inch or so, caulk can easily be used around the trim. Further, only caulk joints where wood touches wood. Different carpenters might caulk trim siding with different patterns (e.g., some caulk around the bottom of windows, others do not). What is important is that once you pick a caulking pattern, stick with it throughout the house.
Caulking butt joints is relatively straightforward. Where one piece of siding hits another piece of siding, caulk over the small gap left between the two pieces. Overall, caulk gaps in siding that are unsightly and eye-catching.
Where Do You Not Caulk Wood Siding?
The rules about where to not caulk siding are more important than where you can caulk siding. Do not caulk under horizontal siding, between vertical siding, around wood shakes, over nails, or over flashing. Following these rules will ensure that any moisture that makes it behind your siding will have a place to escape.
Under Horizontal Wood Siding
Usually, the top piece of horizontal wood siding overlaps the piece below it. This pattern allows water to easily run down the sides of the house. Because the bottom edge of the horizontal siding is the most protected from the elements, it makes for a good place to let water escape. Thus, even if you caulk all other gaps in your horizontal siding, leave the bottom edges uncaulked.
Between Vertical Siding
Do not caulk between vertical siding. First of all, this caulking task would take a very long time and would require an expensive quantity of caulk. More importantly, if you caulked between each vertical piece of siding, you would block all routes for moisture escape. Still, caulk where the siding meets the trim.
Around Shakes
The reason not to caulk around shakes is the same for vertical siding. That is, the job is too big, and if you did caulk all the way around shakes, there would be no room for moisture to escape. Further, the gaps around each shake are part of the overall look and charm of shake siding. Still, caulk where the shakes meet trim.
Over Nails
Do not caulk over nails because the nails will shift and wiggle as the home settles and expands or contracts. This causes the nails to slowly work out over time. If you caulk over the nails, you are inviting an unattractive nail pop to look even worse.
Over Flashing
Flashing is metal or plastic that usually goes over windows and doors and other breaks in exterior walls. This material is already highly waterproof, so it does not require caulking. Further, flashing areas are very important locations to allow water to escape easily. The last thing you want is for the support above a window or door to begin rotting.
How Do You Caulk Exterior Wood Siding?
Follow the general guideline below to properly caulk your exterior wood siding.
1. Gather Materials
Caulking requires a few specialized materials and tools. These include:
- exterior grade caulk
- a caulk gun
- a wet rag
- water or compressed air
- backer rod
- a foam brush, and a utility knife or scraper
2. Clean Area
Click here for a great scraper from Amazon.
First, remove all old caulk and/or paint from the area using the utility knife or scraper. Once you have removed the old materials, clean the area thoroughly. It is not necessary to use soap, but do use water from a garden hose or compressed air to get all the wood and debris out of the cracks. It is best to do this on a dry, warm day because you need to let the area totally dry before you apply any caulking.
3. Install Backer Rod
Backer rod is cylindrical foam that is used to fill in especially big cracks. So, if the gap you want to caulk is deeper than 1/2-inch or wider than 1/4-inch, use backer rod. This material allows you to fill in the gap. You then caulk over the backer rod.

Click here for a backer rod from Amazon.
This technique is used because backer rod is much cheaper than caulk and because of how flexible the backer rod is. If you just fill in a big gap with caulk, it is likely to crack and fail quickly. However, since backer rod flexes significantly, it allows the exterior caulk to retain its original shape and appearance.
4. Run Bead of Caulk Along Cracks
Click here for a caulk gun from Amazon.
Now comes the real task. Once you have placed your tube of caulk into the caulk gun and cut off the tip of the tube, you can actually apply the caulk. Pull the trigger on the gun, and it will apply pressure to the caulk tube. This will force a strand of caulk out the tip of the tube.
Be careful to not pull the trigger of the gun too many times because there is a lag between pulling the trigger and the caulk coming out. It might be worth practicing on an out of the way place, or perhaps on scrap material before you attempt applying caulk to a high visibility area.
5. Use Finger/Foam Brush to Smooth Caulk

Click here for a set of foam brushes from Amazon.
Generally, smooth out the caulk as you go. This means that you should caulk everything you can reach from one stance and then smooth that whole area before moving on. Once you have applied the caulk to the gap, use your finger or a moistened foam brush to push the caulk into the gap. This gives the caulk a smooth finished look while simultaneously ensuring the whole gap is filled.
6. Clean Off Excess Caulk
Use the wet rag to clean off any caulk that you get on the siding, windows, and elsewhere. It is relatively easy to clean the caulk before it dries. However, if you do have caulk that you missed, it is still possible to scrape it off even after it has completely dried.
What Is The Best Caulk For Exterior Wood Siding?
Click here for this exterior caulk from Amazon.
Retailers sell a wide range of exterior caulk that works well for wood siding. However, it is recommended that you use silicone, polyurethane, or hybrid caulks because of their greater durability for wood siding applications. Ask at your local home improvement store what is recommended for your area.
In Closing
In this post, we have answered whether you should caulk wood siding or not. This includes a rundown on how to decide this question for different areas of siding and different types of siding. We also included a quick primer on how to apply caulk and advice on what caulk to purchase. Good luck!