
Maybe you have already installed crown molding on a new project, have a home with existing crown molding, or you are just planning ahead, but the question is - should you caulk around crown molding? As this molding serves to add a certain je ne sais quoi to any room, the finished look is very important. We have done ample research on this question and provide the answer below.
For the best look, caulk both the top and bottom of your crown molding. No matter the quality of craftsmanship, unsightly gaps in these locations are nearly inevitable. Whether you are working on a new home or a remodel, caulking the joints around your crown molding is the best way to ensure a nice tight finish.
Please keep reading to get a more in-depth answer to why it is best to caulk around your crown molding. We will also provide some handy pointers on how to do the caulking and what caulk to use. By the end of this read, you'll have all the information you need to put the finishing touches on your crown molding project.
![A man finishes crown moulding installation with caulk sealant, Should You Caulk Crown Molding? [Here's when and how to]](https://uooz.com/wp-content/uploads/2020/10/Should-You-Caulk-Crown-Molding.jpg)
Why are there Gaps Around Crown Molding?
To understand why it is wise to caulk around crown molding, we will first go over why these gaps appear. The gaps around crown molding occur due to the limits of the construction materials, natural home settling, and temperature fluctuations. Generally, these three factors combine to determine how large the gaps are and if they are seasonal.
Limits of Construction Materials
For crown molding, the studs or framing materials, the drywall or other wall covering, and the crown molding itself are all in play. The studs and rafters, or the vertical and horizontal pieces of wood that hold up your walls, often vary by a small degree (1/16 of an inch or less) in width. The construction combines with the difficultly of precisely lining up lumber over the whole wall's length, leading to an imperfect line.
The drywall, or other wall covering, is designed to flex slightly to cover up this inevitable wave. In fact, this imperfection is usually totally invisible - so, therefore, no problem at all. However, when you attach precisely milled crown molding to the wall, those tiny gaps can suddenly look huge.
Natural home settling
This factor stems from natural movement in your house's foundation as the soil settles and shifts over time. Sometimes this issue can be drastic in older homes but is generally so slight as to be invisible. However, if the house settles unevenly, it will pull part of your crown molding down, causing gaps.
Temperature fluctuation
Just like everything else, homes expand in hot weather and shrink in cold weather. This issue exacerbates in areas with significant seasonable weather changes. Homes with inefficient or underutilized home air conditioning and heating can also experience a noticeable temperature impact. Generally speaking, the gaps around crown molding are the largest in the winter.
Should You Caulk Crown Molding?
A very meticulous craftsman can indeed build a home and install a gap-free crown molding. However, no carpenter can account for years of temperature fluctuation and natural foundation settling. To ensure a gap-free crown molding despite the wear and tear of time, applying caulk is the best solution.
The right caulk is designed to flex with natural temperature change and with small settling events. By applying a small bead of this material to the top and bottom of your crown molding, you can save yourself a lot of time in the long run. The moral of the story is to caulk your crown molding to ensure a long-lasting tight looking finish.
What Type Of Caulk Should You Use?
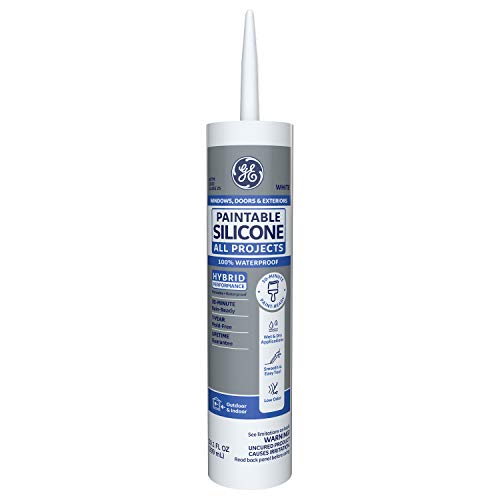
The best type of caulk to use for crown molding is flexible silicone caulk. If you need to paint over the caulk, make sure it is paintable. However, if you match the caulk color to the wall or molding color, you might not need this feature. Click here for silicone caulk on Amazon.
What Is The Best Way To Caulk Crown Molding?
For new construction or extensive remodels

The best way to caulk crown molding is with a caulking gun, your finger, and a wet rag. This process isn't complicated, but the specifics of the technique do take some getting used to. So once you have selected your caulk, load it in the caulk gun and cut the tip off the caulk tube. Click here for a caulking gun on Amazon.
To cut the tip properly, you are aiming for about a 1/8-inch hole. To achieve this the first time, cut just a tiny amount off and then keep cutting more until you reach the desired size. Most professionals prefer to cut at a 45-degree angle.
Then, place the tip of the caulk gun against the crown molding-wall joint at about a 45-degree angle. Pump the caulk gun handle until you start to feel the pressure of the plunger pressing out the caulk. At this point, you want to apply consistent pressure to the gun handle while evenly moving the tip of the caulk gun along the joint. Even pressure will run a uniform bead of caulk along the molding. Do this for what you can easily reach from your stance.
For larger gaps, move along the joint slowly and move quickly for smaller gaps. If you have lots of large gaps to fill, it might be worth it to cut your caulk tip hole larger. To get a feel for how the caulk comes out, it is never a bad idea to first practice on some scrap lumber or perhaps a larger taped surface.
Once you have applied the caulk, it is time to finish it. Simply drag your index finger along the bead of caulk to press it into the gap. Do not wait too long for this step, or the caulk will dry. Use the wet rag to wipe off excess caulk from your finger. Repeat the above steps as you move around the room.
For existing crown molding
For existing crown molding, follow the directions above, keeping in mind the caveats below.
Sometimes existing crown molding will develop gaps over time in old caulk, or perhaps it was never caulked in the first place. If the gaps in the old caulk are small, you might be able to caulk over it. The issue with this is that it is hard to match color, and you've left old, potentially failing caulk in place.

The cleanest option is to first remove the old caulk before replacing it with new. Remove old caulk using a putty knife, utility knife, or single edge razor blade. Click here for a putty knife on Amazon.
Carefully cut the caulk away from the wall and the molding. Often it is possible to grab some loose caulk and pull long strips out in one go. When possible, and before re-caulking, make sure to cut away any small pieces of remaining caulk.

If you apply caulk to an already painted surface (and you do not plan on repainting), you will want to tape before application. Simply put painters tape about 1/8 of an inch away from the seam on the wall side. For the molding itself, you might want the tape to run exactly to the edge of the molding or up to 1/8 of an inch away, depending on molding type and finish. Click here for painters tape on Amazon.
Once you have finished the caulking process and the caulk has dried, simply remove the tape. If you taped well, the excess caulk peels away with the tape, leaving a clean filled joint.
Do You Caulk The Crown Molding Before Or After Painting?
The answer to this question depends on your situation. For new construction and thorough remodel, it is much easier to caulk before you paint. That way, there is no need for taping, and any caulking run-over can easily be painted to match.
On the other hand, you might be caulking gaps in existing crown molding with failing caulk or molding that has never been caulked. In this situation, you often have no choice but to caulk after painting. This is no problem and just follow the directions above.
Can You Caulk Large Gaps?
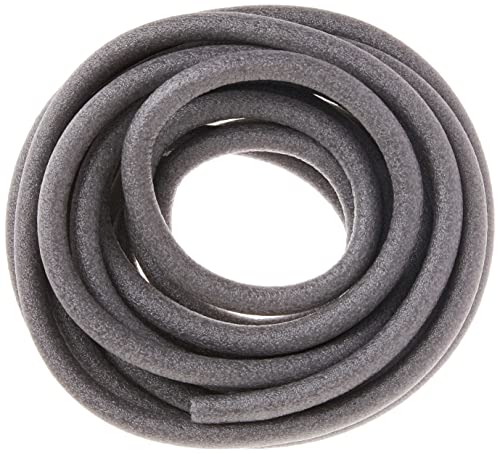
Caulk can generally fill gaps up to about 1/4-inch without any problem. For gaps up to about 3/8 of an inch, you can run a bead of caulk along the gap, let it set, and then re-caulk to fill in the rest of the hole. Often for larger gaps and holes, it is easiest to install a foam backer rod first and then caulk over the foam. Click here for a foam backer rod on Amazon.
In closing
Caulking your crown molding, whether your project is a new home or a fixer-upper, is a relatively easy and cheap way to improve the home's appearance. Also, caulking projects are common for home maintenance, so the materials and tools needed are often a good investment. Good luck!