
Painter's tape is vital to ensuring your project has a high-quality finish. But is painter's tape waterproof for exterior projects? Let's take a look below to see what the experts say.
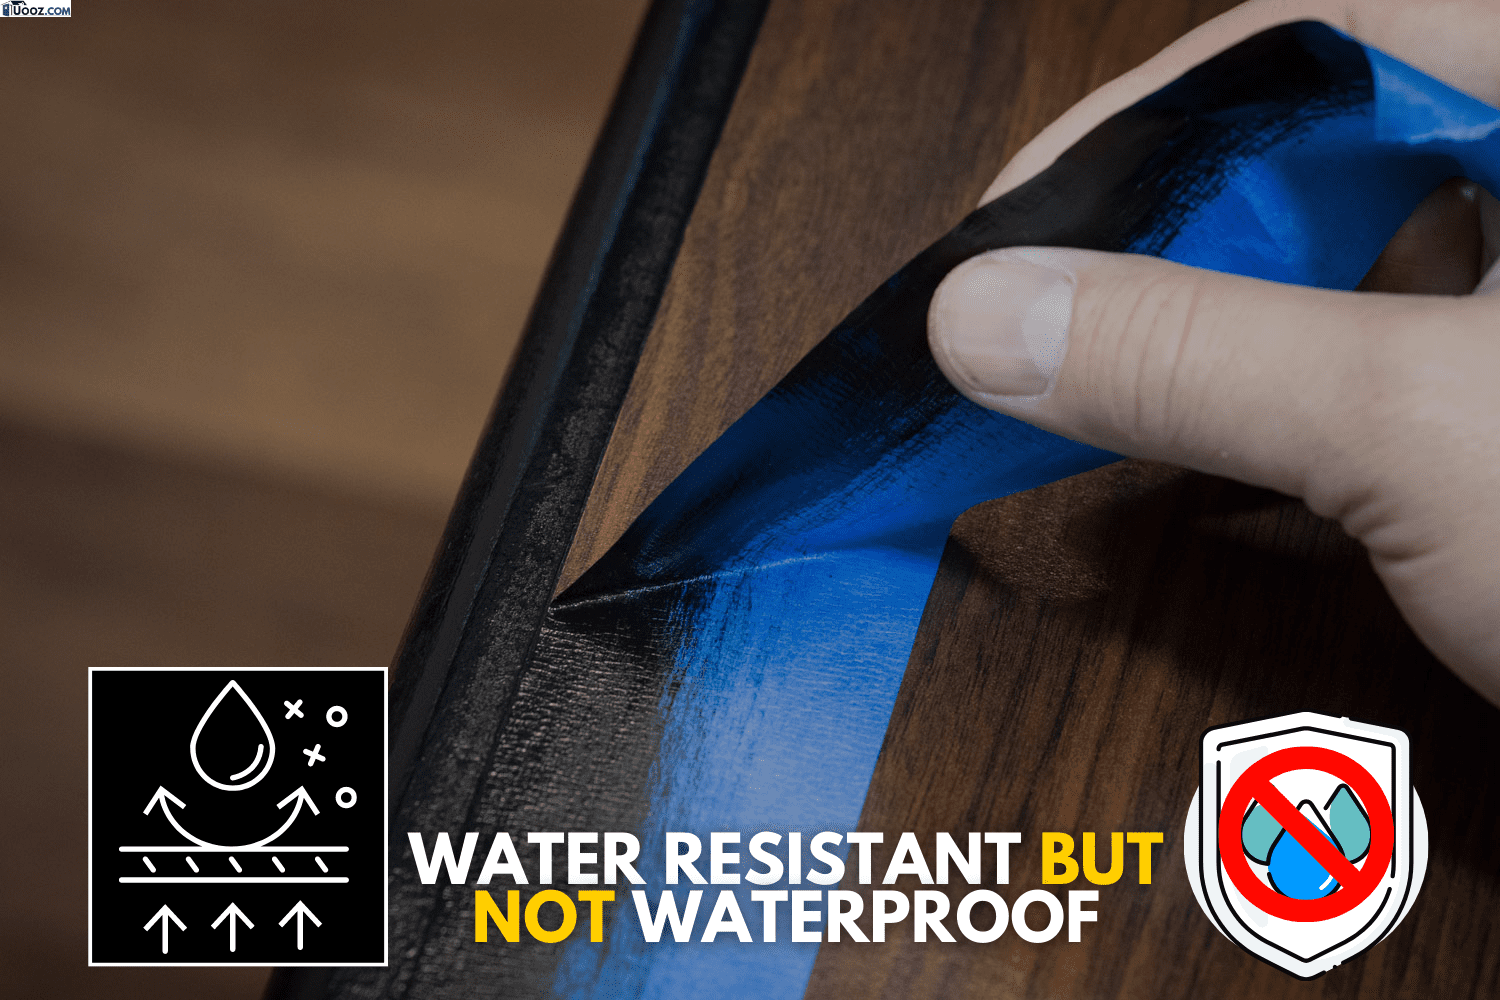
Most painter's tape is water resistant or weatherproof but not waterproof. This means it can withstand some moisture but won't hold up when fully submerged. If possible, use painter's tape during dry conditions to ensure your tape won't peel off.
Understanding how to use painter's tape can make your painting go smoothly. In this article, we will take a closer look at painter's tape and how it holds up against water exposure. In addition, we will answer other frequently asked questions about painter's tape, so read on!
What Happens If Painter's Tape Gets Wet?
Painting is a meticulous task that takes patience and precision. When painting, it is a good idea to use painter's tape to mask off areas you don't want to paint.
There are several different brands and types of painter's tape on the market. Some are meant only for interior painting, some for exterior, and others can do both. For outdoor painting projects, rain is always a concern, as it can completely ruin your hard work.
Most painter's tape is considered water resistant or weatherproof. So, if it rains lightly, your tape should be able to hold up against the moisture. However, if you get an unexpected rainstorm with heavy rain, don't be surprised if your painter's tape peels off.
There are some painter's tapes that claim to have a waterproof backing to combat this issue. This is a better option, but even the best painter's tape can peel off when exposed to heavy moisture.
Your best course of action is to wait to do your project until a clear weather forecast. Doing so will give you the best chance of your tape holding up.
In addition, wet conditions will make for the paint to dry properly. Your best bet is to tape and paint when the temperatures are above 50 degrees Fahrenheit and below 85 degrees Fahrenheit.
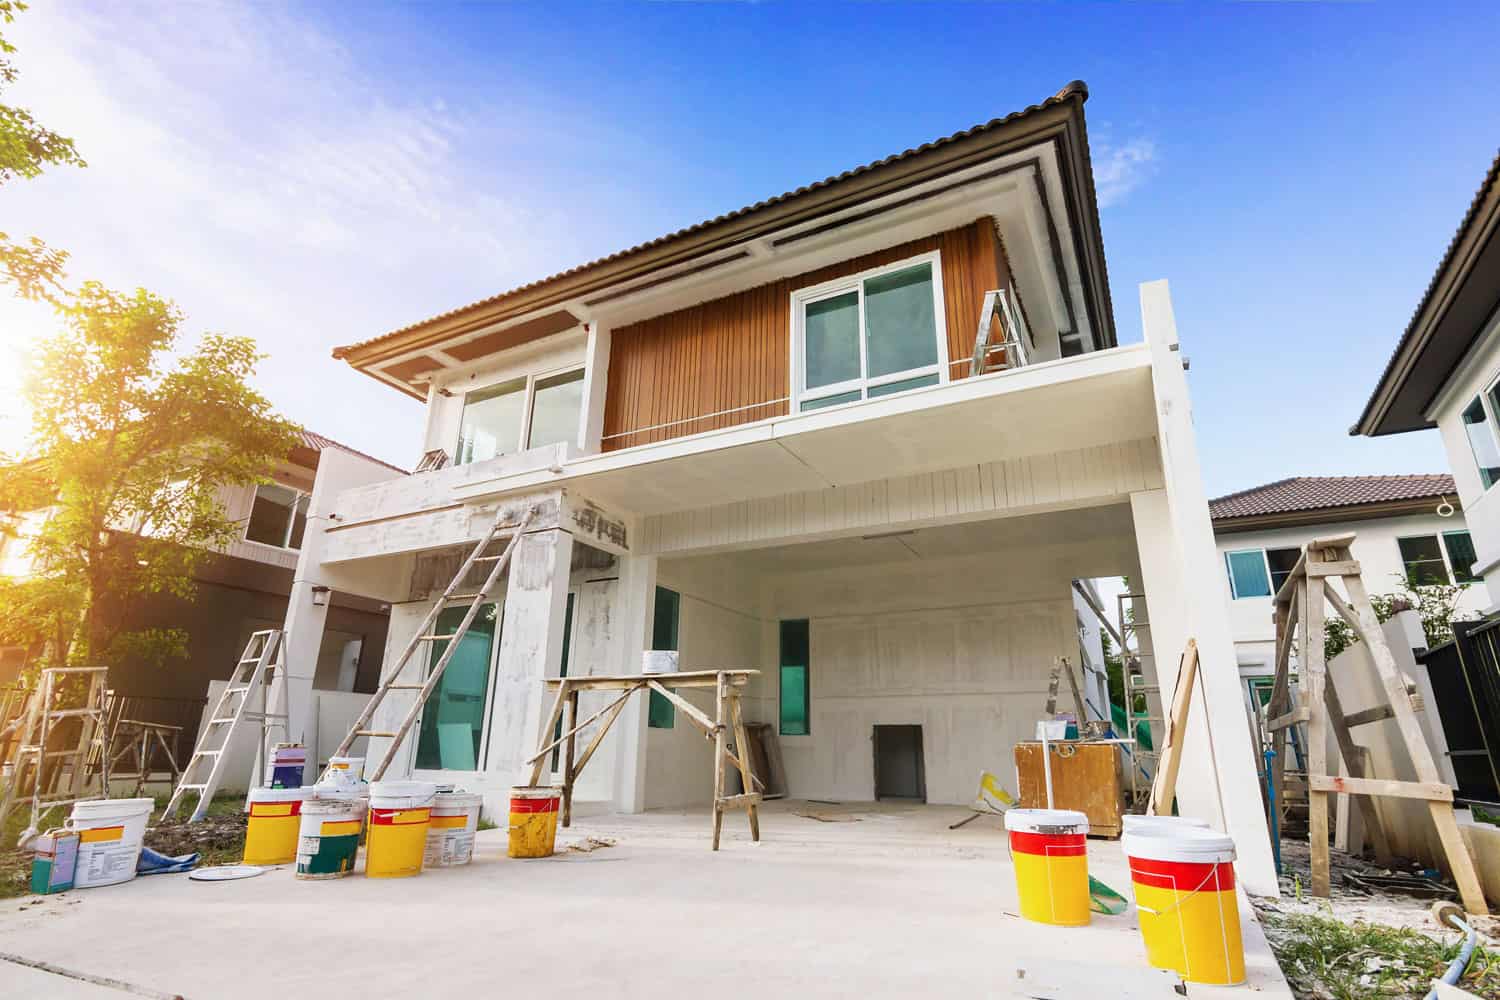
Before starting your project, you need to prep the exterior surface properly. Let's take a look at the steps to ensure the best results:
Wash The Surface
The first step is to wash the surface to remove any contaminants, dust, or debris. If possible, use a pressure washer, as this will clear away any built-up dust and debris.
You should also use an approved cleaning agent for exterior homes. You can get one by going to your local hardware or home improvement store.
After applying the cleaning agent, give the exterior another good rinse. Once you are sure the surface is clean, let it completely dry before moving on to the next step.
Remove Loose Paint
Over time, old paint will become loose and flaky. You don't want to paint over loose paint as it will cause an uneven finish.
Use a wire brush or scraping tool to remove the loose paint pieces. Try to avoid removing pieces of wood, as it will cause an uneven painting surface.
If you do have any knicks that are cut into the wood, be sure to sand them down before painting. This can be tedious, but it taking time to prep will be worth it in the long run.
You can also use a surface compound to fill in any deep indentations in the exterior. Follow the instructions on the surface compound, and after it has dried, sand it until smooth.
Remove Old Caulk And Apply New
Old caulk doesn't do a good job of protecting your home from moisture. If it's been a while since you have caulked windows, doors, and other trim, then it should be removed.
Once the old caulk is removed, apply a new layer of caulk and let it dry. This will ensure your home doesn't develop any mold or mildew from trapped moisture.
In addition to old caulk, it should also be removed if you have any old putty around window fixtures. Don't skip these steps, as mold can be detrimental to your home's structural integrity.
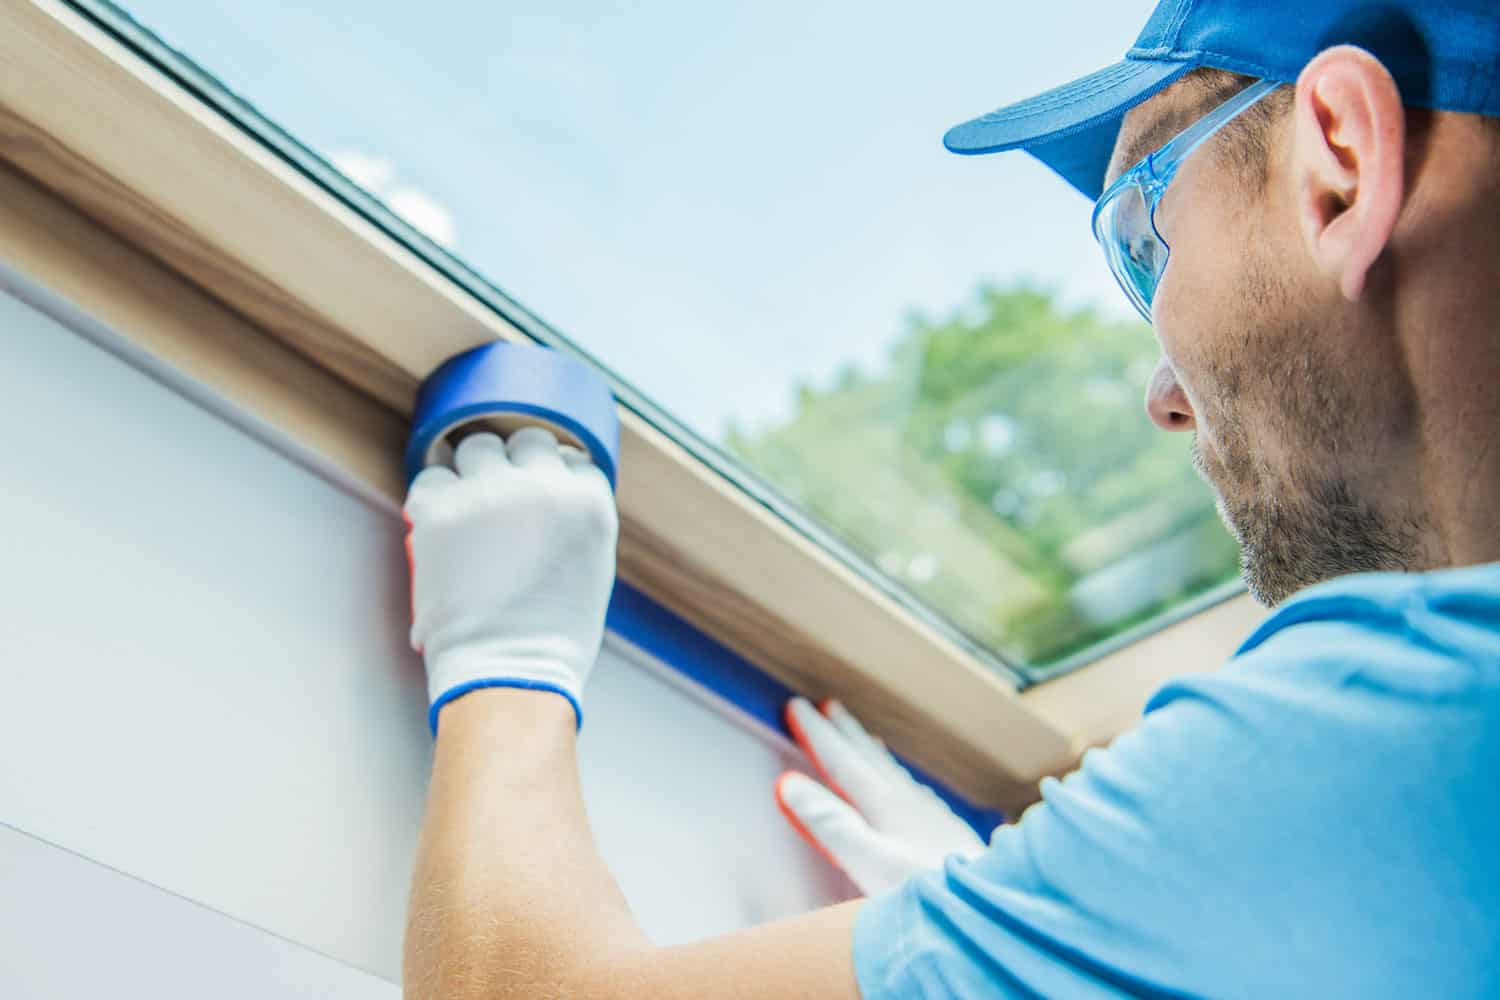
Tape Surfaces
Okay, we are finally onto the taping phase of your exterior project. Using painter's tape, tape off any surfaces that shouldn't be painted.
When applying the tape, be sure to use pressure to ensure it adheres to the surface. If you don't, the tape will slowly peel off. It's best to tape off each section at a time.
For example, if you are painting an entire home, then start by taping the front, then painting before moving on to other parts of the home.
If you tape off the entire home in one go, you are increasing the chance of the paint peeling off.
Lay Drop Cloths
Next, be sure to lay down drop cloths before painting any surface. Drop cloths are a thick material that paint can fall on. You should cover anything that paint shouldn't go on. For example, lay drop cloths on your deck, porch, steps, flowers, and bushes.
Apply Coats Of Paint
Finally, it's time to apply the paint. Let each coat dry before applying another. If you are using a paint gun, ensure you are using the correct viscosity.
If your paint is too thick, then it can clog the paint gun. On the other hand, if the paint is too thin, then it may not adhere to the surface.
You should always do a test on a surface similar to your projects. This way, you can see how the paint looks before starting the project.
If you have any questions about the type of paint to use or its viscosity, be sure to ask an expert. They will be able to walk you through the steps and tell if paint thinner is needed.
Why Does My Painter's Tape Peel Off?
In addition to moisture, there are a few factors as to why your painter's tape peels off. Here are possible culprits:
Uneven Surface
If your painting surface isn't even, then the painter's tape won't be able to stick. Instead, there will be gaps that allow air, moisture, and debris to get between the painter's tape and the surface.
Surface Isn't Clean
When dirt and debris are present on the surface, the tape's adhesive is compromised. If it's been a while since you have had the exterior of your home cleaned, you may need to do a deep clean. This may include repeating the process mentioned earlier more than once.
If possible, avoid choosing a windy day to do your project. Wind will blow all kinds of gunk onto the surface, making it tough for the tape to stick properly.
Wrong Tape
Have you checked that your tape is meant for the surface you want to paint? Each type of tape serves a different purpose, and if you use the wrong one, it will cause more work than you signed up for.
Be sure to research the best kind of painter's tape for your project. Doing so will save you a lot of time and headaches.
Temperature Of Surface
We briefly touched on it earlier, but the temperature of your painting surface will affect how your paint sticks. If the surface is too cold or too hot, the tape's adhesive will have a tough time sticking.
Double-check that the temperature is between 50-85 degrees Fahrenheit before starting to tape.
Humidity
For homeowners living in humid regions, applying painter's tape can be a challenging task. For best results, humidity levels should be 85 percent or less.
The worst-case scenario is waiting until the dry season to do your project. While this may be frustrating, it will ensure your project looks its best.
Old Tape
Lastly, the longer painter's tape is stored, the less effective the adhesive can be. If your painter's tape has been sitting for several years, it may not stick to the surface.
When storing painter's tape, make sure it is in a cool, dry place away. For extra protection, you can put your tape in a freezer bag or Ziploc.
If you are unsure your painter's tape can handle the job, test it on a surface first. Check if it starts to peel after an hour or so, and if it does, it's time to buy a new one.
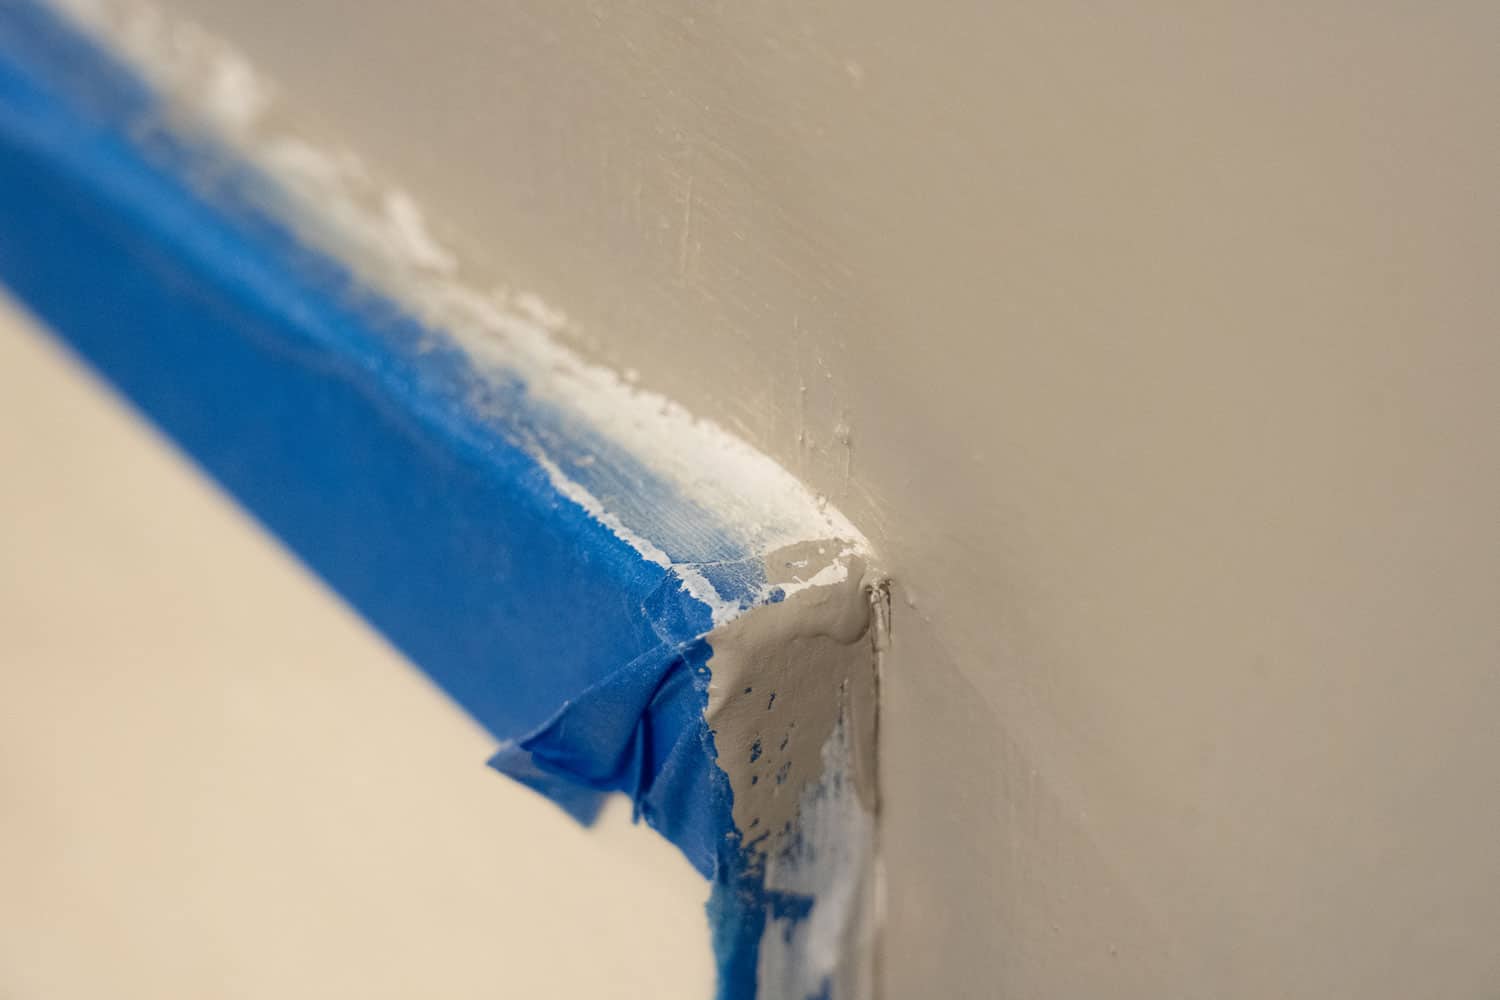
How Long Should You Wait Before Peeling Painter's Tape?
If painter's tape is left on for too long, it can take paint with it when peeled. As soon as your paint is dry to the touch, it is time to remove the painter's tape.
When removing the painter's tape, peel at a 45-degree angle. This will give you clean paint lines.
Final Thoughts
Overall, buying the correct painter's tape for your project is critical. From there, be sure to take the time to properly prep the surface before painting. By following the tips in this article, your paint project will come out looking how you envisioned.
Made it to the end? Here are other articles you might find helpful:
How To Tell If Painter Did Two Coats