
After getting the walls up and the baseboard nailed in, all that's left to do is to seal the gaps with caulk to finish the project. A lot of professionals suggest that you use painter's tape when caulking, but what if you've run out? Fortunately, we've looked into this issue and we've got great tips for you on how you can caulk your baseboards even without tape.
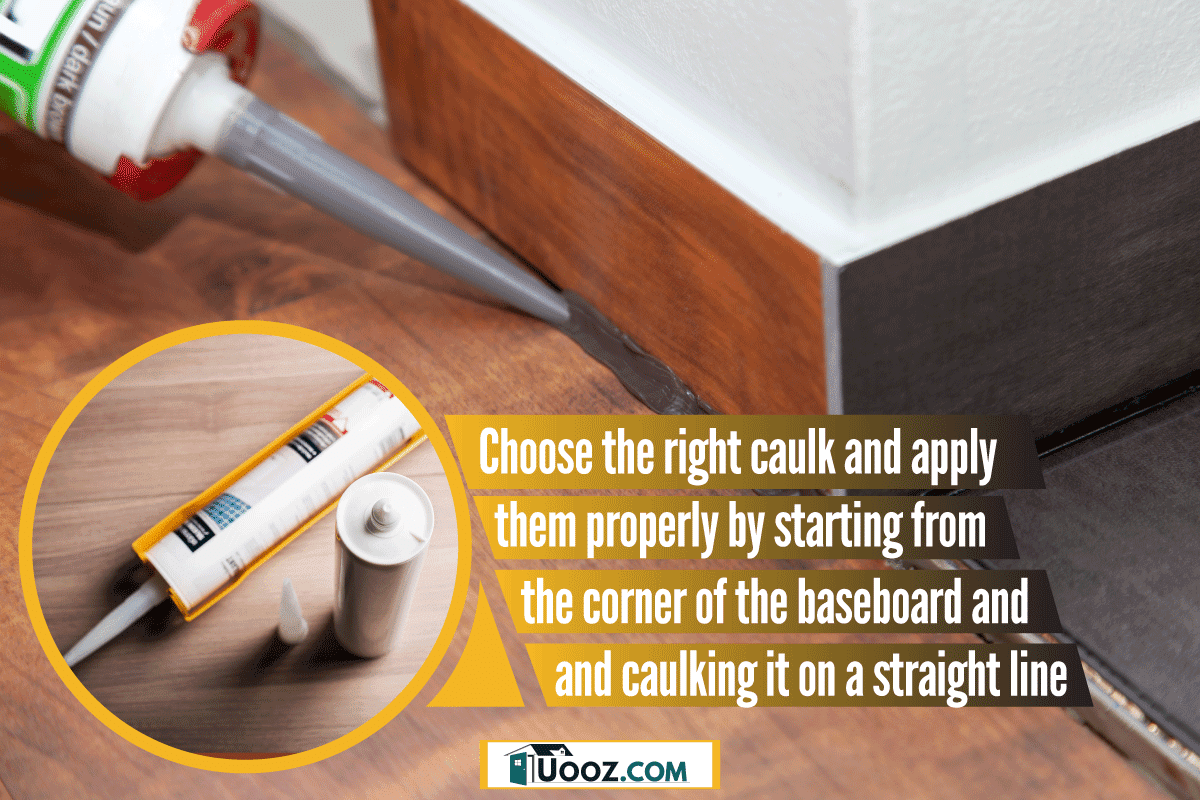
To caulk your baseboards without tape, choose the right caulk and cut a small hole on the tip of the caulking tube for better control. Starting from the corner of your baseboard, place the tip of the nozzle on the top edge; and at the same time, squeeze and move the caulk in a straight line. Smoothen the caulk with your damp finger to finish the project.
We know that caulking baseboards without tape sounds easy, but it does take a little bit of practice to perfectly lay down that bead of caulk. Keep reading because, in this post, we'll share some tips on how you can caulk like a pro, plus other valuable information that you might need when it comes to caulking.
How To Caulk Baseboards Without Tape
After installing the baseboards, you will most likely see some gaps in between the wall and the floor. If left open, these gaps can cause dirt to build up and small insects to enter the house. Caulking the gaps can prevent this issue, and you can do it all without professional help.
Most professionals suggest using painter's tape to create clean straight lines while caulking. While it definitely makes the task easier, there are occasions where tape might not be available. Fortunately, painter's tape is not a must-have when caulking baseboards, so you don't have to worry about it.
However, some beginners might find that caulking without using tape can be a little messy. The lines tend to be a little wobbly, and the edges can be a bit rough. While this might be an issue, caulking without tape is still possible, but it will need a lot of practice.
Materials Needed
- Caulk
- Caulking gun
- Foam rests or knee pads
- Old rag
- Bucket of warm water
- Utility knife
Instructions
1. Prepare Your Baseboards
Before you apply caulk to your baseboards, make sure that the gaps are clean of dirt, pet hair, or other debris. Use a vacuum to clean out these spaces, or dust the corners using an old paintbrush.
Check the baseboards for nail heads that are sticking out or holes that need to be filled and sanded. Do all the repair work that you need to do on your baseboards before you start caulking them.
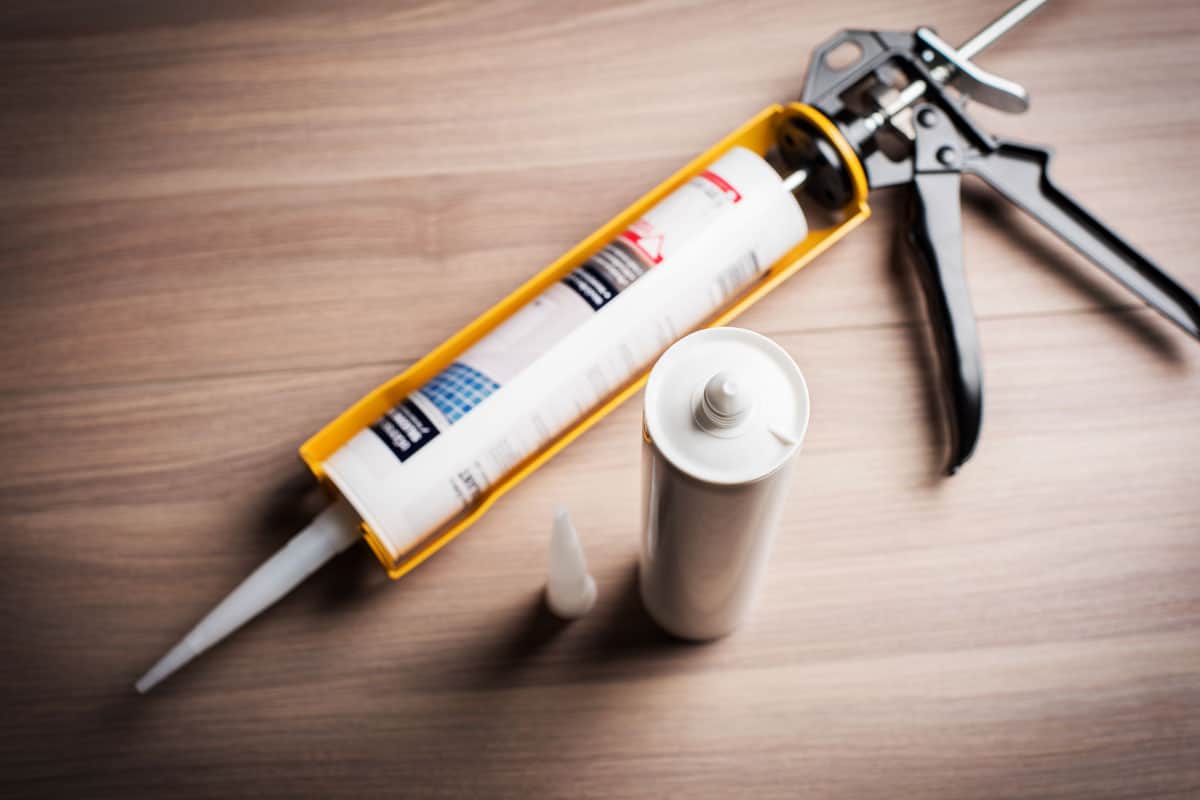
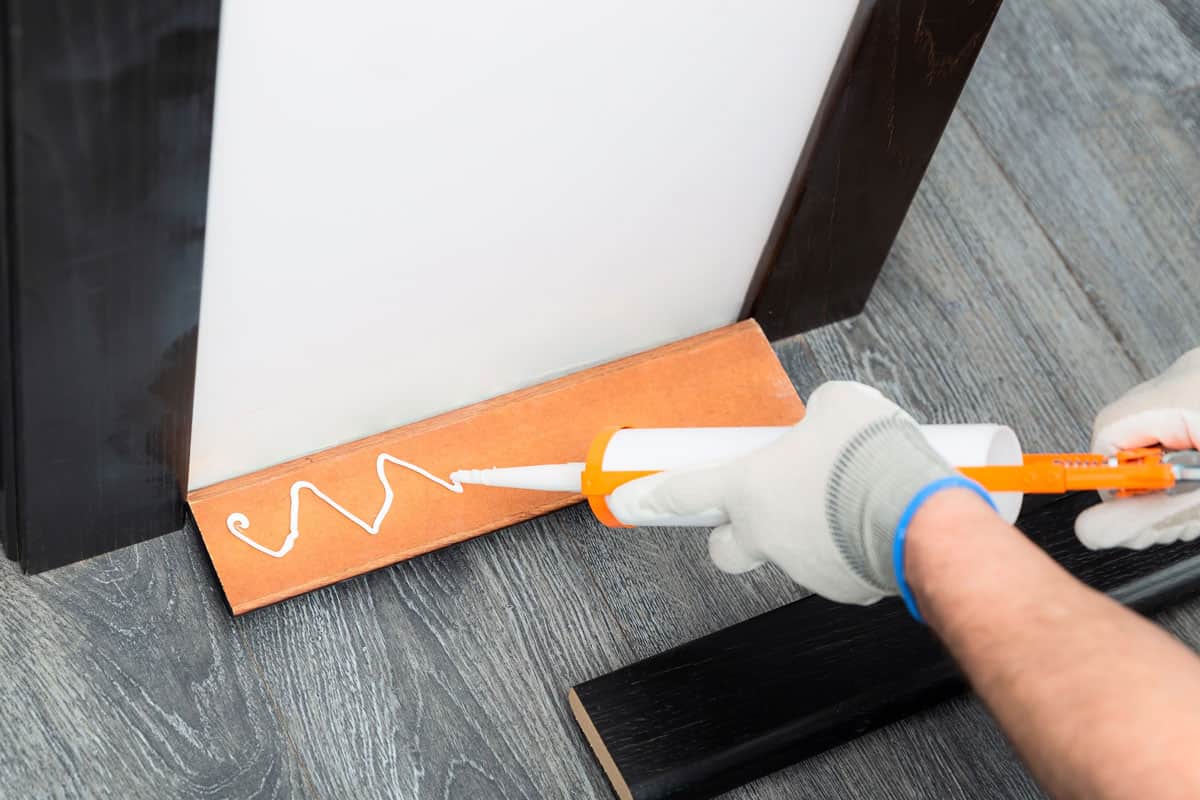
2. Cut The Tip Of The Caulking Tube
Load your caulking tube on your caulking gun. Using your utility knife, cut a small hole on the tip of your caulking tube at a 45° angle.
It's okay if you start small, as you can adjust the size of the hole by cutting the end off a bit at a time until you find the perfect size. Squeeze your caulking gun until the caulk comes out nicely and it flows easily with control.
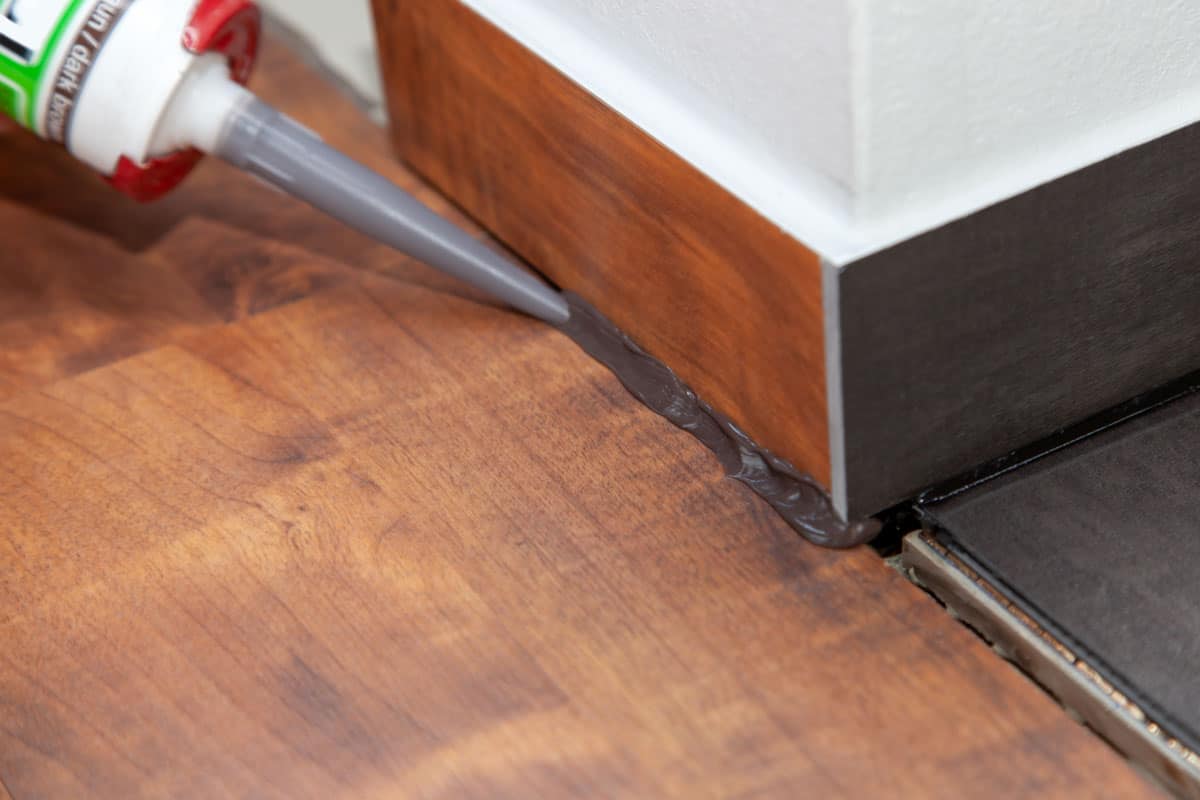
3. Apply Caulk To Gaps
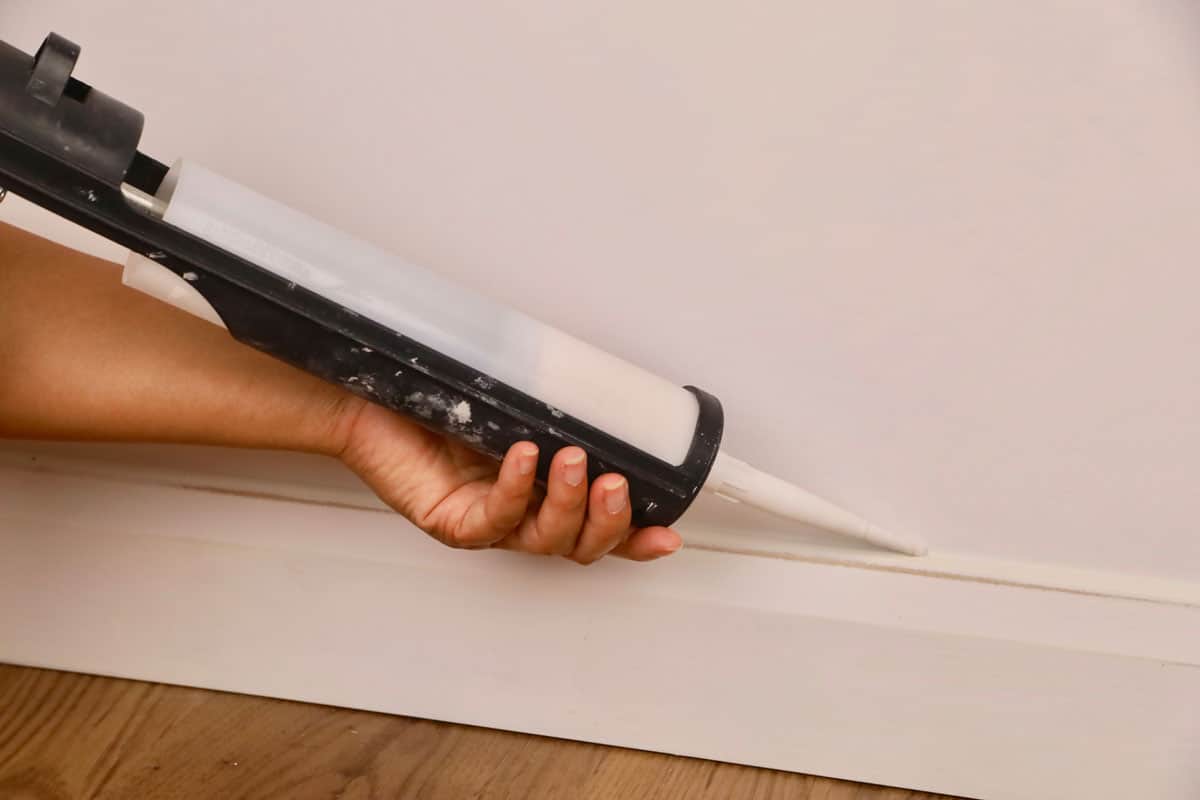
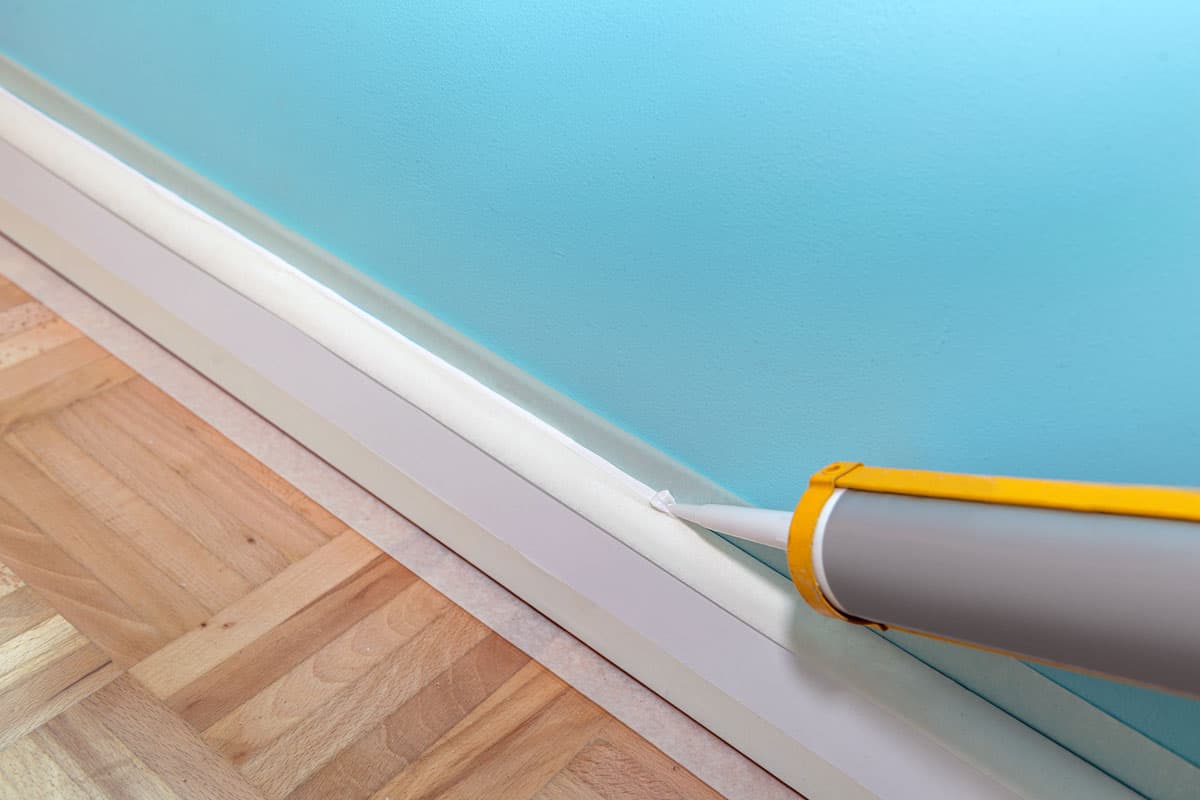
Wear your knee pads or rest your knees on some comfortable foam rests because you will be on the floor 90% of the time when caulking. Starting from the corner, place the tip of your nozzle on the top edge of the baseboard and against the wall. Move the nozzle about 1/4 inch away from the corner and start caulking.
Squeeze and move the caulking gun in a straight line, with the tip resting on the top edge to guide you. Slowly make your way through the length of the baseboard with smooth motions.
You can also start on the other end of the baseboard and make your way to the center to allow the beads of caulk to meet in the middle of the baseboard.
If the baseboards have gaps that are quite big, caulk slowly and allow the material to flow down to the void. Make a few passes on your baseboard with your caulking gun until you are satisfied with the sealant on the top of the baseboard.
4. Smoothen The Caulk
Dip the old rag into the bucket of warm water and wring it out. Wet your finger on the damp rag, and with the pad of your finger, smoothen out the bead of caulk. Drag your finger slowly from the corners and make your way to the middle to allow the caulk to meet in the center.
Using the excess caulk on your finger, seal the small gap you left in the corner when you started caulking. Keep your finger wet with the damp rag to avoid pulling the caulk off the baseboard. This will also help you get that concave-shaped line of caulk on the baseboard.
5. Clean It Up
Smooth out all the rough and bumpy spots of your caulk using your wet finger. Make sure to work on it quickly before the caulk completely dries. When the caulk is already neat and dry, you can now paint the caulk to match your baseboards.
How Do You Neatly Caulk Baseboards?
If you want neat, straight lines on your baseboards, you will have to use your trusty painter's tape. This tape is pretty inexpensive, and you can get it at your nearest hardware store. They will help you create straight edges with your caulk when you pull them off after an application.
If you are using tape to help you caulk your baseboards, lay the strip of painter's tape along the top edge at about 1/8 of an inch distance from the baseboard. This will give your caulk some baseboard and wall surface to hold on to, and the tape won't pull the entire bead out when you remove it.

Get this pack of painter's tape on Amazon.
What Kind Of Caulk Should I Use On Baseboards?
There are many types of caulk on the market, but not all of them are meant to be used on baseboards.
There are three types of caulk that you want to use on your trim: latex, pure silicone, and latex with silicone. Either of the three types of caulk will work well on indoor baseboards, but some people prefer one kind over the other.
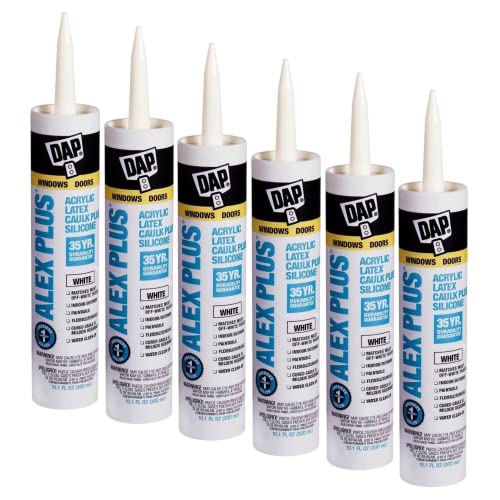
Latex
Latex caulk (sometimes called acrylic latex or polymer acrylic) is one of the most commonly used caulks for DIY projects. This caulk is made for general purposes, and you can easily find it at your local hardware stores. It is fast drying, and you can paint on it to match your baseboards easily.
See this painter's caulk on Amazon.
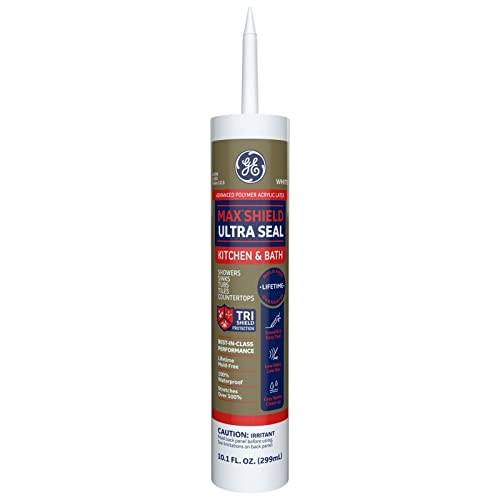
Pure Silicone
Pure silicone caulk is the most expensive, but it is also the strongest of all types. This caulk is commonly used for high-moisture areas like bathrooms and kitchens because it seals the gaps well against water.
Silicone caulk is also very flexible and durable, but the downside is it's not paintable, so it might be difficult to match it with the baseboard's colors.
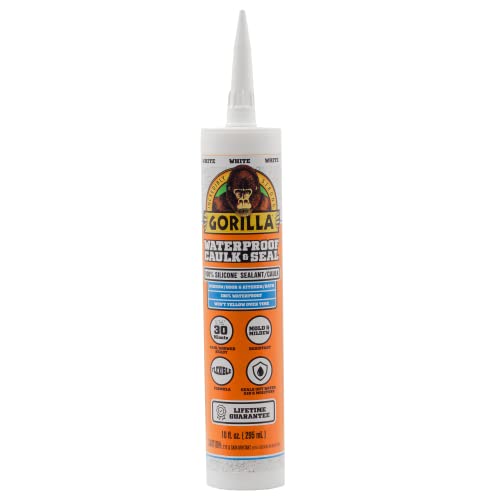
Get this pure silicone caulk on Amazon.
Latex With Silicone
The best of both worlds, latex with silicone caulk is the middle ground of your caulk choices. This caulk is a stronger workhorse than the latex caulk because of the addition of silicone. It is more flexible than standard latex caulk, yet it also has the moisture-resistant quality of pure silicone caulk.
Check out this acrylic latex with silicone caulk on Amazon.
Can You Fix Messy Caulking Lines?
Poorly applied caulk can look like an eyesore, and it might not do a good job of sealing the gaps in your baseboards.
If the caulk on your baseboards looks a little rough and bumpy, you can always fix and redo the caulking to make it nice and neat. Fixing messy caulking is easy, but it does take a little practice to make it perfect.
To remove messy caulking from your baseboards, use a sharp razor to carefully separate the bead from the surrounding surfaces. Slowly make your way through the length of the baseboard until you have sufficiently cut out the old caulk.
Try to get the entire bead out in one piece, and use a putty knife to help you scrape it off the baseboard surface.
Clean the baseboard and wall with a sponge dipped in water and a few drops of bleach. Run it along the exposed seam to remove the remnants of the old caulk. Allow it to dry completely before starting over with your project.
Final Thoughts
Caulking your baseboards shouldn't be a complicated process. Whether you use tape or not, the only important thing to have when applying caulk is a lot of patience.
Start caulking with slow, steady strokes so that the bead is evenly applied throughout the length of the baseboard. Take your time and at the end of all this, you'll have nice, perfectly caulked baseboards.
Are you looking for more information about baseboards? Look no further because we've got the right topics for you: