
Got your hands on a new Milwaukee Hammer Drill and wondering where to start?
You've come to the right place. In this guide, we're breaking down its key features and giving you a clear, step-by-step tutorial.
Plus, we have safety and maintenance pointers to ensure you're getting the most out of your tool.
Ready to get to know your drill better? Let's dive in.
Milwaukee Hammer Drill Overview
The Milwaukee Hammer Drill is built to deliver exceptional performance, making it a popular choice among professionals and DIY enthusiasts.
With its powerful motor and high torque output, this drill can handle even the toughest drilling tasks with ease.
It also features a three-mode operation, allowing you to switch between screw, hammer drill, and regular drill modes depending on your needs.

See the Milwaukee Hammer Drill on Amazon.
Key Features
Here are some of the key features that set it apart from the competition:
- All-metal gear case: The drill's gear case is made entirely of metal, ensuring durability and preventing overheating during intensive use.
- Variable speed control: This feature lets you adjust the drilling speed to suit specific tasks, ensuring precision.
- Keyless chuck: With the keyless chuck design, changing drill bits becomes quick and doesn't require additional tools.
- LED light: An integrated LED light brightens the work area, facilitating accurate and safe drilling in dim conditions.
How To Use A Milwaukee Hammer Drill
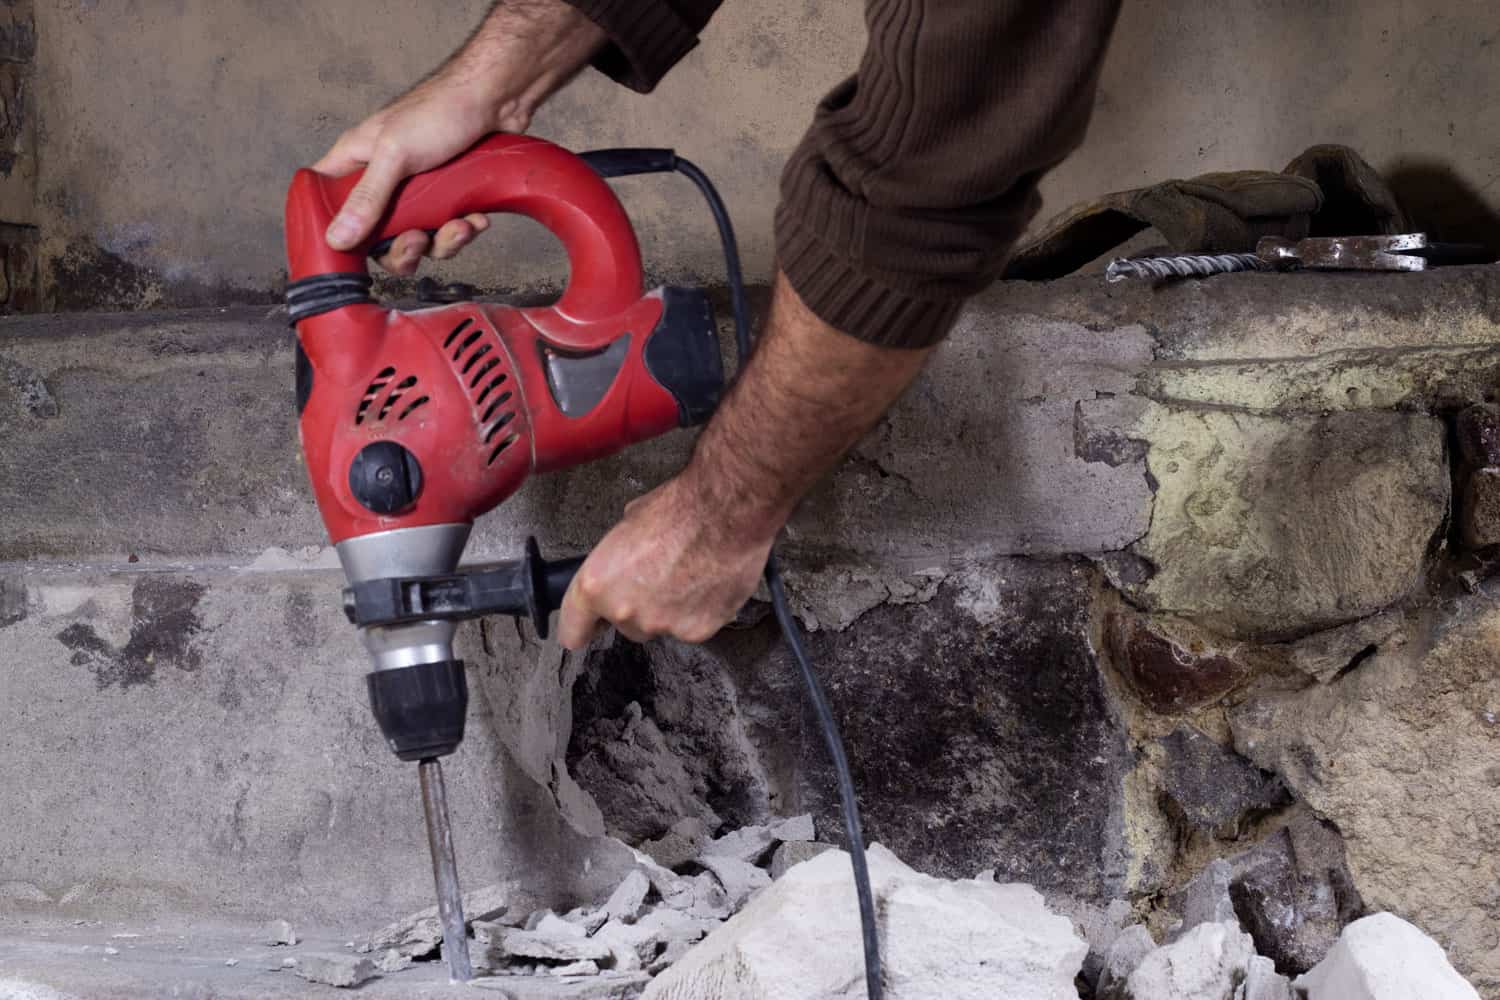
Milwaukee Hammer Drills are powerful tools that can make drilling through tough materials like concrete and masonry a breeze.
Here is a step-by-step guide on how to use a Milwaukee Hammer Drill.
Step 1: Choose Drilling Mode
There are three modes to choose from when using a Milwaukee Hammer Drill: screw, hammer drill, and regular drill modes.
Select the hammer drill mode since we are focusing on its function as a hammer drill.
You can opt for the regular drill mode if you want to use it as a regular drill.
Step 2: Loosen The Chuck
Turn the chuck counterclockwise to loosen it. This will open the chuck jaws, allowing you to insert the drill bit.
Step 3: Install The Right Drill Bit
Select the right drill bit for the job and insert it into the chuck. Ensure the bit is securely placed before moving on to the next step.
Step 4: Tighten The Chuck
Turn the chuck clockwise to tighten it and secure the drill bit in place.
Step 5: Choose The Speed
Select the appropriate speed for the job through the clutch selector.
Lower speeds are best for drilling through harder materials, while higher speeds are better for softer materials.
Step 6: Mark The Spot And Drill
Use a pencil or marker to mark where you want to drill. This will help guide you and ensure that you drill in the right place.
Press the trigger, hold the drill perpendicular to the surface, and apply pressure while drilling.
Step 7: Finishing Up
Once you have drilled the hole, turn off the drill and remove the bit. Clean up any debris and store the drill in a safe place.
Watch this video for a better understanding of the steps discussed above.
Safety Precautions When Using Milwaukee Hammer Drill
When using a Milwaukee hammer drill, it is important to take certain safety precautions to avoid accidents and injuries.
Here's what you should keep in mind:
- Always use safety equipment like safety glasses. Also, consider wearing a dust mask, non-slip shoes, a hard hat, or ear protection.
- Before you plug in or attach the battery to your drill, make sure it's turned off.
- Never carry the drill with your finger on the switch. This prevents the drill from accidentally starting.
- Don't wear loose clothes or jewelry, or leave long hair untied when using the drill. These can get caught in the drill's moving parts.
- If your drill has a feature to connect to a dust collector, use it. This can help reduce the risk of dust.
- Even if you've used the drill many times, always pay attention and follow safety rules. One quick mistake can cause an injury.
- Don't exceed a drill bit's rated speed. Starting a drill at a high speed without the bit touching the work can bend the bit, which is dangerous.
- Always start the drill at a low speed, with the tip touching what you're drilling.
- Don't push too hard; let the drill do the work. Pushing too hard can break the bit or make you lose control.
Continue reading: How To Easily Remove A Milwaukee Battery M18
Milwaukee Hammer Drill Maintenance
Taking care of your Milwaukee Hammer Drill and its battery pack and charger helps it work better and last longer.
Follow these easy tips for good care:
Regular Inspection
Look and listen to your drill. If it makes strange noises or parts don't move right, there might be a problem.
Scheduled Service
Even if you don't notice any immediate issues, sending your drill, battery pack, and charger to an official MILWAUKEE service facility is good practice.
Depending on how frequently you use the tool, this should be done every six months to a year for a thorough inspection.
Battery Pack Contacts
If your drill doesn't start or feels weak despite the fully charged battery pack, a simple first step is to clean the battery pack's contacts.
Dirty or corroded contacts can impede electrical flow.
Can My Milwaukee Hammer Drill Be Used As A Regular Drill?
Yes, your Milwaukee hammer drill can be used as a regular drill.
You'll need to switch your Milwaukee hammer drill to the drill mode when you use it as a regular drill.
You can do this by rotating the torque selector to the drill icon.
Once you've done this, you can insert your regular drill bit into the chuck and tighten it securely.
Can My Milwaukee Hammer Drill Be Used On Concrete?
The answer is yes! Hammer drills are designed to drill through hard materials like concrete, brick, and stone.
The hammering mechanism and drill bit structure speed up the drilling process, making it easier to drill through tough materials.
When using your Milwaukee hammer drill to drill into concrete, it's important to use the right drill bit.
Carbide tip drill bits are the best option for drilling through concrete and rebars.
They are stronger than regular drill bits and can withstand the pressure of drilling through hard materials without breaking.
Also worth the read: Milwaukee Vs DeWalt Vs Makita: What Are The Major Differences?
Wrap Up
Well done! You're now equipped with the knowledge to operate a Milwaukee Hammer Drill effectively.
Whether at home or on the job, mastering the right techniques and safety measures is crucial.
Always check the manual before using the drill or any other tool. This will help you use it the right way and keep it safe.
We hope you found this article helpful and wish you all the best in your drilling tasks.