If you have just purchased a DeWalt drill, then you will want to know how to use it properly. Knowing how to use each component will ensure you are using the drill to its full potential. Let's take a look at the steps below on how to use your DeWalt drill.
Follow these steps in order to use a DeWalt drill:
- Completely charge the battery.
- Place the battery into the drill.
- Secure drill bit into the chuck.
- Tighten the chuck by turning it clockwise.
- Choose a gear setting.
- Then, choose the torque setting.
- Turn on work light (if necessary).
- Press the button behind the trigger to the right for the forward drill.
- Or press the button to the left for the reverse drill.
- Squeeze the trigger to turn on the drill, and let go to turn it off.
- Position the forward/reverse switch in the middle to lock the drill.
- When finished, release the battery and place it in the charging port.
Understanding how each component works will make your experience using the DeWalt drill much more efficient. In this article, we will walk you through each step in detail so that you can get the most out of your new purchase. In addition, we will answer other frequently asked questions about the DeWalt drill, so read on!
How Do You Use A DeWalt Cordless Power Drill?
![Drilling a hole in a concrete wall using a cordless Dewalt drill, How To Use A DeWalt Drill [Step-By-Step Guide]](https://uooz.com/wp-content/uploads/2022/11/Drilling-a-hole-in-a-concrete-wall-using-a-cordless-Dewalt-drill-on-a-background-of-a-wooden-floor.-How-To-Use-A-DeWalt-Drill-Step-By-Step-Guide-1.png)
The DeWalt cordless power drill is a versatile and powerful tool for homeowners and professionals alike. It can be used for everything from drilling holes to driving screws and bolts.
If you have never used a cordless power drill before or if you are not familiar with the DeWalt brand, then this guide will be especially helpful. We will walk you through each step of using the DeWalt cordless power drill, from charging the battery to choosing the right drill bit.
Let's walk through each step so that you can get started using your new DeWalt cordless power drill right away!
Charge The Battery
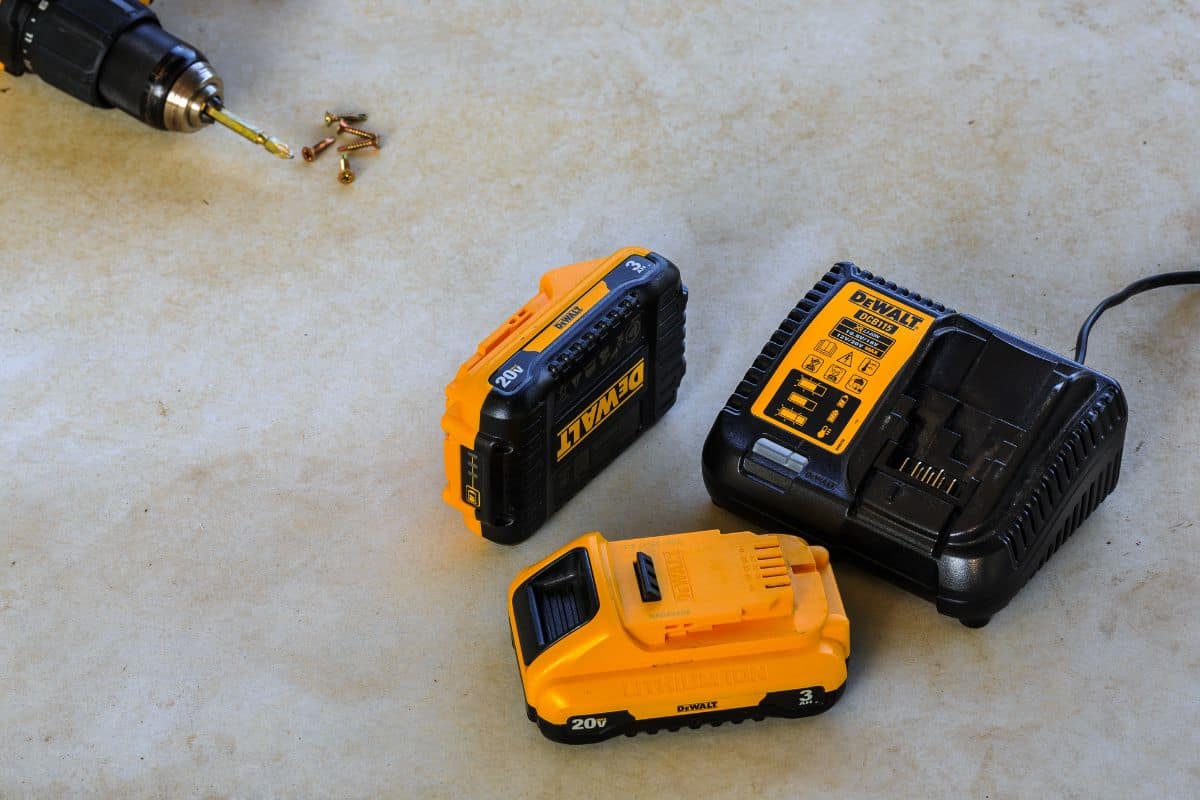
Before using your DeWalt cordless power drill, you will need to make sure that the battery is fully charged. You can do this by plugging the charger into an outlet and then connecting it to the battery.
It is best to charge the battery overnight so that it has plenty of time to reach a full charge. DeWalt recommends letting the battery charge for 8 hours so it can reach a full charging cycle.
You will know the battery is charging if there is a solid red light on the charger. Once the battery is fully charged, the light will turn green.
Once the battery is fully charged, you can attach it to the drill. To do this, simply insert the battery into the back of the drill until it clicks into place.
Insert Drill Bit
Now that your battery is fully charged and attached to the drill, you can insert the drill bit. The type of drill bit that you need will depend on the project that you are working on.
For example, if you are drilling a hole into the wood, then you will need a different type of drill bit than if you are drilling into metal. DeWalt offers a variety of drill bits that are designed for different materials.
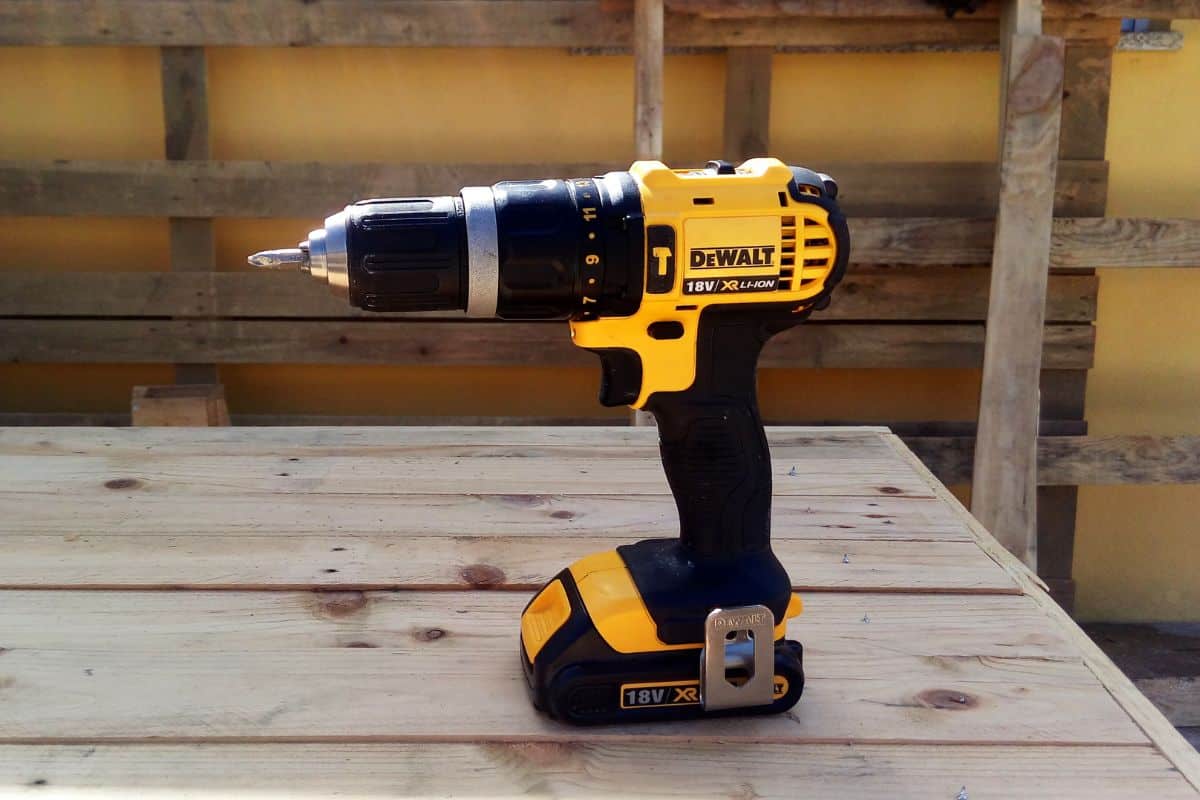
To insert the drill bit, loosen the chuck by turning it counterclockwise. Then, insert the drill bit into the chuck and tighten it by turning the chuck clockwise.
Choose Gear
On the back of the DeWalt drill, you will see a sliding switch that is numbered 1 and 2. These are your gear settings. Gear 1 is for lower speeds and higher torque, while gear 2 is for higher speeds and lower torque.
Which gear you choose will depend on the project that you are working on. For example, if are drilling into a hard material like concrete, then you will want to use gear 1.
If you are drilling into a softer material like wood, then you can use either gear 1 or 2. The choice is up to you and what you are more comfortable with.
To change the gear setting, simply slide the switch to the desired position.
Choose Torque Setting
Next is choosing the torque setting. The torque setting controls how much power is going into the drill bit. The higher the torque setting, the more power will be used.
You will see numbers 1-13 (depending on the drill) on a ring around the drill. This is your torque setting. To change the setting, simply turn the ring to the desired number.
Turn On Work Light (If Necessary)
Before you start drilling, if you need a light to see where you are working, you can turn on the work light. The work light is located near the battery release.
It has three settings—off, half-light, and full-light. To change the setting, simply slide the switch.

Forward/Reverse/Lock Button
Now, you will choose the direction in that you want the drill to spin. To do this, there is a forward/reverse/lock button on the side of the drill.
Pushing the button so it sticks out to the right will put the drill in the forward spin. Pushing the button so it sticks out to the left will put the drill in reverse.
And pushing the button all the way in will lock the button so that the drill does not spin at all. This is a safety feature that prevents the drill from turning on accidentally.
Use Trigger For On And Off
Once you have the settings how you want them, you are ready to start using the drill. To do this, simply squeeze the trigger. To stop the drill, simply release the trigger.
Release And Charge Battery

Each time you are done using the battery, it is best to release it and let it charge. To do this, simply press the battery release button on the side of the drill.
Slide the battery out, and place it back into the charging port. You don't need to worry about overcharging the battery—it won't damage it.
In fact, DeWalt batteries will decrease in capacity if they are stored outside of the charger. The battery can lose up to 15-20% battery life in the first 24 hours. The next day, it can lose an additional 7-10% of battery capacity and 1% every day after that.
So, it is best to keep the battery in the charger when you are not using it.
How Should You Store A DeWalt Drill?
In order for your DeWalt drill to last a long time, it is important to store it properly. The best way to store a DeWalt drill is in a cool, dry place.
It is also important to keep the drill away from any extreme heat or cold. If the drill gets too hot or too cold, it can damage the battery and shorten the life of the drill.
For example, temperatures above 105 degrees Fahrenheit can damage the battery, so it is best to avoid storing the drill in direct sunlight or in a hot car.
On the other hand, temperatures below 40 degrees Fahrenheit can also damage the battery. So, it is best to avoid storing the drill in a cold garage or shed.
It is also a good idea to keep the drill in the case when it is not in use. This will protect it from any dust or debris that could damage the drill.
When you are ready to use your DeWalt drill again, simply follow the steps above, and you will be ready to go!
How Do You Know A DeWalt Drill Is Low On Power?

There are a few things that you can look for to know when your DeWalt drill is low on power.
First, the work light will start to dim. This is an indication that the battery is running low on power. Second, the drill will start to have a significant decrease in power. This is because the battery is not able to provide the same amount of power as it could when it was fully charged.
Keep in mind the high torque and the gear setting you use will also play a role in how long the battery lasts. So, if you don't need to use the high torque or gear set, it is best to save them for when you really need them.
You can also purchase a spare battery so you always have a fresh one on hand. This is a good idea if you plan on using the drill for long periods or if you are working in an area with no power source to charge the battery.
DeWalt also makes a battery charger that can charge two batteries at the same time. This way, you can rotate between batteries for a long day of work.
How Do You Clean A DeWalt Drill?
Cleaning your DeWalt drill is important to keep it in good condition. The best way to clean the drill is with a damp cloth. Be sure to remove the battery before you start cleaning.
You can use mild soap and water if needed, but be sure to avoid any harsh chemicals or abrasives. These can damage the drill.
Wipe down the outside of the drill, and remove any grease and dirt. You can also use a soft brush to remove any debris from the vents.
Once you have cleaned the drill, use a dry cloth to remove any moisture. Be sure the drill is completely dry before you put the battery back in and store it.
Final Thoughts

As you can see, using a DeWalt drill is easy and convenient. By following the steps above sure to follow the steps above you will get the most out of your drill.
Made it to the end? Here are other articles you might find helpful:
Does Craftsman Take DeWalt Batteries?
