
Cracks and other damaged areas on PVC pipes can lead to serious issues in your home if they are not repaired quickly. However, sometimes PVC pipes are located in cramped small spaces, making it difficult to access them for repair. So what's the best way to repair PVC pipes and small areas? We've researched this topic, and we will go over how to do it in this post.
Here are the steps to repair PVC pipes when working in a tight area:
- Turn off the water
- Set up a drip bucket or pan
- Seal the leak
- Seal the pipe connection
- Tighten any loose fittings
- Replace the damaged pipe
- Turn the water back on and test
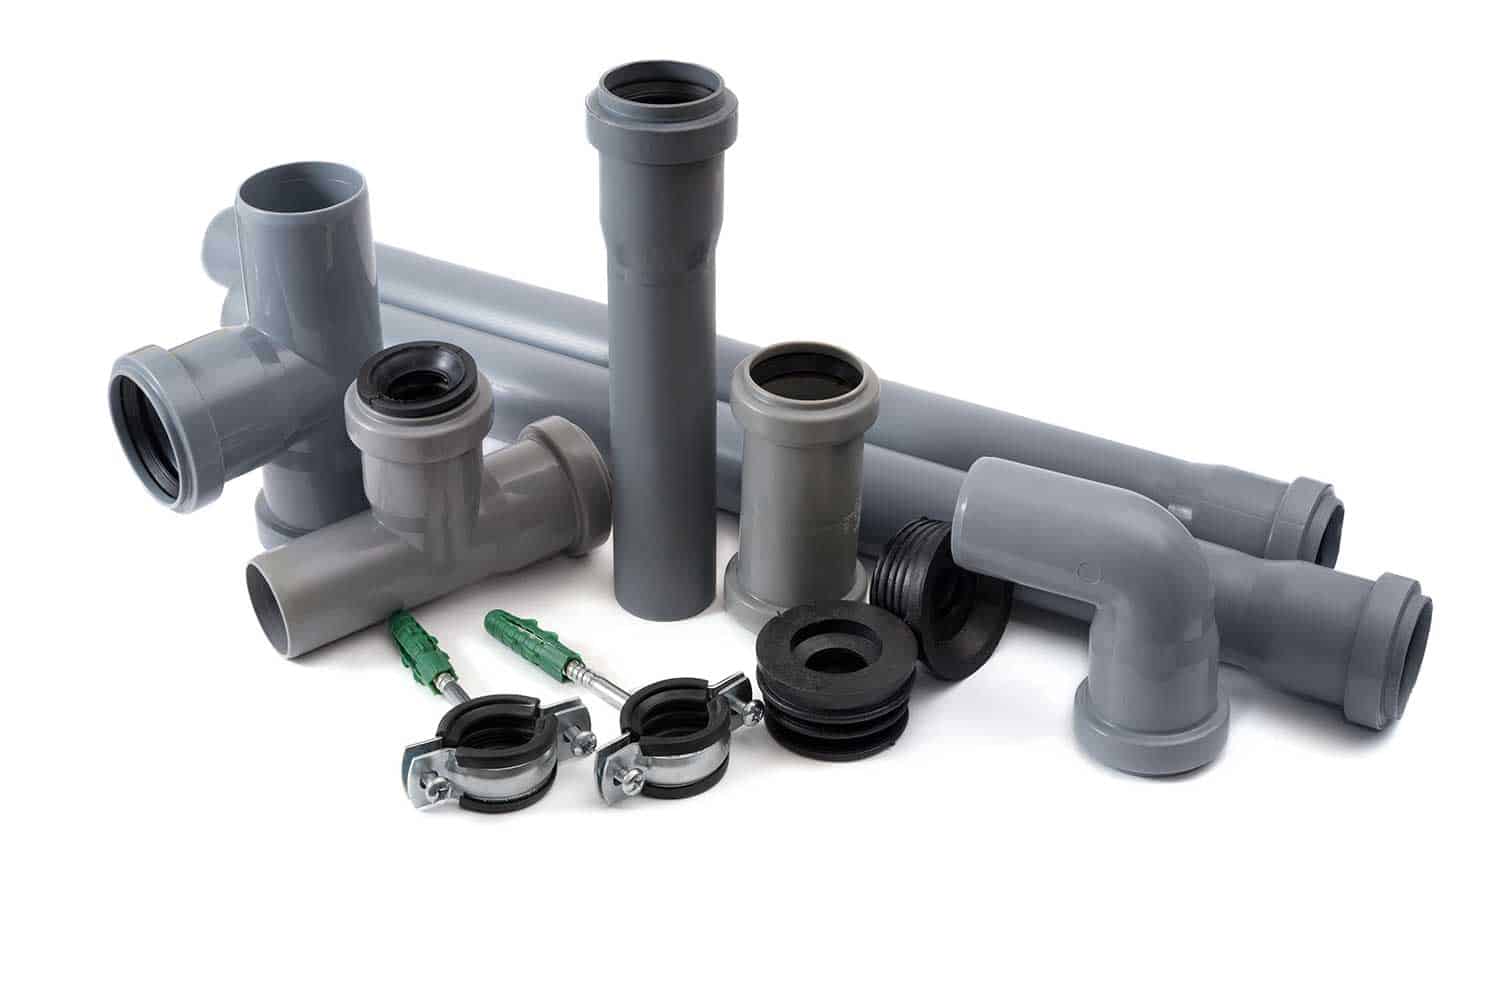
PVC pipes are the most common type of water pipes used in most homes. And like any other pipe, they can become damaged at some point, requiring immediate repair. Continue reading to learn how to initiate this repair when working with limited space.
![Gray PVC sewer pipes, How To Repair PVC Pipe In Tight Spaces [7 Steps To Follow]](https://uooz.com/wp-content/uploads/2021/06/How-To-Repair-PVC-Pipe-In-Tight-Spaces.png)
Steps To Repair PVC Pipe In Tight Spaces
Before attempting to repair your PVC pipe, be sure that the steps you plan to take will follow the local building codes of your city or township. You can typically find this information on your city's government website.
Things you'll need:
- Pipe adhesive
- Degreaser or household cleaner
- Cleaning cloth
- Shallow pan or small saucepan
- Wrench
1. Turn off the water
Make sure that the water is turned off to the room where you will repair the pipe. You can typically turn off the water at the valve beneath the sink or turn it off at the main water valve. The main water valve is usually located in the basement of your home.
Turn off the valve by twisting it a quarter of the way to the right until the water shuts off. If there is a current leak beneath the sink, be sure to place a rag around the pipe beforehand to catch any dripping water.
2. Set up a drip bucket or pan
If you have room, place a shallow pan beneath the leak area to prevent water from spilling onto the cabinet or floor. You can also use a small saucepan if space allows for it. If space is especially limited, be sure to throw on a pair of knee pads to make things more comfortable while working on the repair.

Read more about these knee pads on Amazon.
3. Seal the leak
Next, take your degreaser and cleaning cloth or household cleaner and clean the section of the pipe that contains the leak. Be sure to wipe it down thoroughly so that the sealant will adhere properly once it's applied. Next, let the area dry for a few minutes. Once it dries, take out your epoxy and mix it up according to the manufacturer's instructions.
Then, apply the epoxy resin to the damaged area and cure it for anywhere from 10 to 15 minutes; do follow the instruction carefully as epoxy requires a time-limited application. Once the epoxy has cured, give it a quick squeeze with your index and thumb fingers to ensure that it has completely hardened.

Read more about this PVC epoxy on Amazon.
4. Seal the pipe connection
Now that you've sealed the PVC pipe, it's time to check the pipe connection. Pipe connections are common places for leaks because they can easily become undone. They can also contain broken fittings or cracked pipe edges.
If the fitting is warped or damaged, you'll need to replace it with a new one. If the pipe is cracked at the fitting, remove the fitting connector and apply the epoxy to the cracked area. Be sure to clean it and let the sealant cure beforehand.
5. Tighten any loose fittings
If you notice that the water is coming from a loose-fitting connection, take your wrench or screwdriver and tighten the connection. Do this with a wrench; first, tighten the male fitting by turning it to the right. Be sure to hold the fitting tightly to keep it from moving. Next, tighten the female fitting to the right as much as possible. Once you have secured the fitting, check the connection for any signs of leakage.
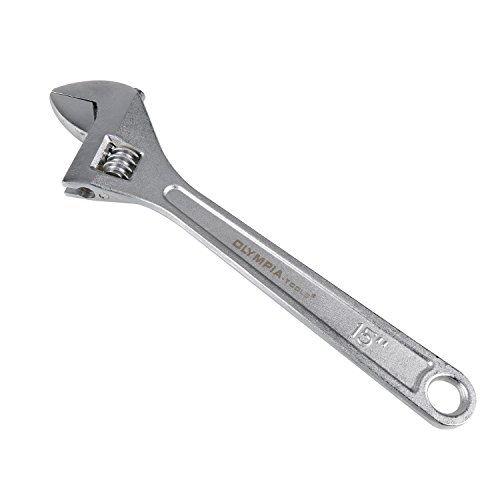
Take a look at this wrench on Amazon.
6. Replace the damaged pipe
If a PVC pipe is damaged beyond repair, it will need to be replaced. Since you're working with limited space, you'll need to use the smallest saw to cut the pipe away from the fitting. Start by loosening the pipe at the connector. Then grab your cutting tool; a small oscillating saw is the best tool for this job. Be sure to use no more than a 2.5-inch to the 3-inch attachment for the saw, or you may find yourself struggling to access the pipe.
After cutting away the damaged area of the pipe, let any water from the pipe drip into the drip pan. Next, measure the replacement pipe by lining it up with the pipe piece that you just removed. Then cut out the replacement piece and hold it up to the area will it will be glued. If the pipe fits, take your sandpaper and burr around the edges of the newly cut pipe to ensure a good fit.
Next, apply glue to the new pipe using the brush that comes with the can. Be sure to apply the glue directly on the edge of the pipe and around the exterior. Then, insert the pipe into the replacement fitting and allow it to set for about 10 to 20 seconds to ensure that it has a strong bond.

Check out this pipe glue on Amazon.
7. Turn the water back on and test
Finally, turn the water back on and inspect the pipe while running the water to ensure that the leak is gone.
What Do Plumbers Use To Seal Pipes?
The type of sealant used to fix pipes depends on the job and types of pipes. Here are the most common materials that plumbers use.
Epoxy
The most common sealant used on pipes is epoxy or resin sealant. This sealant typically comes either as a liquid standalone sealant or as a kit with two ingredients that need to be mixed to create the epoxy. The epoxy is applied to the PVC using an applicator brush and will take anywhere from 10 to 20 minutes to cure and harden over the pipes.
Rubber and Silicone Repair Tape
Plumbers also often use repair tape to fix minor leaks in PVC pipes. The repair tape is usually made of silicone, rubber, or a combination of both and can be wrapped directly around PVC pipes to stop water leaks quickly.

Fiberglass Resin Tape
Fiberglass resin tape is another common temporary fix for PVC pipes. This tape is made of fiberglass and becomes activated when it makes contact with the water. Once it does, the resin hardens around the pipe and stops the leak in its tracks. It's best to apply this tape to wet pipes so that it can activate on contact. The resin on the tape will be in need about 10 to 20 minutes to harden.

Learn more about this resin tape on Amazon.
What Is The Best Sealant For PVC Pipe?
One of the best sealants you can use for your PVC pipe is Oatey's 31230 Pipe Joint Compound. This is one of the highest quality general-purpose pipe sealants on the market. It's primarily used for water pipes and complies with NSF-61 standards.
This formula remains effective in temperatures ranging from -50 degrees to 500 degrees Fahrenheit and can handle up to 3,000 psi of gas pressure and 10,000 psi of water pressure. It's also non-toxic and eco-friendly.

Read more about this joint compound on Amazon.
Will PVC Glue Stop A Water Leak?
Yes, PVC glue can stop a water leak. To apply the glue, you'll first need to turn off the water and then clean the pipe where you will apply the glue. You'll then need to let the glue set for about 10 to 20 minutes.
Can You Use Too Much PVC Cement?
Yes. Though, doing so won't necessarily have a large negative impact on the sealing capability of the pipes. However, you will want to ensure that too much doesn't get inside of the pipe, as it can cause potential blockages.

Check out this PVC cement on Amazon.
Should You Sand PVC Before Gluing?
It's not necessary. Cutting and sanding PVC is also referred to as burring. This is typically done after the pipes are cut to prevent jagged edges from negatively affecting the bond to the other pipes. If the pipe edges or too jagged, they won't be able to seal properly.
Wrapping Things Up
We hope that this post has helped illustrate how to repair PVC pipes when working in tight spaces. To ensure a proper seal, remember to always measure any damaged pipe area before adding a replacement pipe.
Before you go, be sure to check our other posts: