
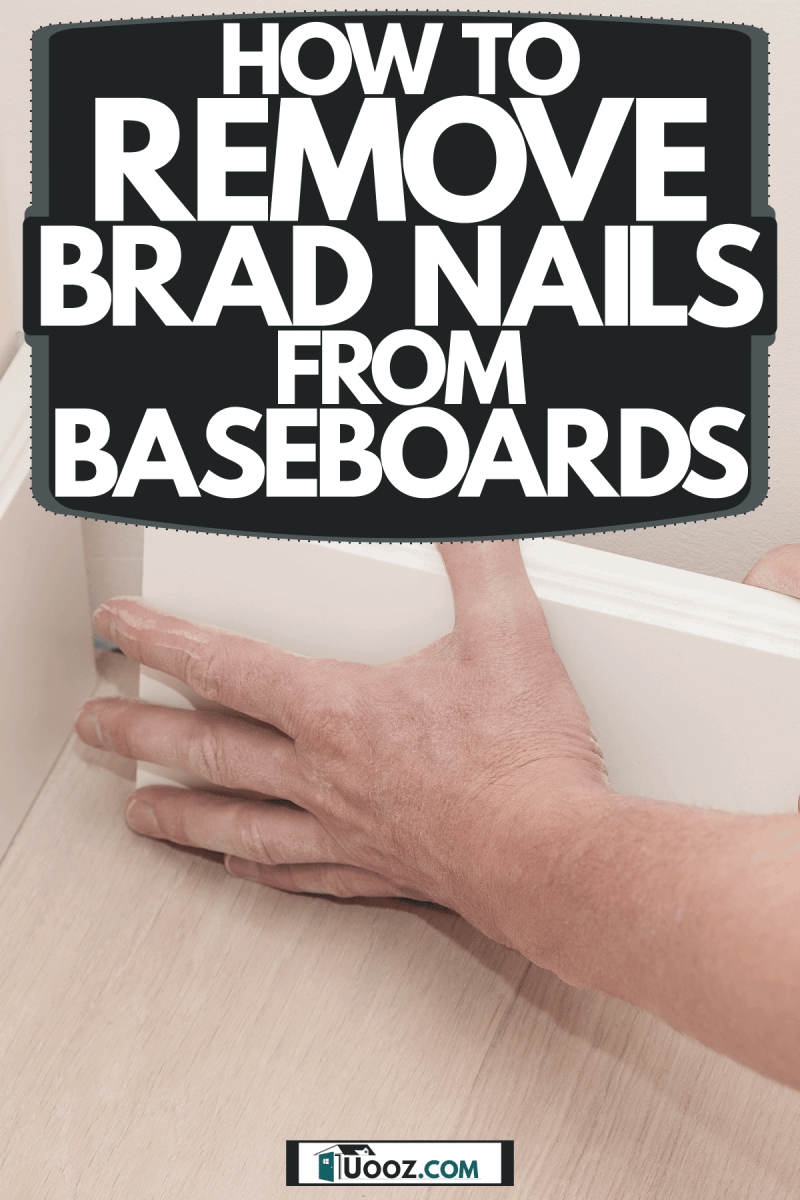
If you're working with brad nails for the first time, you may be surprised to learn that they can be a bit challenging to remove once they're in place--especially in baseboards. So, what's the best way to remove them? And how do you do it without damaging the baseboard? We've researched these answers, and we'll discuss them in this post.
Here are the steps to remove brad nails from a baseboard:
- Loosen the baseboard from the wall
- Pull the nail out
- Clean up the wood
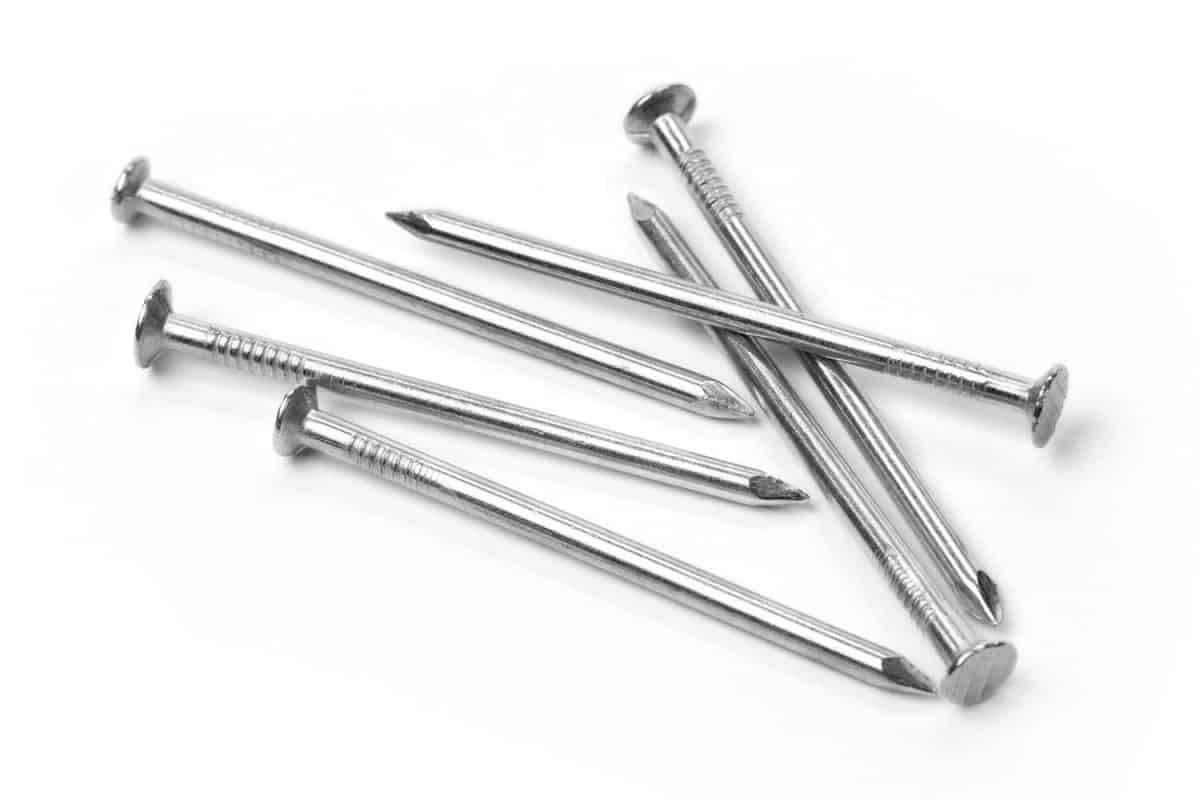
Similar to other types of nails, brad nails time and various gauges. Though most are relatively thin, and thinner nails may be more difficult to remove without breaking them, but not impossible. Keep reading to learn how to pry out these slender-profile nails without splitting them or damaging your baseboard.
Steps To Remove Brad Nails From Baseboard
There are a few different tools that you can use to remove brad nails from your baseboard. The small diameter of these nails will show less of a hole, and in some cases, you can apply wood filler to the baseboard instead of removing them. But if you need to remove them, here are steps you can take.
Things you'll need:
- Pry bar
- Hammer
- Utility knife
- Stud finder
- Putty knife
1. Loosen the baseboard from the wall
Before removing the brad nails from the baseboard, you'll need to gain access to the bottom end of the nails. To do this, take your putty knife and wedge it between the baseboard and the wall. Then take your hammer and gently tap the putty knife to loosen up the baseboard. After it's loosened a bit, grab your pry bar, and pull the baseboard from the wall.
Your ultimate goal is to gain access to the back end of the brad nail so that you can get a good grip on it to pull it out. You may need to wiggle the putty knife around a bit to loosen up the baseboard initially. However, you can also take your utility knife and gently wedge it between the baseboard and the wall to avoid peeling the drywall away from the wall.
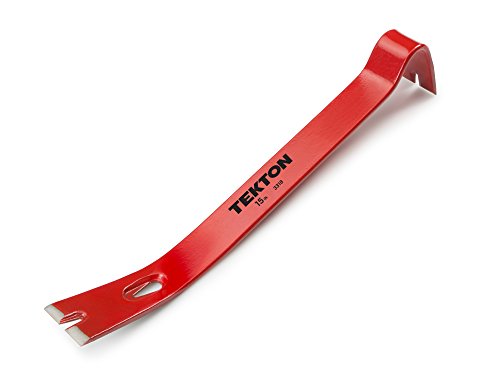
Check out this pry bar on Amazon.
2. Pull the nail out
Once the baseboard is loose and away from the wall, grab your pliers and firmly grip the bottom of the brad nail. Next, turn the nail left and right and then gently pull it out. If the nail appears stuck, take your hammer and gently tap the back while holding the nail with your pliers.
If you have any wood scraps available, you can also use them to help provide leverage for the hammer-- that is, if you don't have any pliers on hand. If you're worried about damaging the wood, you can always replace a small piece of cloth or tarp in front of the baseboard to protect it from accidentally being hammered or scraped with your needle-nose pliers.

Read more details about this hammer on Amazon.
3. Clean up the wood
After removing the nails from the baseboard, take a piece of light-grit sandpaper to smooth over the holes. There may be some jagged edges where you've pulled out the nails. After smoothing out the holes, apply a small amount of wood filler to each one and flatten it with a putty knife. If you plant to sand or re-paint the baseboard, let the wood filler dry for about 30 to 40 minutes before sanding the area. After that, you're good to go.

Check out this sandpaper set on Amazon.
Need more of a visual for this process? Check out this video on how to remove brad nails from the baseboard?
When Should You Replace Baseboards?
At some point, you may need to replace the baseboards in your home. But sometimes, it can be tricky to determine when to replace them instead of just refinishing them. So here are a few signs that'll let you know that it's time to shell out the money for new ones.
They're becoming thinner
If you've had the same baseboards for anywhere from 10 to 20 years or more and have refinished them more than once, they may be a bit thinner. This is due to too much sanding, which can wear down your floorboards. Eventually, they'll become too thin to support themselves properly. Keep in mind that the wood will become less structurally sound, and it may be more prone to crack. After two or three refinishes, it's probably better to replace them.
They have water damage
Water damage can cause baseboards to become warped and buckle. Whether the damage is from a hole in your ceiling or a busted water pipe, it can be challenging to repair baseboards once they have been exposed to long stints of moisture.
If you notice that the boards are starting to pull away from the wall or show other signs of wear, it's best to replace them as soon as possible. This will prevent them from creating cracks where pests and other insects crawl through and infest your home. It'll also prevent cold drafts from entering during the colder months.
They're cracking
Over time, old baseboards can start to crack at the seams. Unfortunately, even the best care can't prevent this from happening. It may be time to replace the baseboards if you start noticing small cracks on the wood, especially along the middle sections.
Remember that you can cover up these cracks with wood filler to a certain extent, but you can only do that so many times before you sand down the wood too much. Wood can only be refinished so much before it loses its sturdiness.
The good thing is that replacing your baseboards doesn't have to be an expensive or lengthy repair job. You can find these boards rather easily at most local home improvement stores, and they're not as expensive as other types of wood, such as hardwood floors. These boards are pretty simple to install and can be easily be painted or stained to go with any home decor.
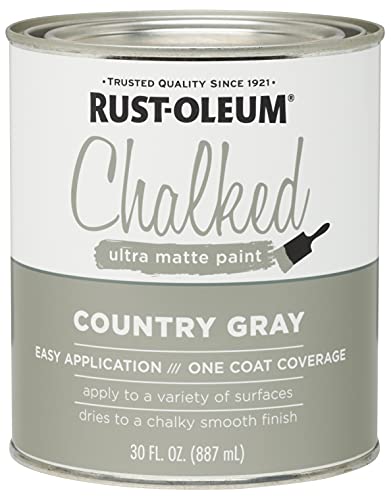
Check out this interior wood paint on Amazon.
How Do You Remove Baseboard Trim Without Damaging It?
You'll first want to loosen the baseboard from the wall. There are a few ways you can do this, but the most common is to use a putty knife as leverage and then gently nudge the baseboard away from the wall with a pry bar.
You can use a pry bar or the claw end of a hammer to assist with this. It's helpful to place a cloth between the baseboard and the wall to prevent damaging either surface. Overall, when removing trim safely, it's best to go slow and gently to avoid cracking it or damaging the wall.
How Do You Remove Deepset Nails?
Deep-set nails can be removed by using a tool called a nail puncher. This method will only work if you have access to both sides of the wood in which the nail is located. If not, you can use a pry bar, needle-nose pliers, and a chisel to dig the nail out from the wood surface.
If you plan to use a pry bar or pliers, you'll need to dig out a bit of wood from around the base of the nail to get a firm grasp on it. If the nails are particularly slender, such as brad nails, you can also use a utility knife to minimize the damage of the wood.

Read details about this nail puncher on Amazon.
How Do You Remove A Nail Without A Head?
If you have access to the back of the surface of the wood, you can use a nail puncher to punch the nail out from the other end. Keep in mind that you'll need to ensure that the wood is facing the ground, as not to injure yourself or anyone standing nearby accidentally.
If the nail is sunken too deeply into the wood surface, you can also use a pair of needle-nose pliers to pull the nail out of its position. If you can't access it, you can take a utility knife or a small prying tool to gently raise the nail above the wood surface to get a better grip on it.

Learn more about these needle-nose pliers on Amazon.
Wrapping Things Up
As you can see, there are quite a few different methods that you can use to remove brad nails from wood surfaces. The best method to use depends on the tools you have available and the leverage that you can get on the body of the nail. However, needle-nose pliers are always a great tool to help with this task.
Before you go, be sure to check out some of our other posts: