
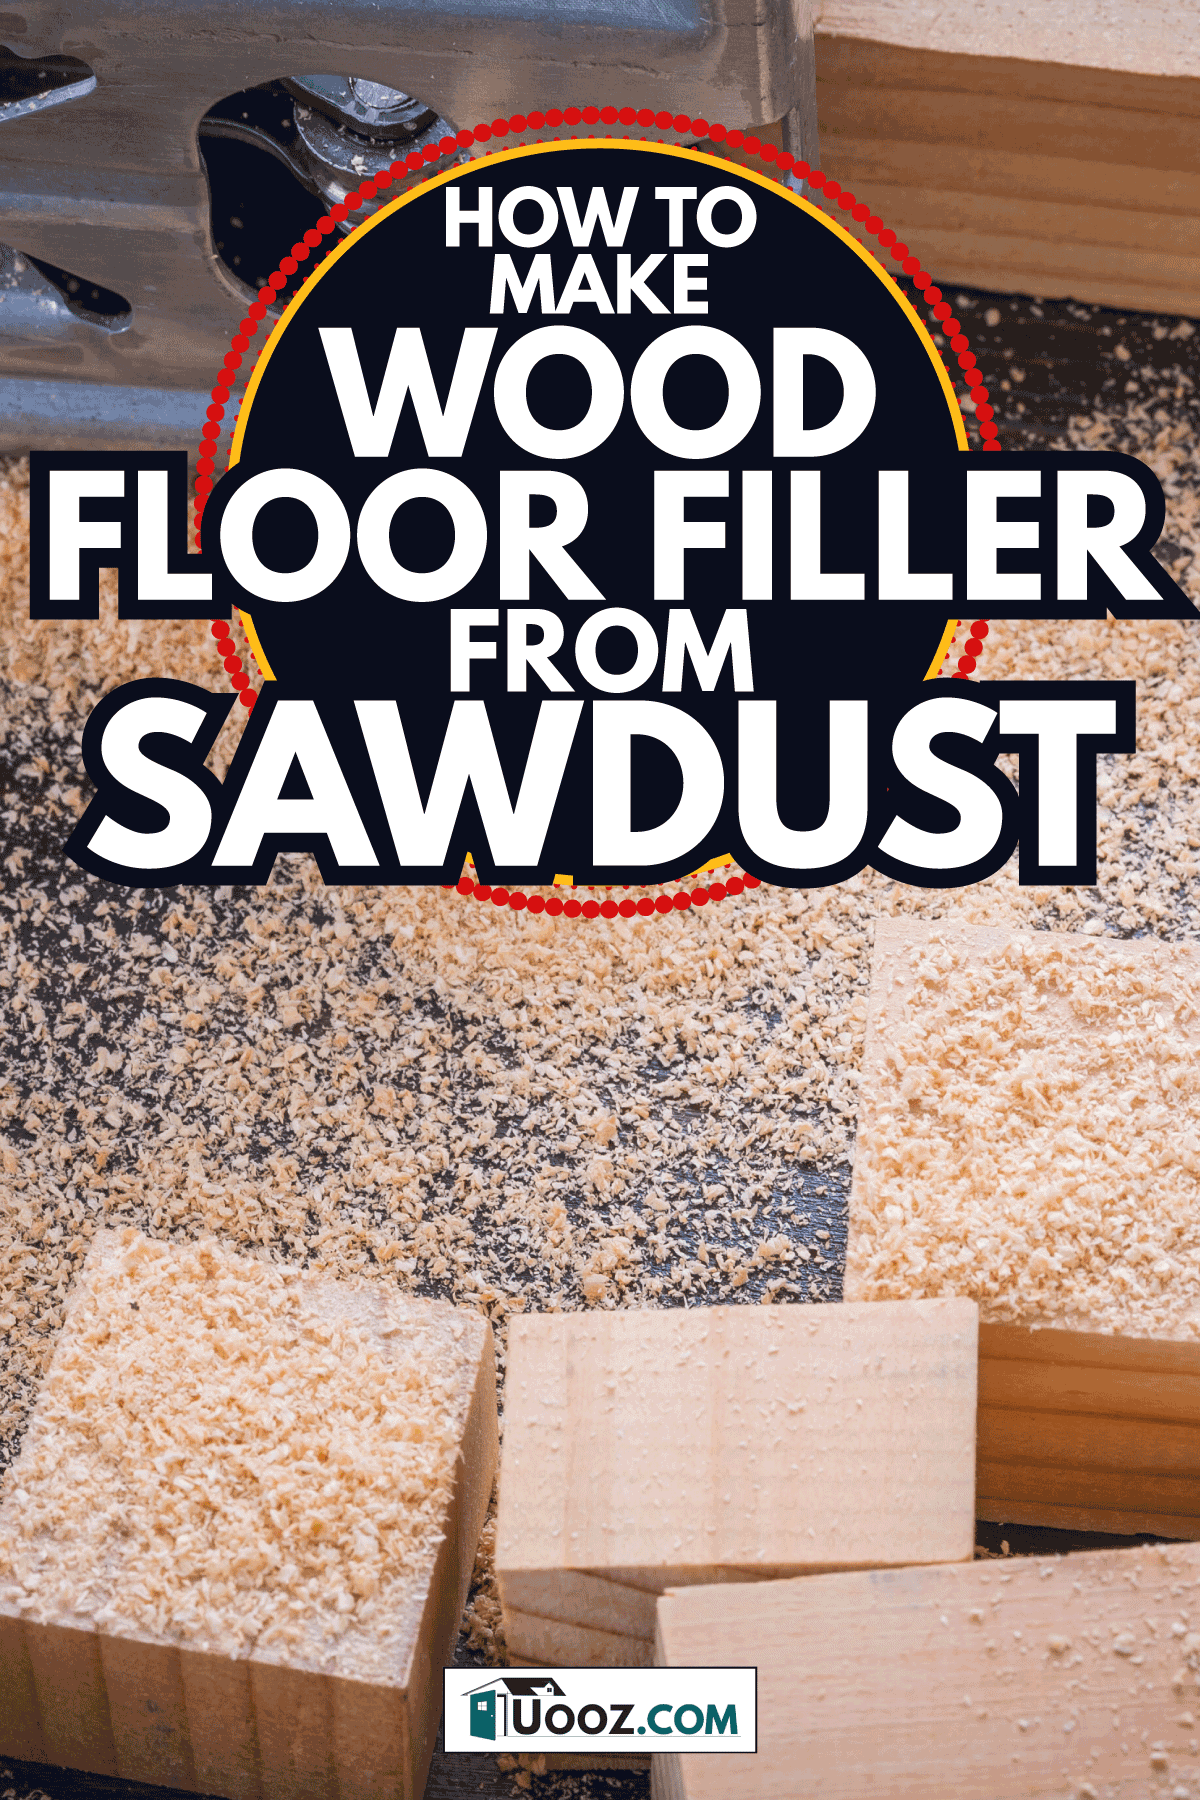
If you have hardwood floors or wood furniture in your house, you may encounter an occasional hole or ding in the wood. And while you can fill these areas with your typical commercial wood filler, you can also make your own wood filler from sawdust if you want to save a bit of money. How do you do this, you ask? We've researched the best way to make a DIY wood filler, and in this post, we will go over it in detail.
Here are the steps to make your own wood filler from everyday sawdust:
- Create the sawdust from scratch
- Mix the sawdust with the glue
- Apply the wood filler
- Sand down the filler
Unfortunately, hardwood floors aren't the type of flooring material you can forget about after installing; they'll need to be maintained. Repairing damaged holes, scratches, and other unsightly blemishes in them or room furniture can keep the wood looking its best. Filling damaged wood with wood filler is one of the easiest ways to do this. Continue reading to learn how to make it.
Steps to Make Wood Filler From Sawdust
If you perform a lot of home improvement projects on your own, then you'll likely have enough scrap plywood or other wood pieces available to create your own sawdust. The best places to look for scrap wood are in your storage spaces, such as the basement, attic, garage, or shed.
Once you locate the scrap wood, do a quick test with a screwdriver to ensure that the wood is not rotted. This includes simply pressing the screwdriver into the service of the wood to make sure that it isn't soft or mushy. If it isn't, you're good to go.
Things you'll need:
- Electric sander or file
- Putty knife
- Craft stick
- 400-grit sandpaper
- Cleaning towel
- Scrap wood planks or plywood boards
- Wood glue
- Screwdriver
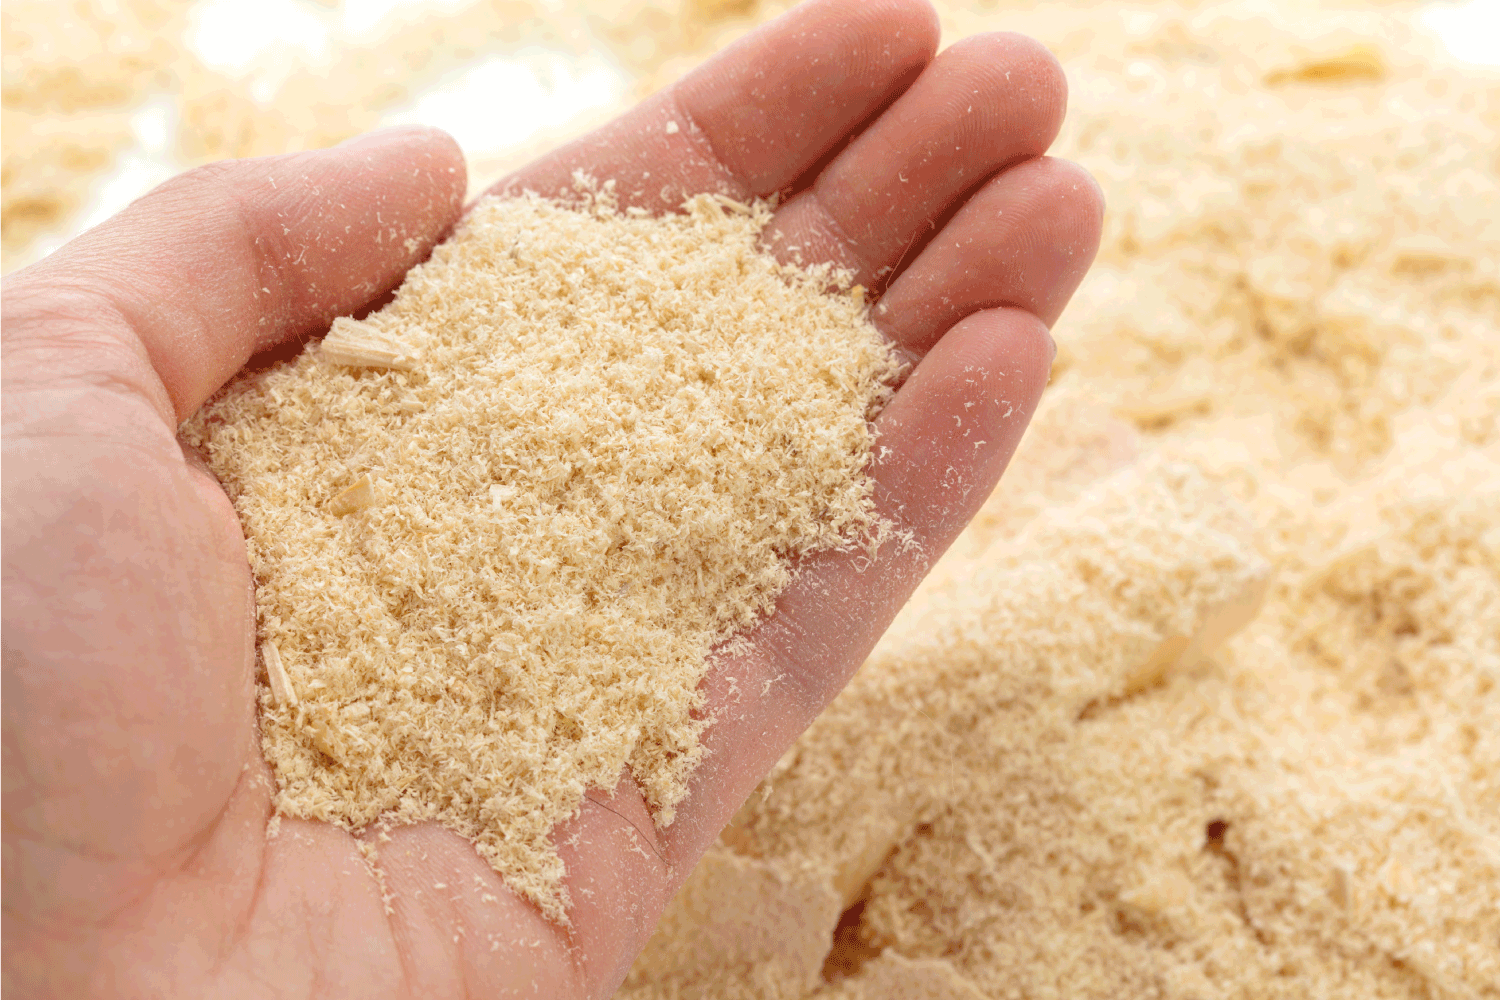
1. Create the sawdust from scratch
After testing your scrap wood to make sure that it's suitable for sawdust, place it on top of a work table. Next, grab some sanding paper block or a file and apply it to the hood piece filing it down until you have about a couple of cups of sawdust. Next, take a look at the sawdust to see if the shavings match the hue of the wood that you plan to fill.
Keep in mind that you may need to file quite a bit of wood if you're looking to cover up several holes or a large surface area. In which case, it may be best to find an orbital sander to make this process go much faster. Next, gather the sawdust that you need for your project and separate it from any excess. Place any excess in a glass mason jar with a tight lid.

Check out this file on Amazon.
2. Mix the sawdust with the glue
Next, place it in a disposable bowl or container. Keep in mind that you will only have a little under 10 minutes to prepare and apply the wood filler before it hardens once you added the glue to the sawdust. So to say, time is of the essence.
Next, pour about 1-3 tablespoons of wood glue into the bowl and stir it in with the sawdust using a craft stick. Continue to add more glue a few drops at a time until the glue and wood form a thick consistency. You want the mixture to be thick but not runny, as this will make it hard to spread into the wood.
To test the consistency, take a little and roll it between your index and thumb. If the mixture it's pliable, then it's ready to be applied. However, if the mixture feels stiff and is hard to move with your craft stick, it is unfortunately too hard, and you'll need to make a new batch. Be sure to add a bit more glue with the new batch, and remember to work fast!
3. Apply the wood filler
Next, take your filler and apply it to the wood surface using a utility knife. Be sure to apply an ample amount and then smooth it out with the edge of the putty knife. Next, let the wood filler dry before washing it off your putty knife with a little soap and warm water. If you find the filler challenging to remove, try using a glue removing solution such as Goo Gone to help break it up.

Learn more about Goo Gone on Amazon.
4. Sand down the filler
Once the wood filler has dried, take your sandpaper and sand down the repaired area until it's as flat as the rest of the surface of the wood. It shouldn't take much effort to make the area smooth, as you'll find that sawdust filler is much softer than commercial wood filler.
Doing so can easily create a gouge that'll need to be re-filled. After sanding down the repaired area, take your cleaning rag and wipe the area clean to look at your work. If the area is smooth and flush, you can go on to the next step in your project, such as priming or staining.

Find cleaning cloths on Amazon.
Check out this video on how to make this DIY wood filler:
How to make wood filler with sawdust for hardwood floors
The quickest and easiest way to make your own homemade wood filler is to use sawdust from scrap wood that you have lying around your home. After mixing in the sawdust with wood glue, you can apply it to any holes, gaps, or dents in wood to patch the area and then sand it down with a sanding block or electric sander.
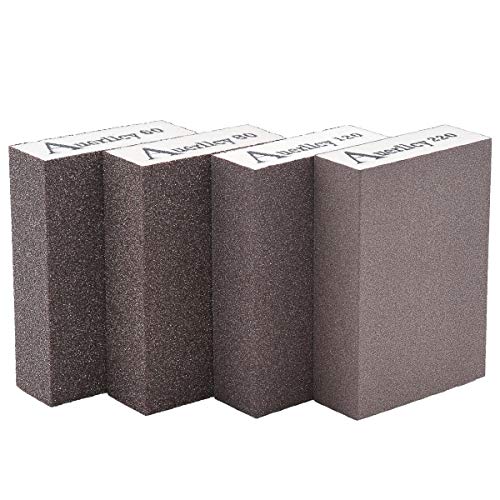
Find out more details about this sanding block set on Amazon.
How do you mix wood glue and sawdust?
Start by placing about a cup or two of sawdust in a disposable bowl. Next, add 1 to 3 tablespoons of wood glue. While mixing the solution with a craft stick, add the glue until it creates a thick dough-like or cookie dough consistency.
What's the difference between wood putty and wood filler?
The terms wood filler and wood putty are often used interchangeably. However, these two products do have differences that should be considered before their use.
Wood Filler
Wood filler is usually water-based, and it can be used on both finished or unfinished wood. However, after the wood filler is applied, it won't harden once it dries. Wood filler is typically used on small projects to fill up cracks, holes, and scratches in wood.
Its primary purpose is to cover any minor defects in the wood so that the surface will be completely free of blemishes. A couple of the main benefits of wood filler are that it dries quickly, and it can easily be sanded down or filed to paint or prime.
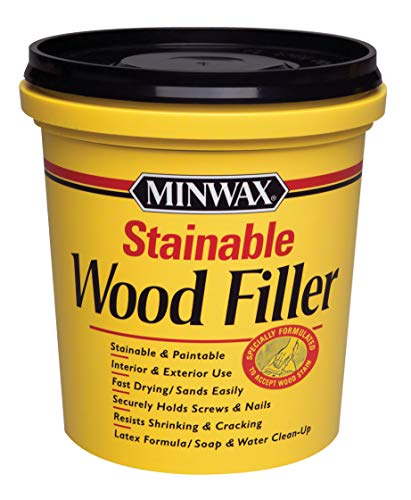
Find commercial wood filler on Amazon.
Wood Putty
Wood putty, on the other hand, is usually oil-based. Putty does dry much slower and can take anywhere from 20 to 45 minutes to do so- making this its biggest setback. However, wood putty is very versatile when it comes to repairing wood. You can use wood putty for large or small projects.
However, it's best to use putty for repairing large areas, such as holes that are 2 inches in width or depth. Not only is it cost-effective when it comes to filling large gaps in the wood, but you don't have to worry about it expanding or shrinking with weather changes--making it perfect for outdoor use. It also comes in a variety of colors, and it can also be used as an adhesive.

Learn more about wood putty on Amazon.
How do you fill gaps in floorboards with sawdust?
First, you want to gather sufficient sawdust and then blend it with wood glue in a disposable container. Once the glue reaches a cookie dough consistency, apply the paste into the floorboards' gaps using a small putty knife and then smooth it out. Finally, let the filler dry, which will take about 10 to 15 minutes.
Are wood glue and sawdust stainable?
Yes. Since sawdust is technically wood, you can stain it with any wood stain. However, when it comes to staining the mixture, you'll want to find a colored or semi-transparent stain--just if the DIY filler doesn't match the hue of the wood.
Wrapping Things Up
If you often find yourself having to do wood repair jobs, making your own wood filler from sawdust can help save you a few bucks. Remember, when adding the glue to the sawdust for the first time, be sure to work fast to prevent the glue from hardening before you have a chance to apply it to the wood. Otherwise, you may find yourself making more than one batch.
Before you go, be sure to check out our other posts: