
Have you ever considered installing tiles on your shower ceiling? If so, we've put together this guide to outline the steps and equipment for this DIY task.
Here are the steps needed to install tiles on a shower ceiling:
- Decide your tile layout.
- Confirm proper substrate surface.
- Gather your equipment.
- Measure your ceiling.
- Cut tile pieces as needed.
- Mix the thin-set.
- Apply the thin-set to the tiles.
- Place the tiles on the ceiling.
- Cut additional tiles as needed.
- Allow time for thin-set to cure.
- Mix the tile grout.
- Apply the grout to the ceiling tiles.
- Apply the caulk to the ceiling tiles.
- Clean up the area and allow it to dry.
Installing tile on a bathroom ceiling is a task that can be completed in one workday or two, depending on your experience. Let's take a look at the equipment, materials, and steps involved in this project. We'll also suggest the best type of tile to use for a bathroom and how to remove old shower tiles (if necessary) before you begin.
![Modern glass shower room with tile walls, How To Install Tile On A Shower Ceiling? [14 Steps]](https://uooz.com/wp-content/uploads/2020/11/How-To-Install-Tile-On-A-Shower-Ceiling.jpg)
Breaking Down The Steps To Install Shower Ceiling Tile

It's always best to thoroughly plan out this type of project before purchasing any equipment or materials. If not, you may end up making more trips to the hardware store than you'd prefer. Let's take a look at the steps to get started.
Step 1. Decide your tile layout
Decide whether you will install the tiles diagonally (or on-point) or by evenly lining up all of the grout lines. The latter option will require more planning.
Here's a list of the equipment that you'll need:
- Grout
- Trowel
- Measuring tape
- Pencil
- Ruler
- Mixing bucket
- Ladder
- Grout mixing paddle
- Sponge
- Modified thin-set
- Ceiling tiles
- Tile Adhesive
- Drop cloth
- Tile nipper
- Silicone caulk
- Safety gasses
- Protective gloves
Step 2. Confirm proper substrate surface
Be sure to check that you have a proper ceiling substrate surface (to prevent water damage) and that it is securely screwed into the supporting joists. For more information about the shower ceiling substrate options, check out our post "Should You Waterproof Shower Ceiling [And How To Do That In 6 Steps]."
Step 3. Gather your equipment
Gather all of your equipment and tools and set them aside in the bathroom. Next, lay your drop cloth over the shower floor, making sure to cover the edges of the shower as well.
Step 4. Measure your ceiling
Using your measuring tape, measure the length and width of the ceiling to find a center point. After measuring, mark this point with a pencil. Use your ruler to then mark perpendicular lines through your center point. These markings will be used to ensure that your tiles are aligned in a straight row.

Step 5. Cut tile pieces as needed
More than likely you will need to cut some tile pieces to fit on the edges of the wall. After taking your measurements and determining how many full tile pieces will be needed to cover the ceiling, determine how many pieces you will need to cut. Take your tile cutter and cut the extra pieces, and set them aside.
Step 6. Mix the thin-set
In the mixing bucket, combine water with the thin-set, using the paddle to mix it thoroughly. Allow the mixe to thicken, which can take anywhere from 5- to 10-minutes (depending on the brand), stirring it every couple of minutes.
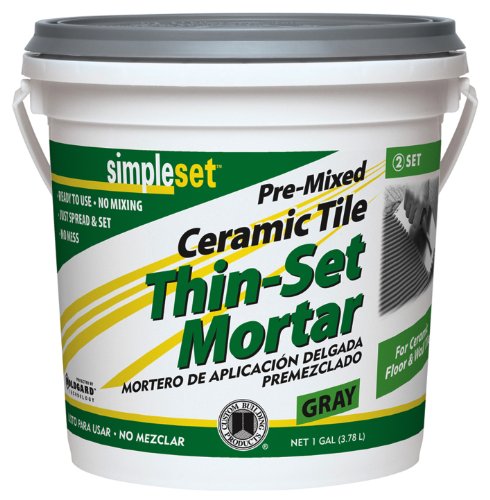
Click here to see thin-set mortar on Amazon.
Step 7. Apply the thin-set to the tiles
Using your trowel, apply a thin layer of thin-set to the back of a single piece of tile, creating even ridges. Next, use your trowel to draw a bullseye on the back of the tile. The bull's-eye pattern is used to create suction, which will help the tile stay in place while the thin-set cures.

Click here to see a trowel on Amazon.
Step 8. Place the tiles on the ceiling
Place the tile on the ceiling and make sure to press it up firmly. Make sure to place the tile directly on the perpendicular lines that you made for your center point. You should actually be able to hear the air being squeezed out of the thin-set when you do this. Take two 3- to 5-inch pieces of painter's tape and place it on both sides of the tile (left/right and top/bottom).

Click here to see painter's tape on Amazon.
Follow the same steps to add more tiles to the same row, ensuring that each piece is firmly placed on the ceiling and adjacent to the previous piece. If needed, take your spacers and place them between the tiles to ensure even spacing. As you install each piece, double-check examine it to make sure that it is lined up perfectly with the previous piece, as this can quickly lead to a ceiling of uneven tile rows.

Click here to see tile spacers on Amazon.
Step 9. Cut additional tiles as needed
Once you get close to the wall, take a moment to ensure that the cut tile pieces will fit between the edges of the wall and the previously placed tiles. If they are too big, re-measure them and then cut them with your tile nipper. If the pieces are too small, you will need to recut them from large pieces.

Click here to see the tile nipper on Amazon.
Step 10. Allow time for thin-set to cure
Complete the same process until you've installed all of the rows for the entire ceiling. Allow 24-hours for the thin-set to completely cure and set. After it is set, remove any painters tape and plastic spacers from the tiles.
Step 11. Mix the tile grout
Pour your grout and water into the mixing bucket. Using your paddle, combine the two until they form a thick paste. Next, take your trowel and spread the grout between the tile lines, one row at a time. Be sure to only use a small amount of grout with each application so that it won't fall from the ceiling onto your face or clothing.

Click here to see pre-mixed tile grout on Amazon.
Step 12. Apply the grout to the ceiling tiles
Once you've applied the grout to all of the tiles on the ceiling, do a quick double-check to make sure that you haven't missed any spots. Next, wet your sponge with water and wipe the areas where the grout has been placed directly on the face of the tiles. Then, wait for approximately 45-minutes to an hour (so the grout has time to dry a bit) and then wipe them down again.
Step 13. Apply the caulk to the ceiling tiles
Take your silicone caulk and snip the tip of the applicator with a pair of shears or a box cutter. Then, place the caulk tube in a caulking gun and use it to apply caulk to the edges of the tiles. Carefully slide the gun across the tile lines, pressing it down and applying an even amount of caulk to each section.

Step 14. Clean up the area and allow it to dry
Ensure that your sponge has been cleaned from its previous use and use it to wipe up extra caulk on the tiles' face. And you're done!
Can you tile over old tile in a shower?
Yes. If the tiles do not have cracks and are in good shape overall (and you feel confident that the substrate or backer board beneath is viable), you can install the tiles directly on top of the previous ones. It's important to be sure that the stems from your faucet water valves are long enough to accommodate another layer of tile. Before installing the new tile, the old tile's surface will need to be abraded for proper adhesion.
How to remove shower tiles without breaking them?
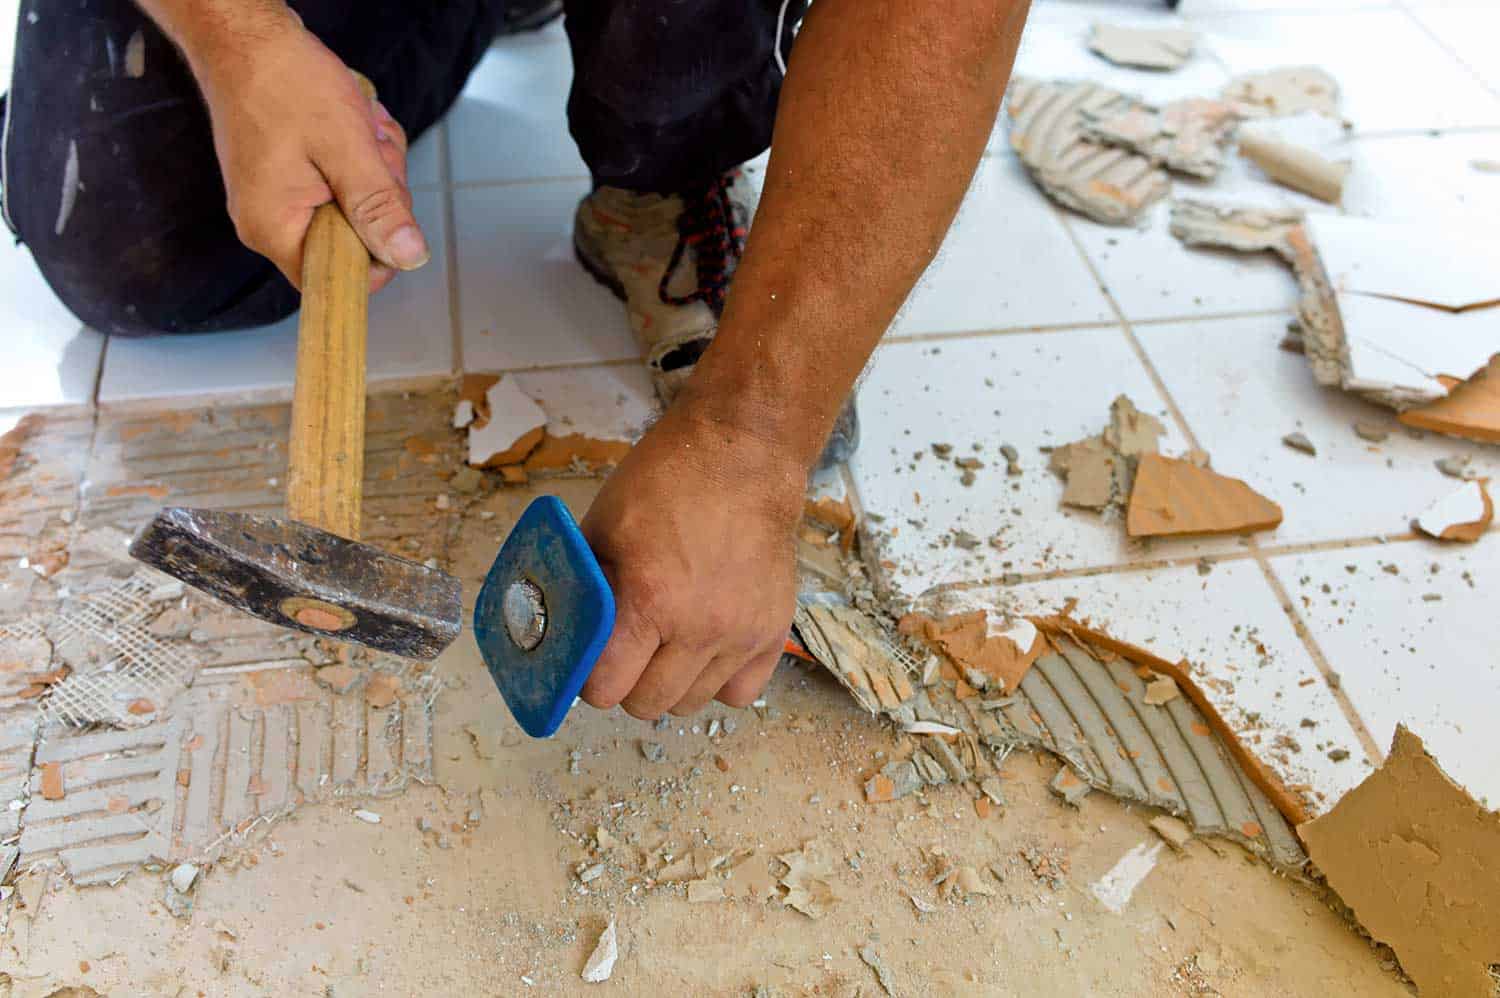
Removing tiles without breaking them can be a tricky task. However, it is possible. Let's take a look at the steps to do this.
1. Heat the grout
Heat the grout with a blow dryer if you have one available. Heat allows the grout to expand, which makes it easier to scrape off.
2. Scrape away the grout
After heating the grout's various areas for a few minutes, use your grout removal tool to scrape it away from the wall. You can also use a utility knife for this job or an electric saw.

Click here to see a grout removal tool on Amazon.
3. Pull away loose tiles
Once you removed all of the grout, use your grout removing tool to tap at the tiles to locate any loose ones. Remove any loose tiles by tapping along the edges and then pulling them away from the wall using a screwdriver handle or chisel.

Click here to see this heavy-duty chisel with hand protection on Amazon.
4. Chisel away the remaining tiles
Take your chisel and hammer and remove tile from the shower wall, making sure to only gently tap the chisel with the hammer to avoid breaking the tile. Be sure to wear leather gloves before removing the tile, as any broken pieces can be sharp. It's also important to wear eye protection to avoid any flying pieces of the broken tile during this step.

Click here to see safety goggles on Amazon.
Is porcelain or ceramic tile better for showers?
It really depends on your preference, though porcelain tiles are more durable than ceramic tiles-- and, as a result, are typically more common in household bathrooms. However, the long-term durability offered by porcelain tiles comes at a price as they are typically more expensive than ceramic tiles. So to say, the "better" option will also depend on your project's budget.
Porcelain tiles are less porous, denser, and overall less prone to stain and moisture absorption than ceramic tiles. This makes porcelain tiles a good choice for both outdoor and indoor installations. The low water absorption rate of porcelain tiles also makes them frost-proof, which is great for homeowners living in colder climates. These tiles stand up better to everyday wear and tear and are way more resistant to damage than ceramic tiles.
Ceramic tiles are more suitable for very light or moderate amounts of foot traffic. They tend to have a significantly higher water absorption rate than porcelain tiles. They're also more prone to chipping and other surface damage caused by everyday wear and tear.
Do you need to waterproof a tile shower?
It depends. Waterproof membranes may not be necessary if the substrate surface and tiles are installed properly--and this is usually all that is required for most home building codes. However, neither grout nor thin-set is waterproof, so adding a protective layer of waterproofing can ensure that the backer board isn't exposed to moisture over a long period of time (which could cause mold and water damage).

Click here to see heavy-duty grout sealer on Amazon.
Wrapping Things Up
Installing tile on a shower ceiling may be a bit labor-intensive, but it's definitely a task that can be completed by a DIY homeowner. Hopefully, this guide has helped you learn more about the steps involved in completing this project. If you are interested in other tiling projects, check out our post "6 Best Types Of Tile For Kitchen Floors."