
Shower ceilings inspire waterproofing questions and considerations. We examined government, manufacturer, and home improvement data to determine whether shower ceiling circumstances dictate waterproofing and, if so, what techniques and materials are needed.
While not required for most installations, waterproofing the shower ceiling helps protect a home and its occupants from moisture-related mold, mildew, and home deterioration. Waterproofing is highly recommended for tile installations and required for steam showers and rooms. Waterproof membrane installation requires a small number of steps and components to get a shower ceiling ready for water and steam, namely:
- Prepare ceiling backing.
- Mix thin-set mortar.
- Attach a waterproof membrane sheet to the ceiling.
- Join seams with waterproof membrane strips.
- Install waterproof membrane preformed corners.
- Cover ceiling-to-wall transitions using waterproof membrane strips.
The shower ceiling is now waterproof and ready for tile or other finish.
Optional but suggested for tile installations and mandatory for steam installations, shower ceiling waterproofing provides significant protection against water and vapor issues. This overview of methods, materials, and considerations utilizes Schluter waterproofing tools and materials; however, similar products are available for shower ceiling waterproofing. Please keep reading for all the details on how to waterproof your shower ceiling.
![Running water of shower faucet, Should You Waterproof Shower Ceiling [And How to do that in 6 Steps]](https://uooz.com/wp-content/uploads/2020/10/Should-You-Waterproof-Shower-Ceiling.jpg)
Shower Ceiling Waterproofing Need
Waterproofing the shower ceiling helps prevent mold, mildew, and rot. Left to develop, these decomposition elements will cause issues for the overall home and occupants' health. The home structure can become unstable, causing instability of the bathroom ceiling and upper floor joists.
Are Ceiling Backing Boards Waterproof?
A waterproofed shower ceiling resists surface moisture and keeps it from seeping into backing boards. While some gypsum boards may provide water-resistance qualities, most varieties are not made to withstand constant moisture subjection. Cement boards and drywall are not waterproof and will disintegrate with continuous water exposure.
The United States Energy Efficiency and Renewable Energy (EERE) Office suggests using moisture-resistant fiber-cement, fiber-reinforced or glass-mat gypsum, or fiber-reinforced cement backer boards rather than paper-faced drywall behind seamed shower enclosures.
Do I need to waterproof under shower tiles?
Tile is vapor and water-resistant; however, grout is not. As grout deteriorates, it becomes even more water-permeable. If a ceiling is not waterproofed, the substrate deterioration will cause unseated tiles and moisture-drenched insulation. The water permeation can lead to overall structural damage.
What is the best material for waterproofing a shower ceiling?
Liquid waterproofing methods, waterproof boards, and waterproof membranes will help protect your home. Waterproof membranes provide a secure approach for new or existing ceiling boards. The surface protection of waterproof membranes differentiates them from breathable condensation-releasing moisture barriers used behind backer boards or surface materials. Moisture barriers do not protect the surface and are not waterproof like the membrane components. Easy-to-install waterproof membranes with readily-available sheets, strips, and corners, allow for straightforward do-it-yourself (DIY) home improvement projects.
Waterproofing Membrane Installation Steps
These waterproofing steps are provided with the assumption that the shower wall's waterproofing has been completed. The ceiling installation base is either gypsum, concrete, drywall, or similar board that needs water protection. Waterproof boards are now available and do not require the waterproofing coverage of typical home ceiling materials; however, many existing homes or new construction projects utilize non-waterproof backing boards. This video illustrates the steps included in this overview.
1. Prepare Ceiling Backing
Use a damp sponge to remove dust and dirt from the ceiling backer board. A clean surface is required for proper thin-set bonding. For permeable or dry installations, dampen the ceiling before applying the thin-set. This will prevent skimming over or premature drying when applying the thin-set.

Check out the QEP Super Sponge at Amazon.
2. Mix Thin-set Mortar
Use unmodified thin-set mortar to bond the waterproof membrane to the ceiling board and tile. Thin-set (dry-set mortar, dry-bond mortar, thin-set, thin-set mortar, or thin-set cement) is made of cement, fine sand, a water-retaining bonding agent, and water. It is thinner than concrete or regular mortar (coarse sand). Often confused with concrete, cement is a bonding ingredient of thin-set, mortar, and concrete. According to the Tile Council of North America (TCNA), thin-set allows the cement to properly hydrate and adhere to a thin level (less than 3/16-inches thick).
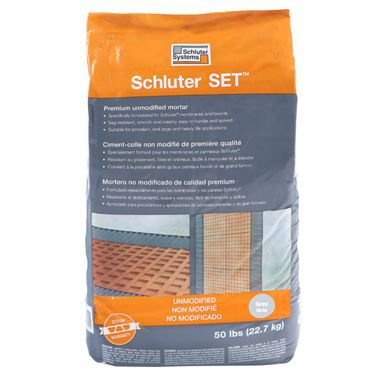
Check out Schluter Unmodified Thin-set Mortar at Amazon.
Because you cannot add water to a thin-set mixture that has begun to harden, mix thin-set in batches you can use in about 15-minutes. Utilize package directions for water and thin-set ratios. Pour half the water into the bucket, add thin-set, mix, add remaining ingredients in mixable amounts.
The thin-set should be fluid but able to hold the trowel. The ideal consistency resembles cake frosting or peanut butter. Once troweled onto the surface, the thin-set dries quickly. Only use what you can spread in a few minutes.
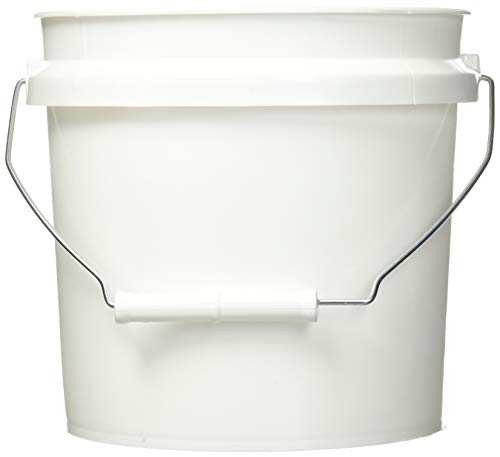
Check out the Leaktite 1-Gallon Bucket at Amazon.
Choose a mixing paddle suited to thin-set applications.
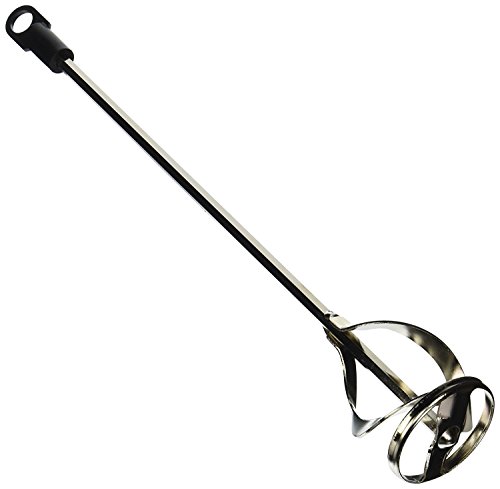
Check out the Edward Tools Mixer for Drills at Amazon.
Proper trowel size is important. For waterproof membrane installation, the suggested trowel is a ⅛- by ⅛-inch square-notch or ¼- by ¼-inch v-notch trowel. You will spread the thin-set with the trowel flat side and finish with the notched side. Use straight rather than circular motions to apply the thin-set. Leave a thin layer by angling the trowel 45-degrees to the ceiling backer board and reversing direction with each pull.

Check out the Schluter Kerdi Trowel at Amazon.
3. Install Waterproof Membrane Sheet
Install waterproof membrane sheets with thin-set mortar. Each side of the sheet is fleeced to adhere to the thin-set. The sheets are malleable, providing easy cut-and-bend flexibility for shower shapes.
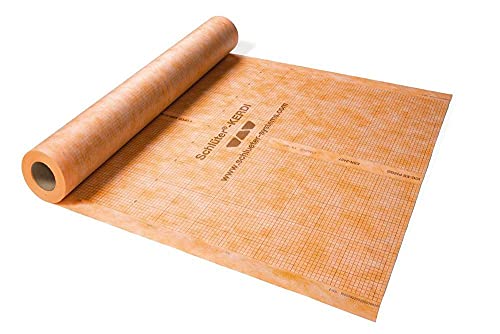
Check out Schluter Kerdi Waterproofing Membrane at Amazon.
Depending on the shower size, you may need to purchase multiple rolls. If the ceiling backer board is drywall, consult manufacturer guidelines to verify the drywall is recommended for shower use, and your chosen waterproof membrane is recommended for the installation.
Apply a thin, smooth layer of thin-set with the flat side of the trowel. Apply an additional layer with the notched side of the trowel. Press the waterproof membrane into the thin-set. Press with a finishing knife or the trowel flat side to remove air pockets and embed membrane into thin-set. Pull up a corner to verify full adhesion between fleece and thin-set.

Check out Goldblatt Hand Tool Kit with Mud Pan at Amazon.
4. Join Seams with Waterproof Membrane Strips
Use waterproof membrane strips to seal the sheet-to-sheet joints. Apply thin-set with flat, then notched, trowel edge. Use a 2-inch strip overlap to join the seams. Use the trowel flat side or a finishing knife to embed the strip into the thin-set.

Checkout Schluter Kerdi-Band Strips at Amazon.
5. Install Waterproof Membrane Preformed Corners
Install preformed waterproof membrane corners at each shower corner. Apply thin-set with flat trowel side. Add more thin-set using the notched trowel side. Hold one side of the corner while embedding the other with the trowel flat side or two finishing knives.

Check out Schluter Kerdi Inside Corners at Amazon.
6. Cover Ceiling-to-Wall Transition Edges using Waterproof Membrane Strips
Use waterproof membrane strips and thin-set to seal the ceiling-to-wall transitions. You do not need to take the strip fully to the corner. Use a 2-inch overlap at edge areas to avoid buildup. Crease the strip before installation to smooth the edges.
Check out the General Tools 2-in-1 Laser Tape Measure at Amazon.

Check out the Otirilo Utility Knife Set at Amazon.
What kind of paint do you use in a shower?
Non-waterproofed ceilings with regular paint finishes are unable to protect the unlying structure from moisture. Surface paint exposed to water and moisture-soaked backing will flake and show stains. Choose quality waterproof paint and primer to facilitate ceiling protection against water permeance. Glossier paints are more water-resistant. Choose semi-gloss or glossy for shower ceilings.

Check out Rust-Oleum Mold and Mildew Proof Interior Paint at Amazon.
For best waterproof paint results, use thin-set over the waterproof membrane installation or use two liquid waterproofing coats. Allow thin-set or waterproofing liquid to dry completely. Sand and remove thin-set dust. If the selected paint does not have a mildewcide, utilize a mildewcide additive. Apply waterproof primer and paint and allow the shower ceiling to dry for several days before taking the first shower.
Check out USG Durock Liquid Waterproofing Membrane at Amazon.
Summary
Waterproofing is recommended for shower ceilings and required for steam environments. You may easily install a waterproof membrane with some specially-crafted materials. Clean and dampen ceiling backing. Attach waterproof membrane sheets, strips, and corners to cover the ceiling, seams, corners, and ceiling-wall edges. Finalize the waterproofed ceiling with tile or other finishing material.
Check out these related articles before starting your next home improvement project: