
Whether you've just purchased a new house or have lived in your house for a while, you may have noticed small, slightly raised circular areas on your walls and ceilings. Those raised areas are nail pops, and they can be unsightly. If you want to know how to fix nail pops in the ceiling, we've researched the process to give you in-depth steps.
Fixing a nail pop is a minor cosmetic repair that is an easy DIY project. To repair nail pops on your ceiling, follow these steps:
- Scrape off the raised area and cut away damaged drywall near the popped nail.
- Drill new drywall screws around the popped nail.
- Bury old nails into the wood frame.
- Patch the damaged area.
Fixing nail pops is simple, quick, and requires few tools. To find out what tools you need, more detailed steps for fixing nail pops, and advice on preventing them from happening in the future, please keep reading.
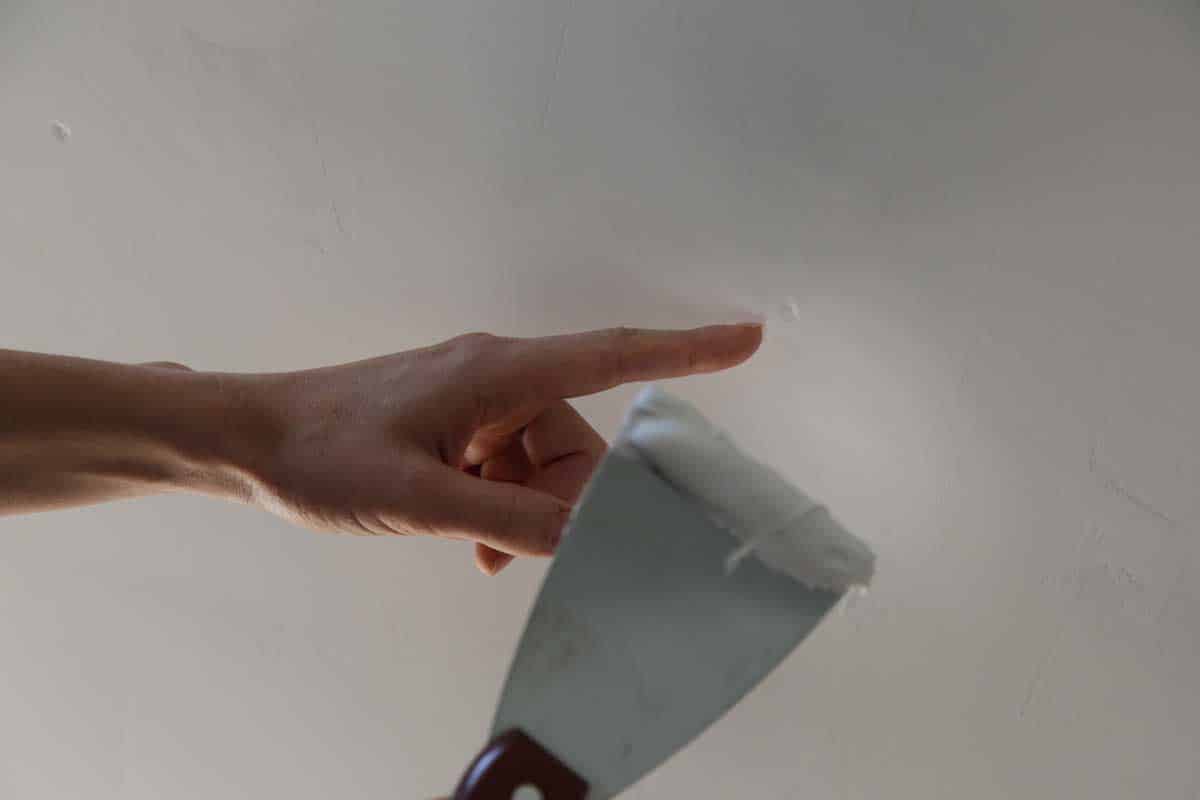
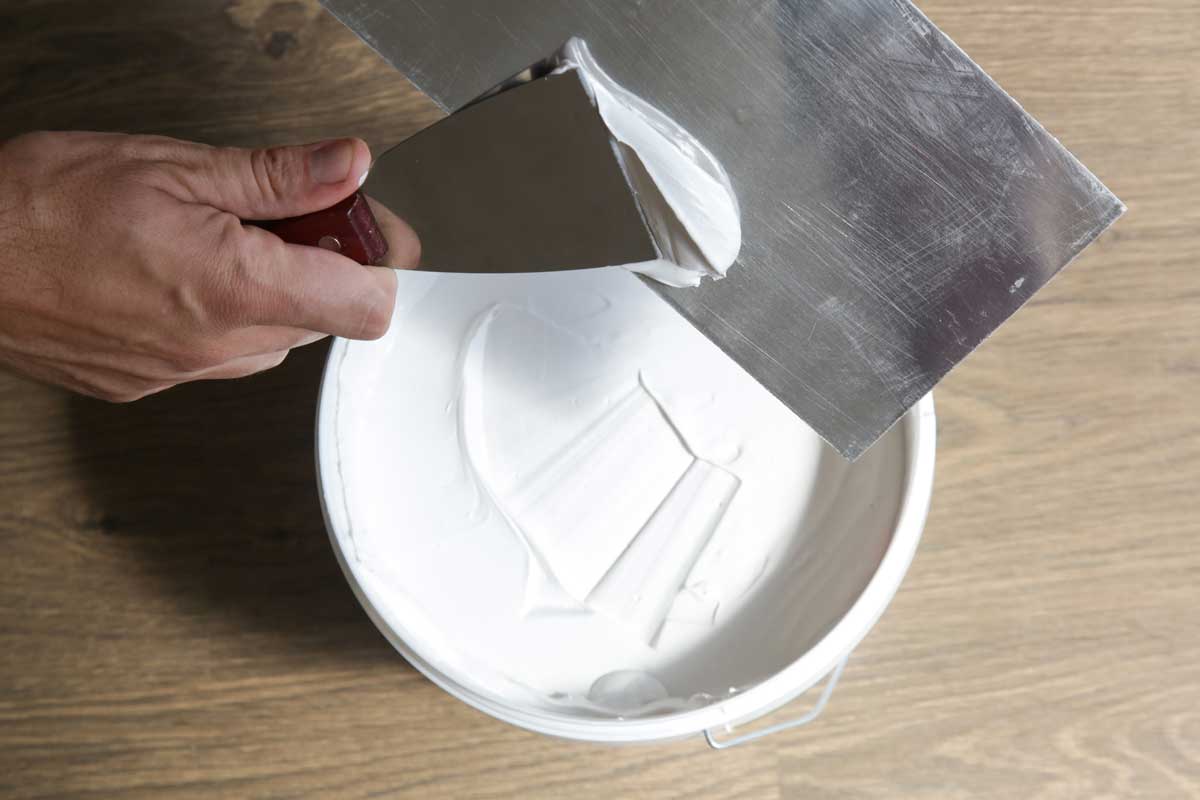
![Man plastering ceiling with putty-knife as preparation for painting, How to Fix Nail Pops in the Ceiling [4 Steps]](https://uooz.com/wp-content/uploads/2020/10/How-to-Fix-Nail-Pops-in-the-Ceiling-4-Steps.jpg)
How To Fix Nail Pops
Materials Needed:
- Hammer
- Drill
- 1 ¼-inch drywall screws
- Utility knife
- Nail set
- Putty knife
- Patching compound
You probably have most of these tools on hand at home, but they can be purchased from any home improvement store or on Amazon if you don't. There are even drywall repair kits that make this job even easier.
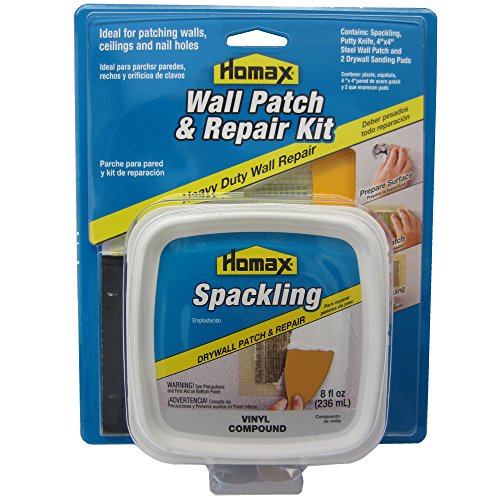
Try this drywall repair kit from Amazon.
1. Scrape Off The Raised Area Of Ceiling/Cut Away Damaged Drywall
Using your utility knife, scrape off the raised area over the nail pop. Sometimes the nail head can pop out so much that it causes the drywall to crack or come loose, creating a bigger and more obvious raised area on your wall or ceiling. This isn't always a problem, but to fix it, you'll need to cut away loose drywall to remove the damage. Be sure to remove as much as you can inside the area to create a smooth surface to patch over.
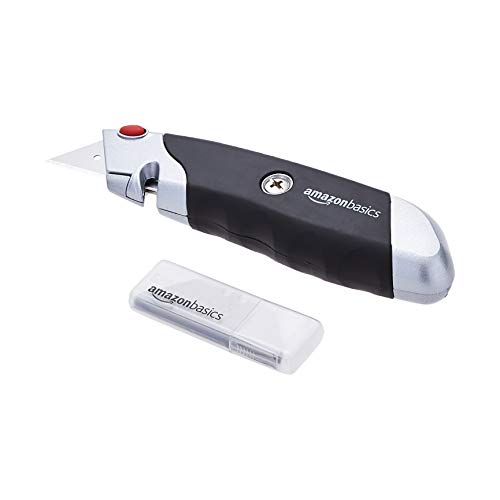
Click here to see this utility knife on Amazon.
At this point, some people choose to just tap the nail back down into place for a temporary fix, but it's likely that the nail will eventually pop back out. So, please continue to the next step.
2. Drill New Drywall Screws Around The Popped Nail
To keep nails from re-popping, drill two drywall screws into the stud where the popped nail is located. One screw should be inserted 1-inch above the nail and the other 1-inch below the nail. While the popped nails don't pose a serious risk to the structure of your home, adding the two screws will attach the drywall securely to the stud, helping the wood and drywall to stay in place over time and keeping the nail from popping back out.
Sizing Drywall Screws
Drywall screws come in different lengths, and if the screw is too short, it won't secure the drywall to the stud. The screw needs to penetrate the stud by at least ¾ of an inch, so drywall screws that are 1 ¼-inches long are the standard size to use for repairing nail pops. These can be found at any hardware or home improvement store.

Click here to see drywall screws on Amazon.
3. Bury old nails into the wood frame
To ensure that the nail head doesn't remain visible, you will want to make sure to bury the nail into the stud. You can do this by using a nail set (sometimes called a nail punch). A nail set is a carpentry tool used to drive a nail into the wood so that the head is below the surface of the wood.
To use the nail set, place the tip onto the nailhead. Hit the other end with a hammer until the nailhead is below the surface of the stud. Make sure to hammer slowly and leave plenty of room between the hammer and the hand holding the nail set to avoid hitting your hand with the hammer.
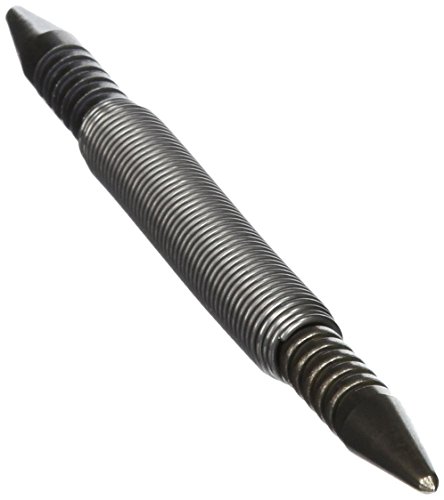
This nail set from Amazon will get the job done.
4. Patch the damaged area
Installing new drywall screws, removing any drywall, and burying the nail into the stud can all cause indentations in the surface of your wall or ceiling. You will need to patch the surface to make it smooth and even.
Using a putty knife, apply a layer of patching compound over any indentations and smooth it out. Let the patching compound dry, which could take anywhere from 30-minutes to 24-hours, depending on which product you use.

Click here to see this putty knife on Amazon.
Then apply a second coat, smooth it out, and let it dry completely before taking fine grain sandpaper and sanding over the patched spots. You can then apply fresh paint to the spots on the wall or ceiling.

Click here to see this patching compound on Amazon.
For a visual step-by-step guide for repairing nail pops, watch the video below.
What causes nail pops?
Nail pops are caused by shifting of the wooden studs that comprise the frame of your house. The shifting is usually caused by moisture that the wood absorbed while exposed to air, either in the warehouse or while the house was being built. After the house is built, the wood begins to dry out, causing the studs to shift. The studs shifting cause the nails to move, which may loosen the drywall that the nails are holding in place, causing a raised area or a visible nailhead.
While a couple of nail pops aren't an indication of any structural problems, fifty or more nail pops could indicate poor construction, especially in a ceiling. If your attic is made of trusses (beams that create a rigid structure), several nails popped in the ceiling could result from attaching the drywall directly to the bottom of the trusses.
If the trusses lift or move too much, not only could you find nail pops, but also cracks on the ceiling. If you are concerned about cracks in the ceiling, you would need to hire a contractor to fix this issue, which would be done by attaching new drywall panels to the trusses using clips instead of attaching them directly to the drywall.
Should you fix nail pops?
Deciding whether or not to fix nail pops is up to you. You are likely to notice newly popped nails the longer you have been in your house due to the wood shifting and settling. It's important to keep in mind that the "quick fix" (just hammering them back into the wall) is not the best option because chances are they will pop back out, so following the steps above is the best way to ensure a more permanent fix.
How much does it cost to fix nail pops?
The cost of fixing nail pops depends on what tools you already have on hand. It shouldn't cost more than $25 to $30 for patching compound, touch-up paint, and drywall screws if you already have the basic tools like a hammer, utility knife, and drill at home.
Cordless drills can cost anywhere from $50 to $200, so consider borrowing one from a friend or neighbor if you'd prefer not to purchase one.

Click here to see this drill on Amazon.
How can I prevent nails from popping?
Whether building for the first time, starting a new painting job, or repairing drywall or previously popped nails, follow these guidelines to prevent nails from popping in the future.
Check the positioning of your nails/screws
Make sure that any nails and screws are at the proper depth for the wood you are using. They should not be sticking out or set too deep so that they are below the stud's surface. Proper positioning should be flush with the wood.
Use the right size nail or screw
Remember that nails and screws need to penetrate at least ¾ of an inch into the stud, so use one that is at least 1 ¼-inches. If it is too long, it is harder to drive in straight and has a greater chance of shifting, causing a nail pop.
Don't insert too many nails or screws
A nail or screw placed into the stud every 12- to 16-inches is plenty, working lengthwise along the stud so that the drywall is attached consistently. You should also try to avoid inserting nails and screws into the intersection of two studs because these are the areas that are more likely to move.
Now you have one less home improvement project to work on
We hope this guide to fixing nail pops was quick and easy to follow. Nail pops are an easy and inexpensive fix that you can do yourself. Now that you've learned how to repair and prevent nail pops from happening, you can focus your time and energy on the next home improvement project.
Check out our related posts to get started:
How To Match Ceiling Paint [4 Step Process]
Why Is The Ceiling Bubbling When I Paint It? [4 Possible Causes And Solutions]