
If you've recently started painting your ceiling and have noticed bubbles forming while you paint, you’re probably thinking, “What could be the cause of this?” We've researched this issue and have found several reasons why this could be happening and how to fix them.
Bubbles forming in the paint could be caused by any of the following reasons:
- The surface was too damp, hot, or dirty
- The surface wasn't properly prepared for painting
- The paint was exposed to moisture shortly after drying
- You applied an oil-based paint over a latex paint
It can be difficult to catch any issues beforehand because of the height of the ceiling as well as the angle needed to prepare and paint the surface. Keep reading to learn how you can prevent paint bubbles from forming on your ceiling or how to fix them if they've already occurred!
![A painter painting the ceiling of a house with gray paint, Why is the Ceiling Bubbling when I Paint it? [4 Possible Causes and Solutions]](https://uooz.com/wp-content/uploads/2020/10/Why-is-the-Ceiling-Bubbling-when-I-Paint-it-4-Possible-Causes-and-Solutions.jpg)
Why Paint Bubbles Form
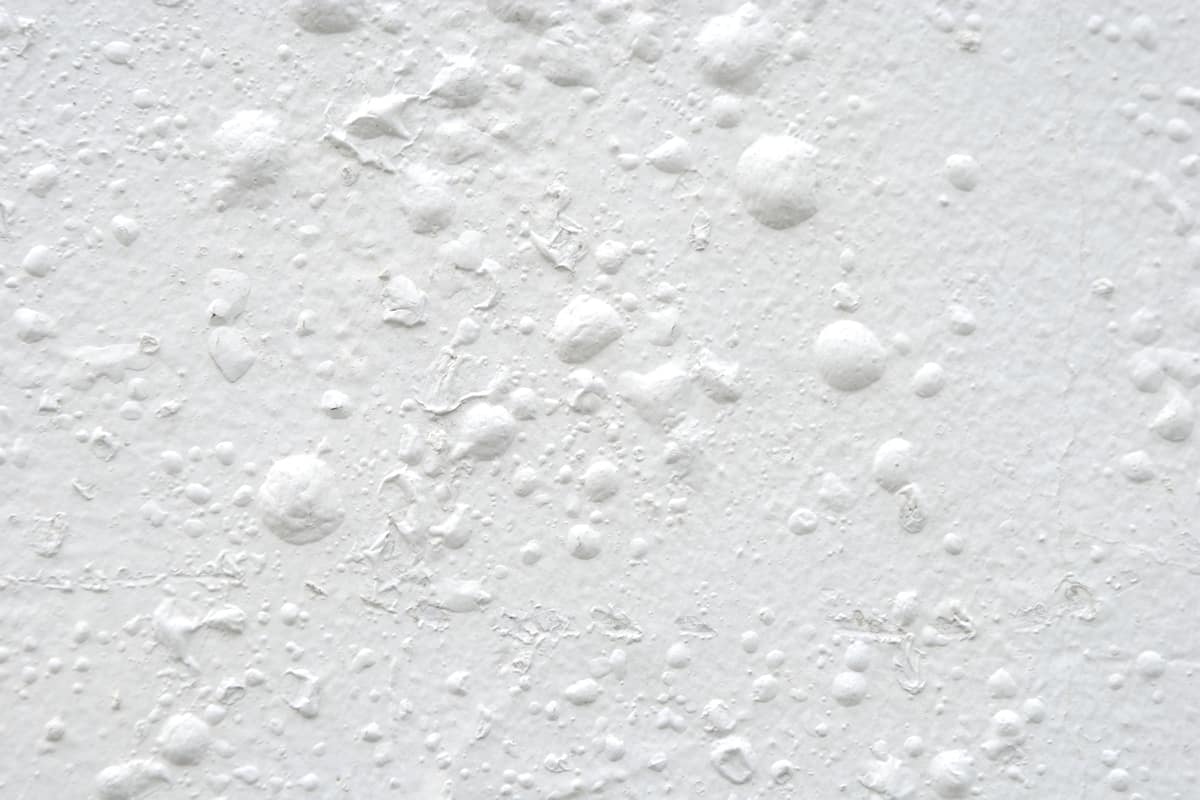
Paint bubbles form as a result of the paint lifting from the surface underneath. This means that something either on the painted surface or in the air is causing the paint not to stick. The most common causes are heat, moisture, or dirt.
It's important to note that paint doesn't have to be wet or fresh in order for bubbles to form. Paint bubbles can form even if the paint has been dry for a while. You can get rid of paint bubbles once they've formed, but you should get to the root of the problem first. Otherwise, bubbles could come back and eventually lead to peeling.
Let's take an in-depth look at the causes as well as preventative measures you should take before you paint.
The Ceiling Is Too Damp
A damp surface can cause water-filled bubbles to form in the paint. Dampness could come from a leak or water droplets on the surface. You may encounter this problem most frequently when painting a ceiling in your bathroom or kitchen. Be sure to check for any damp areas of your ceiling before you begin to paint.
If your ceiling is too damp, you need to locate the source of the moisture. If water droplets are the problem, simply wipe them off and wait for the area to dry before painting. If you suspect a leak, you may have to call in a plumber to fix the problem. Once the leak is fixed, scrape or patch any areas that are uneven with the rest of the surface, and clean and dry the surface before painting.

Try this 2-pack of paint scrapers on Amazon.
The Ceiling Is Too Hot
This problem occurs most often in kitchens, living rooms, or other areas of your home that contain a heater or an appliance that creates a lot of heat, such as a stove. It could also happen in a room that has a lot of large windows. The excess heat causes the top coat of paint to dry too quickly and unevenly, which can cause bubbles to form underneath.
To solve this problem, make sure the indoor temperature of your house doesn't exceed 85° F. Close the blinds or curtains in rooms with lots of windows before you begin to paint. If bubbles have already formed, you can remove them with a scraper and clean and prime the surface before painting over them.
The Surface Is Dirty
This problem can happen in any room of the house and is caused by dust or dirt collecting on the walls and ceiling. As a result, the paint will stick to the dirt instead of the ceiling. Paint bubbles will form because of the paint drying around the dirty areas.
Before painting, make sure to thoroughly clean the ceiling with a rag or sponge and soapy water, then dry it with a clean rag. If there is any caked-on dirt or grime, it may be necessary to scrape the area and then patch any uneven surfaces. Let any wet spots and patched areas air-dry completely, then prime and paint the ceiling.
The Ceiling Wasn't Properly Prepared
A surface that wasn't prepared before starting to paint is a common cause for paint bubbles. Besides cleaning, failure to sand or prime the ceiling could create issues, causing paint bubbles to form. Although it can be difficult to clean and sand the ceiling because of the height, this is an important step that shouldn't be skipped.
Sanding
The purpose of sanding is to create a smooth, even surface for the paint to stick to. Some ceilings are textured. Texture can be hard to paint over because it will create a bumpy and uneven surface, so it is important to sand the whole ceiling in order to make the surface uniform.
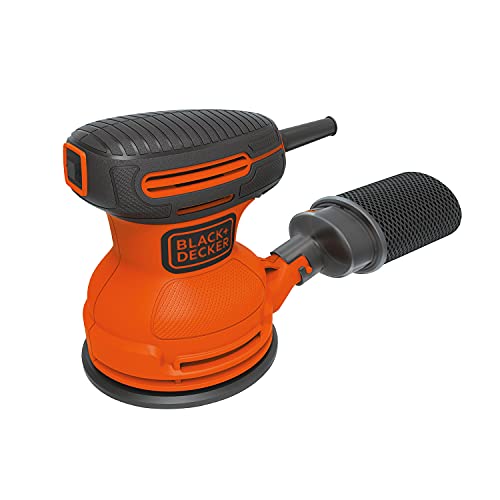
Check out this sander on Amazon.
Priming
Surfaces that are made of plaster have a tendency to absorb the chemicals found in paint that cause it to stick. Primer acts as a sealant, so by painting a coat of primer onto the ceiling before painting, you are preventing the ceiling from absorbing the chemicals, allowing the paint to stick better. Most paints today are made with primer built-in, but you should always check the paint first to make sure. Purchase primer if it isn't built into the paint.
The Paint Was Exposed To Moisture Shortly After Drying
This problem happens most often in bathrooms and is a result of bathing or showering shortly after painting, which creates moisture in the air. This can interfere with the paint fully adhering to the ceiling, which can eventually lead to peeling.
The solution to this is simple. Even if the paint feels dry to the touch, it is best to avoid taking a shower in a freshly painted bathroom for 48-72 hours after painting. This helps to keep excess moisture out of the air.
You Applied An Oil-Based Paint Over A Latex Paint
The chemical composition of these two types of paints is different. So, if you used an oil-based paint over latex paint, it is likely that the two paints are not sticking to each other, causing bubbling. In order to fix the problem, you will need to prepare the surface properly. Sand off the old paint and apply oil-based primer before using oil-based paint.
Will Paint Bubbles Go Away?
Even if you've taken all the necessary preparations before painting, sometimes small paint bubbles will still form while applying paint. Usually, these paint bubbles will pop quickly after application and go away on their own. You may have to use a different roller or painting technique if you notice a lot of small bubbles forming.
If bubbles form and don't pop but instead are ignored until the paint dries, you will likely end up having to scrape them off and paint over them.

Try an extendable paint roller like this one from Amazon.
Should You Pop Paint Bubbles?
You can pop a paint bubble if you notice it when the surface is still wet. You will then need to smooth out the area with a roller. If the paint is dry, you won't be able to pop the paint bubble without the area being noticeable. Follow the recommendations in the previous section to remove them.
Can You Just Paint Over Water Damage?
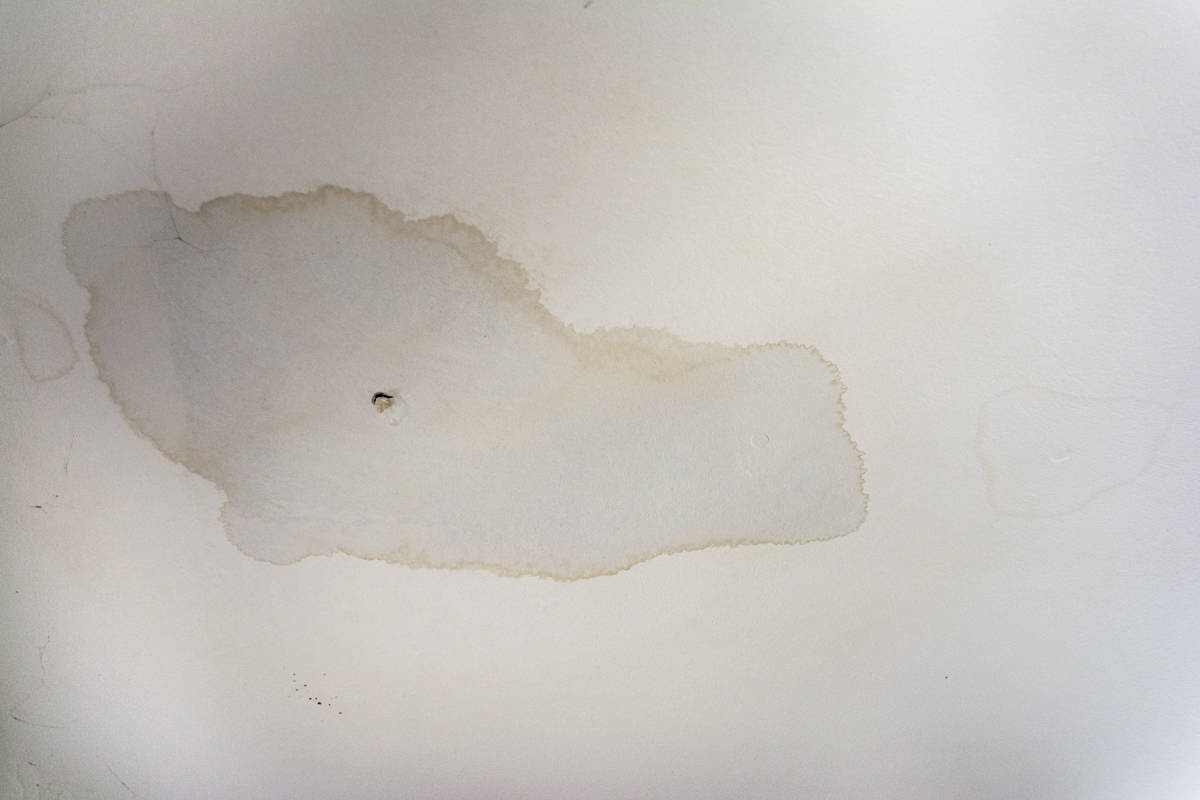
Water damage is common on ceilings and walls and is caused by a leaky roof or pipes. Before painting, make sure the water damage is not causing structural damage to the ceiling. You should call in a professional to fix the leak and repair any damage, then follow these steps:
- Dry any water you can see as well as any water that is inside the ceiling or wall by running a fan or dehumidifier.
- If you see any signs of mold or mildew, call in a professional to remove it.
- Prime the ceiling using a stain-blocking primer or the old stains will continue to show through.
- Paint the ceiling.
How Long Should Paint Dry Between Coats?
Paint may look and feel dry even though it isn't. If you paint a second coat too soon, the paint may look streaky and uneven. For latex paints, 4-6 hours after applying the first coat should be enough time to apply a second coat. For oil-based paints, it is recommended to wait 24 hours before applying a second coat.
Bottom Line: Preparation Is Key!
Remember to take preventative measures before you start painting to decrease the chances of paint bubbles forming. Check for excess moisture, heat, or dirt on the ceiling and sand and prime the surface before painting.
If you still notice paint bubbles, pop them, smooth out the area, and change your technique: don’t wait until the paint is dry! Following these suggestions will help your ceilings look beautiful the first time so that you can sit back and relax.