The ceiling can have a gap between the crown molding due to misaligned lumber used in construction. You can seal such a gap by following the steps below:
- Attach an adhesive tape along the gap.
- If the gap is narrow, you can simply apply a silicon caulk along the edge of the crown molding. Proceed to Step 6.
- If the gap is wide, you can apply a patch seal. This is thicker than silicon caulk and can adhere to the ceiling.
- Spread the patch seal to fill in the gap, and allow it to dry.
- Use sandpaper to smooth out the surface.
- Prepare paint to retouch the color.
- Pour some paint into an old cup, then stir it with a small paintbrush.
- Carefully paint the crown molding.
- Let the paint dry, then remove the tape.
In this article, we'll go over how to fill the gap between the ceiling and the crown molding.We will get deeper in the discussion and share with you some other things to consider. There's a lot we can learn today! So let's continue reading!
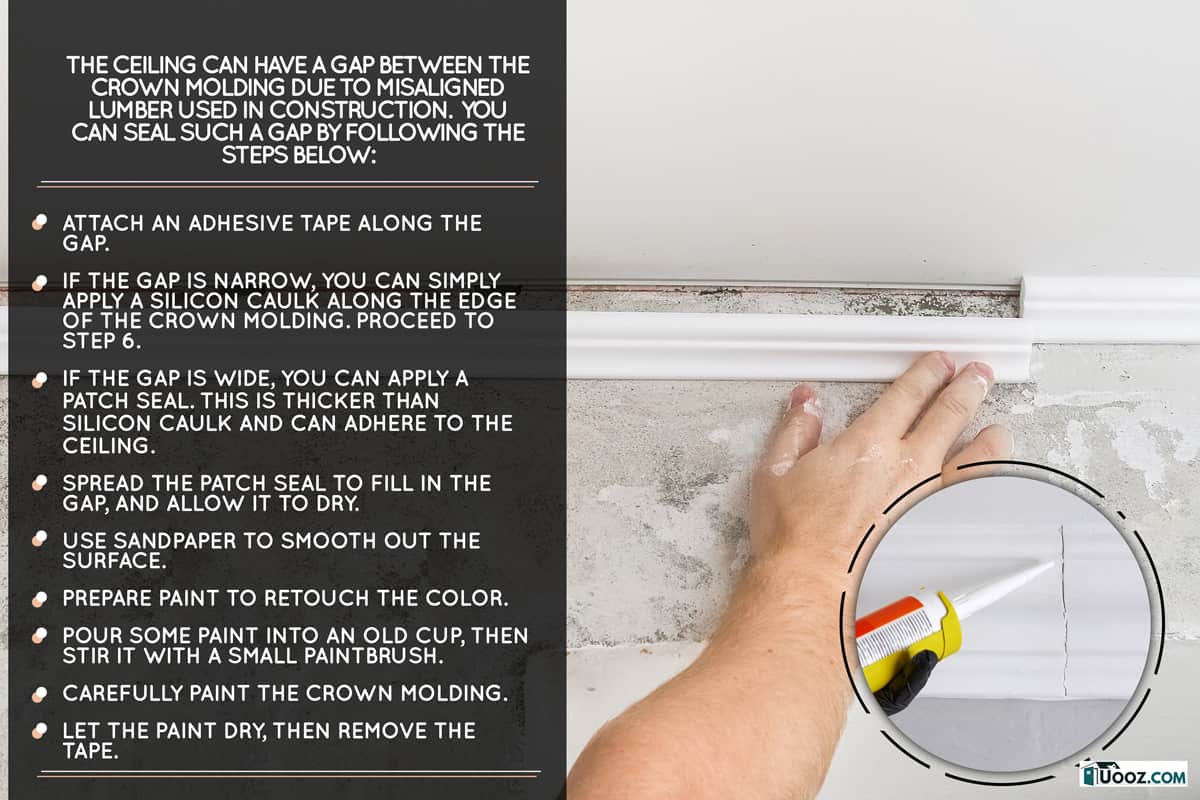
How to Fill Gaps Between the Ceiling and Crown Molding?
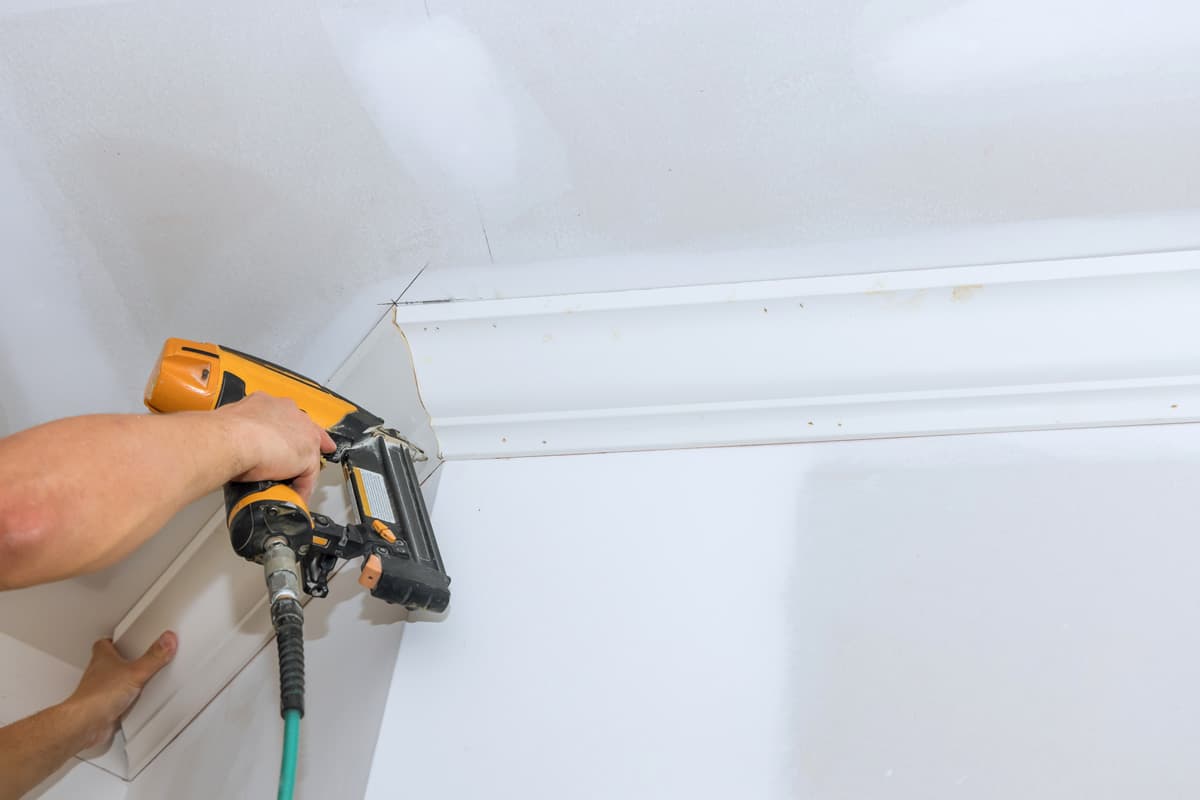
The gap between the ceiling and crown molding usually occurs when the joist is misaligned. Also, it can be due to the weight of the floor causing the joist to slope down the ceiling.
You can consider removing some unnecessary things above, like appliances on the floor above, to see if the gap will disappear. An imbalance in weight distribution can be the reason the ceiling leans away from the crown molding.
Otherwise, you might need to reinstall the crown molding to ensure proper alignment with the ceiling. We will discuss later on how to properly install the crown molding.
With regards to the steps we provided above, you can watch a demonstration here:
Can You Use Wood Filler on Crown Molding?
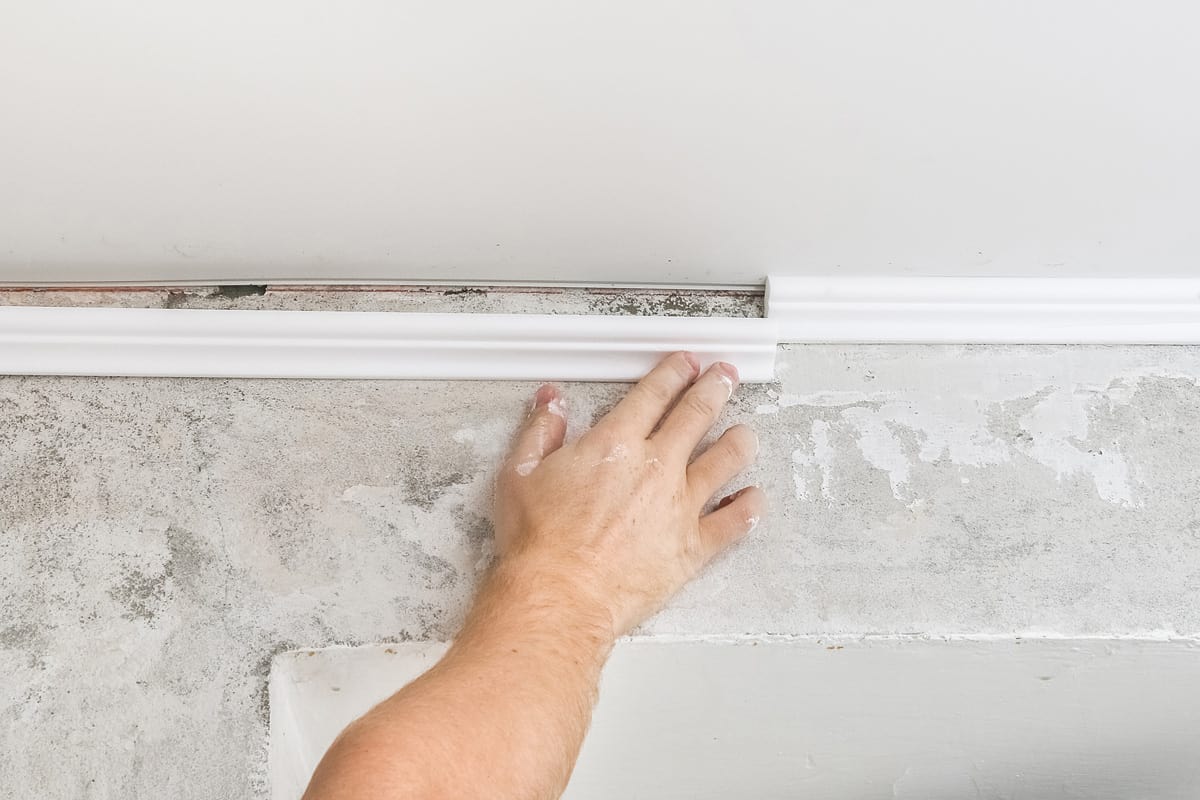
Yes, applying a wood filler into the gap is a good option since most crown moldings are made of wood. It's often used for filling in holes and cracks on wooden surfaces. However, wood filler may not give you optimal results if the gap between the ceiling and crown molding is too wide.
See below for the steps on how to use wood filler:
- Mix the wood filler depending on the product's instructions.
- Use a small scraper to apply the wood filler into the gap.
- Remove the excess by wiping it away.
- Smooth out the surface with sandpaper.
- Wipe it with a damp cloth to remove the dirt, then let it dry.
How to Quickly Hide a Gap Between Ceiling and Molding?
If you need to hide the gap from visitors, a quick option is to install a strip light along the crown molding. This way, the gap will disappear on sight once you switch the light on. See below the steps:
- Installing the strip light means installing it all around the area and not on the gap only. So, measure the length running along the crown molding to find the right size of the strip light.
- Read the product description indicated on the strip light. Be familiar with the safety of use and installation guide.
- Mount the strip light along the crown molding.
- If the strip light has an adhesive, peel it off for a better hold.
- For a good appearance, align the strip light with the ceiling.
- Plug in the strip light and test it. You should not see the gap when the strip light is on.
- For better lighting, you can turn off the room's main lights while leaving the strip light on during the night.
Take a look at the image below to have an idea on how installing a strip light hides the gap:
What Can Happen If You Don't Seal the Gap?
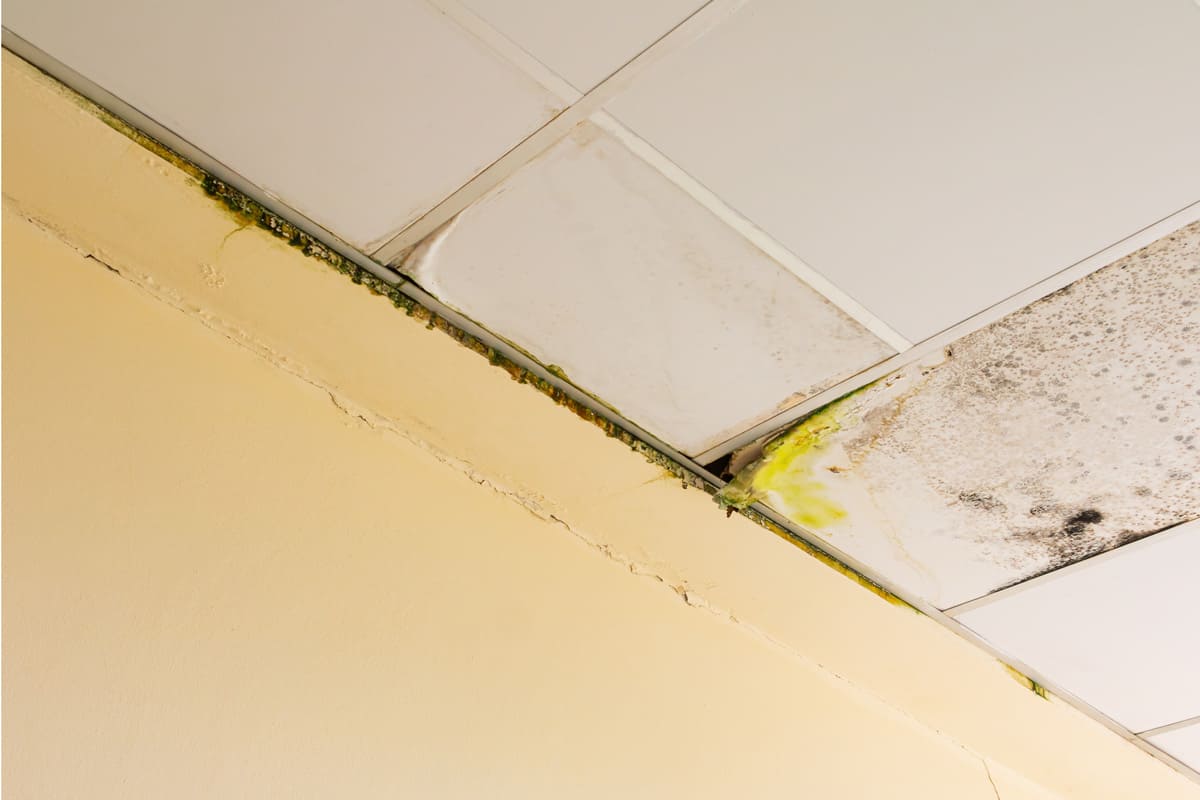
It's important to know what could go wrong if you don't seal the gap between the crown molding and the ceiling. Some of the issues that may arise are serious and need immediate attention. However, see below the possible consequences if you refuse to cover the gap.
Infestation
You should worry about infestation or the accumulation of insects in one place. Insects like ants, cockroaches, as well as termites may inhabit the gap.
You don't want this to happen, as insects can destroy the drywall or any other wooden surfaces. In case the insects have already occupied the gap, refer to the steps below on how to get rid of them:
- Before you do anything, wear a mask and gloves for safety.
- In a spray bottle, mix warm water, vinegar, soap, and bleach. You can add lemon to minimize the strong odor.
- Spray the solution into the infested area.
- Sweep off the dead insects with a broom and dustpan.
- Spray the solution again, then wipe the gap with an old cloth to eliminate residual dirt.
- Allow the solution to get dry until the odor comes off.
- Proceed to seal the gap.
Mold Growth
Mold could grow due to moisture accumulation. Since there's a space between the ceiling and the crown molding, which is usually made of wood, mold growth is a possible result. The moisture can keep the space damp, which can cause the wooden surfaces to get damp also. Prolonged dampness will then lead to mold growth.
You can use a mold-killing solution to resolve this issue.
See this mold killer on Amazon.
See below the steps on how to prevent mold growth:
- Read the description on proper mixing of anti-mold solution.
- Wipe the moldy surface with a water and soap for initial treatment.
- Scrub the mold off with a bristled sponge.
- Pour the solution into a spray bottle.
- Apply mold killer into the surface, then scrub again with water and more soap.
- Repeat rinsing with water until the mold completely goes off.
- Let the surface dry.
- Finish by reapplying paint of the dame color.
When to Call a Home Builder?
If you notice that the gap is getting wider, then you will want to consult a home builder. The gap can be a serious threat to your house. You should not wait for such an issue to get worse.
How Wide Should the Crown Molding Be?
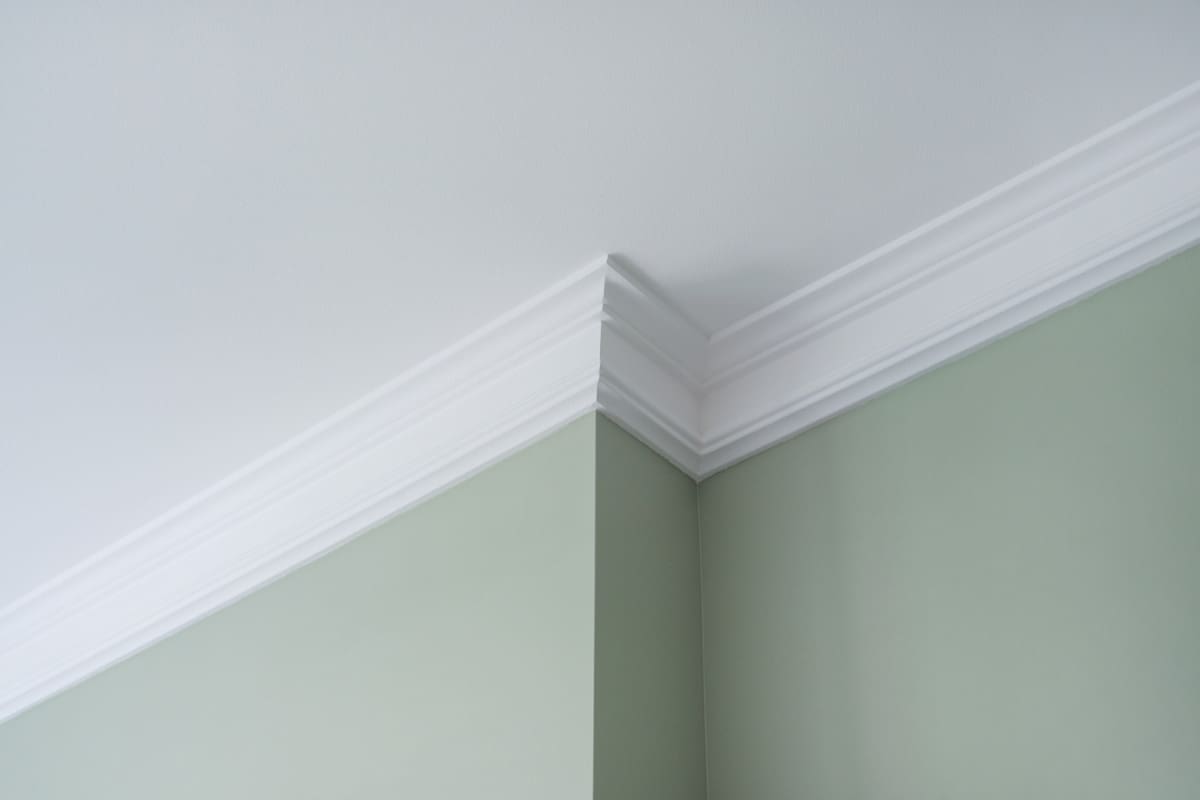
Not all crown moldings have the same width. It's important to know the correct width to use, as this determines accurate spacing from the floor to the ceiling.
- You can consider 3-5 inches wide if the ceiling height is right at 5 feet.
- Allow 5-7 inches wide for 9-10 feet of height.
- But for a height over 10 feet, consider 12 inches wide.
You don't want the crown molding to be extravagant in design, as some complex shapes may not fit around the edges when installed. Consider flat edges with a simple yet elegant style to serve as protection at the corner between the wall and the ceiling.
How to Install the Crown Molding
It's important to know how to properly install the crown molding so that there will be no gap between it and the ceiling. The steps may differ depending on the wall construction. However, you can refer to the steps below:
- Prepare the crown molding you will use.
- Cut the crown molding the same length as the wall.
- Apply a paint primer to the crown molding. This helps enhance the quality and durability of the material. Let it dry.
- Apply paint with any color you prefer.
- Push the crown molding to the uppermost edge between the wall and ceiling.
- Nail the crown molding against the wall. Consider at least two inches of nails.
- Apply silicon caulk between the ceiling and the crown molding.
What Is a Sticker Crown Molding?
See this sticker crown molding on Amazon.
Conclusion
It's another useful article, in which we learned how to fill in the gap between the ceiling and crown molding. We discussed the importance of sealing such a gap and what can happen if you leave it that way. Remember to seek help from a professional if you think the gap is getting wider.
Do you want to read more with us? You can visit us here:
Does Washing Machine Drain Need To Be Vented [Inc. Why And How To]?
Bissell Carpet Cleaner: Flow Indicator Not Spinning – What To Do?


