
Cabinets with a splash of color livens the look of the overall decor. All that's left to do is cover it with a protective coating. However, if it's your first time doing this, you probably don't want to mess up. If you're wondering how to apply polyurethane to painted cabinets, let's find out!
Applying a Polyurethane coat doesn't have to be complicated. The general plan would look like this:
- Prepare the painted cabinets.
- Scuff the surface.
- Select your tool of choice for the application.
- Apply the first polyurethane coat.
- Apply the second coat.
Of course, projects will seem simple in writing. However, there are always going to be more details to discuss. Getting a quality finish will require improvisation in some cases. In addition, you also have to be careful choosing the polyurethane product! If you'd like to learn more, keep reading ahead.
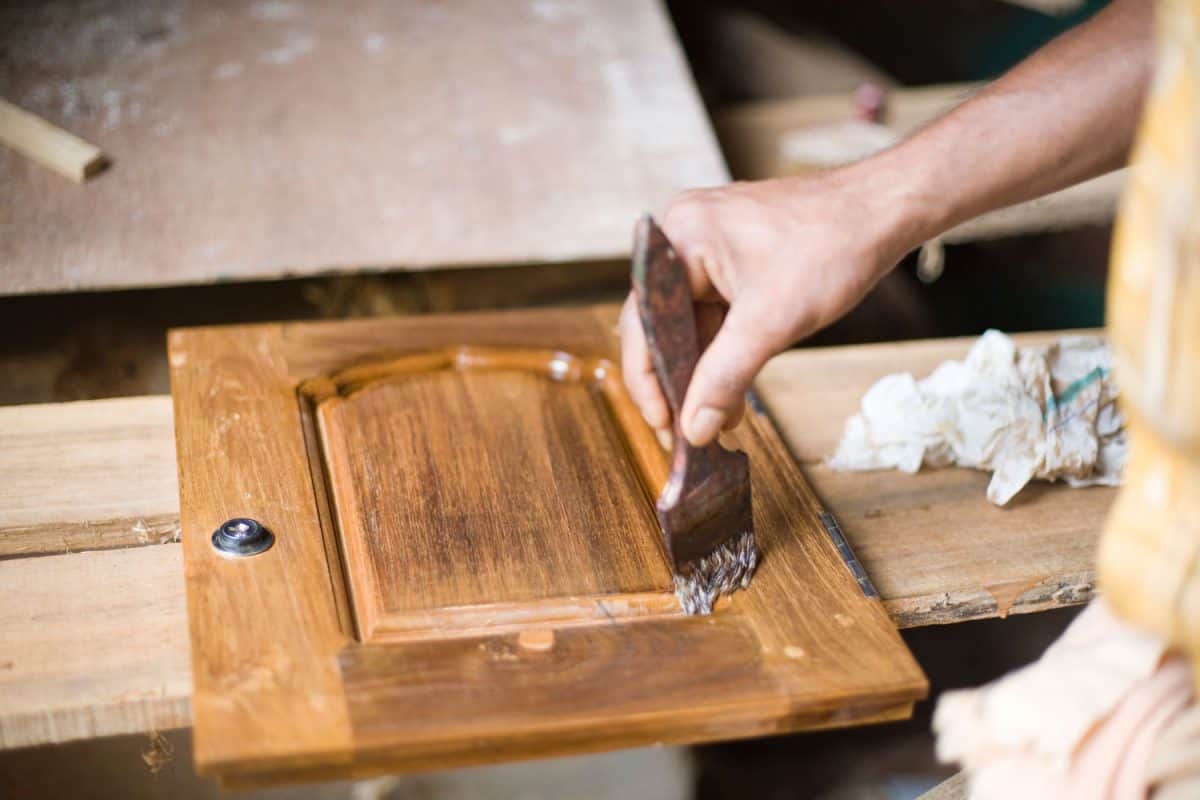
![Worker applying polyurethane coating on the small cabinet panel, How To Apply Polyurethane To Painted Cabinets [5 Easy Steps]](https://uooz.com/wp-content/uploads/2022/03/How-To-Apply-Polyurethane-To-Painted-Cabinets-5-Easy-Steps-1-800x1200.png)
Applying Polyurethane to Painted Cabinets
Before you apply the polyurethane to the cabinets, you'll have to make sure the paint is dry. Depending on the paint you use, it might take a long while. Some would suggest waiting overnight or up to 24 hours before applying another coat.
In some cases, it might even take up to two weeks to cure. As long as it is dry to the touch, it should be ready for the polyurethane coat. The general sentiment for wait time is to wait as long as possible.
If you don't wait long enough, the polyurethane coating will not work as desired. Instead of providing a protective layer, the polyurethane will mix with the paint. So, it will create a rough look and lose its resistance abilities.
You'll also need to do some scuff sanding. It's the process of lightly sanding a surface to prepare it for a finish. When the paint isn't allowed to cure, the sanding tool won't cut the surface.
Instead, it will smear it! So, if you don't want to restart the process of painting a cabinet, wait as long as you can. This way, you can follow the steps without fixing a preventable issue.
How Can You Tell If Paint is Dry or Cured?
Paint doesn't dry as you would expect. Sure, it might be dry to the touch on the surface. But, the process of drying is still ongoing.
For this reason, there's a distinction between drying and curing. Most would use the two terms interchangeably. However, there's a difference between them.
The change from liquid to solid by solvent evaporation is what professionals call drying. Curing would refer to the chemical reaction that would cause something to go from a liquid to a solid. It means that paint might look like it's ready after 24 hours.
But, if you don't wait long enough, you risk damaging the paint. One way to tell if the paint is cured is through smell.
If you can smell the paint, it needs more time to cure.
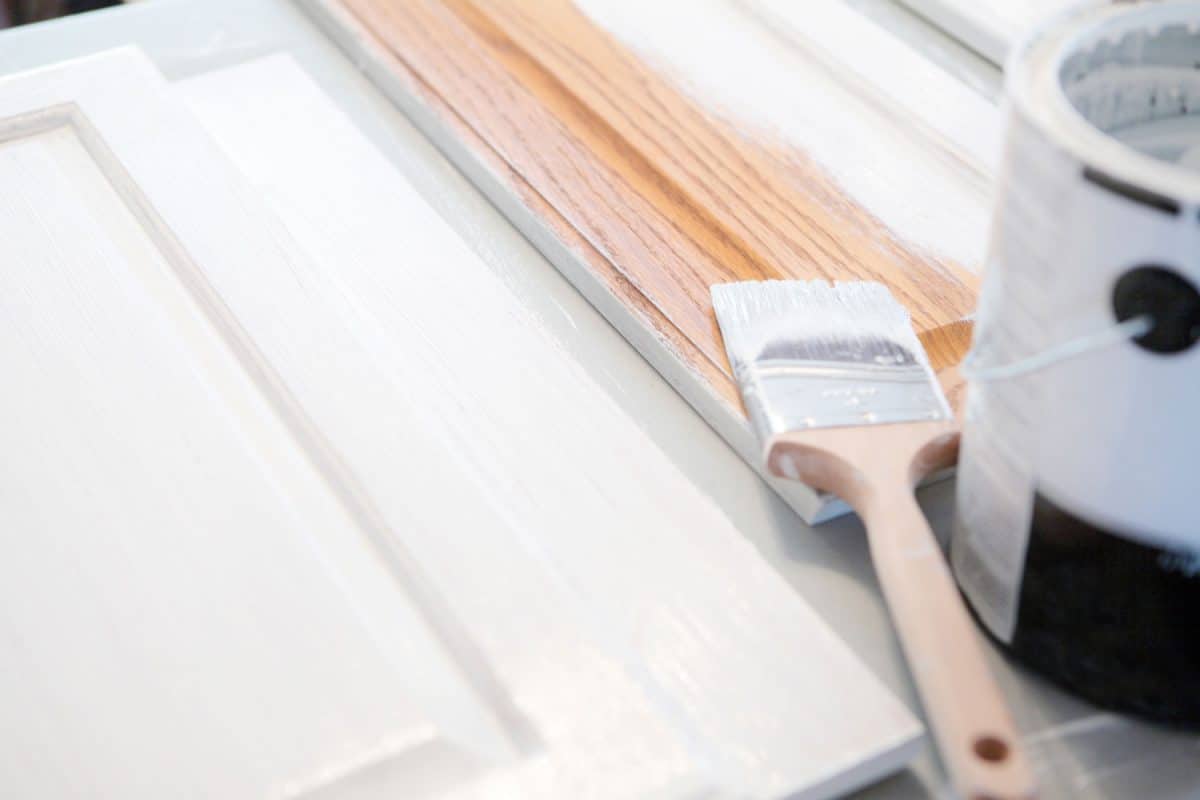
Step 1. Prepare the Painted Cabinet
Now that you're sure the cabinet is ready for the polyurethane, it's time to prepare it. If you haven't painted it recently, remove any grease and stains.
Mix a gallon of warm water with half a cup of trisodium phosphate. Then, use a sponge with this solution to scrub the cabinet. It should clean and degloss the surface, making adhesion easier.
Step 2. Scuff the Surface
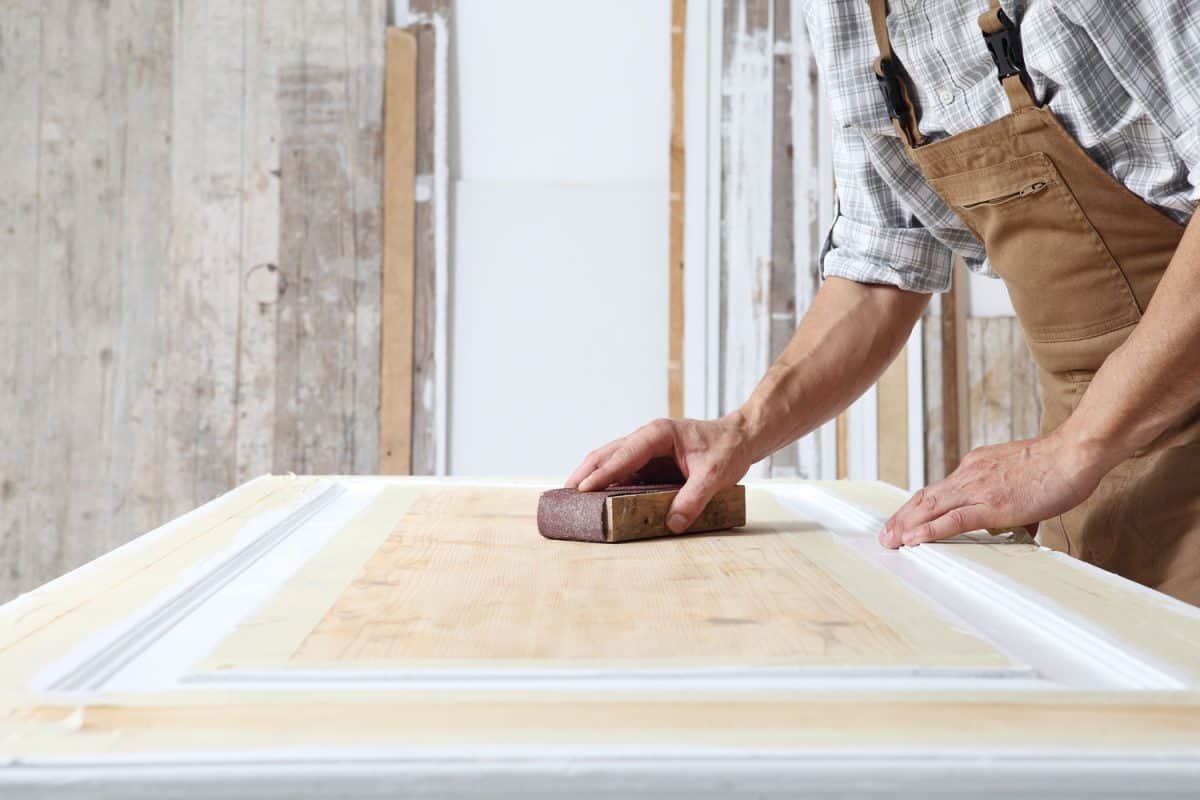
After the cabinets are completely dry, you will need 120-grit sandpaper to scuff the surface. You want to move the sandpaper along lightly. The goal isn't to produce deep scratches.
We will want to flatten the sheen slightly. In other words, you're giving the surface texture. So, you're giving the polyurethane a base to adhere to. Wipe any dust away with a damp rag.
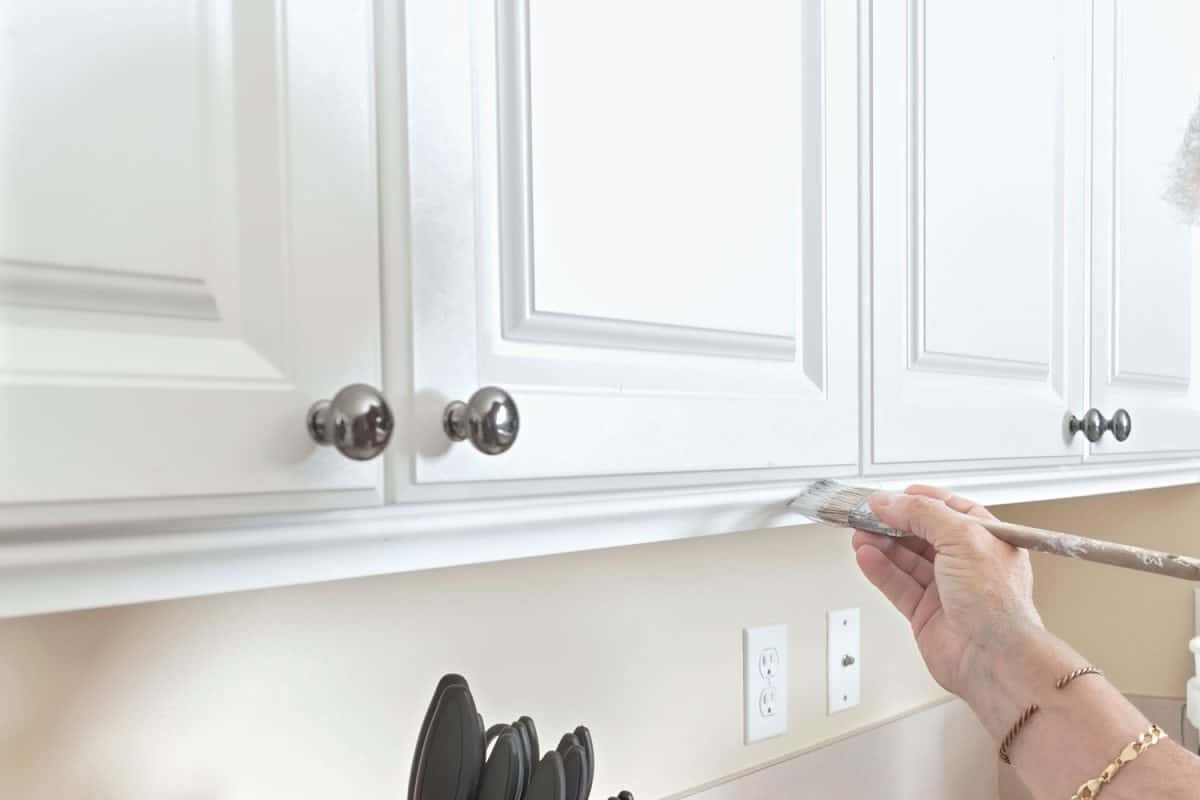
Step 3. Select Your Tool of Choice for Application
It's time to select the tool you want to use to apply the polyurethane. A spray tool would work best. It allows you to get into spots the others can't.
Using a paintbrush would be good too. However, you would have to work quickly. Rollers work well. But, it can leave bubbles that can harden into the finish.
It's important to note that your spraying experience will vary. The best way to tell if you'll need a thinner is through using the sprayer. Spray the polyurethane on test material without any thinner.
If you get large clots, you might need to use thinner. Otherwise, use a higher setting for the air pressure.
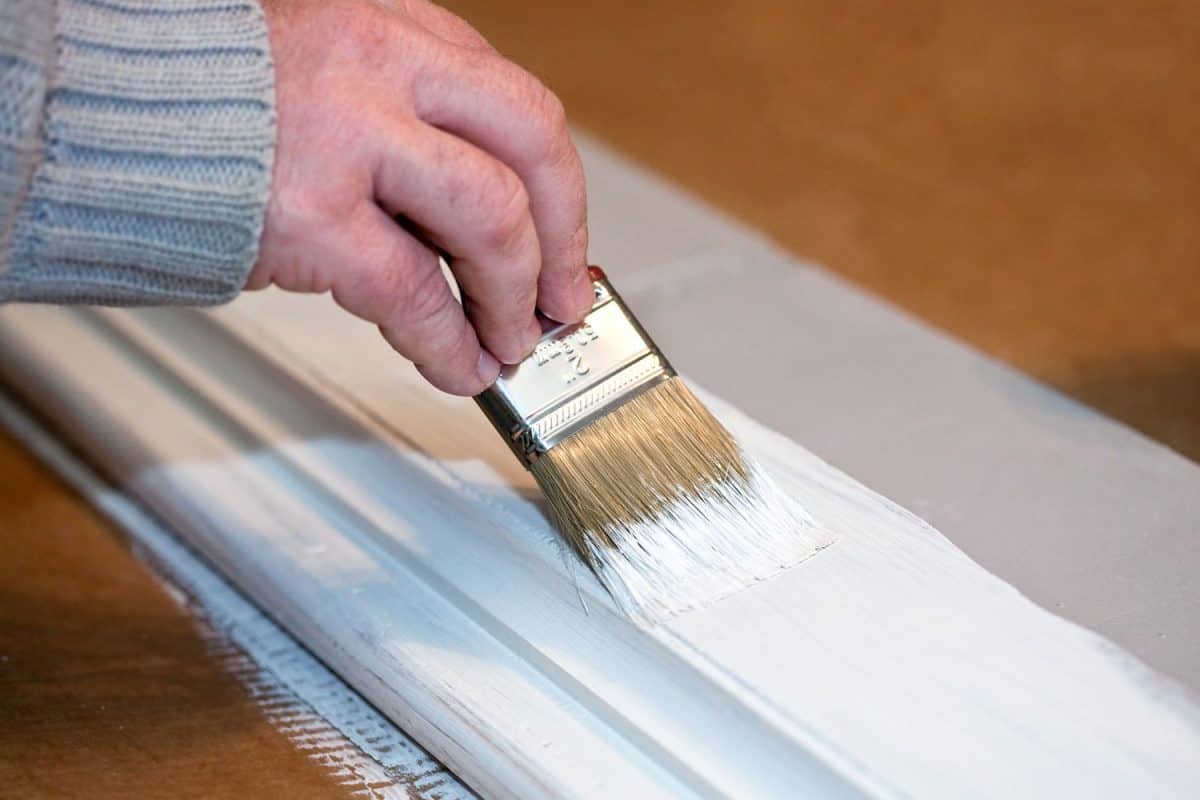
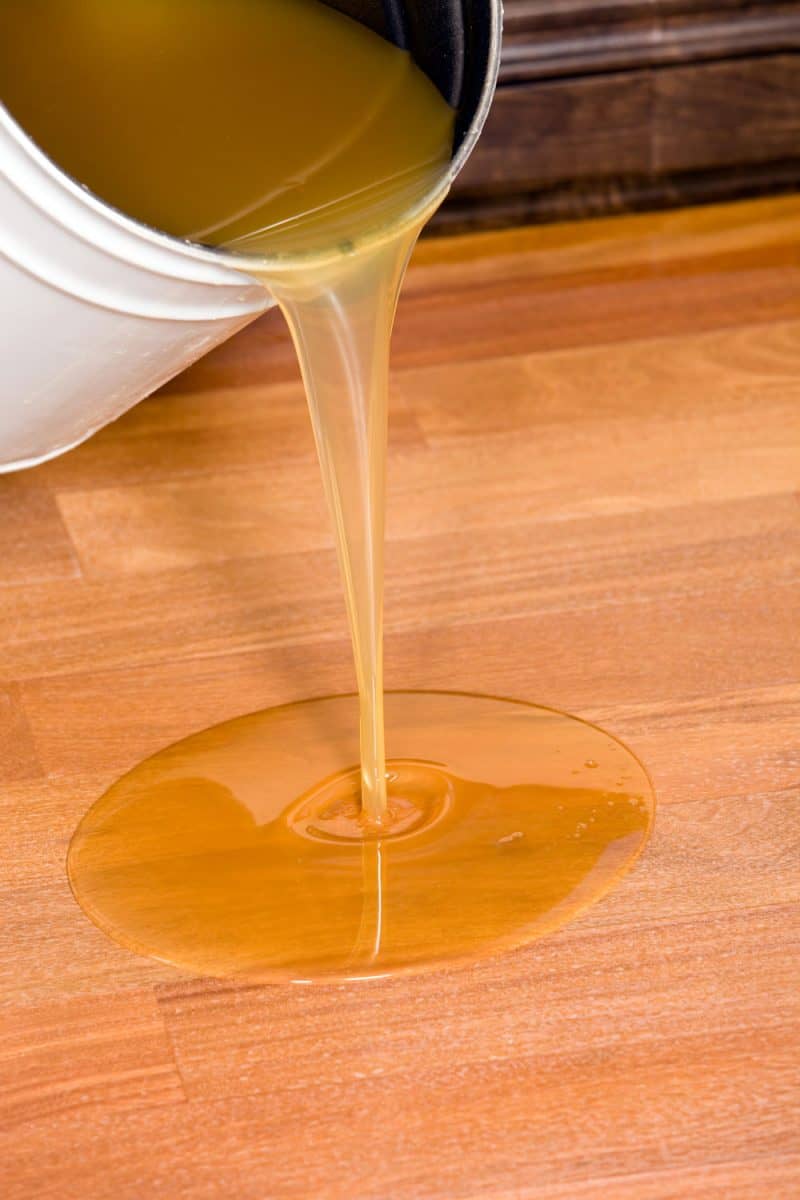
Step 4. Apply the First Coat of Polyurethane
Using your tool of choice, apply the first coat of polyurethane. Then, follow the drying instructions of the polyurethane you're using. After this period, you will need to scuff the cabinet again.
Take your 120-grit sandpaper and scuff the surface.
Step 5. Apply the Second Coat
Once you've prepared the surface, apply the second coat of polyurethane. Let it settle for 24 to 48 hours. You shouldn't need more than two coats of polyurethane.
Once you've waited long enough, you can safely handle the cabinet.
How-to's and guides are always better if they have a visual example to accompany them. Unfortunately, there isn't a video that showcases how to apply polyurethane over painted cabinets.
So, here's an example that shows you how to apply polycrylic over paint:
The steps from the video and the guide in this post are roughly the same. Feel free to make adjustments as necessary.
Is Polycrylic the Same As Polyurethane?

Click here to see this Polycrylic on Amazon.
As mentioned, the video above doesn't show how to apply polyurethane. Instead, it shows you how to apply polycrylic. But, you can use polyurethane to suit your needs.
Still, it raises the question, is polycrylic the same as polyurethane? The straightforward answer to that question would be, no, it isn't.
The Difference Between the Two
When comparing polycrylic and polyurethane, the difference is in their composition. Polyurethane usually comes in two options: oil-based or water-based. With polycrylic, you can't choose between formulas.
Polycrylic is strictly water-based. Why does that matter? It matters because it is an environmentally-friendly option. Also, polycrylic isn't as challenging to use as polyurethane.
You can clean it up easily with soap and water, and it has lower levels of VOCs. Because of this, you won't have to deal with polyurethane's noxious fumes. However, both require adequate ventilation.
Regardless, another difference between the two is durability. Polycrylic is not as durable as polyurethane. Thus, it's typically used for interior surfaces like furniture, cabinets, or trim.
Appearance
Another difference between the two would be noticeable after application. Polyurethane has a slight amber tone after it dries. That can be a problem because most wouldn't want a color change after painting their cabinet with a light color.
However, it's a more prevalent problem with oil-based polyurethane. Water-based polyurethane has a less noticeable amber tone. Still, it can look yellow after drying.
Polycrylic provides a clear, non-yellowing surface. However, when you use it with darker colored paints or stains, the polycrylic can develop an opaque or milky appearance.
Should You Put a Clear Coat Over Painted Cabinets?
Applying a clear coating over painted cabinets is a matter of preference. The paint on a cabinet is already a protective coating.
Adding a clear coat over painted cabinets enhances their appearance. If you want a deep clear coat look, apply several coats of polycrylic or polyurethane. Still, you might need a clear coat in some cases.
If you feel that the cabinet's paint won't hold up, apply a clear coat to protect it. You could also add another coat of paint.
Is It Better to Spray or Roll Cabinets?
Spraying is the most efficient and quickest way to apply polyurethane to a cabinet. The quality of the finish is exceptional compared to other application methods. However, spraying polyurethane is more expensive.
You have to take time to set up the equipment and protect the surrounding area. You don't want polyurethane sticking where it shouldn't be.
Using a roller and a paintbrush would be the more cost-effective choice. It all depends on your budget and how much time you have to complete the project.
Can You Put Polycrylic Over Painted Cabinets?
Polycrylic would be a better choice to use on interior surfaces. It's not durable enough to handle outside conditions. If you're working with lighter paint, polycrylic will do well.
Your results will vary when you use a darker coat of paint. The outcome may end up achieving a milky or opaque look.
In Closing
Applying finishes isn't as difficult as it seems. Of course, if you want to guarantee success, it helps to do research beforehand. Now, it's up to you to apply polyurethane to the cabinets. Good luck!
Before you go, do you have other questions about polyurethane? We have more topics that might interest you! To learn more, check out: