Is your countertop dull? Does it have scratches and unappealing stains? If so, most likely you are wondering which one is the best polyurethane to use for countertops. We asked the experts in this field for an insight into what to look out for when making a choice, and they gave us the following information.
Polyurethane is a versatile varnish or sealant that is best for most countertops made from wood, granite, concrete, or any other suitable material. Polyurethane is available as oil or water-based, and comes in three forms:
- Gloss polyurethane
- Semi-gloss polyurethane
- Satin polyurethane
Keep reading to make a viable choice between oil and water-based polyurethane. We'll also discuss the three types of polyurethane and the best method to use when applying a top-notch finish.
What Is The Most Suitable Polyurethane For Your Countertop?
Polyurethane is an excellent sealer because it is durable, waterproof, and resistant to abrasion. It protects wooden countertops from mold, mildew, and warping. It equally protects concrete from damage and discoloration due to spillage from food, salt, oil, or household chemicals.
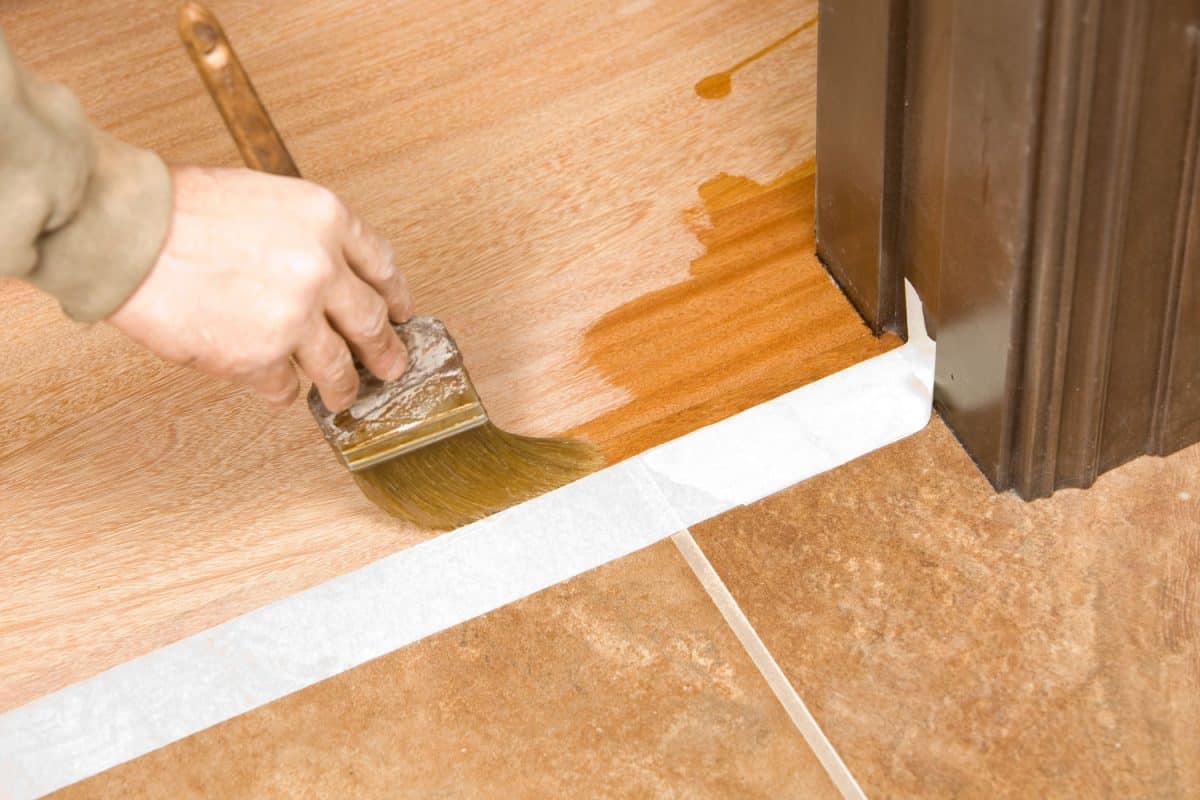
It's also great for your granite countertop. Although granite does not necessarily need to be sealed because of its natural resistance to water, you may do so to protect it against scratches and stains.
In a nutshell, irrespective of the material used to manufacture your countertop, it will need to be sealed to protect it from all kinds of elements and for it to last longer.
The polyurethane you choose ideally depends on your preference, budget, and your project.
Let us look at the three forms of polyurethane to help you decide which is the best for your countertop:
Gloss Polyurethane
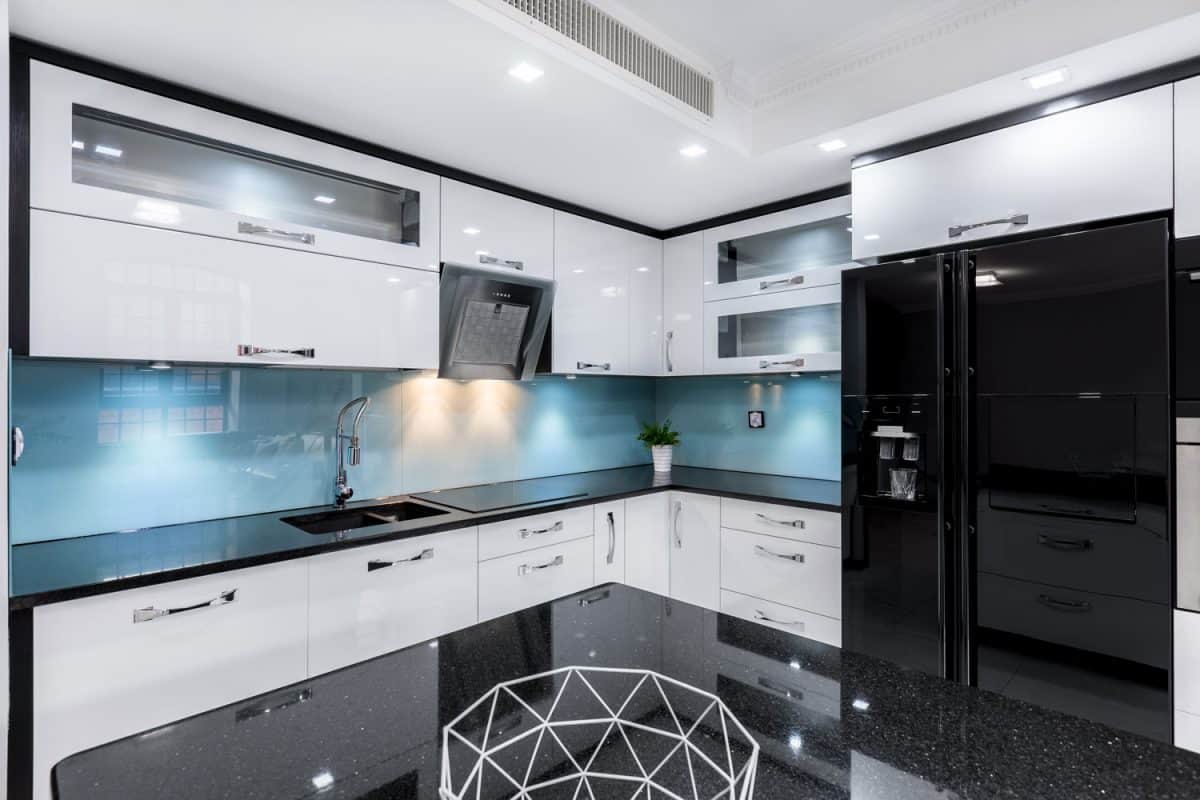
If you love a shiny, lustrous, exciting, and alluring finish, then gloss polyurethane is a good choice for your kitchen or bathroom countertop.
A glossy finish is a splendid choice for small kitchens as it makes them look bigger. And if your kitchen is dark, it will look brighter because the gloss reflects a lot of light.
However, it may not work very well on an all-white kitchen but will work wonders for large bathrooms. Other than hiding dirt and fingerprints on a kitchen countertop, a glossy finish is easy to clean.
Most stone countertops, man-made or natural, look great with a glossy finish. This goes for wood as well.
Satin Polyurethane
Have a look at this water-based satin polyurethane on Amazon.
A satin polyurethane finish is almost similar to a matte finish. They are both dull and subtle.
While being manufactured, polyurethane is initially made as a high-gloss sealer but is later changed into satin when zinc oxide paste is added. It ends up making a surface look lusterless when applied.
A homeowner that loves a mature and natural feel will opt for a satin finish. It does not reflect a lot of light and is suitable for an all-white kitchen. But don’t try it on a small and dark kitchen as it will look much smaller and darker.
Satin does very well on countertops made from dark granite stones. Unlike gloss, a satin finish will show dirt and smudges more easily. So, be ready to clean it as soon as it gets soiled.
Semi-Gloss Polyurethane
Check out this semi-gloss polyurethane on Amazon.
Semi-gloss finishes fall between satin and gloss finishes. It has a slightly less sheen than a gloss polyurethane finish, making it great for those who do not want a completely dull surface but want to enjoy a little bit of sheen.
How Do You Apply Polyurethane On Your Countertop?
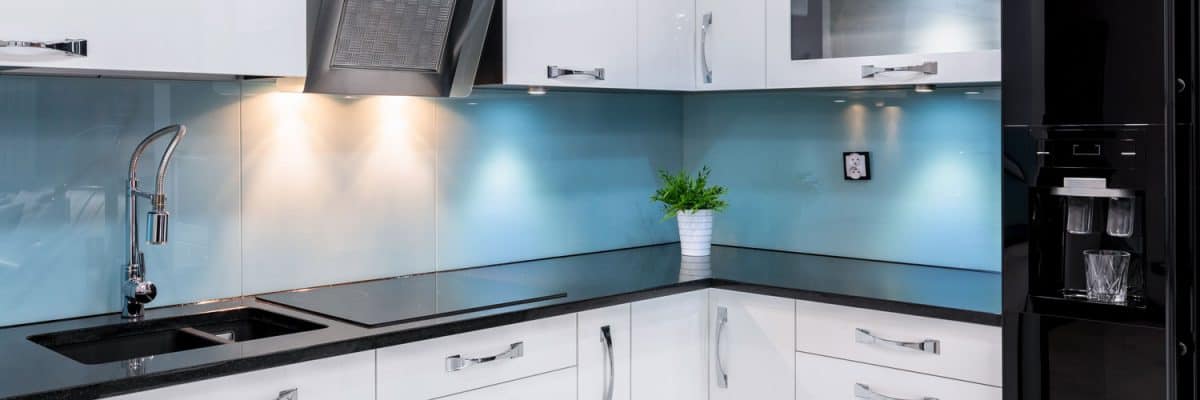
Polyurethane application is a DIY project that you can easily carry out. We shall focus on applying oil-based polyurethane to wood.
By following the steps below, you are well on your way to a flawless countertop:
1. Prepare the Tools/Materials You'll Need
- Shop vacuum
- Sanding block
- Oil-based polyurethane
- Mineral spirits
- Lint-free cloth
- Wet/dry sandpaper
- Tuck cloth
You can use water-based polyurethane, but the finishing will not be the same. An oil-based sealer darkens wood to give it an amber glow, which, continues to darken with time. The water-based sealer, on the other hand, remains clear all its life.
2. Sandpaper The Surface
Use sandpaper with a finer grit to remove blemishes and smoothen the surface in preparation to apply the finish.
You could sand the wood using papers with different grits, for example, start with a grit of 100 and finish off with a grit of 220.
3. Vacuum The Dust
Dust is normally left after sanding. To remove it, use a shop vacuum that has a soft brush attached to it. Afterward, moisten a lint-free piece of cloth with mineral spirits and wipe the surface.
Finally, wipe off the remaining dust with a tack cloth.
4. Apply The Seal
Mix two parts polyurethane and one part mineral spirits in a glass jar, and stir slowly with a flat stick. This bursts any bubbles that normally form during application.
Do not shake the can of polyurethane as it may introduce bubbles that might create bumps on the finished surface.
For best application, use a brush with natural bristles. Apply using long and balanced strokes.
Don’t use a brush with irregular bristles, whereby some are divided into many strands. Your final finish will end up with bubbles.
To load your brush with an adequate amount of polyurethane, dip your brush 1 inch deep into the mixture and apply smooth strokes on the wood.
If there are any drips, brush them onto the surface to achieve a smooth finish. Allow drying for 24 hours.
5. Apply A Coat Of Polyurethane
Apply the first coat of polyurethane straight out of the can, and do not wipe the brush against the rim as bubbles may form. Avoid applying too much polyurethane as it may end up running. Only use enough that will give you an even coat.
Apply along the grain, overlapping your strokes to attain a uniform coating.
6. Remove Any Bumps
If any drips form during the application, you can remove them by using a razor blade. But, do this after making sure the sealer is dry to the touch.
7. Wet-Sand The First Coat Of Polyurethane
After the first coat of polyurethane has dried, which takes around 24 hours, dip the sandpaper with a grit of 400 into the water and then sand the surface using a circular motion. This gets rid of dust bumps and blemishes.
When the surface is smooth enough, wipe it with a moist cloth, and dry it with a clean cloth that is free of dust.
8. Apply The Second Coat Of Polyurethane
After allowing the first coat to dry for 24 to 48 hours, apply a second coat using the same procedure as the first one. But, remember you repeat this process only when absolutely necessary.
If you wet-sand the second coating, you may have to apply an appropriate polish onto the wooden surface.
Pros And Cons Of Polyurethane
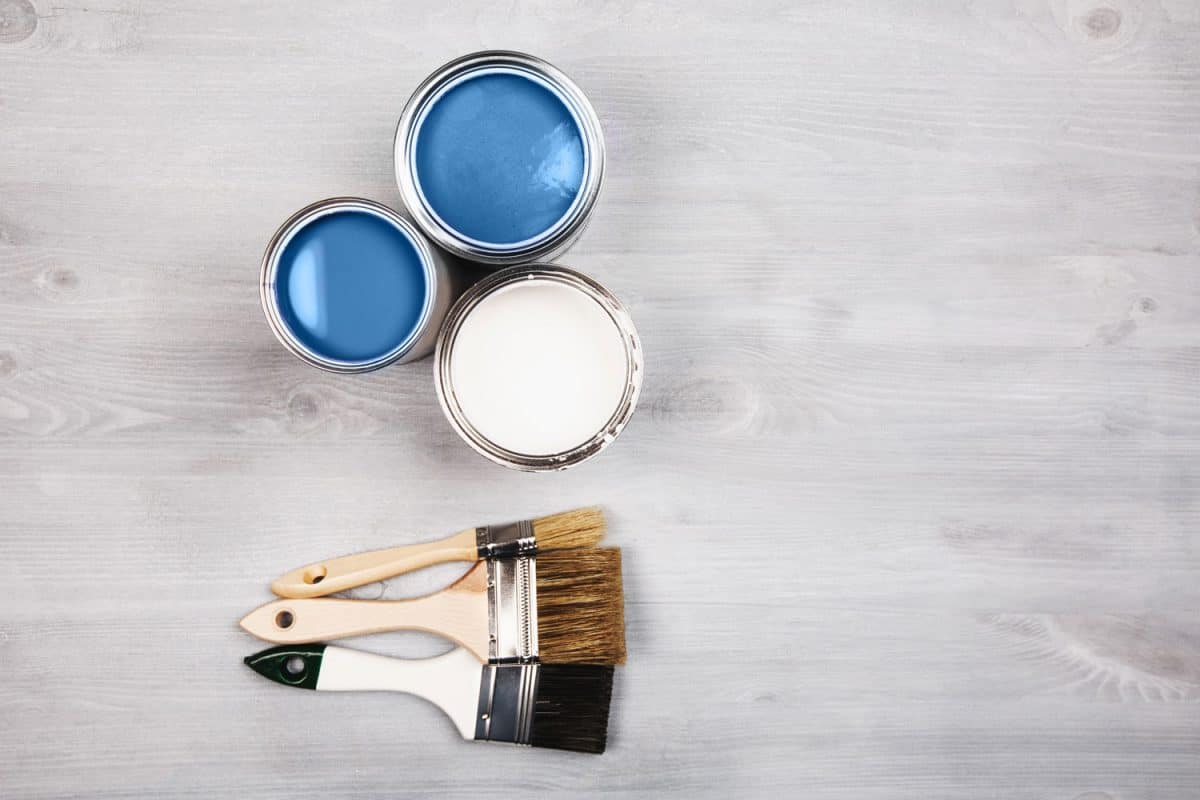
Both water-based and oil-based polyurethanes are durable and provide a great look to a surface. To help you make a choice, you might as well weigh the pros and cons of each polyurethane type:
Water-Based Polyurethane
| Pros | Cons |
| Has a clear finish without a strong odor | Costs twice the price of oil-based polys |
| Dries fast within 1 or 2 hours | Has a dull look compared to an oil-based poly with a glossy appearance |
| Requires more applications than oil-based polys |
Oil-Based Polyurethane
| Pros | Cons |
| Gives wood an amber glow | Has a strong odor |
| Less expensive than water-based polys | Takes a long time to dry |
| Provides a more protective finish | |
| With time, maintenance decreases |
In Closing
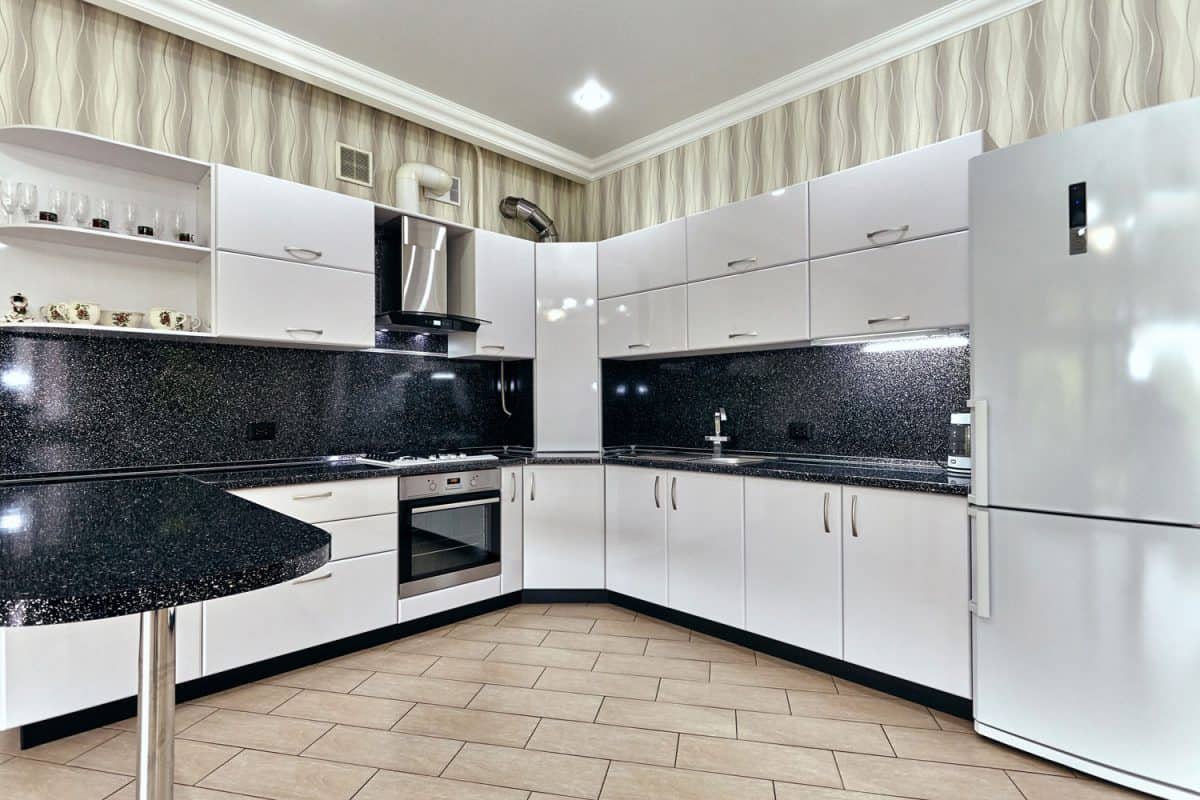
Polyurethane provides a smooth finish to most countertops in the kitchen, bathroom, and other working surfaces. Being versatile, it can protect most countertops from scratches, mold, warping, discoloration, stains, etc.
The type of polyurethane you choose for your countertop largely depends on the look you want to achieve, its purpose, and your budget. There are water-based and oil-based polyurethanes with different properties and results. There are also satin, semi-gloss, and gloss polyurethanes—the satin being of a less sheen than semi-gloss or gloss.
You should strictly adhere to the application methods of the different types of polyurethanes to achieve the desired goal.
You may want to have a look at our previous posts on the different types of polyurethane colors and how it works to protect wood against warping:


