
Vinyl plank flooring is one of the easiest and least expensive ways to update a room. One person with ordinary household tools can install it. If you’re planning to install it, you are probably wondering how to stagger vinyl plank flooring for the best results. We have done the research and have some great pointers to share with you.
The most important thing to keep in mind when staggering vinyl plank flooring is to randomly stagger your joints. If you offset each plank halfway, you’ll end up with H-joints that look amateurish. Instead, after you set up the first row so that the last plank is at least 6 inches long, use the remaining part of that plank to start the next row. Whenever you start a new row, make sure that your first plank is at least 2 to 3 inches longer or shorter than all of the other first planks you have used, though never shorter than 6 inches to ensure structural integrity. Continuing with this pattern will ensure that your joints are randomly staggered.
To install vinyl plank flowing, follow these steps:
- Remove old flooring.
- Prepare the planks
- Ensure proper alignment as you install the planks
Randomly staggering the joints is only one of the challenges involved in installing vinyl flooring. Read on to find out more tips for installing a floor that looks like it was done by a professional.
![A tile setter using a small mallet to place a vinyl plank flooring, How to Stagger Vinyl Plank Flooring? [3 Steps]](https://uooz.com/wp-content/uploads/2020/10/How-to-Stagger-Vinyl-Plank-Flooring-3-Steps.jpg)
How to Stagger Vinyl Plank Flooring
Tools and Supplies Needed for Installation
- Tape measure
- Utility knife or heavy-duty scissors
- Straight edge
- Calculator
Click here to see this tape measure at Amazon.
Removing Old Flooring
If you’re redoing a room, you may have to remove the existing flooring. While you can lay vinyl flooring directly on top of tile or sheet vinyl, you’ll have to remove the carpet before installing vinyl. You will need some additional tools if you have to pull out the current flooring, including pliers, a pry bar, a hammer, and possibly a screwdriver. To make this job go faster, use a utility knife to cut the carpet into shorter strips that will be easier to handle.
After pulling up the carpet and pad, you’ll be left with tack strips and possibly some staples used to hold down the carpet pad. The tack strips will be easy to remove with a pry bar, but you’ll need to use pliers to pull up the staples. Once the carpet and fasteners are removed, check that none of the nails or screws used to secure the subfloor are sticking up. If they are, hammer or screw them down so they won’t affect the new planks.

Check out this utility knife on Amazon.
Preparing the Planks
When your vinyl flooring arrives, allow it to sit out in the room you plan to install it in for a few days to acclimate. You must do this because vinyl is susceptible to fluctuations in temperature. Before you begin installing, mix up the boards from all of the boxes so you’ll get a random pattern. Measure the distance across the room where you will be laying the plank flooring in.
Next, measure the width of the planks. Divide the distance across the room by the plank's width, making sure to include a ¼-inch gap on either side of the floor to allow for expansion. This will tell you how many rows of planks you will need to complete the room. You want to make sure you’re not going to end up with a sliver of a strip on your final plank.
If necessary, cut down the planks for your first row so that you end up with at least a half-width plank for the final row. If you need to cut planks, use a straight edge and a utility knife to score the planks and then snap them. Make sure you cut off the tongue side since you’ll need the groove side intact for installation.

Click here to see this flooring on Amazon.
Ensuring Proper Alignment
If you know your wall is straight, you’re ready to go. If it isn’t straight, snap a chalk line to use for reference instead of relying on the wall. Once your planks are ready to go, put ¼-inch spacers up against the wall before you start installing your first row. This will allow the wood to expand and contract with humidity variations.
Dry fit your first row to ensure that your final plank is at least 6 inches long. If the last plank's leftover portion is 6 inches or longer, use that to start your second row. If not, cut a plank that will result in a joint that is 8 inches offset from the first joint and then continue laying the planks.
After each row, repeat this process, making sure that the initial boards are 2 to 3 inches longer or shorter than all other first boards.
Which Way Do You Lay Vinyl Plank Flooring in Multiple Rooms?
If you are doing one room, you should lay the flooring along the longest wall. However, if you want to install the flooring in multiple rooms, you should lay it in the direction of the longest wall that encompasses all of the rooms you will be doing. This will provide continuity, particularly in an open floor plan, even if the flooring ends up running along the shorter wall in one particular room.
Start at the left corner of the first room along the designated wall and work your way to the right. When you reach the doorway, continue installing the plank in one continuous row. Install three successive rows in the doorway space before you fill in the remainder of the room. Otherwise, follow the same guidelines as for a single room.
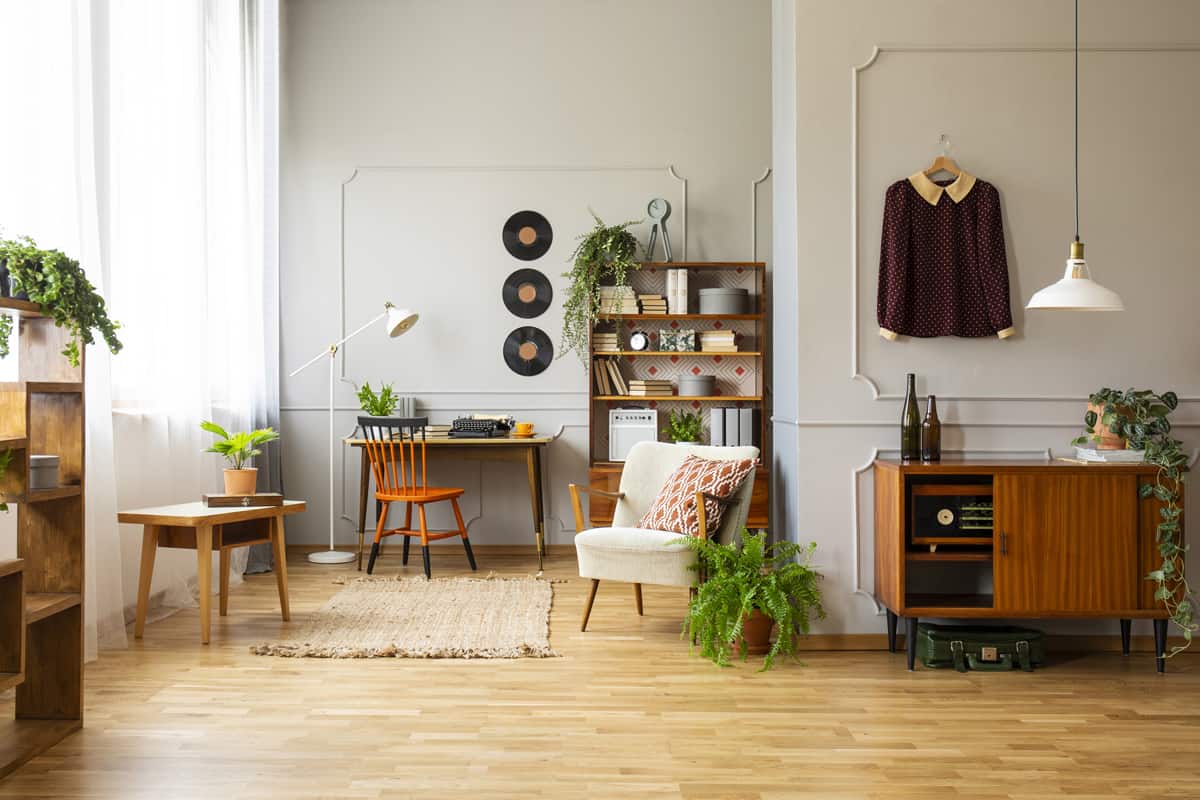
What Floor Pattern Makes a Room Look Bigger?
While a diagonal pattern can make a room look bigger, it can be hard to achieve with plank flooring. A better bet is to use light-colored vinyl plank. Light oak or white ash are good choices for light floors. If light-colored floors aren’t your thing, you can still make a room look larger with dark flooring as long as you pair it with a light ceiling and walls.
Does Sheet Vinyl Have a Pattern?
Unlike vinyl plank flooring, sheet vinyl is installed more like carpet. You don’t have to worry about placing each plank. You can roll it out and trim it to fit the room. Sheet vinyl usually has a pattern that imitates a wood or tile look, though sometimes it is just an all-over decorative design.
Choosing a Design
Vinyl planks come in many different designs. If you have a modern aesthetic, you might like the planks designed to look like stone or light-colored wood. For more traditional houses, some designs look like classic hardwoods such as cherry and maple. Another consideration is the plank width. The same design often has a different look in a wider width, so it’s worth looking at the color you like in several different widths.
Click here to see this flooring on Amazon.
Summary
Vinyl plank flooring is an attractive, low-cost option. Unlike hardwood flooring, it is easy to install with a minimum of equipment. It is durable and long-lasting, making it worth the time and money investment. You can find a style to match any decor from modern to farmhouse. With just a few simple household tools and some basic calculations, you can have a floor that looks like it was installed by a professional for a do-it-yourself price.