
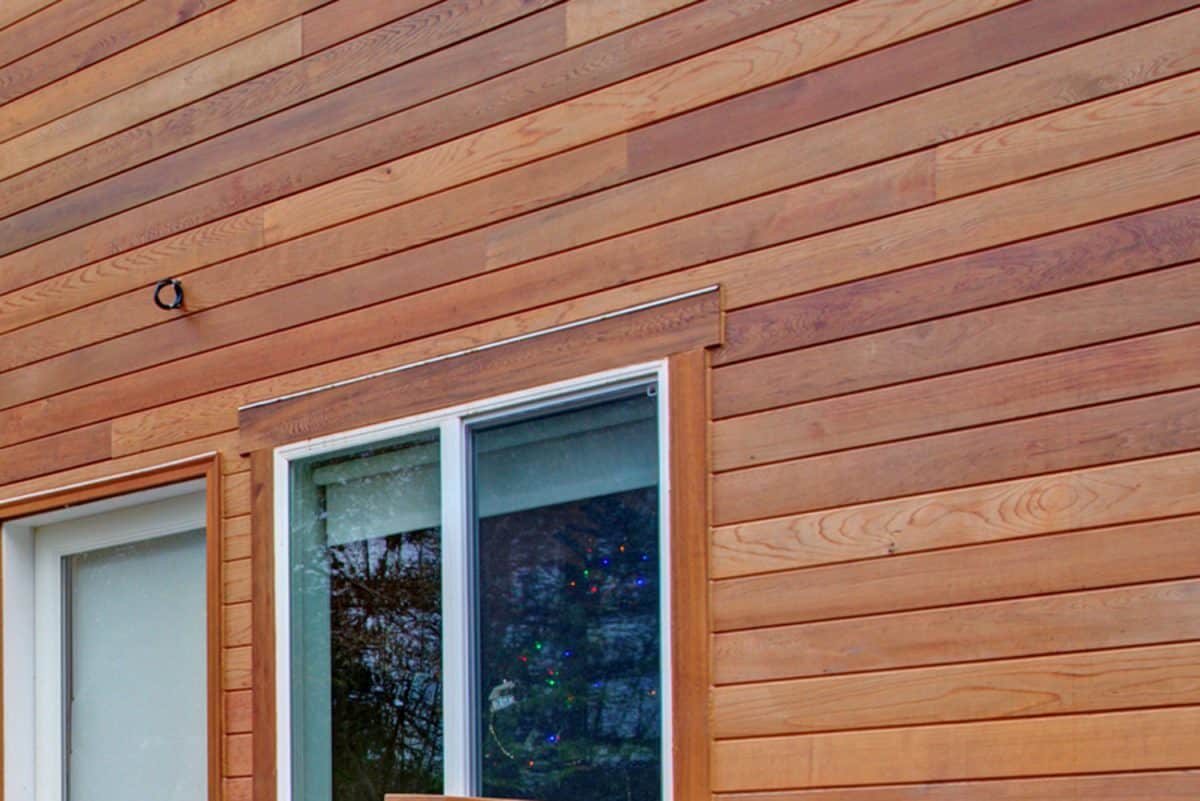
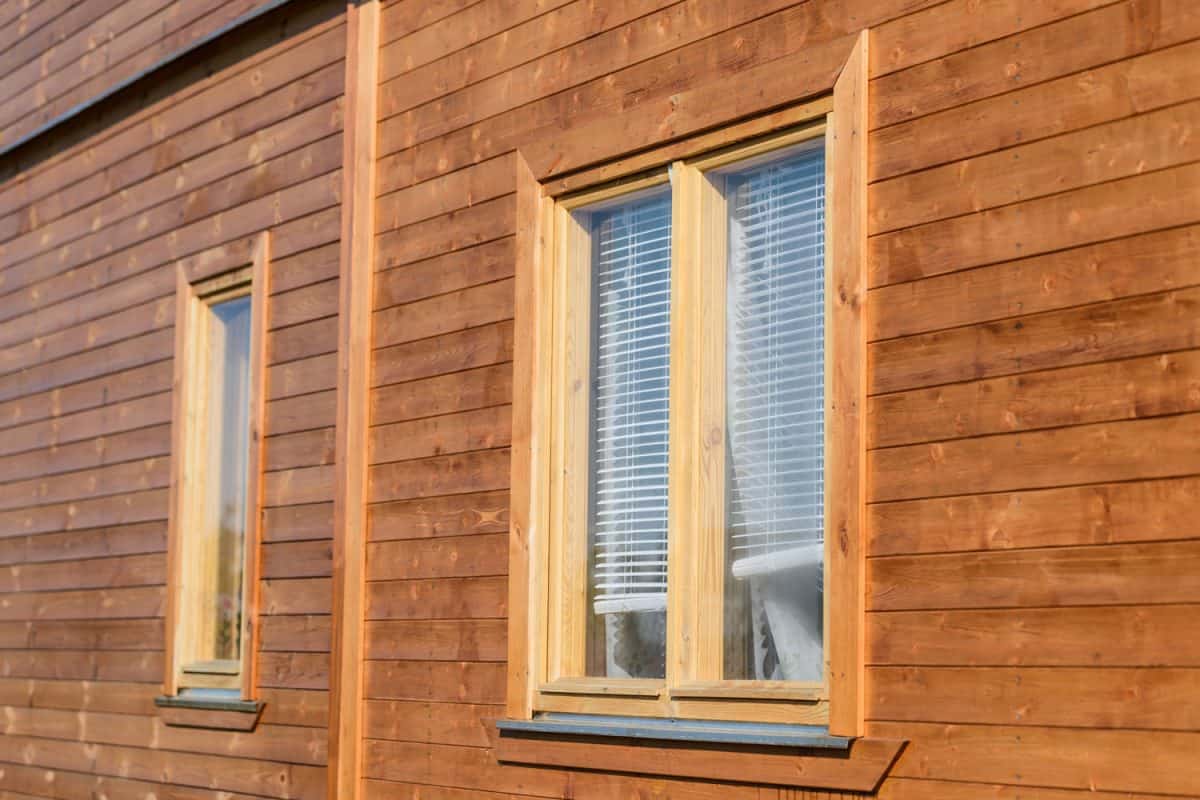
Damage to exterior wood siding can make your home look unsightly, and it can potentially lead to more issues if it's left untreated. Siding holes in the wood can come from extreme weather conditions, woodpeckers, or recreational activities. We've researched an easy method to repair holes in exterior wood siding, and in this post, we will go over it.
Here are the steps to repair a hole in exterior wood siding:
- Lay down tarps
- Cut a hole into the damaged areas
- Fill the hole
- Cut replacement patch
- Apply wood filler
- Sand the patched area
- Paint the patched area (if applicable)
Wood siding comes in many forms, including shingles, boards, and panels. The great thing about this type of siding is that it is generally easy to repair. Even if your carpentry or woodworking skills are lackluster, you can still probably repair the holes in the exterior siding yourself. Continue reading to learn more about the steps to do it.

Steps To Repair A Hole In Exterior Wood Siding
Before repairing the holes in the exterior siding, it's always a good idea to closely inspect the damage. This involves looking at each side of the house to ensure that you have a good idea of how extensive the damage is before purchasing any materials and tools.
Things you'll need:
- Wood filler
- Ladder
- Sanding block or orbital sander
- Tack cloth
- Paint
- Measuring tape
- Primer
- Paintbrush
- Hole saw
- Tarps
1. Lay down tarps
Start by placing a tarp around the area beneath the siding. This will prevent loose nails, chipped wood, and other debris from falling into your lawn grass or bushes. When repairing the holes, it's best to work on one side of the house at a time and from the top of the house down to the bottom.

2. Cut a hole into the damaged areas
Take a hole saw and cut circular holes over the damaged areas. You can also use a reciprocating saw if you do not have a hole saw, or the proper bit sizes for the damaged areas. After removing the saw from the hole, be sure to remove all of the debris from the wood piece from the drill bit. Next, measure the hole with measuring tape to get the diameter for the plywood patch installed later.
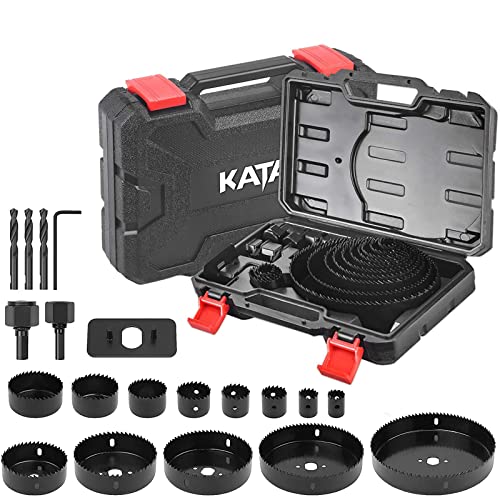
Read more details about this hole saw on Amazon.
3. Fill the hole
If the hole is shallow and under 2 inches, you can typically fill it with wood filler. If not, you'll need to use a foam sealant and then patch the hole. To do this, take your foam sealant and apply it to the inside of the hole. If you have a sprayable sealant, be sure first to test it to determine how much room to allow for the expansion--you don't want to fill the entire hole with foam. Be sure to leave 1/2 to 1 inch of space for the patch that will cover the hole.

Learn more about this foam sealant on Amazon.
4. Cut replacement patch
Next, cut a patch of plywood that is an eighth of an inch smaller than the diameter of the hole you measured earlier. Keep in mind that you want the patch to fit snugly inside the hole, so you may need to sand it down around the sides if it's too big. It doesn't need to be perfect, but just big enough to fill up most of the hole. You can use any scrap plywood or other lumber that you have lying around for this purpose.

Check out this sanding block on Amazon.
5. Apply wood filler
Apply wood filler to the areas around the hole and patched area. Use your putty knife to scrape off any excess from the sides, and make sure that the hole and the area around it are entirely covered with the filler.
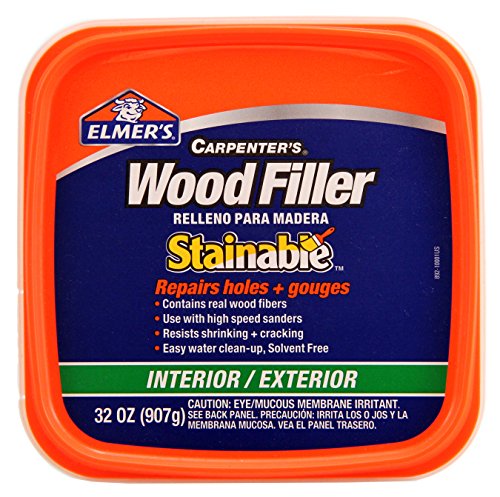
Read more about this wood filler on Amazon.
6. Sand the patched area
After the wood filler has dried, take your sanding block or orbital sander and sand over the patched area so that it is flush with the rest of the siding. Use your tack cloth to remove any dust from the siding as you sand the area before applying any paint.

Learn more about this orbital sander on Amazon.
7. Paint the patched area (if applicable)
If your siding is painted and you have the paint color available, this is the perfect time to touch up the patched areas. Make sure that the areas are clean and free of dust. Apply two to three coats of paint, making sure to let each coat dry before following up with additional coats.
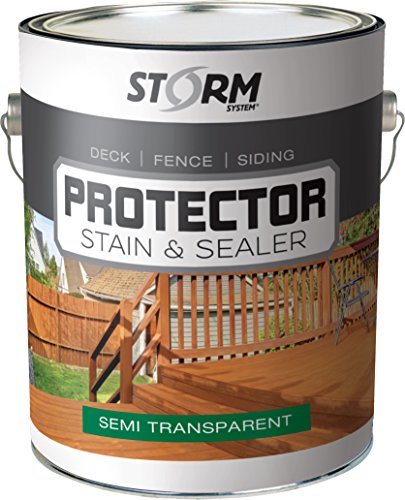
Take a look at this wood paint on Amazon.
What Is The Best Wood Filler For Exterior Rotted Wood?
A few well-known would fillers that are highly regarded by contractors as the best options for solid wood repair and filling. It's worth noting that it's typically best to replace rotting exterior wood than to repair it. However, if you are in a pinch and need to repair it immediately, here are a few feelers that you can use.
FamoWood Latex Wood Filler
If you want one wood filler that can be used for various applications, this is it. This latex wood filler has the viscosity and versatility to handle holes of various sizes. You don't need to mix it with other fillers for it to be applied, and it doesn't shrink once it dries. It can easily be applied with a putty knife, and it cures in about 12 to 15 minutes. Once it cures, the surface can be sanded, planed, or solid to match any specifications. You can also apply paint or stain over the wood filler as well.

Read more about this wood filler on Amazon.
Bondo Wood Filler
Another great exterior wood filler is the Bondo Wood filler. This is a two-part formula that mixes quickly to rebuild rotting and damaged wood. This solution is so solid you can even use it to replace an entire piece of wood. It cures and about 25 minutes, and it's a non-shrink formula. Once it cures, you can plane, saw, drill, or cut the wood as desired. You can also apply paint and stain on top of the filler.

Check out more details about this wood filler on Amazon.
Is There A Waterproof Wood Filler?
Exterior wood fillers are meant to provide a stable solid surface similar to that of wood. However, most aren't actually waterproof. But there is one filler that makes the cut, and unsurprisingly, it's an epoxy-based solution. It's the Abatron WoodEpox Epoxy Wood Replacement Compound.

Read more about this waterproof wood putty on Amazon.
What Is The Difference Between Wood Putty And Wood Filler?
The terms wood putty and wood filler are often used interchangeably. These are two different woodworking materials, though they're very similar. Let's explore their similarities and differences.
Wood Putty
Unlike wood filler, wood putty doesn't harden once it dries. You'll typically find that it's used for very small or minor fixes instead of larger ones. Wood putty typically comes in various colors to help match the color of the wood stain, making it easy to cover up minor imperfections on already stained wood. Temperature and humidity changes will cause the putty to expand and contract similar to wood.
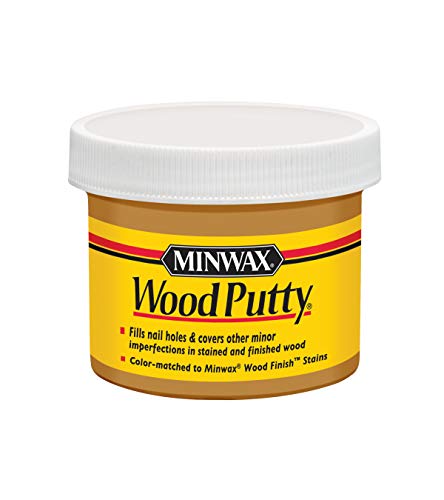
Read more about this wood putty on Amazon.
Wood Filler
Wood filler is better to use on large applications that can be used on smaller issues as well. Once wood filler dries, it cures into a solid surface painted over, sanded, or planed. The filler will not expand or contract that but will remain hard and solid with temperature or humidity changes.
What Is The Strongest Wood Filler?
The Abatron WoodEpox Wood Filler is by far the strongest in the marketplace. If you're looking for a filler that's meant for heavy-duty jobs, this is it. This wood filler feels works on both indoor and exterior surfaces, and it's highly resistant to water and sunlight. It works best on hardwood surfaces such as oak or birch, and once it cures, and can be sanded, painted, or cut.
Can I Paint Over Wood Putty?
Wood putty is designed to match the current stain or color of wood surfaces. It isn't necessarily intended to be painted over, which is why it's available in various colors. If you paint over it, the chances are that the putty will bleed through the paint coat. A wood filler may work better for paint applications.
Wrapping Things Up
We hope that this post has helped illustrate the steps needed to repair a hole in exterior wood siding. Remember, it's always best to examine the entire house to determine the full extent of the damage before starting the project.
Before you go, be sure to check out our other posts: