
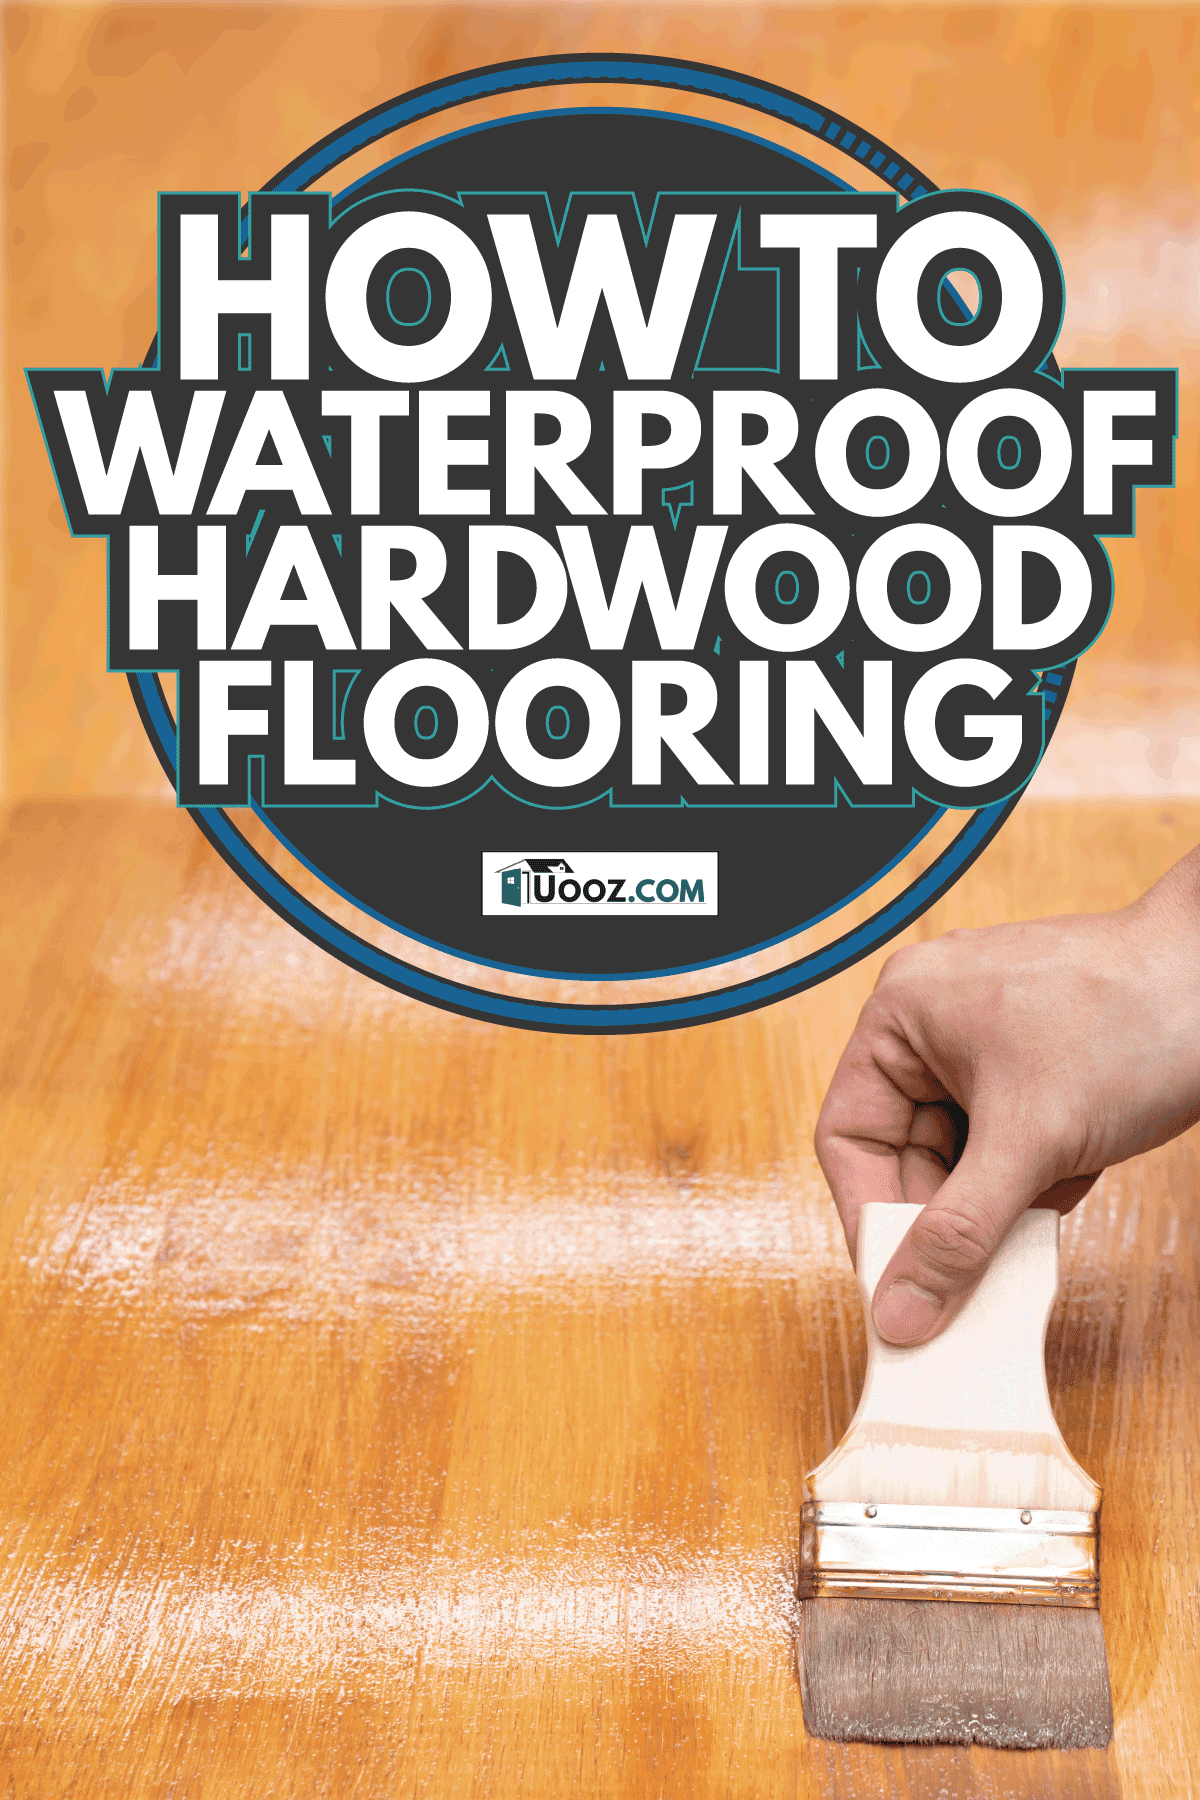
Solid wood is a highly durable and luxurious option for your new floors, but exposure to water and moisture can result in serious issues. As such, you are likely wondering how to waterproof your hardwood floors. If hardwood is left unprotected, it can be very time-consuming and costly to repair. We have thoroughly researched how to waterproof your hardwood floors, both underneath and on the surface.
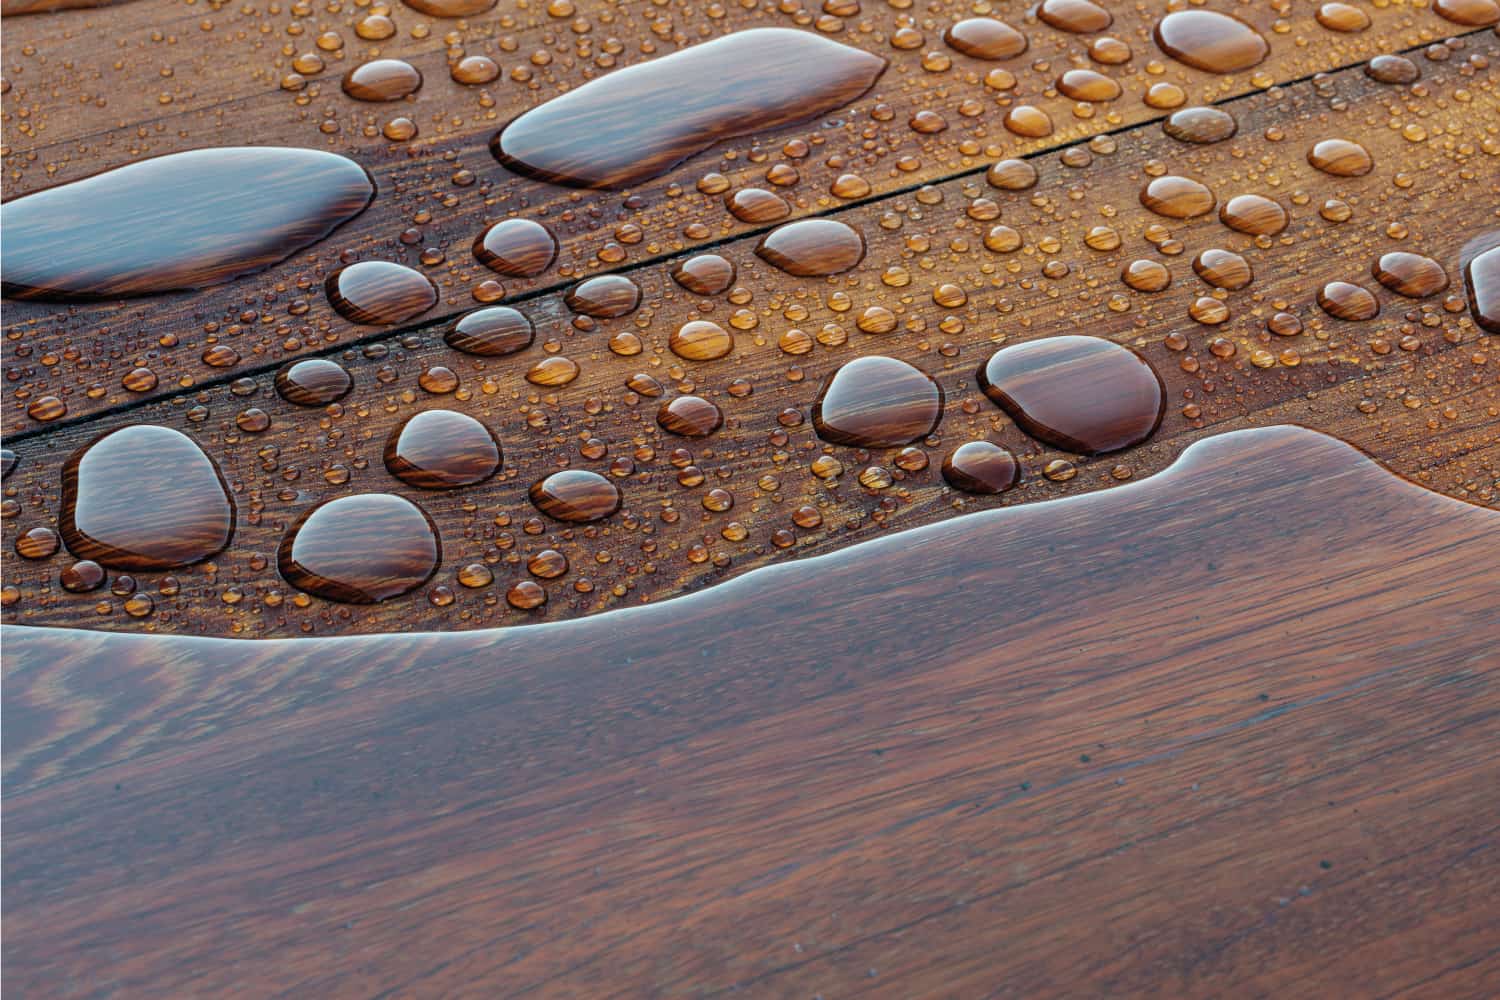
Hardwood floors cannot usually become absolutely waterproof, but applying a highly water-resistant surface sealer works well to safeguard your floors. Polyurethane wood sealers are the most popular option for protecting hardwood. Underneath the flooring, you will need to install a vapor barrier and underlay to resist rising moisture.
Unless hardwood floors are protected correctly, they can suffer from simple nail pops to extensive warping. Keep reading to learn how to waterproof your solid wood with sealers, if an existing floor is already sealed, and which sealer is best for your home.
Can wood floors be waterproofed?
Solid wood floors are highly susceptible to water damage. Waterproofing requires you to apply a wood finish or sealer. Although some wood stains provide water resistance, these likely combine both a stain and finish. It is important to remember that a wood stain only alters the color of the hardwood, and will not protect your floor.
Most waterproof floors that appear to be natural wood are likely just engineered or laminate alternatives. Laminate floors only imitate true, solid wood by using an image layer on the surface.
Do you need to seal hardwood floors?
There is no absolute way to ensure that natural wood floors are totally waterproof from all sides. For example, rising moisture can often affect the hardwood from below. However, it is still possible to create a strong defense against water.
Achieve this by applying a water-resistant sealer on the surface and a moisture barrier beneath the floor. This process can be very demanding, but the effort and investment are worthwhile for expensive hardwood floors in the long run.
What is the best waterproof sealer for wood?
The ideal choice is polyurethane sealant, but you will have to decide between oil-based and water-based formulas. An oil-based polyurethane sealer is notable for its high level of durability. However, it also has serious drawbacks.
Oil-based polyurethane
The oil-based urethane is going to result in a lingering odor, making it essential to ventilate your home. The smell is sometimes strong enough to last for weeks or even longer.
Also, this kind of urethane will take longer to dry, which may be more frustrating based on the size and purpose of the room. You will need to spend much more time away from the new floors.
Lastly, you should consider that oil-based urethane sealers are known to result in a warm, amber coloration. This could compromise the finished appearance of your natural wood or stained wood.
Water-based polyurethane
Meanwhile, water-based polyurethane sealants are significantly easier to handle and clean. They also won’t have a terrible odor and dry faster. Unfortunately, applying this type of polyurethane sealer will take more work because it requires multiple layers.
The results will also be less durable, making a noticeable difference for rooms exposed to high foot traffic, extra sunlight, and fluctuating temperatures.
How to Waterproof Hardwood Floors
Step One - Install Moisture Barrier
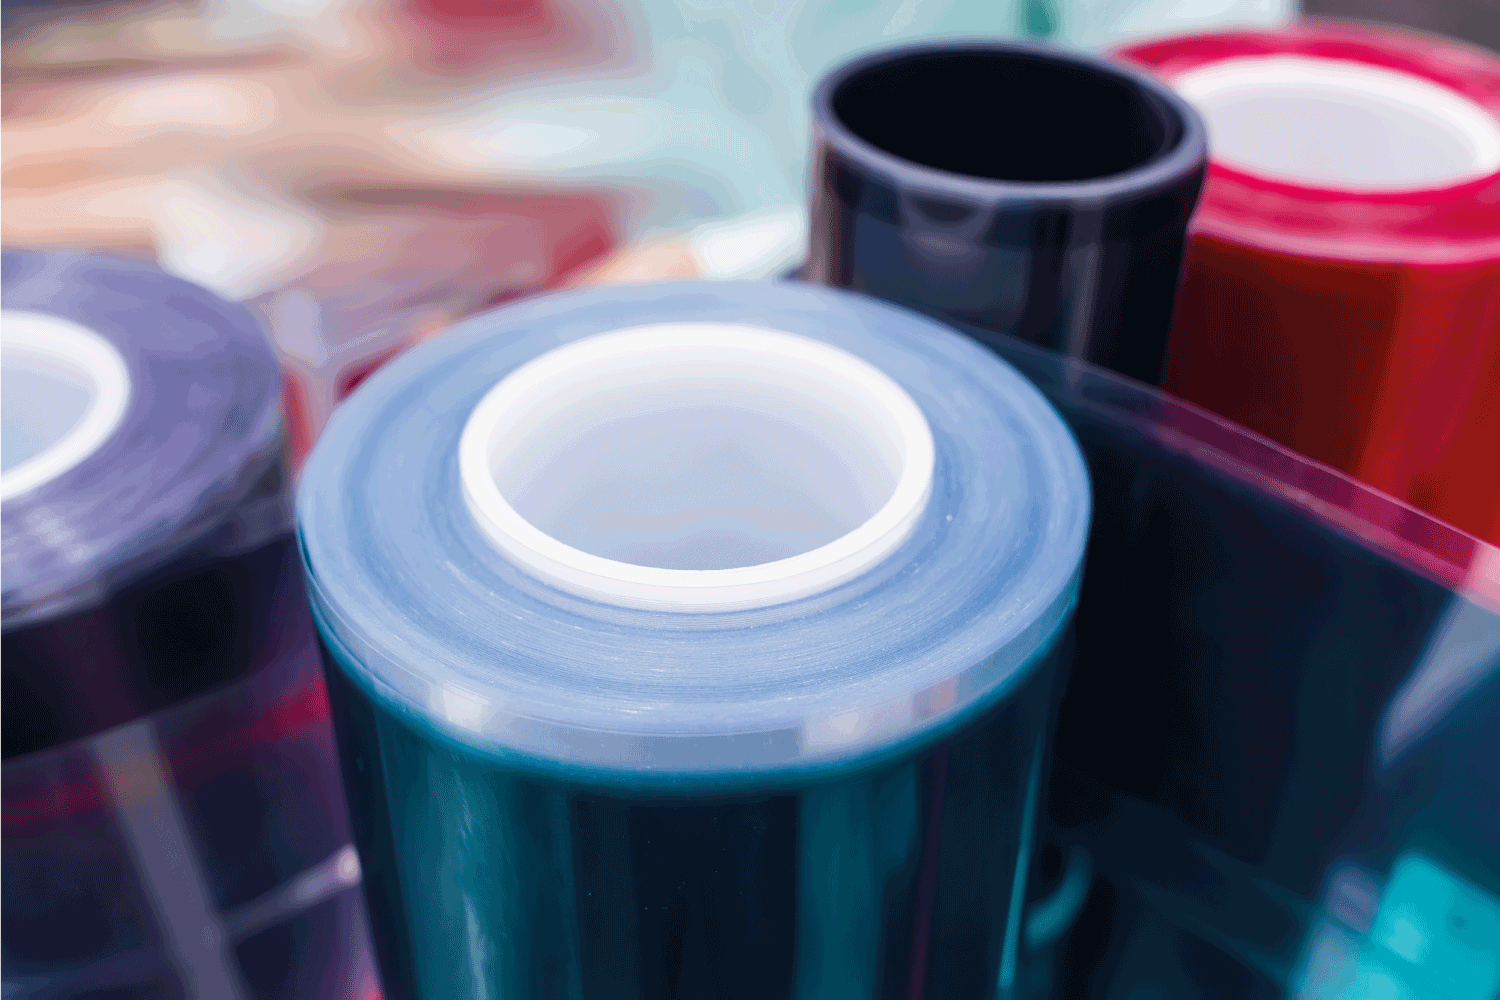
A moisture barrier can help control the amount of water that rises underneath the hardwood floor. These barriers are typically made of a thin layer of plastic.
If your solid wood floor is glued down rather than being nailed or stapled, then the adhesive might already be serving as your moisture barrier. You can read the post "Should You Glue Down Engineered Hardwood Flooring?" for more details.
Sometimes, an underlayment will also have a built-in moisture barrier. An underlay is another protective layer, which usually insulates heat and reduces sound.

Click here to see this moisture barrier underlay on Amazon.
Remove any existing flooring, and then clean the subfloor underneath. The subfloor will usually be either plywood or concrete, which will each require a different commercial cleaner. Then, you will be able to unroll the moisture barrier sheets across the floor.
Most will come with built-in adhesive edges, so make sure you overlap the sheets by six inches. If not, you will need specialized vapor barrier seam tape designed to prevent water penetration.
Unlike a moisture barrier, you should not overlap the underlay itself. But it still needs to be bonded at the seams. The completed moisture barrier and underlay will now protect your wood from beneath.
Step Two - Prepare the Hardwood
Once the new hardwood floors are installed on a proper underlay and moisture barrier, you will have to clear the area and carefully clean your flooring. Any sealer will require a smooth, level surface to ensure a long-lasting bond. You can use a commercial wood cleaner to be absolutely thorough.

Click here to find this wood cleaner on Amazon.
Next, you will need to sand the hardwood down. This can be done using power tools like a floor sander or by hand using sanding sponges. Continue until the surface is even throughout, eliminating chips and other dings that could become obstacles.
Sanding is absolutely necessary to remove an existing finish. It will also improve adhesion with the sealer by etching the wood. But you will need to use a shop vacuum to clean up all of the accumulated dust afterward. A shop vacuum is a vacuum with a stronger tank and hose, specialized for construction.

Click here to see this shop vacuum on Amazon.
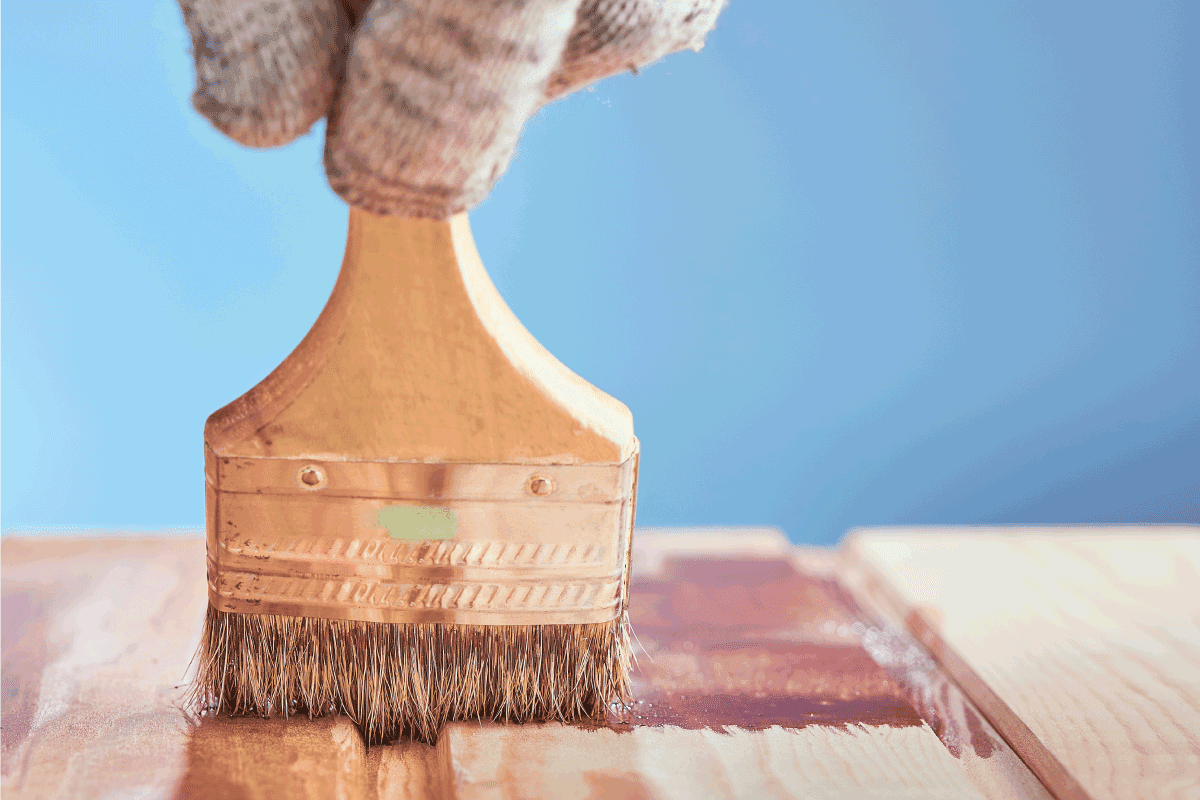
Step Three - Apply Polyurethane Sealer
Stir your polyurethane sealer until you have achieved the ideal consistency, which changes based on a water-based or oil-based selection. Then, you can use an ordinary painter’s tray and a sponge mop to distribute the sealer across the hardwood floor.
Click here to find this sponge mop on Amazon.
Begin at the far corner of the room and work your way back to not cross over the sealant. In order to create an even coat, you should use broader strokes that overlap with each other.
After the first coat has been allowed to dry fully, you should apply a second coat of sealer for more reliable protection. You can read the post "How Long Does It Take For Floor Sealant To Dry?" for an idea of the wait times you may experience.
Also, you will be able to paint on top of polyurethane sealers. Note that the seams between the wood boards may sometimes remain vulnerable.
How often should you seal hardwood floors?
Experts such as Peach Design have suggested that you only need to re-coat your hardwood floors every three to five years. However, this estimate may be subject to change based on the way your floor is treated.
Areas subjected to more foot traffic and adverse weather conditions may need to be sealed again more frequently.
How can I tell if my hardwood floor is sealed?
The most common method is simply applying a bead of water in the center of one of your floorboards. This ensures that the drop will not disappear into unprotected seams. Instead, you will be able to quickly observe if the bead of water is able to soak into the wood. It is usually ideal for conducting this test in an area that you will not easily notice.
How much does it cost to seal hardwood floors?
Hiring a professional to refinish your floors with a waterproof sealer may cost anywhere from a few hundred dollars to nearly two thousand dollars. If you do not have a moisture barrier installed, then you may not want to install hardwood yourself.
It needs to be properly installed with adhesive, nails, or staples to ensure a long lifespan. But hardwood is heavy and difficult to manage. It will also be costly if you make any mistakes or damage the solid wood.
If you are only applying a polyurethane sealer on top of the floor, then the process should be manageable yourself. The sealer and the sponge mop should cost around twenty dollars apiece, while the sanding sponges are usually about ten to fifteen dollars.
You may also need to purchase or rent a shop vacuum for sixty to two hundred dollars. Still, this is significantly cheaper than hiring a professional if you are willing to dedicate the time and patience.
Summary
Because hardwood floors are already such a large investment, installing and protecting them properly is important. Accumulated water can damage the surface of the wood, resulting in uneven floors. Moisture from below can do the same and even allow mold fungi to develop. Now that it’s clear how to waterproof your hardwood floors with a sealer, they will survive much longer.