
An overflow drain can help prevent water from flooding your bathroom. But you want to seal it. If you're having trouble sealing the overflow drain, don't worry—we're here to help you! We've researched useful steps on how to seal an overflow drain.
Sealing an overflow drain should be easy. You just need to properly assess the drain, and you're ready to start sealing it. The steps may differ, but we'll provide them for every option. Listed below are some sealing techniques that you can do in no particular order:
- Using a portable drain cover
- Using waterproof tape
- Permanent sealing
You did the right thing by checking out this article, because it will guide you through the step-by-step process of sealing an overflow drain. We'll discuss why an overflow drain is important and what to expect when you seal it. We're excited to share this information with you. Just keep reading!
How to Seal an Overflow Drain

Of course, we want to give you different options you can do to seal the overflow drain. You should keep in mind that some techniques are hard to undo, like permanent sealing. It's important to assess what you need.
The two things that commonly have an overflow drain are sinks and bathtubs. You might check if they have a drain locker included in their package. You can use this locker for the overflow drain, so you'll cut costs.
However, you should assess what could be the best sealing technique to implement. Review if you want a permanent or temporary seal.
Refer to these sealing techniques below.
1. Using a Portable Drain Cover
Portable drain covers are usually made of silicone or rubber and come in different sizes. You can use them to seal the overflow drain temporarily. These covers are easy to detach when you want to reopen the drain. They may also come in metal or plastic.

See this portable drain cover on Amazon.
2. Applying Waterproof Tape
This can be the quickest method among the various options, because you just have to cover the overflow drain with waterproof tape. Just check the quality of the tape before using it.
However, waterproof tape is also the weakest seal, as the material is easy to cut. It's not the most highly recommended technique, but you can do it for urgent problems.

See this waterproof tape on Amazon.
3. Permanent Sealing
Remember that it's hard to reopen the overflow drain once it's permanently sealed. You might need to drill a hole, but you'll then run the risk of damaging the sink or the bathtub. Furthermore, if you leave the water running, you will be unable to control the overflow. It's important to consider these factors.
You will need to gather the tools below if you decide to use the permanent sealing technique:
Round Metal Plate
You need a round metal plate to cover the drain. Make sure it's bigger than the drain hole.

See this round metal plate on Amazon.
Waterproof Sealant
Use a waterproof sealant to secure the edges of the plate.
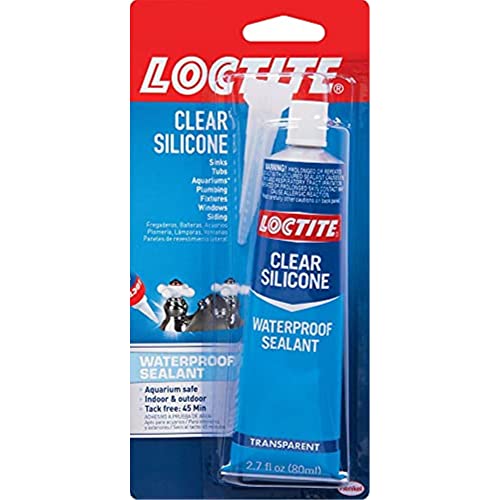
See this waterproof sealant on Amazon.
Rubber Grommet
A rubber grommet is an effective way to keep water from leaking. Make sure that it will fit with the metal plates.

See this rubber grommet on Amazon.
Blind Or Butterfly Bolt
These are special types of bolts that can lock the hole from one side. You need any of them since sinks and bathtubs are inaccessible from the other side of the drain.
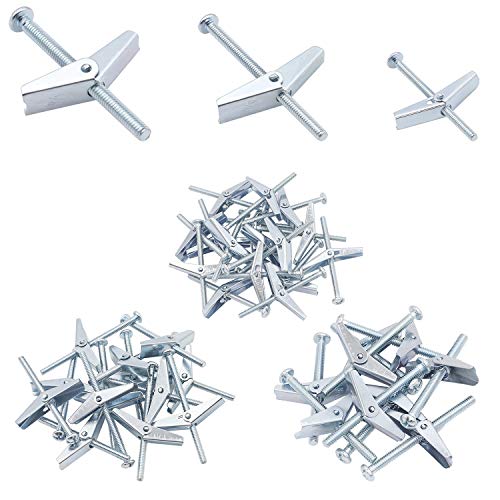
See this butterfly bolt on Amazon.
Screwdriver
Lock the bolt with a screwdriver.

See this screwdriver on Amazon.
Driller
You'll need a driller to pierce a hole through the plate.

You should follow these steps:
- Drill a hole in the metal plates big enough for the blind bolt to fit in.
- Put the rubber grommet around the first metal plate where the blind bolt is inserted.
- Dry out the surface of the sink or bathtub.
- Insert the blind bolt into the overflow drain, then lock it with a screwdriver.
- Apply the waterproof sealant around the bolt.
Watch the video below for a demonstration of how to use the blind bolt.
This permanent sealing technique can last a lifetime. Undoing this seal will be difficult due to the combined lock of the blind bolt, rubber grommet, and waterproof sealant.
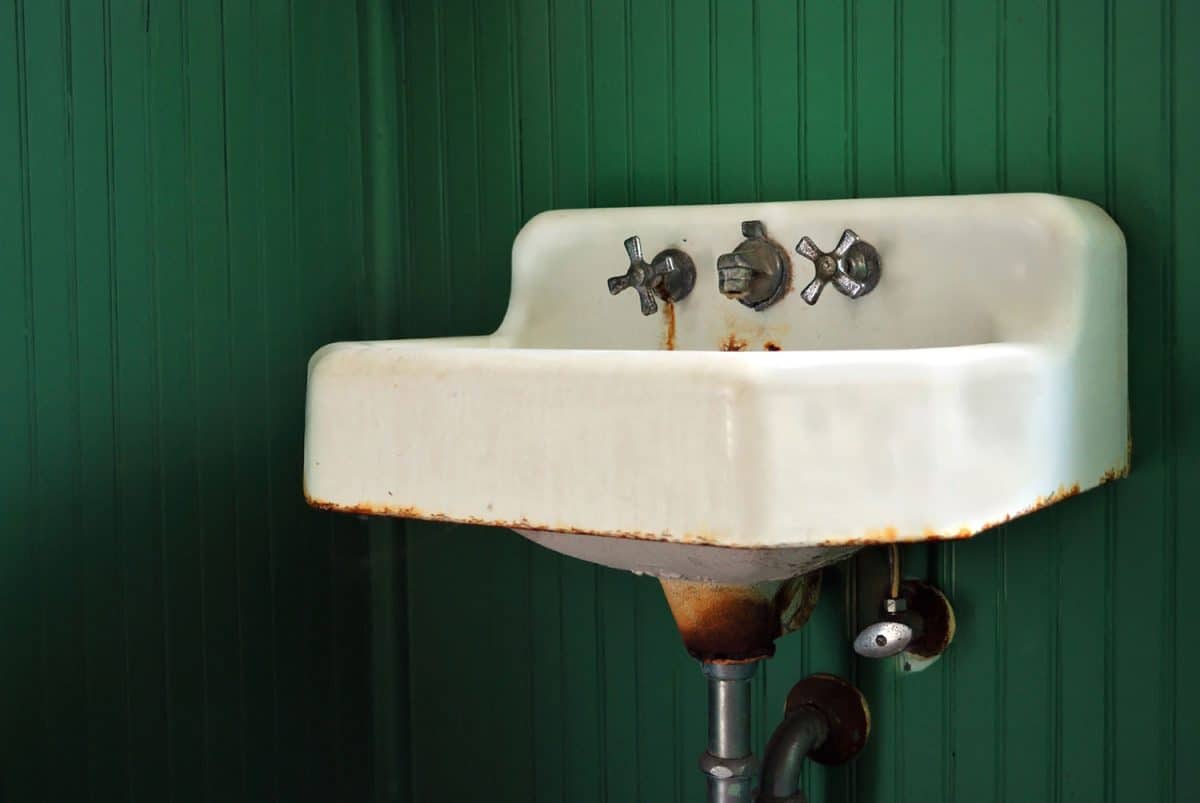
What Is An Overflow Drain?
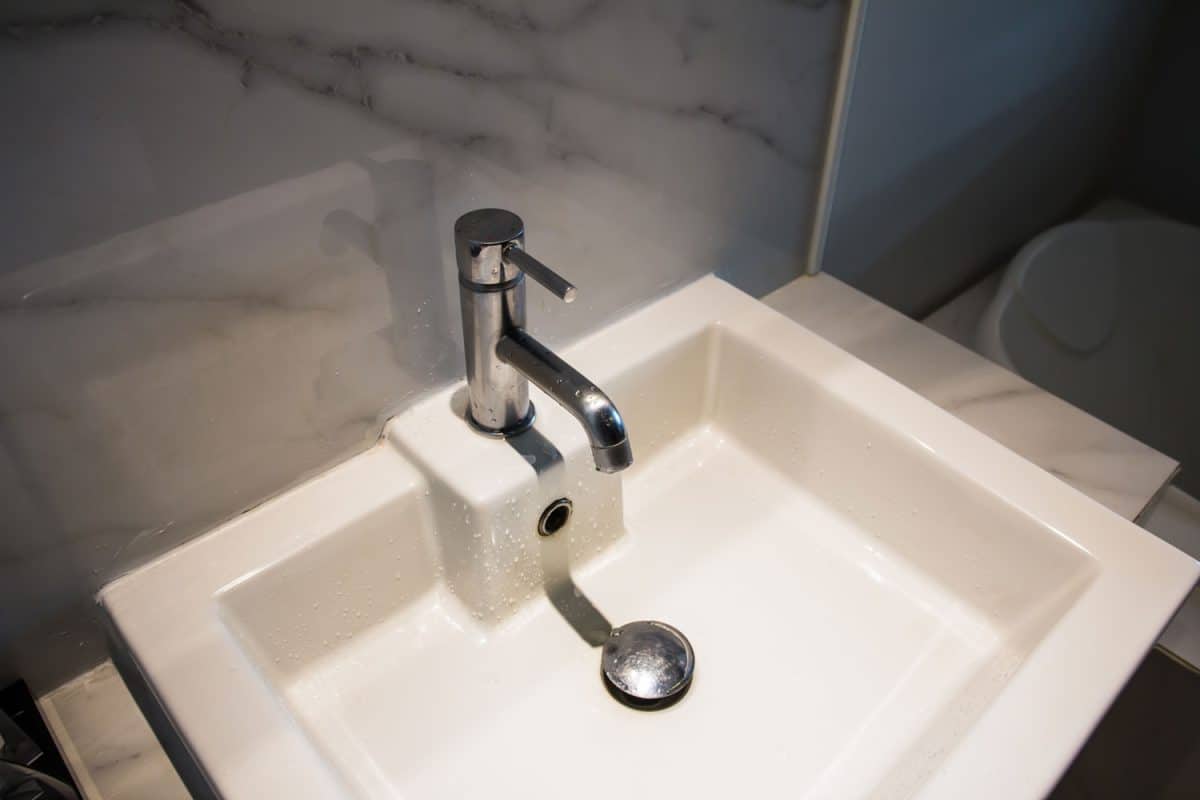
Do you see the hole on the higher level of the sink or bathtub near the main water pipe? That's the overflow drain. It's different from the main drainage at the bottom. An overflow drain is meant to reduce the water level by draining an excessive amount of water.
Also, it prevents the area from flooding. For instance, you left the tap water running. If the overflow drain is open, then it will keep the floor from flooding. But if it's closed, you can expect a flooded floor.
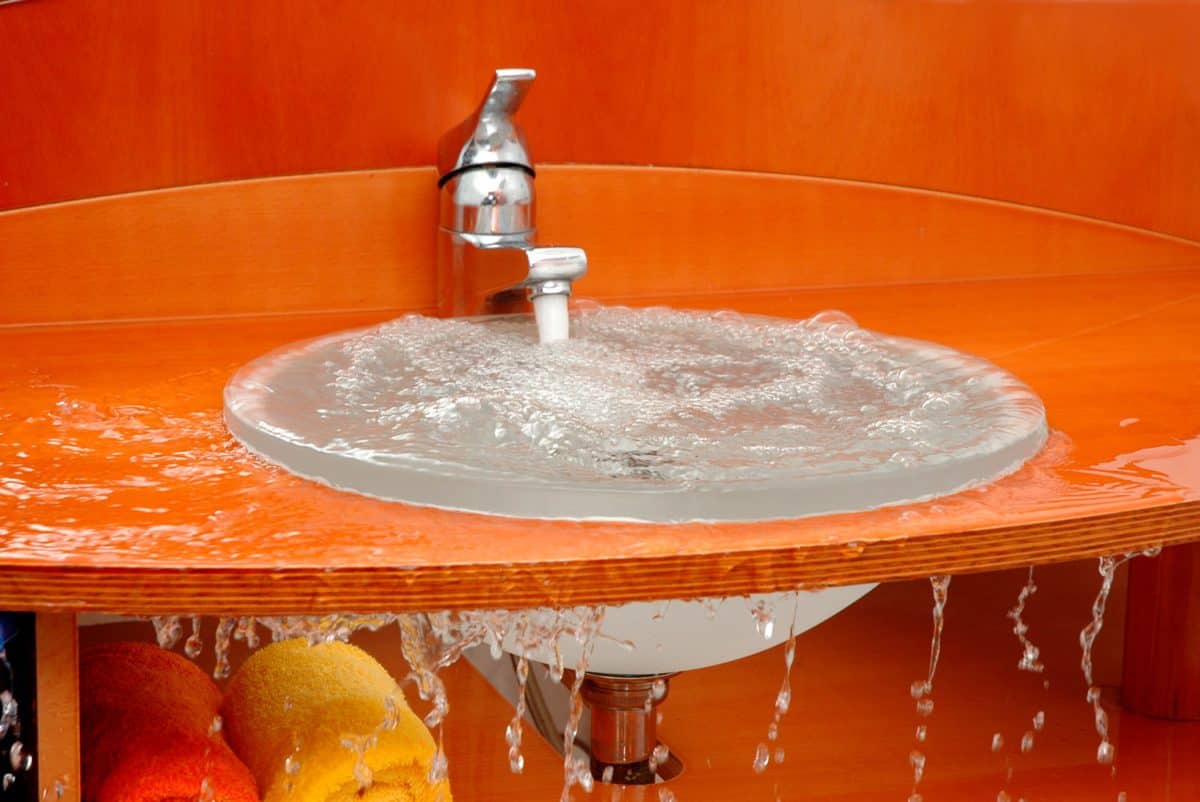
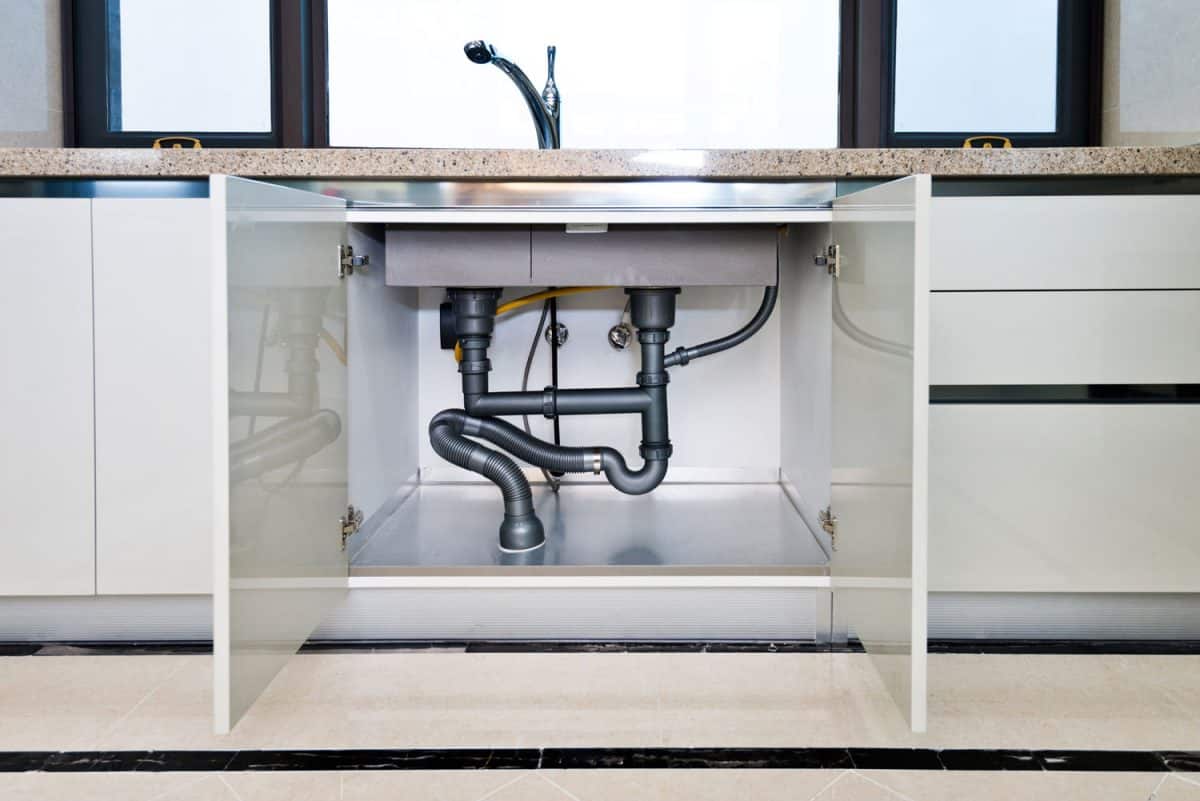
The overflow drain and the bottom drain usually share the same pipes, which go directly to the main drainage system of your neighborhood.
Another purpose of the overflow drain is to help declog the sink. It can act as an alternative route for the declogging stick, or even a source of air pressure.
Why Cover the Overflow Drain?
One reason to cover the drain is to increase the water level in the sink or in the bathtub. If your bathtub is too shallow and it cannot carry more water, covering the overflow drain will help you soak deeper.
How to Clean the Sink
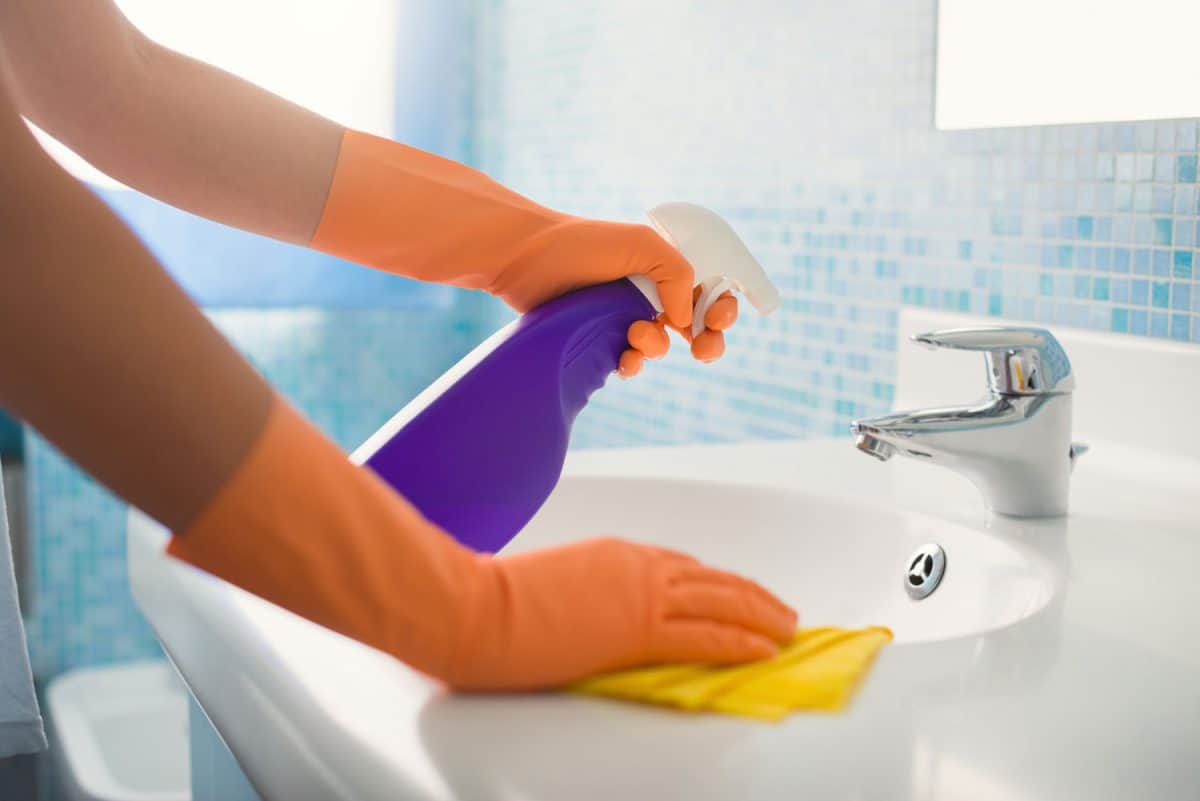
You may notice that your sink gets stinky even thought you clean it after using it. This might be because you are not cleaning the overflow drain. It's important to clean the sink properly on all sides.
You need to gather the following items in order to clean the sink, including the overflow drain:
Baking Soda
Baking soda helps attract dirt, grease, and rust. You can use it to remove these stains.

See this baking soda on Amazon.
Vinegar
Regular vinegar in your kitchen is okay to use.

See this cleaning vinegar on Amazon.
Cleaning Solution
Use a cleaning solution of your choice. It's better if it has a scent.

See this cleaning solution on amazon.
Clog Remover
Use this to remove any objects that are clogging the sink.
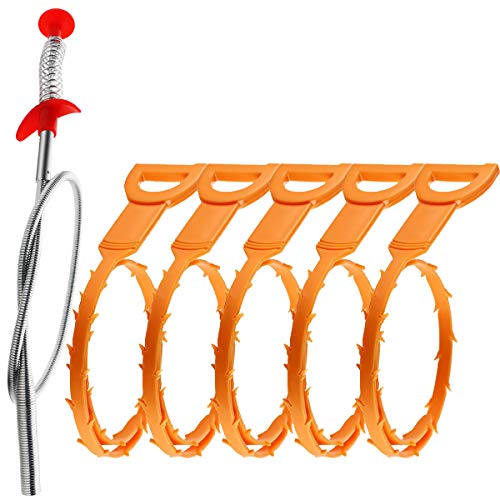
See this clog remover on Amazon.
Tiny Brush
Use a tiny brush to reach the drain.
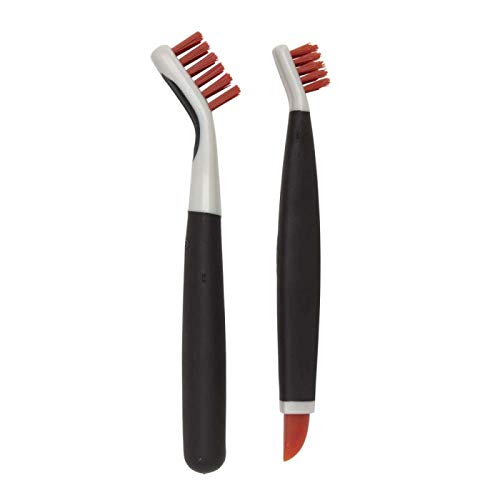
See this tiny brush set on Amazon.
Hot Water
Hot water aids in the removal of dirt.
Funnel
You can use a funnel to direct the water into the overflow drain.

See this funnel set on Amazon.
Gloves
Wear gloves for your protection.
Dry Cloth
Use a dry cloth after cleaning.
Follow these steps to clean the sink:
- Mix a cup of baking soda and at least two cups of vinegar.
- With the use of a funnel, apply the baking soda solution both to the main drain and the overflow drain.
- Wait for at least 15 minutes to dissolve the dirt.
- Pour hot water to eliminate the dirt.
- Apply the cleaning solution, then brush the drain holes.
- Scrub the remaining dirt all over the sink.
- Splash some water at a regular temperature. Dry the sink with a cloth.
- Repeat this cleaning process at least every two weeks.
Can You Make An Overflow Drain In A Sink?
In the event that your sink has no overflow drain, you could try drilling a hole to make one. Consider the factors below to assess if you can make an overflow drain in your sink.
Sink Type
You should check what materials were used to make your sink. If it's made of aluminum, which is very common, then it's easy to drill a hole. But if the sink is made of ceramic, it might be difficult to drill.
Durability
The sink should be in good condition before you drill a hole. You should make sure that the sink can withstand the impact of the drilling.
Access To the Drainage System
Most importantly, the overflow drain should have access to the main drainage system. It's illogical to drill a hole if there's nothing behind to catch the wastewater. You should check if it's possible to connect the hole to the drainage.
Conclusion
You've learned how to seal an overflow drain in different ways. You're free to choose which way you want to seal it. Just be clear on your reasons for doing so.
We explained the purpose of an overflow drain and provided some steps to clean it. Remember to clean the sink frequently.
Finally, we shared with you some ideas in case there's no overflow drain in a sink, and you want to make one. Make sure to assess the sink and consider the consequences of creating the drain.
We hope you enjoyed reading this article. How about checking out our other articles? You may these helpful: