
Replacing a rotted bathroom floor should be a top priority. Not only can the floor become a safety hazard, but it can also spread to the ceiling of the floor beneath it. But what's the best way to go about replacing the floor? We've researched the steps to remove and replace the floor, and in this post, we will share them with you.
Here are the steps to replace a rotted bathroom floor:
- Close the water valves
- Prepare the room
- Inspect the areas that need replacement
- Remove the flooring
- Inspect the subfloor
- Inspect the joists
- Replace or reinforce joists
- Replace the subfloor
- Replace the flooring
A rotted bathroom floor is typically caused by hidden water damage that slowly eats away at the floor and subfloor beneath it. This damage can also cause the joists beneath the subfloor to lose their integrity or become unstable. Continue reading to learn more about how to repair these issues.
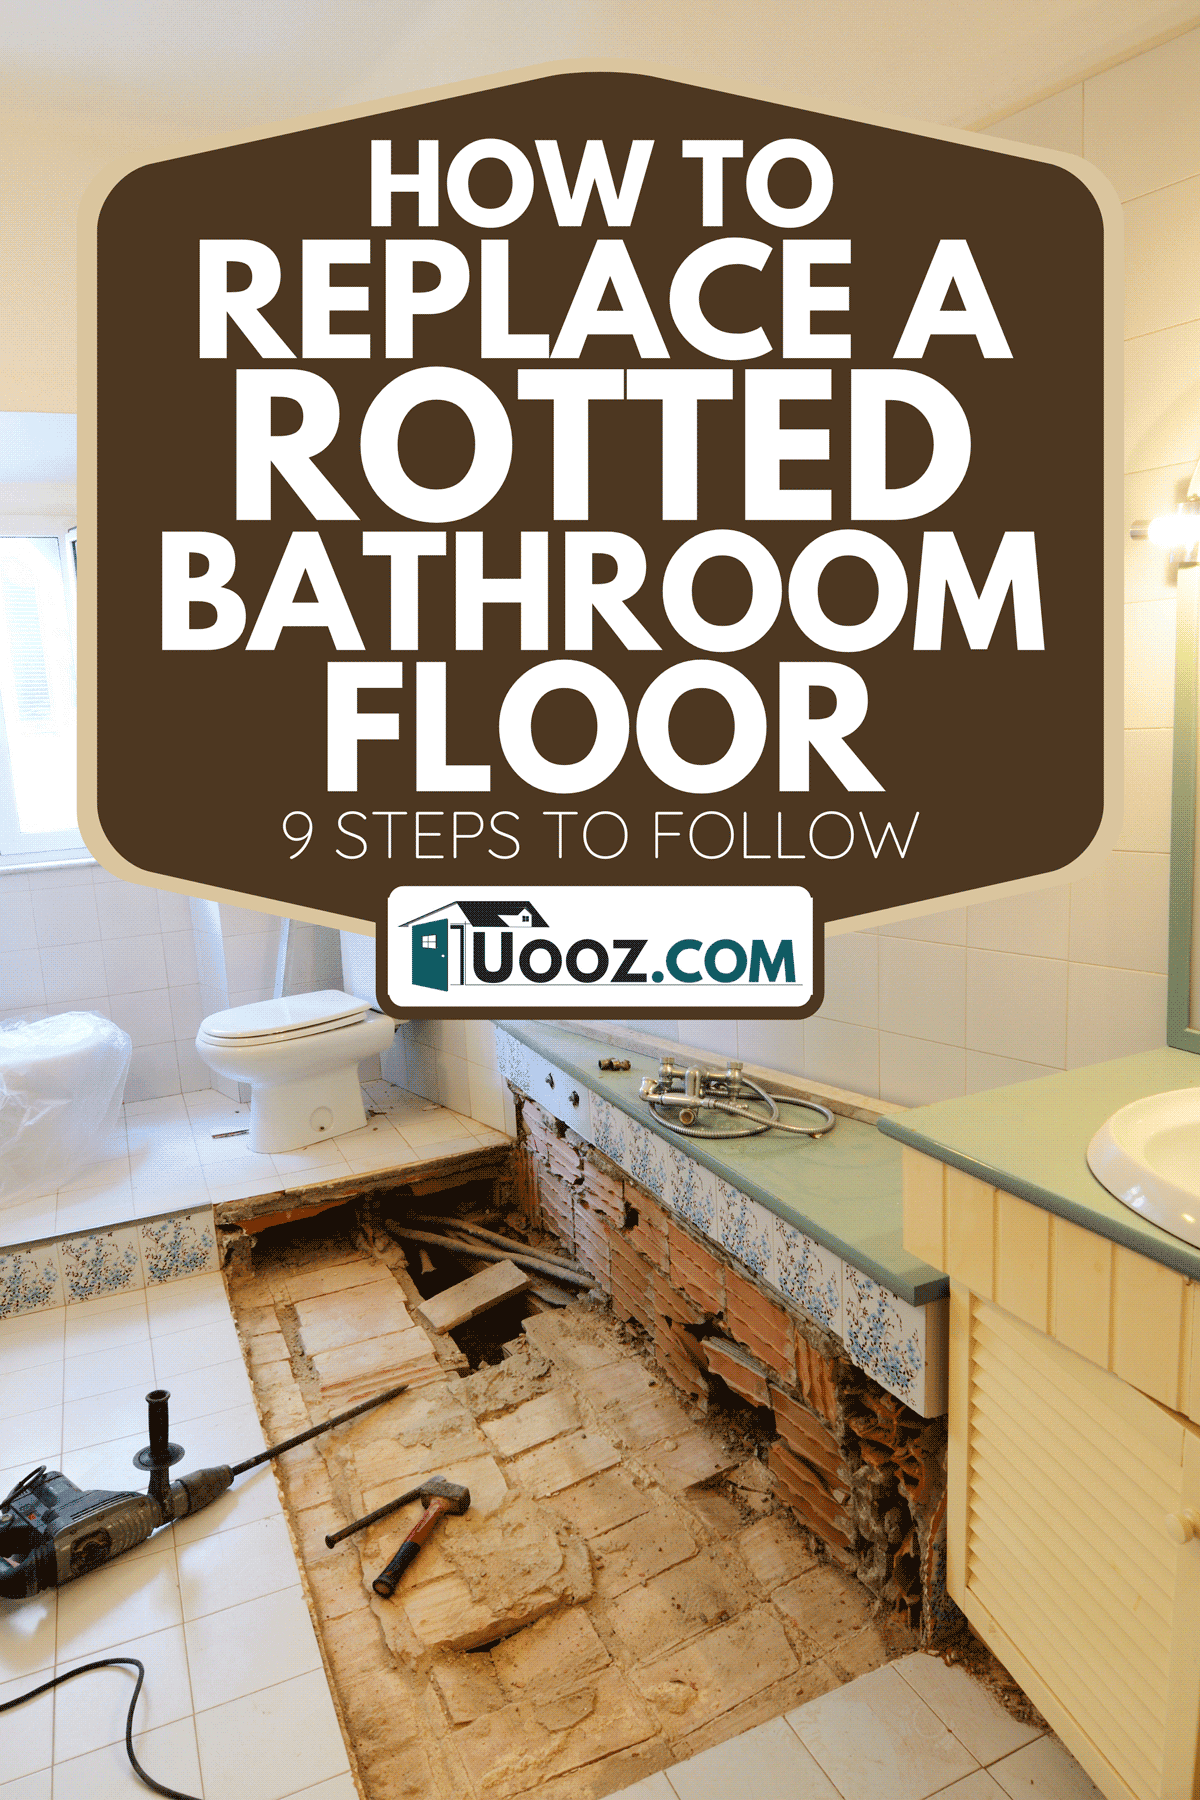
Steps to Replace A Rotted Bathroom Floor
Before replacing the floor, you'll want to make a list of all the tools that you'll need. This will keep you from having to run back to the store during the middle of your project. Let's look at the most common tools and materials you need for this type of job.
Things you'll need:
- Pry bar
- Hammer
- 5/8" plywood
- 2-inch wood screws
- Tape measure
- Floor leveling compound
- Trash bags
- Drill
- Circular saw
- Galvanized nails
- Wood joist replacements (if applicable)
- Construction adhesive
- 5/8-inch plywood
- Level
1. Close the water valves
Before beginning your project, shut off the main water valve to the bathroom to prevent any water from leaking while you're working on the floor. There should be a water valve beneath the sink or one located in the basement of your home.
2. Prepare the room
To prepare the room for demolition, cover the bathtub, shower, sink, and any cabinetry with a plastic sheet or tarp to prevent dust from accumulating on them. You'll also want to cover the toilet and remove any movable furniture that may be in the room.
Be sure to protect yourself as well during the project, as removing the floors can cause quite a bit of dust. Wear a dust mask, eye protection, and handyman gloves when removing the flooring.
3. Inspect the areas that need replacement
Next, take a look at the flooring and use your tape measure to measure the areas where it needs to be replaced. If the entire room needs to be replaced, be sure to go from wall to wall and accurately measure around the toilet, bathtub, and sink.

Have a look at this tape measure on Amazon.
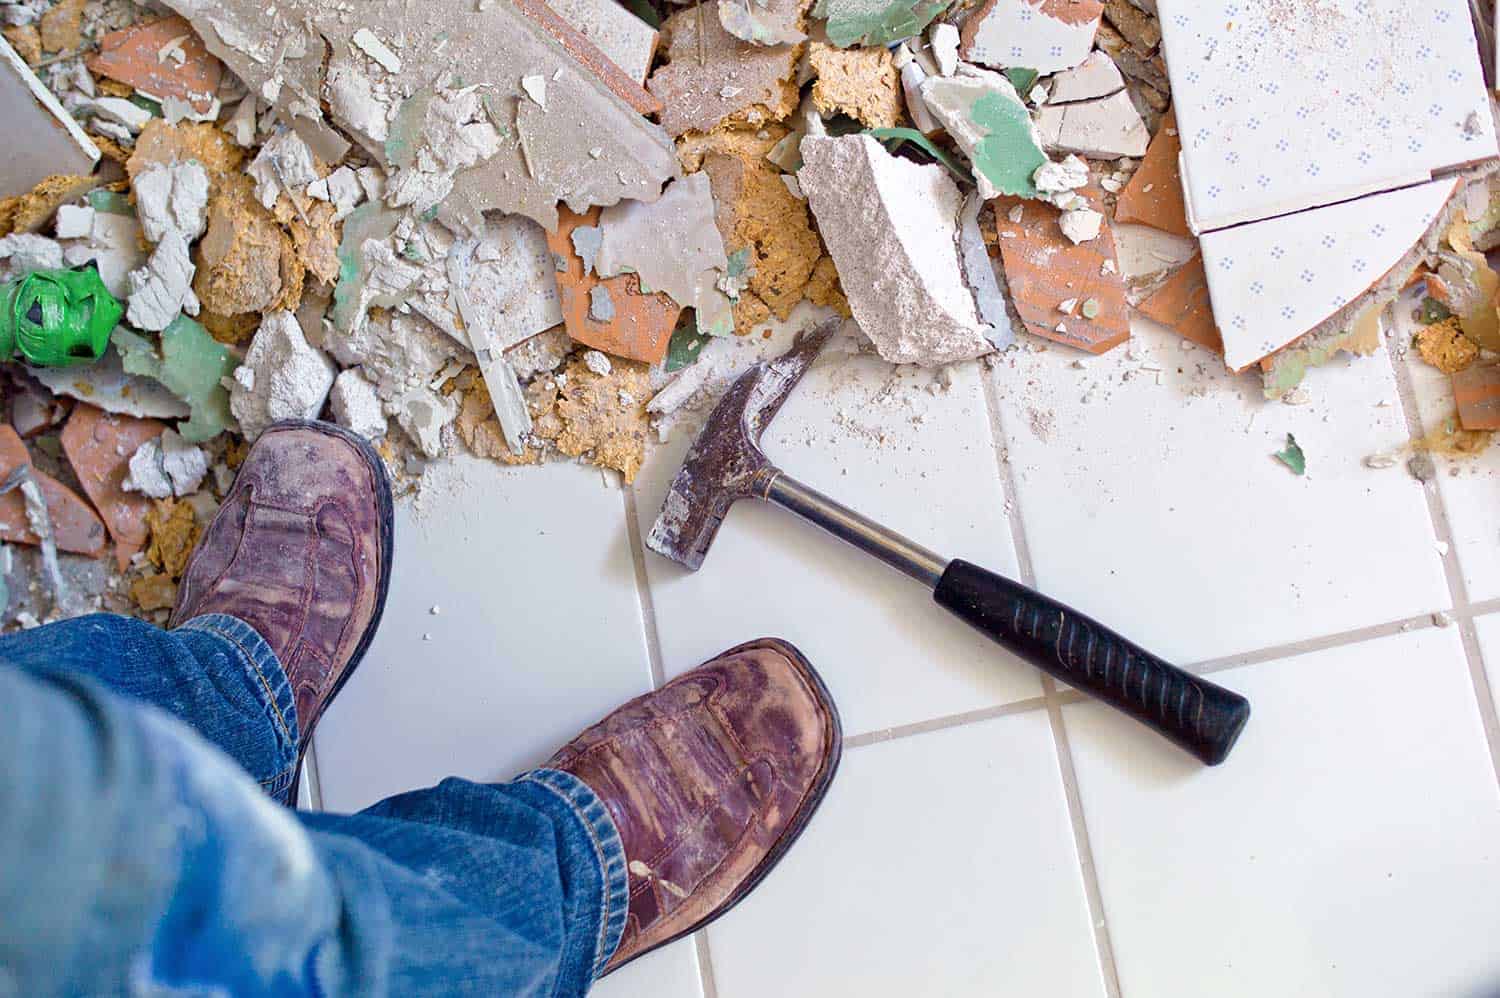
4. Remove the flooring
The next step is to remove the flooring in the bathroom. This process will vary depending on the material of which your flooring is made. If you have hard stone or tile flooring, the easiest way to remove the floor will be to use a pry bar or a chisel and hammer. If you have laminate or vinyl flooring, you can use a prybar to lift the floor initially and then use your hands to pull the pieces away from the subfloor. If you have a hardwood floor, a prybar or a chisel and hammer will work best to remove the flooring.

Read more about this prybar on Amazon.
5. Inspect the subfloor
After you remove the flooring, take a good look at the subfloor. Is it damaged or rotting? If it is, you'll want to remove it as well. To do this, you can use a hammer or screwdriver to remove the nails or screws for the subfloor and then a pry bar to lift the plywood panels from the joists. Make sure that your new subfloor panels match the previous panels in thickness and size.
Check out this drill on Amazon.
6. Inspect the joists
Now that you have access to the floor joists, take a look at all of them to determine whether or not they need replacing. If so, mark the ones that need replacing with a pencil or a piece of painter's tape. You'll also want to get the measurements for the joists as well. If the joists are simply wet but not damaged, give them 24 to 48 hours to dry completely before replacing the subfloor.
7. Replace or reinforce joists
Next, replace or any damaged joists once the room has dried out--or reinforce any joists that have become loose. It's best to use wood similar to the current joists for consistency. Also, be careful when replacing the joists, as you'll want to make sure that you have secure footing on top of the joists at all times.
8. Replace the subfloor
After you have replaced the damaged joists, install your sub-floor panels using your woodscrews. If the flooring isn't level, you'll want to leave about a 1/8 inch gap between the subfloor and the new flooring.
This area can be used to fill any gaps with a flooring compound that you can sand down. However, if the floor is already level, you won't need this space. It's best to use a level to make sure the subfloor is even before installing the flooring.

Check out this level on Amazon.
9. Replace the flooring
After you have installed the subfloor, it's time to add the new flooring. When installing the new flooring, be sure to work your way backward, starting at the area farthest away from the door. You'll also want to keep a circular saw or a tile cutter handy, depending on the type of flooring material you have--just in case you need to make any last-minute cuts.

Check out this tile cutter on Amazon.
Why Is My Bathroom Floor Sinking?
The most common cause for a sinking bathroom floor is water damage. Bathroom floors typically become weakened in two areas. The first is around the bathtub, which is a result of years of water splashing around the sides of the tubs or dripping down the address. Water damage is also common around the toilet base, which is usually the result of worn sealant around the toilet or unaddressed leaks.
How Much Does It Cost To Replace Bathroom Floor Rot?
Replacing bathroom floors can cost anywhere from $300 to over $3,500. The factors that go into the costs include the size of the bathroom, the extent of the rot, and the type of material used on the top floor.
For example, if your bathroom has vinyl or laminate flooring, it will be cheaper to replace it than hardwood flooring. And if the subfloor and joists beneath it also need replacing, this will cost anywhere from $1.50 to $4 per square foot for materials. Labor costs can range anywhere from $10 an hour to $28 an hour, depending on where you live.
How Do You Replace Rotting Floor Joists?
Replacing floor joists is necessary if they have become rotted from water damage. Keep in mind that attention to detail and accuracy are crucial to the safety of the floor once the joists are installed. Let's look at the steps to do it.
1. Remove the subfloor
Remove the subfloor to gain access to the joists beneath it. To do this, you can use a pry bar or a chisel and hammer to gently lift the flooring. You'll also need to remove the screws first.
2. Inspect, mark, and remove the damaged joists
Take a pencil and measuring tape and mark the joists that need to be replaced. This will make it easier to find them when it's time to make the plywood cuts. Remove any damaged joists using a circular saw and drill.
3. Measure and cut the plywood
Use your circular saw to cut the new joists as needed.

Check out this circular saw on Amazon.
4. Install the new joists
Next, ensure that you have secure footing when replacing the joist. Use your drill and two-inch wood screws to secure the new joists in place.
Does Homeowners Insurance Cover Subfloor?
Whether or not your home insurance covers subfloors depends on the type of insurance plan that you have. If your subfloor becomes damaged due to hurricanes, wind, or other weather-related disasters, you'll likely be able to use the insurance to pay for the damage.
However, if internal water leaks caused damage, the subfloor may not be covered. It's best to know your coverage options as soon as possible so that the damaged areas can be removed before they spread to other areas of the home.
Wrapping Things Up
We hope that this post has answered your questions on how to replace a rotted bathroom floor. If you believe that your floor is rotted and in need of replacement, it may be best to first consult with a licensed contractor to help assess the damage and provide an overview of the process needed to repair the flooring.
Before you go, be sure to check out our other posts: