
Pebbled shower floors may have their own unique charm, but sometimes they don't fit our preference. You may have just moved into a new home where the shower floor has an exposed aggregate finish, but you have a different aesthetic in mind altogether. So, how can you remove the pebbles from your shower floor? We have researched to find out.
To remove the exposed aggregate flooring, you will need to prepare for a tedious removal process. We'd highly recommend that you first prepare by wearing personal protective equipment and durable clothing and shoes.
- Clean the area thoroughly to remove potential obstructions. Use a stuff-bristled broom to reach every nook and cranny.
- Locate the breaking seams and chip using a chisel to break and remove loosed aggregate.
- Use a chemical sprayer to apply epoxy solvent (or chemical stripper).
- Cover the entire area with weighted down black plastic. It will allow the solvent to penetrate the epoxy coating.
- Remove the black plastic from the floor. The epoxy coating should be loose enough to be shoveled away.
Once you have removed the pebbled shower floor, you are now free to install the flooring you prefer. The entire process can be challenging, but it is worth it once you achieve the aesthetic you want. If you want to learn more about exposed aggregate and other flooring options, keep reading below!
How to Remove Aggregate Finish from Concrete
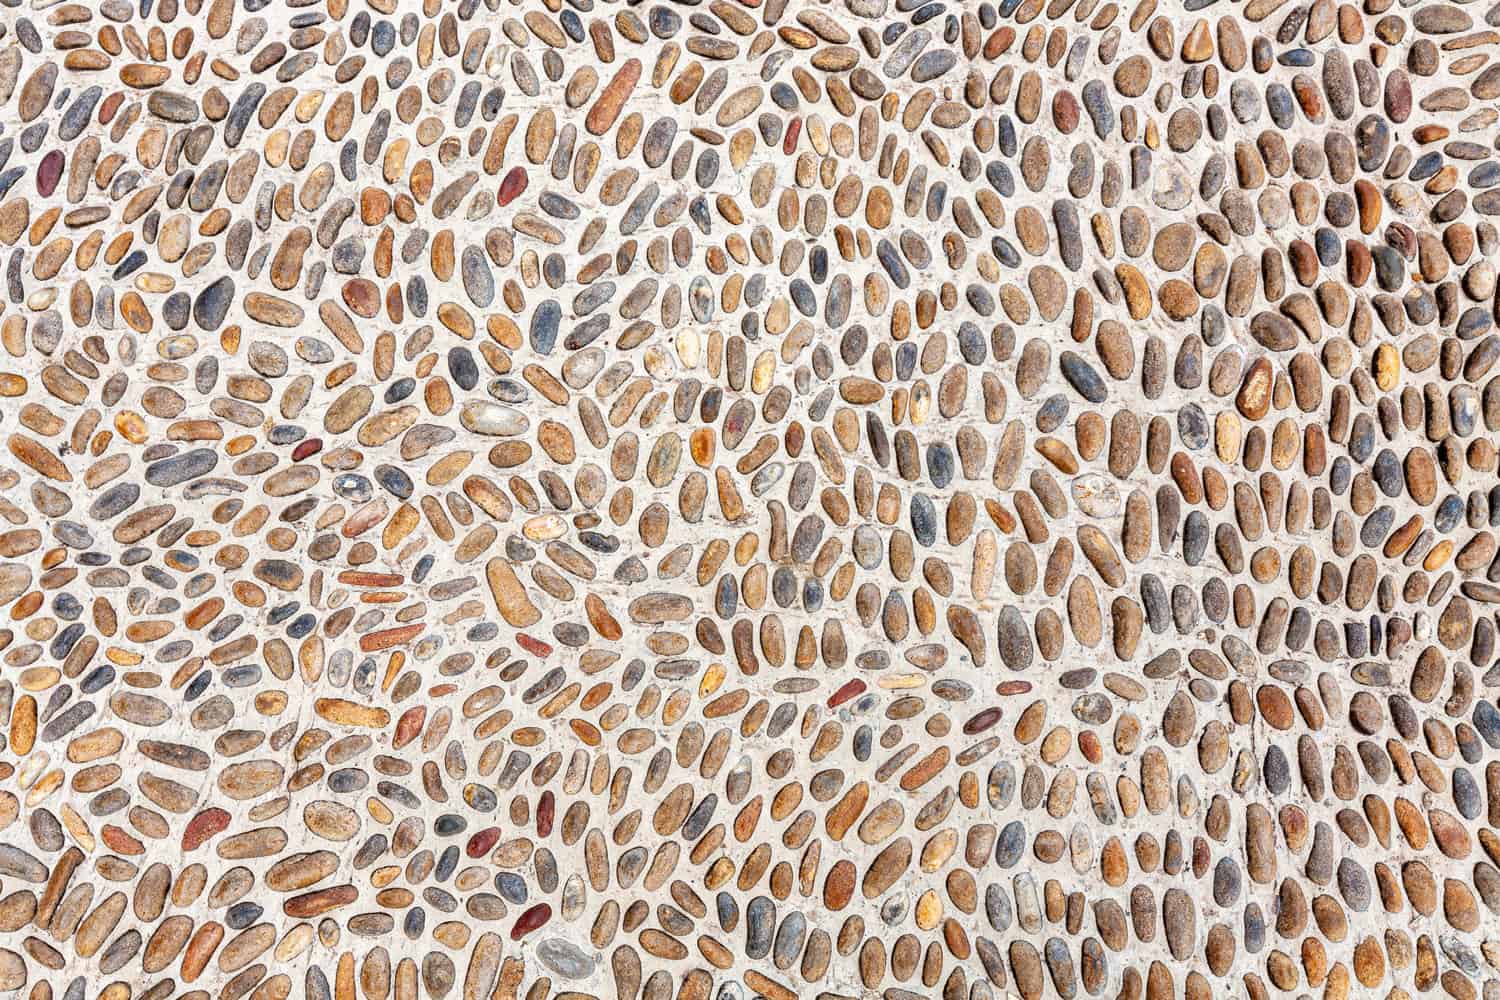
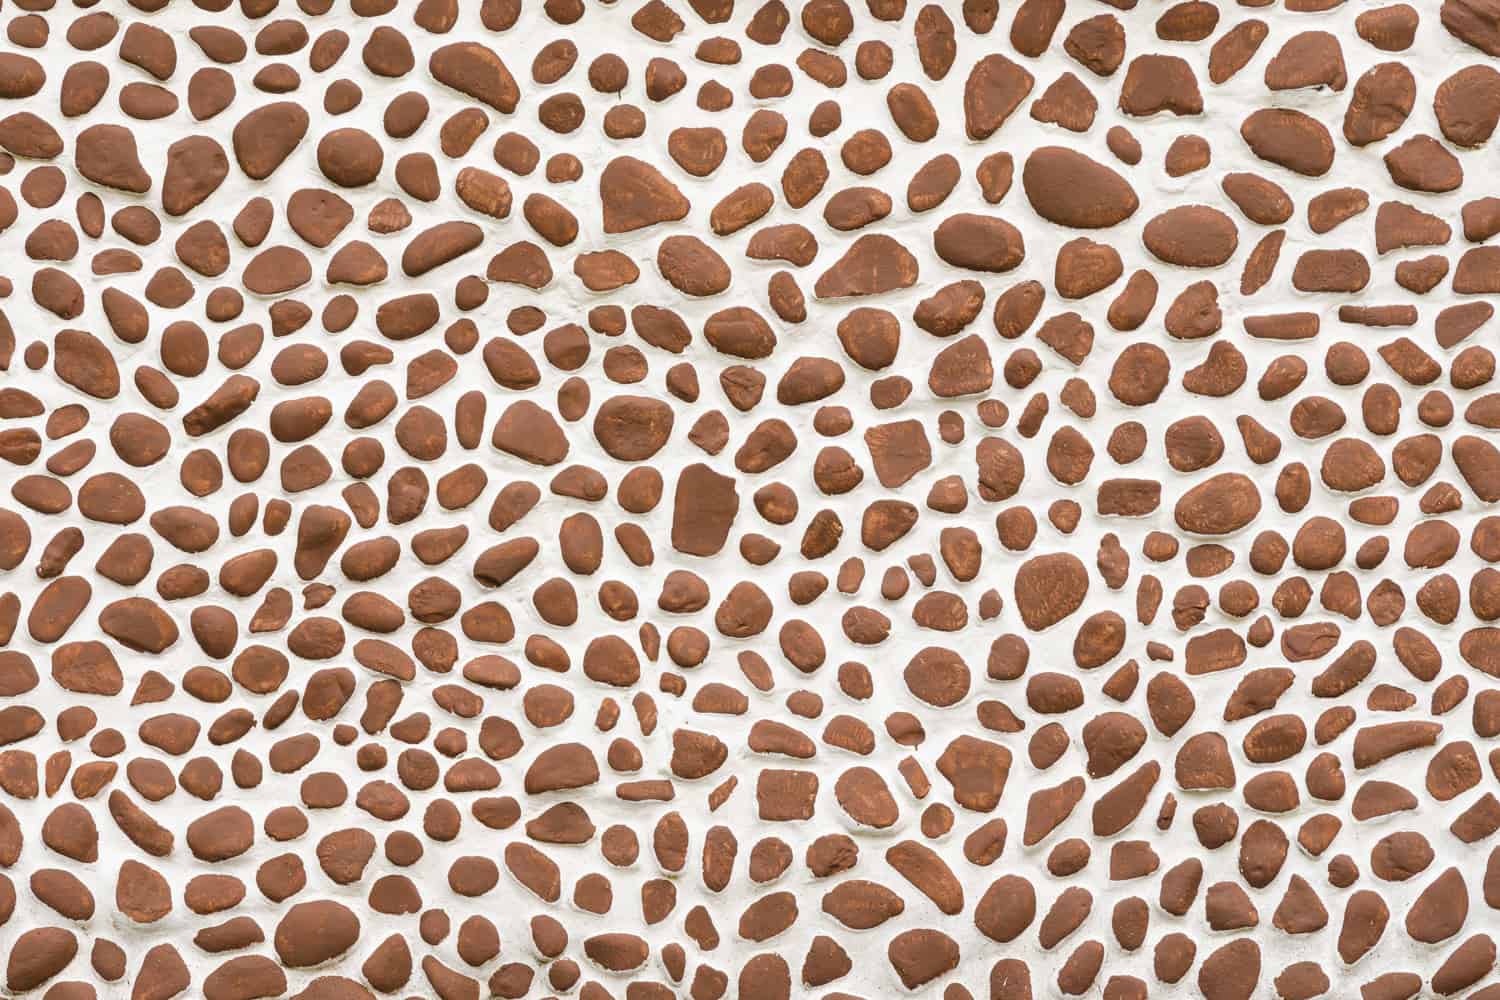
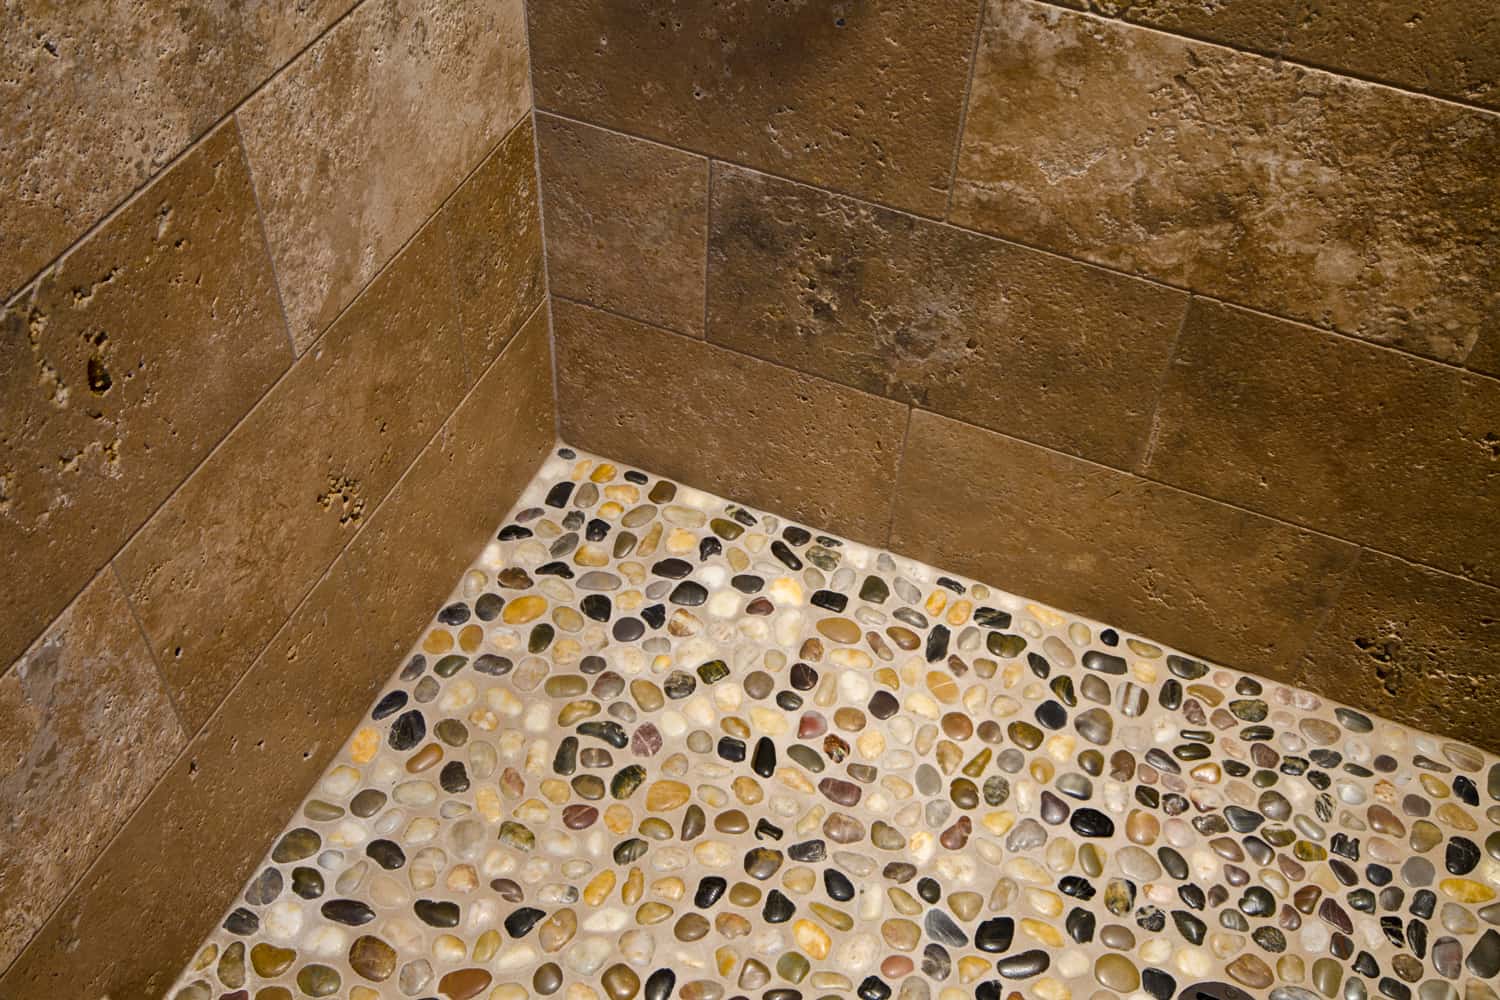
The pebble you see on the floor is a type of epoxy gravel coating mixed with small pebbles. They have an attractive finish that gives off a rustic, nature-inspired appeal. Their durability comes from the hardeners, epoxy monomers, diluents, and additives.
Once they are removed, you should be left with a blank canvass that you can layer with different flooring. You will need to have an epoxy solvent to thin out the epoxy gravel and remove the pebble.
Wear protective clothing
Since you will be handling toxic chemicals, it is best to cover your body. Wear safety goggles, masks, and rubber gloves to ensure that no accidents happen.
Cloth masks are unreliable with chemical odors. Ideally, you should wear an N95 mask when handling toxic fumes since it has reliable filters and a solid respirator.
Clean the area
Most construction mishaps happen because of the mess. Make sure to free the work area of any mold, gunk, and debris so the epoxy solvent can work.
You also need to make sure that you can see the gravel clearly and that no dirt is blocking your view. Use a pry bar to remove the molding around the floor. This will make the job easier.
All you need to do is place the end of the bar between the molding and the wall. Apply pressure, pull, and work downward to avoid damaging it.
Locate any breaking seams
This is the messy part of removing the pebble aggregate. Some people go straight to using an epoxy solvent, but this can make the removal process more time-efficient.
Point the chisel at any obvious cracks. Strike the chisel with a hammer and keep going until the aggregate breaks through. Wiggle your scraper until you reach the flooring on the subfloor, then remove the pieces by prying them up.
Use an epoxy solvent
Once all the pieces are removed, apply the chemical stripper. The epoxy solvent is essentially the one that removes the pebble gravel. Increase the pressure on the sprayer by giving it a few pumps before spraying.
Spray the entire area you intend to remove with the epoxy solvent. Let it sit for 15 minutes. This is enough time to soften the adhesives holding the aggregate together.

Check out this epoxy solvent on Amazon.
Cover the area
Now, you have to wait for the flooring to break down completely. Although it seems like a passive task, it is still essential to simplify the removal process.
Once you have covered the floor with epoxy coating, you need to cover the area with black plastic. It will need to be weighed down.
Once the adhesives have dissolved, you still need to let everything sit overnight. This will allow the epoxy coating to completely break apart and be easily removed.
Shovel away the pebble
After about 12 hours, remove the plastic covering. Observe the epoxy coating and the pebble aggregates--they should now be loose enough to be shoveled away.
If you see that there are still broken sections of gravel stuck to the concrete floor, you can simply scrape them away with a floor scraper.
Normally, it shouldn't take more than two rounds of epoxy solvent to remove all the aggregates. You can apply another coat of epoxy solvent and repeat the process until you see that the concrete is smooth enough.
Advantages of pebble floors
Pebble floors have qualities that can improve your shower experience. Here are some advantages you may want to consider.
Unique charm
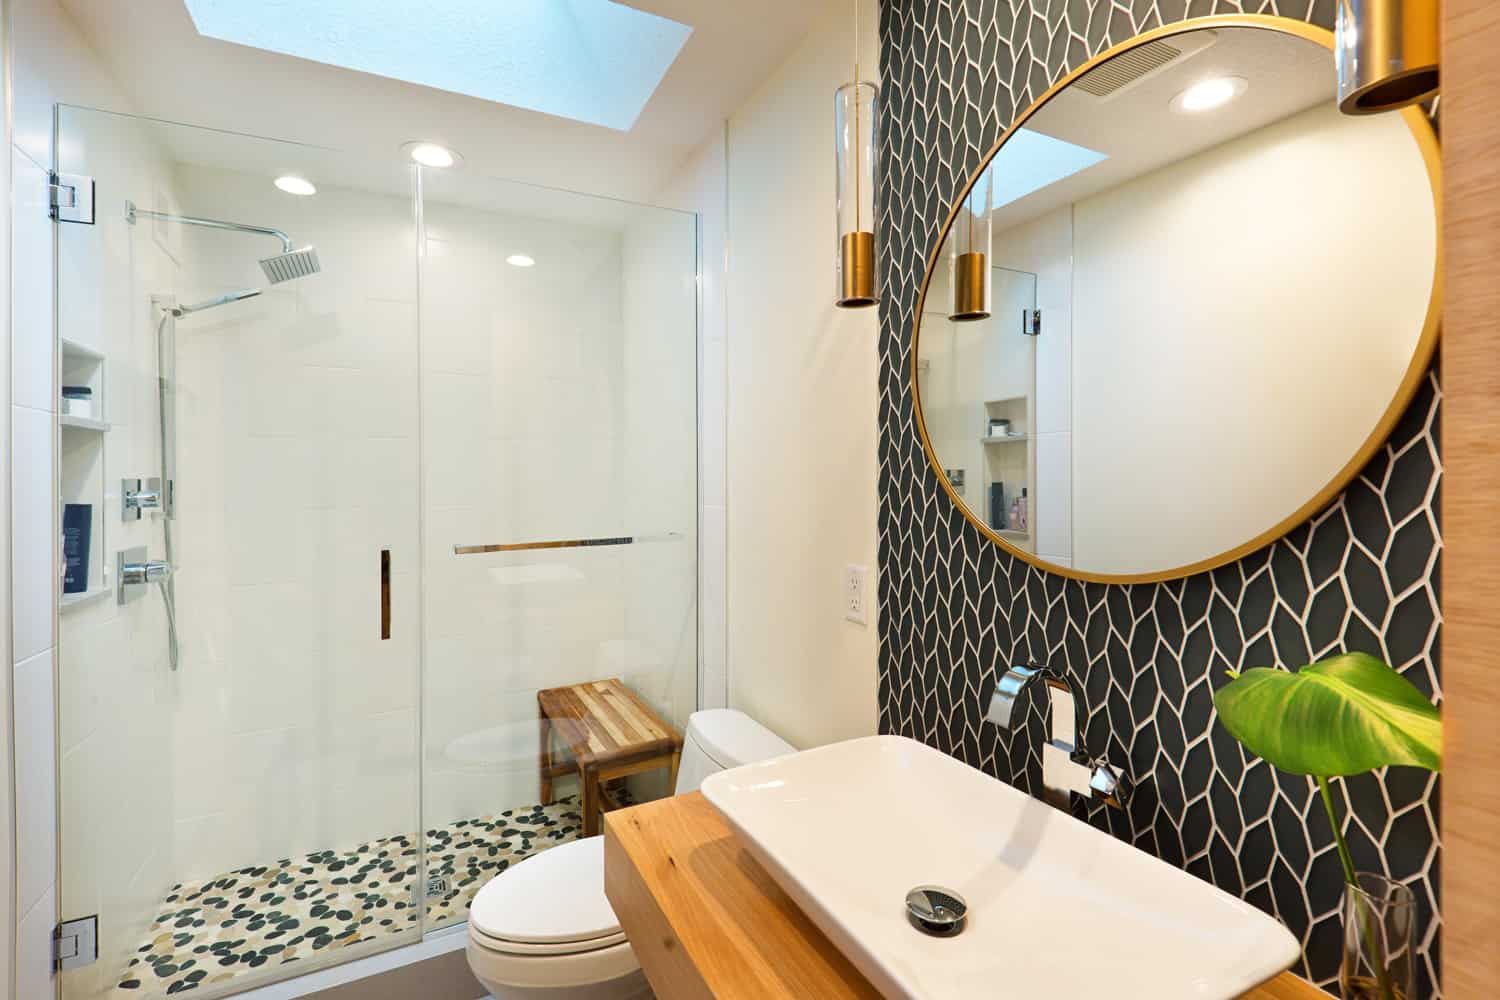
Pebble flooring has a unique charm that can transform the look of your shower. It adds a more unique and textured interior compared to plain tiled flooring.
You can opt to mix and match pebble combinations to reflect more of your style. Pebble flooring can give a beachy vibe to your shower room, especially if you pair it with brown-toned fixtures and wooden accents.
Read: "Matte Vs. Glossy Tile: Which Is Better For A Shower?"
Easy Installation Process
Compared to other flooring types, pebble flooring is relatively easier to install, although you may need to allot more time to it. You can even try to do it yourself, which can help you save on labor costs.
Massage-like texture
Showers are meant to help you relax and release your body's tension. Pebble floors have a unique texture that makes it seem as if your soles are being massaged. This can help you relax more, which makes pebble floors an ideal flooring option.
Make sure that the aggregates are comfortably round and smooth beneath your feet--it helps if you feel the pebbles with your hands.
The therapeutic effect can improve the blood flow in your feet as it stimulates its vital points. It significantly elevates your shower experience, making you feel as if you're in a spa.
Slip-Resistant
If safety is your top priority, pebble flooring may be right for you. The texture is not only relaxing--it is also slip-resistant. This is an ideal alternative if you are prone to slipping on tiled floors.
Having a slip-resistant floor will make for an improved shower experience since you have more freedom to move around. You may want to opt for a pebble finish if you have children or older adults in the house.
Disadvantages of pebble floors
Pebble floors, despite their appeal, still have some downsides that may affect your experience. You may want to change your pebble floors for something that suits your lifestyle better.
Here are some disadvantages of pebble floors that can motivate you to remove them.
How long do pebble floors last?
If you compare pebble floors with other flooring options, pebble flooring has a relatively short lifespan. They only last for 15 years, compared to others that could hold up with little maintenance for up to 50 years.
If you want a better investment, you may want to remove the pebbled flooring and opt for something that can last for a generation.
Requires more maintenance
Pebble floors may be prone to leaking, so you need to keep a close eye on this. Although installation can easily be done by yourself, maintaining it is another thing--you will need to consult an experienced plumber.
Requires a lot of grout
Small pebbles have small corners in between that will need grout. The smaller the pebbles, the more grout you will need--which can be very tedious in the long run. You can opt for larger stones to lessen the grout or remove the flooring completely and change it for something else.
Prone to mold
Pebble flooring can be prone to molding because of the added grout. They are also better at retaining water, which is a hotbed for mold and mildew.
How can you remove mold from pebble floors?
An effective way to remove mold is by applying bleach. Spray the floor with one part water and one part bleach, scrub, and let sit for 15 minutes. Rinse with warm water and repeat the process until you no longer see any mold.
How often should you reseal pebble floors?
Pebble flooring requires resealing once or twice a year if you want it to remain waterproof. If you don't have time to fuss over your shower floor constantly, you could remove it and look for an alternative.
Final Thoughts
Pebble shower floors are easy to install but can be difficult to maintain and remove. Fortunately, there are chemical strippers in the market to make the process easier. Make sure to get floorings that can improve your lifestyle and shower experience.
If you liked this article, check out "Should You Caulk Around A Bathroom Sink Faucet?"