
Squeaking and an unleveled bed can ruin the quality of your sleep. The good news is that you are about to learn how to stop that from happening by building a center support for your bed frame. We will teach you all the things we acquired from professionals necessary to accomplish this task.
To make a center support for your bed frame, you will need to perform the following steps:
- Get rid of the unnecessary things around the bed.
- Assess the condition of the bed frame.
- Take the bed frame's measurement.
- Decide on the material that you will use for the support.
- Prepare the material that you will use.
- Ready the working area.
- Cut the material according to the measurement you recorded.
- Attach the support to the bed frame.
- Test if the center support works perfectly.
- Apply the finishing touches.
If you need more information regarding this procedure, don't worry. We will go over the steps in this article. Aside from the detailed instruction, we will also tell you more related information regarding your bed frame's center support. Rest assured, your sleep's going to be better tonight!

Making A Center Support For Bed Frame
This task should be easy enough for you to do on your own. You do not need to worry about hiring a professional to do it. All you need are basic skills in measuring, cutting, and assembling. Just follow the steps below.

As with any other task, we will start with your safety. Make sure to wear protective gloves during the whole job. If not, the chances of getting splinters or rust in your hand are high.
This may delay your progress and even hurt you. Gearing yourself with a face mask and protective eyeglasses is also a must for some of the steps.
Step 1: Cleaning The Bed
If you have an allergy to dust, we advise you to wear a mask or eyeglasses before proceeding, as the things you are going to do might release dust mites and trigger your allergy.
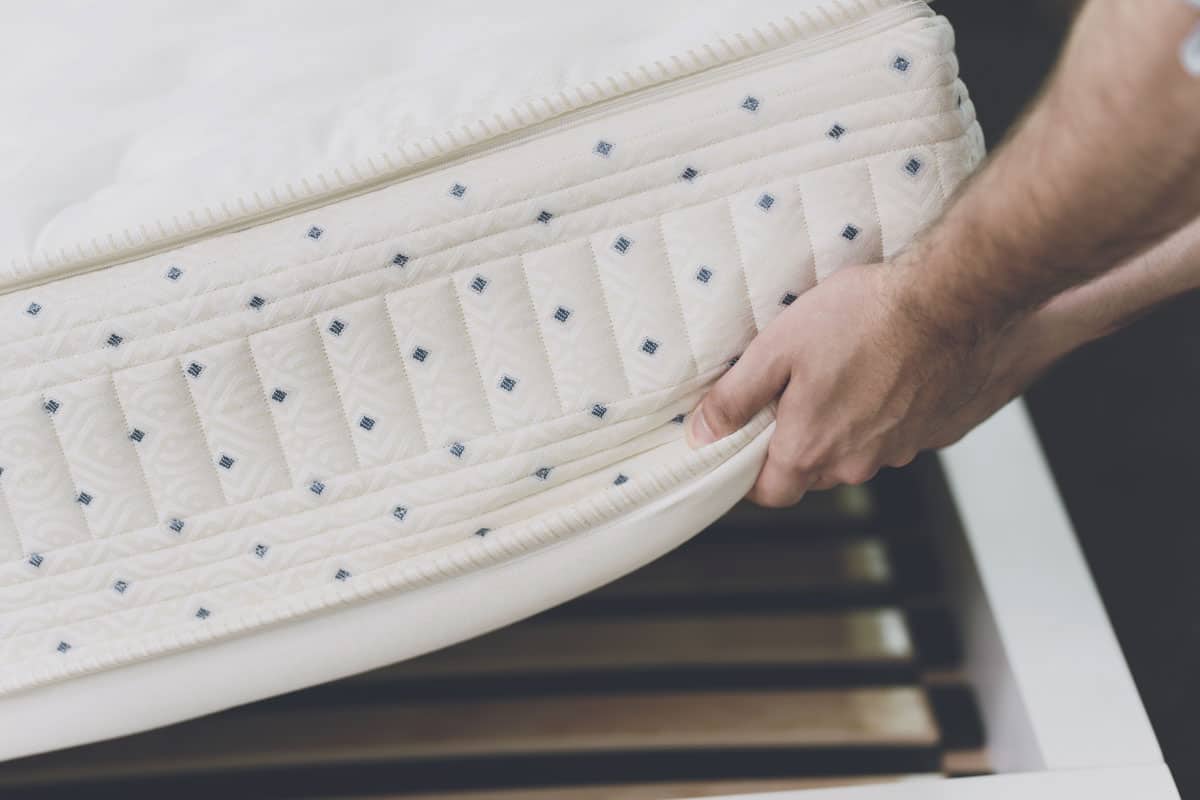
Once done, set aside the mattress by putting away the bed sheet and pillows first. Put them in a clean, dry place, preferably in a spot where it will not get in your way while doing the succeeding stages.
If you want, put the mattress out in the sun so that by the time you are done, it is disinfected by UV light. If dust or debris is present inside the bed frame, sweep it off and dispose of it in the garbage.
Step 2: Check The Bed Frame's Condition
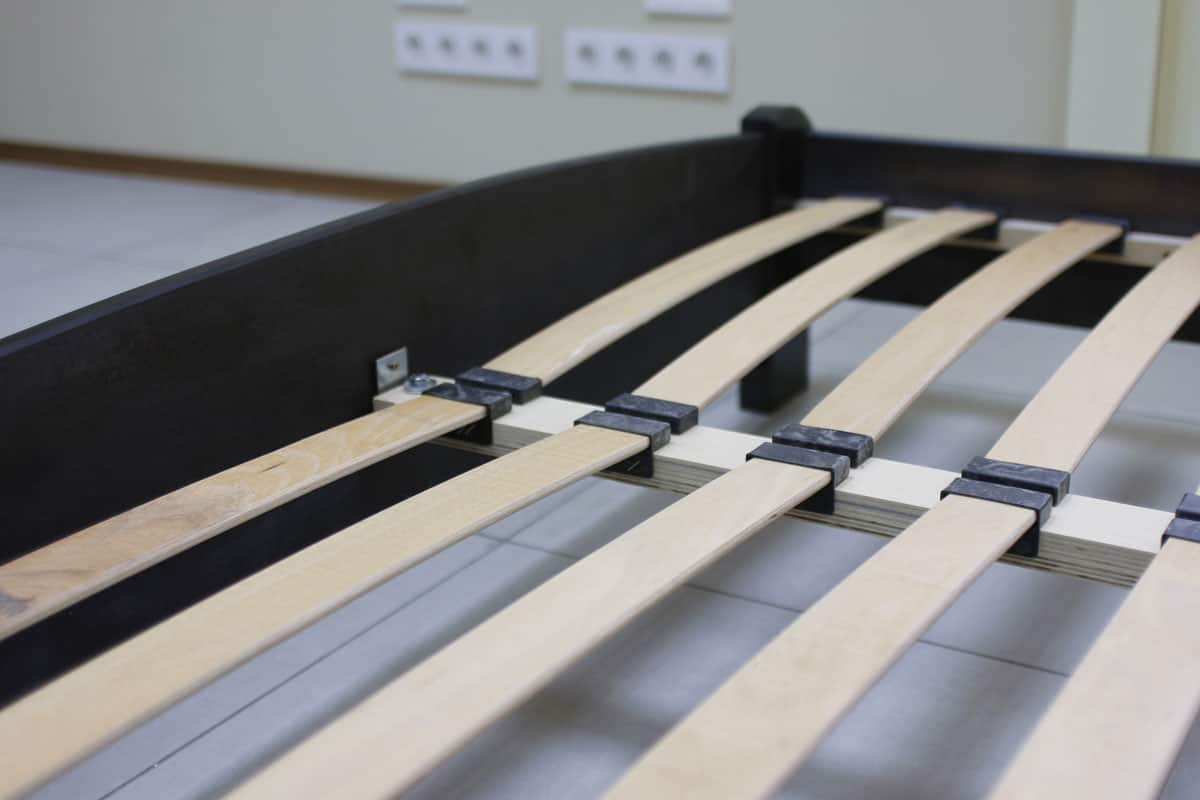
Assess the condition of your bed frame by looking at the material closely. These signs indicate that it is probably time for you to have it repaired or replaced:
- If there are cracks or dents in the slats or the main frame, this can result in an uneven surface for your mattress.
- It produces noises such as creaking whenever you get on it.
If yours is free from all of the mentioned indications, you can proceed to the next step.
Step 3: Get The Measurement

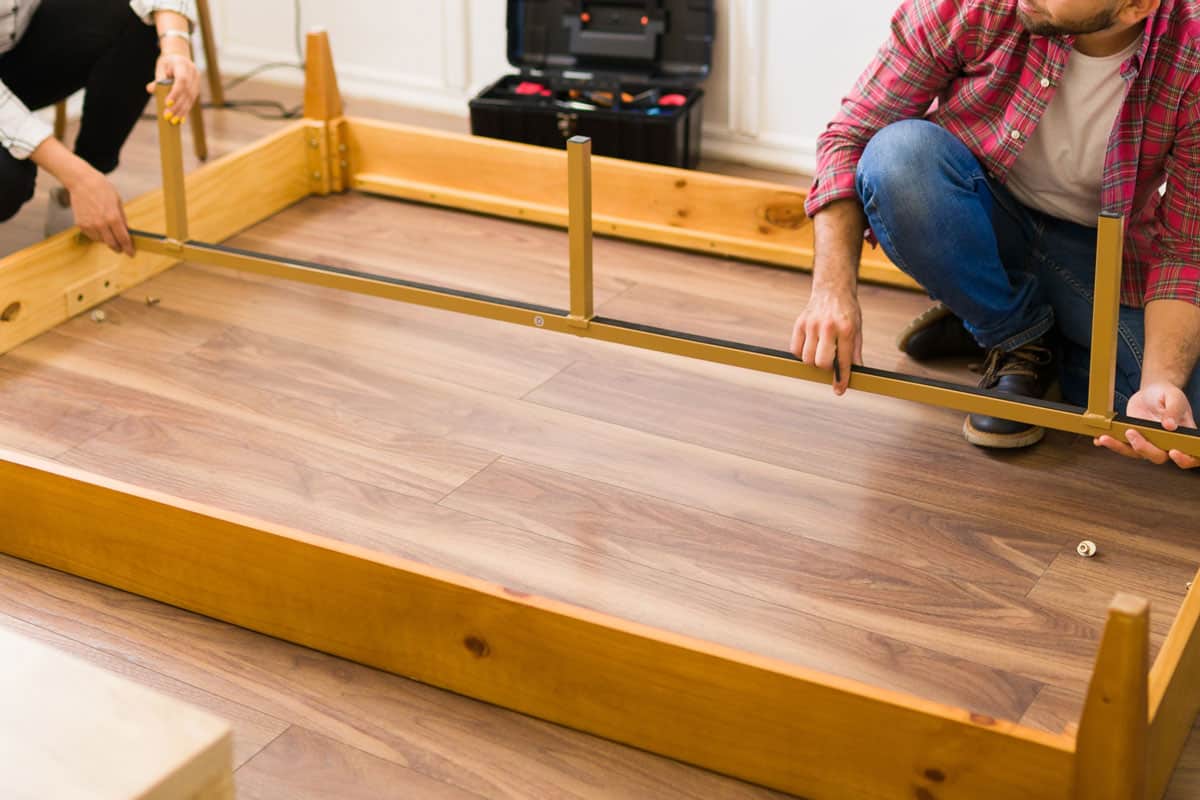
Using a measuring tape, get the length (headboard to footboard) and height (bed slat to the floor) of the bed frame and bed slat.
Make sure that you are doing it in a straight line. If you need to, ask for assistance. Make sure to take notes so you will not forget or have them wrong later.
Step 4: Choose A Material
The most commonly used material for support is the same as your bed frame. Wood if it is wood. Steel if it is steel. The size has to be wider than the bed slat.
Step 5: Gather The Tools And Materials That You Need

Here are the tools you will need to cut, assemble, and finish the center support.
- Circular saw (optional)
- Hand saw
- Ruler
- Pen
- Chisel tool
- Hammer
- Sandpaper
- Drill
- Screw
- Wood
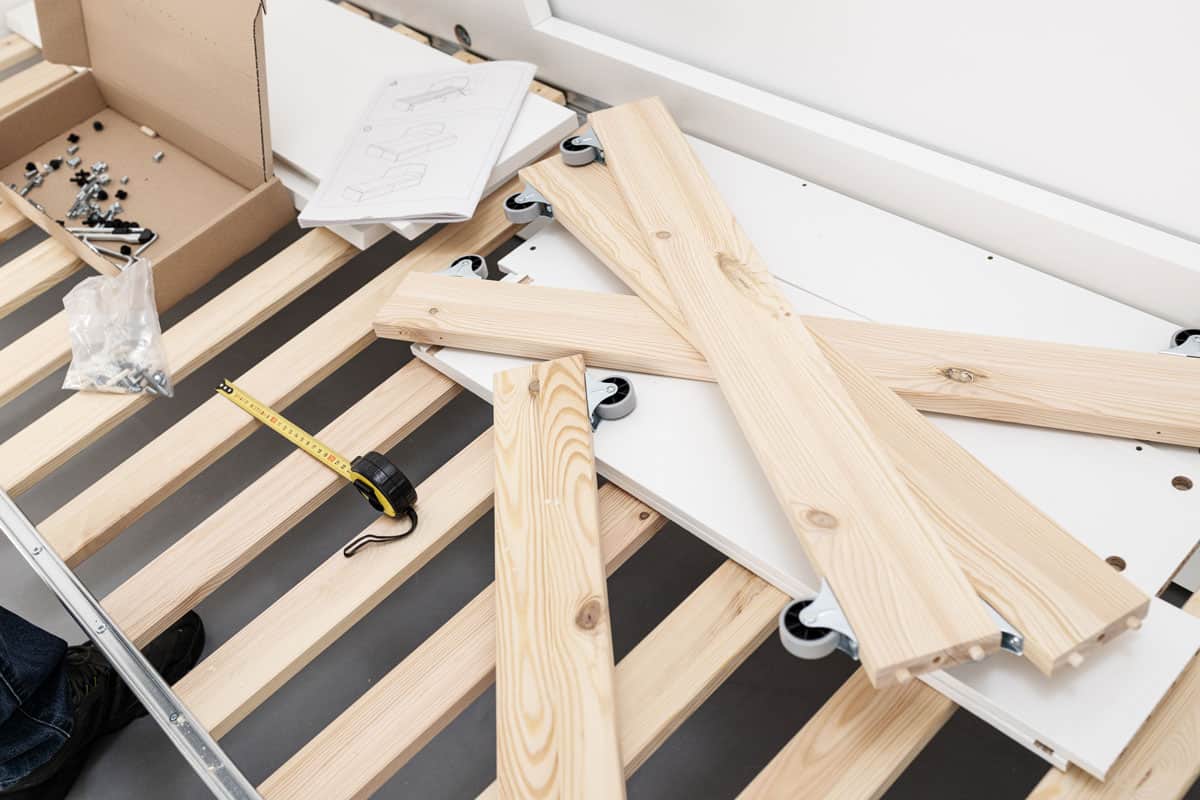
Step 6: Prepare The Working Area
Once you are done with all the necessary tools and materials, place them neatly in the space where you will cut the wood. Since you will cut wood, it may create a mess and dust-like particles, so it may be better to do this on your lawn or in the garage.
Step 7: Cut The Wood Support
The first piece you will cut is the spine which you will attach at the center. Mark the wood according to the measurement you got earlier and cut it using either the circular saw or handsaw.
Keep in mind that if your bed frame already has it, you do not need to make this.
Do the same with the legs with the measurement you got from the bed slat or spine to the floor. But this time, you will create a U-shape hole at one of the edges using the bed slat's width and length. This is to lock the spine in between it to strengthen the support.
Use the chisel for the corner parts you cannot cut with the handsaw. Apply pressure by hitting the head with the hammer. Make sure to grip both of the tools tightly. Smooth its edges using sandpaper.

Check out this circular saw on Amazon.
Step 8: Assemble The Center Support
Now that the spine and legs are ready, you can attach them. Get the bed frame's center point and mark it with a pencil or pen. From there, ask for help while screwing the center beam in place. Once it is settled, place the leg in the middle spot.
To ensure it will not fall, remove the support and drill a hole on either side of the gap. Put it back into the bed frame and screw it with the spine.
Step 9: Check The Outcome

Make sure the legs are perfectly level with the floor. If it is too long, disassemble it and cut an extra length. You can get the mattress and put it on the bed to test its sturdiness.
Step 10: Paint The Center Support

This step is optional but if you want, paint it the same as the rest of the bed frame. You can even paint the whole piece in a new color to give it a new look and feel. Maybe it is time to have its appearance updated.
For more details on how to perform the steps listed above, check out this video.
How Do I Reinforce My Bed Frame To Hold More Weight?
If the center support is not enough to make you feel secure, you can add more bed slats. Aside from that, check the screws and joints to see if they are loose. If they are, you should screw them and push the joints together again.
How Thick Should Bed Slats Be?
Bed slats are better if they are just an inch wide. If they come in many numbers, this size is enough to support you and your mattress weight without bending the wood.
How Much Weight Can Bed Slats Hold?
This depends on how the bed is made and what it's made of. However, some beds with slats can hold up to 600 pounds of weight.
If you want to know how much yours can take, you can check with the manufacturer for an accurate answer. This way, you can be careful and refrain from damaging your bed.
In Summary

To make a center support for your bed frame, you must clear the space and remove the mattress and other hindrances. After that, check its condition for any replacement or repair before getting the bed frame and slat measurement.
Once done, you can now prepare the tools, materials, and working space. Cut the wood for the center beam and legs according to your measurements. Start attaching it to the bed frame with screws. Finish it off with fresh paint that matches the rest of the piece.
Check out these posts for more household tips: