
Do you have a large gap in your project that you want to fill with silicone caulk, and you want to know how to do it the right way? You’ve come to the right place, for we have researched this question, and we have the answer for you.
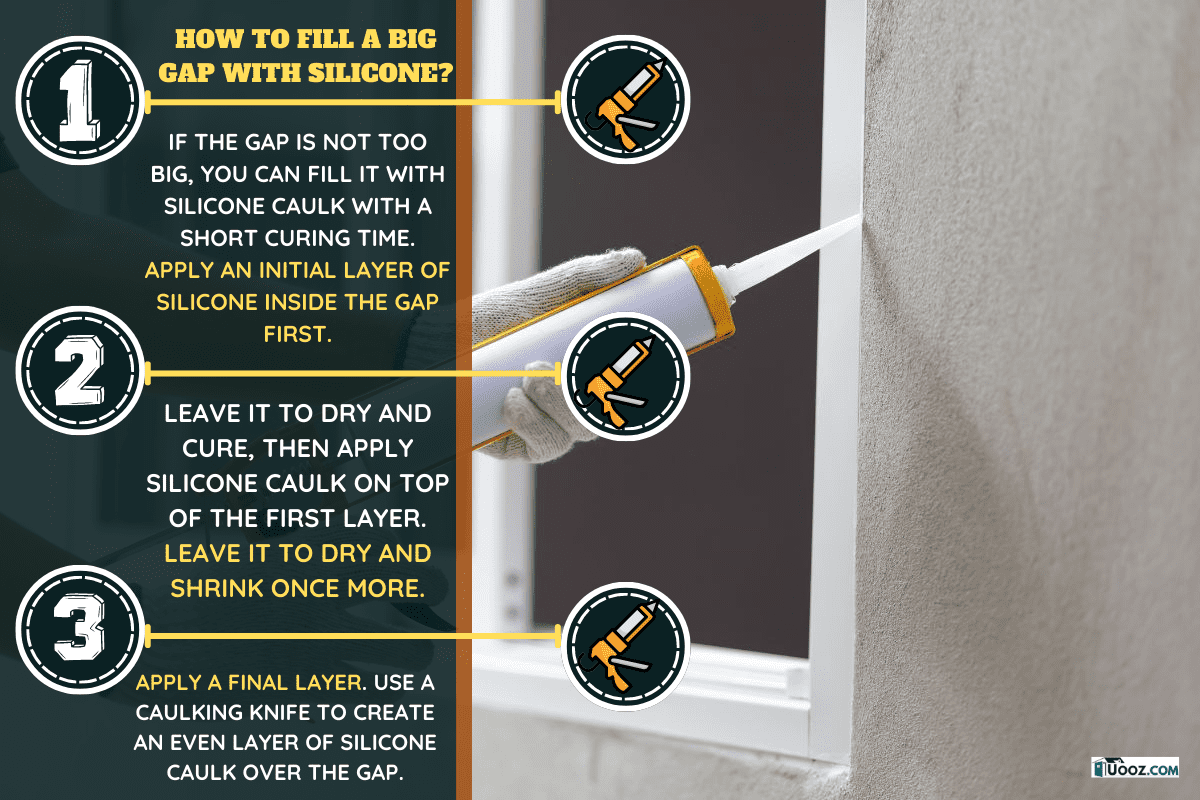
If the gap is not too big, you can fill it with silicone caulk with a short curing time. Apply an initial layer of silicone inside the gap first. Leave it to dry and cure, then apply silicone caulk on top of the first layer.
Leave the second layer to dry, and shrink once more. Apply a final layer. Use a caulking knife to create an even layer of silicone caulk over the gap.
Let’s talk more about filling in gaps of larger sizes in the sections below. Learn more about the tools and techniques that you can use to help you fill large gaps in your project.
Read on!
Silicone Caulk: The King Of The Hole Kingdom
Silicone caulk or sealant is a gel-like adhesive that is common in interior and exterior construction jobs for both homes and buildings. It is a flexible and durable sealant that has different formulas for specific purposes and projects.
Silicone caulk or sealant does a good job of preventing moisture and air from passing through. It can seal gaps between two surfaces or seal holes on a surface.
Extreme heat and cold don’t affect the elasticity and flexibility of silicone sealant, making it the ideal choice for many exterior construction projects. It has a longer curing time than other adhesives—some types can reach up to 24 hours of curing. Fortunately, the result is always worth the wait.
The downside to using silicone caulk is coloration. You cannot paint over silicone caulk. This can be a problem if you need a sealant that you can paint over.
However, many types of silicone caulk come in different colors as well as the standard clear finish. Pick the caulk color that matches the color of the surface that you will seal.
The lifespan of silicone sealants is also superior to polyurethane sealants. Polyurethane sealants can last between five to ten years, depending on the formula. Silicone sealants, on the other hand, can last at least 20 years. Most manufacturers of silicone sealants even offer 20-year warranties on their silicone sealant products.
Moreover, polyurethane sealant is vulnerable to UV light from the sun. It quickly loses its effectiveness as a sealant from constant exposure to the sun. Silicone sealants do not have this limitation.
What are the types of silicone sealants?
There are three major types of silicone sealants. Manufacturers classify silicone sealants based on the curing agent and modulus.
The curing agent facilitates the curing of the silicone sealant. The modulus determines the amount of movement that the silicone sealant will allow once curing is complete.
- The curing agent of silicone sealants can either be acetoxy or neutral.
- The modulus of silicone sealants can be high or low.
Knowing the types of silicone sealants allows you to choose the right one for your project and the application.
High Modulus Acetoxy
Both curing agents facilitate curing through a reaction with the moisture in the atmosphere. What this means is that lower humidity can increase the curing time while higher humidity can decrease the curing time.
An acetoxy curing agent gives the silicone sealant a sour smell while curing. On the upside, an acetoxy curing agent cures faster than a neutral curing agent.
The high modulus rating of this type means that it will allow less movement after curing. This makes this ideal for interior applications that need a fast-curing sealant.
Low Modulus Acetoxy
A silicone sealant with a low modulus will allow more movement after curing. They feel softer to the touch after curing and are ideal for exterior use where the different temperatures from changes in the weather can produce greater expansion and contraction in various surfaces of your home.
This type is known as the low-cost, "all-purpose" type. They can include a fungicide in their formulation to prevent mold and mildew growth.
Modulus Neutral
Neutral curing agents have a naturally low modulus. An advantage of a neutral curing agent is its property of being almost odorless. Being odorless can be an important attribute, especially since a neutral curing agent can take longer to cure.
This type of silicone sealant is mostly used for exterior applications. This type is ideal for sealing exterior windows, doors, walls, and roof parts.
Specialized Silicone Sealants
In addition to the three general types above, there are also special types of silicone sealants that have specific purposes. One example is a high-temperature silicone sealant that can fix exterior parts of the oven or stove.
Aquarium silicone sealants are special sealants that are not toxic to aquatic life like fishes.
Similarly, there is a food-grade silicone sealant that can seal surfaces that come into contact with food, including raw food like meat. They are often found in leak repairs for refrigerators or cold-rooms.
How to fill a big gap with silicone sealant?
Now that you have a good idea of the different types of silicone caulk and their ideal application, we can proceed with examples of how to seal large gaps with silicone sealant.
How to fill a large gap in a wall?
Preparation For Filling
- Clean the surface that you will caulk. Make sure that there is no loose debris on the surrounding surface.
- Use a vacuum to get any dirt inside the gap or hole if you’ll be sealing a deep hole.
- Apply some painter’s tape around the perimeter of the gap that you will caulk to prevent the caulk from damaging the surrounding finish. Apply it almost at the edge of the gap, not exactly on the edge.
Loading The Caulk Gun
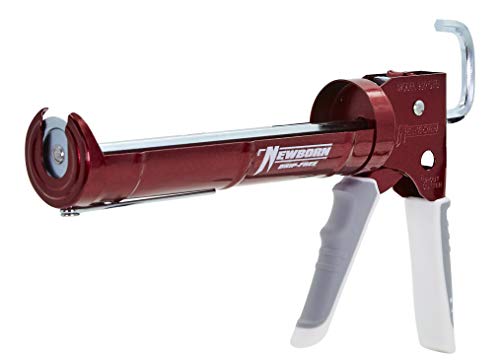
This caulk gun is available on Amazon through this link.
- Cut the tip of your silicone caulk tube at an angle. The size of the cut will determine the size of the silicone bead that will come out of your caulk tube. Start small and adjust as you work on the gap.
-
- Do not use the built-in cutter in most caulk guns because they will not give you an angled opening.
- Use the pin attachment of your caulk gun to punch a hole into the nozzle of your caulk tube.
- Make sure your caulk gun’s piston is fully extended.
- Insert the canister into the caulk gun cradle. Insert the bottom first, then position the nozzle into the nozzle support.
- Squeeze the trigger until the caulk is ready. Apply a test caulk on a piece of paper. Check the size of the bead and make sure it is the ideal size that you need.
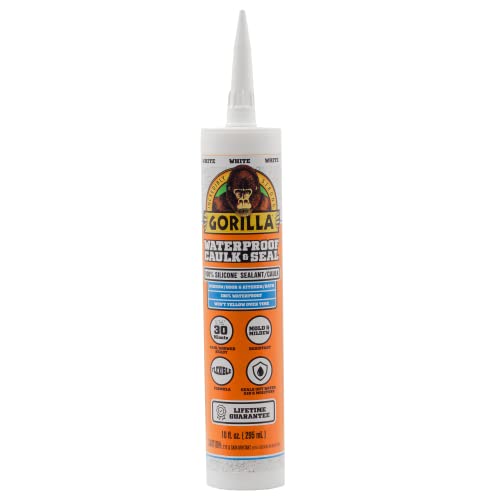
Gorilla Waterproof Silicone Sealant is available on Amazon through this link.
Filling The Gap
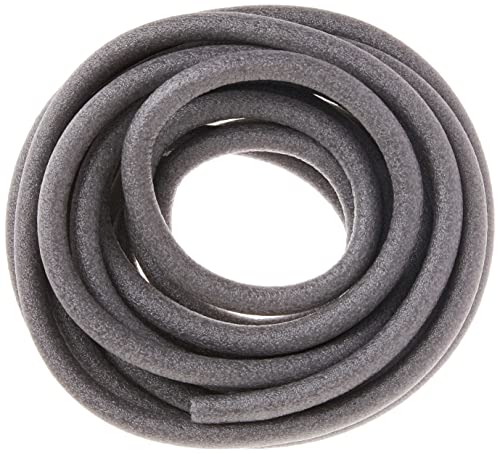
Backer rod is available on Amazon through this link.
If you have a gap that is at least a quarter of an inch to half an inch in size, you will need to fill it first. Keep in mind that this method applies only to gaps with a uniform width.
- Get a backer rod that is slightly larger than the gap.
- Cut a piece of the backer rod and insert it into the gap, leaving a space between the surface and the top of the backer rod.
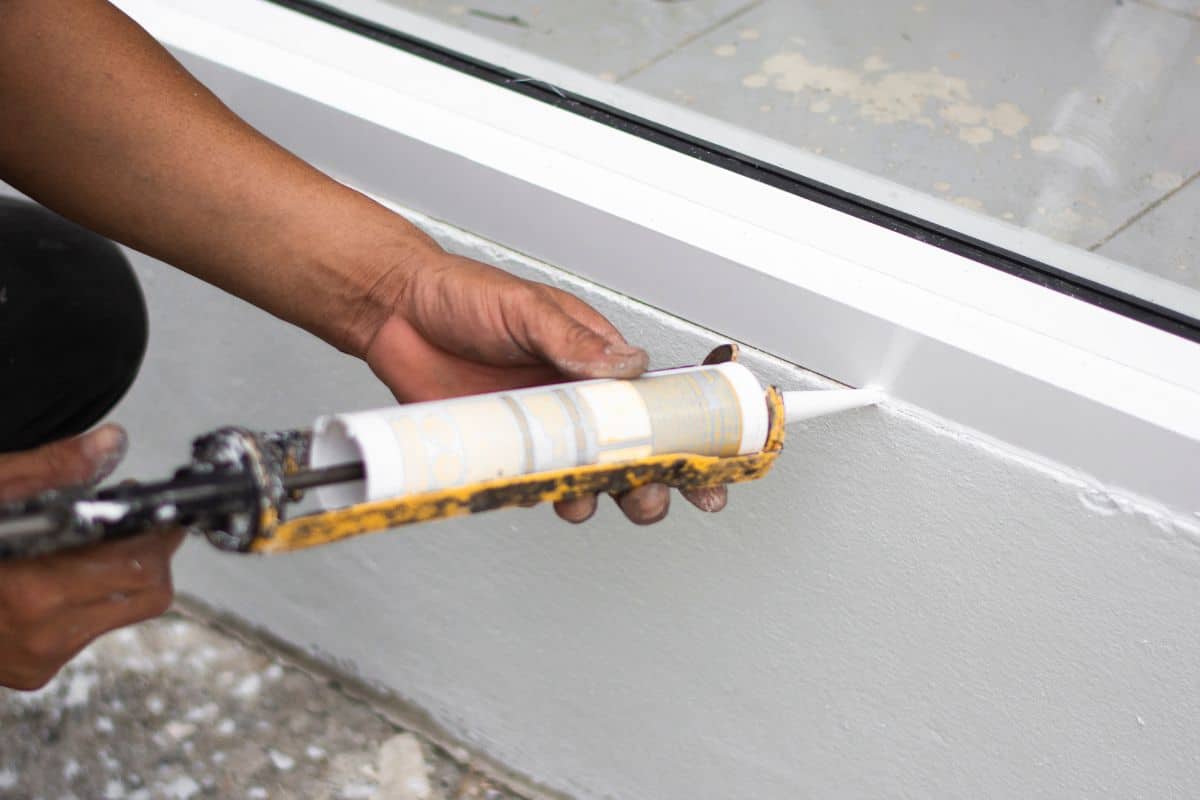
- Fill the gap with silicone caulk.
- Use a caulking tool to press the silicone into the gap and create an even surface.
- Let the caulk dry and cure.
- Look for any shrinkage after the caulk cures. Reapply caulk over shrunken areas.
- Remove the painter’s tape once done.

This caulk tool is available on Amazon through this link.
How to fill a large uneven gap?
The previous method of filling a large gap cannot apply to an uneven gap because the backer rod will no longer be effective as a filling material before you apply your silicone caulk.
Instead of filling the gap with a backer rod, use fiberglass batt insulation or expanding foam to fill most of the space in the gap first. You can use the same initial steps above, like cleaning the area, before you proceed with the steps below.
If you’re going to work with fiberglass batt, do not forget to wear protective gloves and goggles.
- Cover the gap with painter’s tape.
- Use a sharp knife to trim the tape to match the shape of the gap or hole.
- Fill the gap with fiberglass batt insulation or with expanding foam.
-
- If you’re using expanding foam, wait overnight for it to cure.
- Trim any excess foam with a sharp knife.
- Reapply painter’s tape if necessary.
- Apply caulk over the gap.
- Use a caulking knife to remove any excess silicone caulk.
- Leave to dry and cure.
- Check for shrinkage after the silicone is done curing.
- Reapply silicone caulk to cover any shrinkage.
- Wait for the silicone to cure and check for shrinkage. Apply silicone caulk on the shrunken areas.
- Remove the painter’s tape once you’re done.

Loctite expanding foam is available on Amazon through this link.
Conclusion
Select a high, low, or neutral modulus silicone caulk for the job that you need to do. The right caulk will ensure a foolproof job, allowing for the caulk to cure properly and flex appropriately in the crack or hole. Follow the most applicable steps to fill the large gap.
If you enjoyed reading this article, you might find the articles below equally enjoyable to read:
Should You Caulk Between Baseboard And Floor?
What Can I Use Instead Of A Caulking Gun? [4 Alternatives Explored]