
Have you ever wanted to know how to apply Artex to a ceiling? Well, look no further as we've created this post just for you. Applying Artex to a ceiling can be a fun DIY project that you can do all on your own. In this guide, we're going to provide you with all of the tools and methods that you need to get the textured look that you're going for.
Here is an overview of the steps to apply Artex to a ceiling:
- Make sure that the ceiling is prepped
- Gather your equipment
- Perform a patch test
- Mix the Artex material
- Apply the mixture to the ceiling
Depending on the square footage of your ceiling, the project can typically be completed in a day or two. However, if you're planning on doing this task alone, it could take longer (especially if you've never painted a ceiling before). So, without further ado, let's get to it.
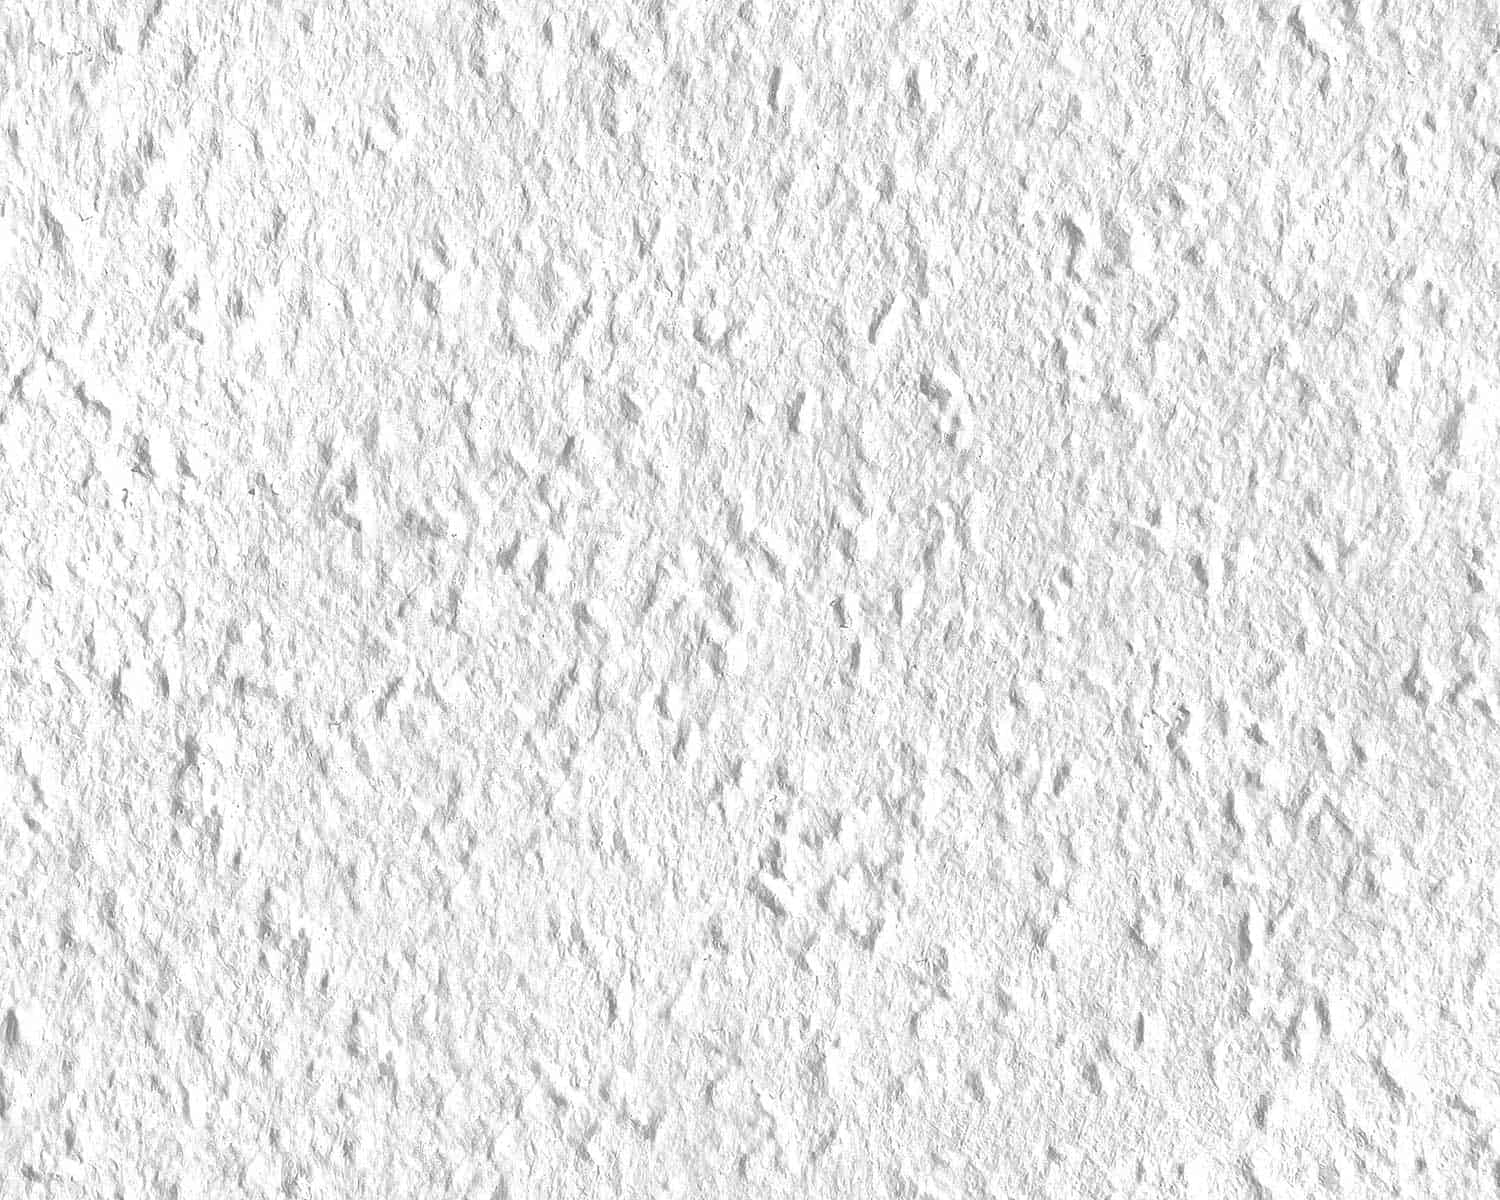
![An artex coating used for interior decorating, How To Artex A Ceiling? [5 Steps]](https://uooz.com/wp-content/uploads/2020/11/How-To-Artex-A-Ceiling.jpg)
How To Artex A Ceiling?
There are quite a few methods that you can use to apply the texture to your ceiling. Below, we've outlined the most popular styles as well as the tools that you'll need for this project. Let's get started!
Make Sure That The Ceiling Is Prepped
You can apply an Artex finish to almost any type of flat ceiling surface. It can be used on painted surfaces, plasterboard, walls, nail heads, and wooden beams. However, if you have wallpaper on your ceiling, you will need to strip this out before applying the textured finish, as it could cause the wallpaper to deteriorate and eventually fall off.
Also, make sure that your ceiling is free of dust, debris, and any spider webs, as you don't want to apply the finish over these things. Note: dirt and debris can come to the surface and stick there once the finish has dried.
Gather Your Equipment
Gather all of your equipment in the room and set it to the side or in a corner. Be sure to cover the floor completely with the drop cloths to prevent dropping any of the finish on your carpet and to avoid slipping on it if you have wooden floors.
Tools you'll need:
- Drop cloths
- Mixing bucket
- Texture comb
- Plastic grocery bag
- 4-inch or 6-inch putty knife
- Paint roller tray
- Tree bark texture roller
- Ready-mix Artex finish powder (or paste)
- Ladder
- Extended paint roller
- Thick paintbrush
- Cleaning Sponge
Mix The Artex Material
You can buy the Artex textured finish as either a ready-made paste or a powder that you will need to combine with water in a mixing bucket. The paste is more ideal for small patches of texture, but if you're planning to add texture to an entire wall or ceiling, then the powder option will be better suited for the job.
To mix the powder, pour its contents into a mixing bucket. Following the directions on the back of the Artex package, add cold tap water to the bucket. Make sure to stir the contents together until it thickens into a paste. This should only take about 2-5 minutes in total.

Buy this mixing bucket on Amazon.
Perform A Patch Test
If this is your first time using the textured finish, it's best to do a test run on a small patch of the ceiling using your applicator tool. The purpose of this is to quickly familiarize yourself with the viscosity of the finish and how to maneuver it with your application tool to get the look that you prefer. You can also grab a piece of cardboard or a scrap wood plank to test it as well. Once you feel comfortable with applying the texture, it's time to move to the ceiling.
Apply The Finish To The Ceiling Using One Of The Techniques Below:
Pour a generous amount of the mixture into your paint tray. Next, dip your paint roller or a brush into the mixture and then apply it to the ceiling. You'll want to apply a liberal amount, but not too much that it begins to drip. It's best to cover the ceiling in a row-by-row fashion (the same way that you would when applying tiles). This way, you won't have to move the ladder as often. Also, make sure to blend each section with the previous section to create a consistent pattern.
Now, let's take a look at how to create specific texture patterns.
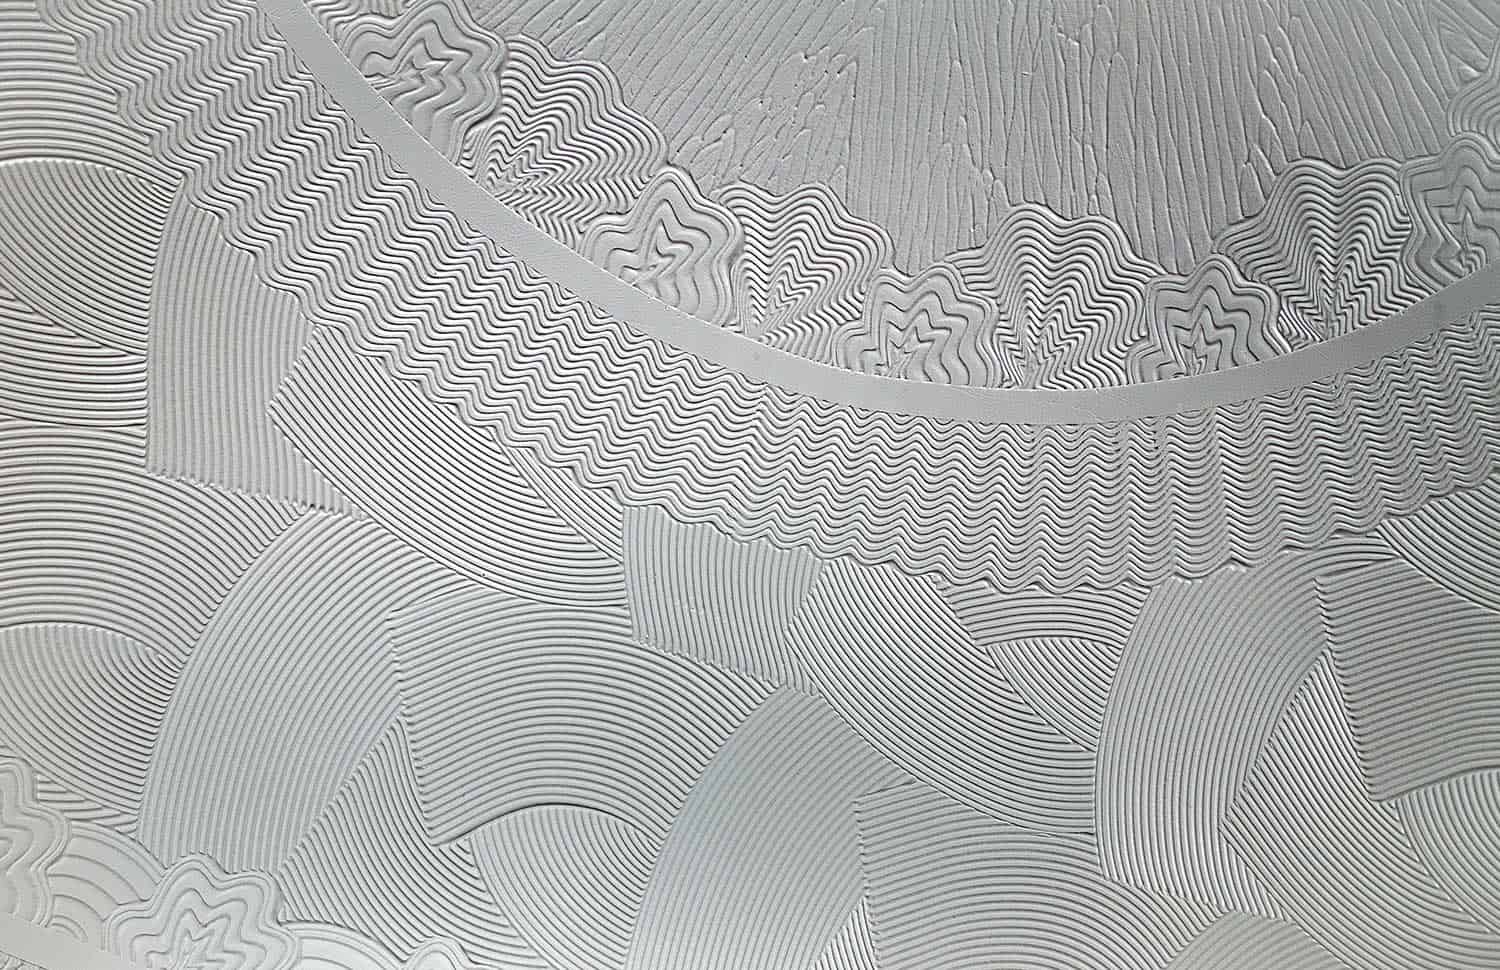
Tree Bark
To create the tree bark effect, take your tree bark roller and run it over the ceiling after you've applied the Artex. The more times you run the roller over the same area, the more defined (or "spikier") the bark lines will be.
Classic Circles
After applying the Artex, use your texture comb to work the finish in a circular motion. Be sure to overlap each circle so that both the sides and the top of each circle form a consistent pattern.
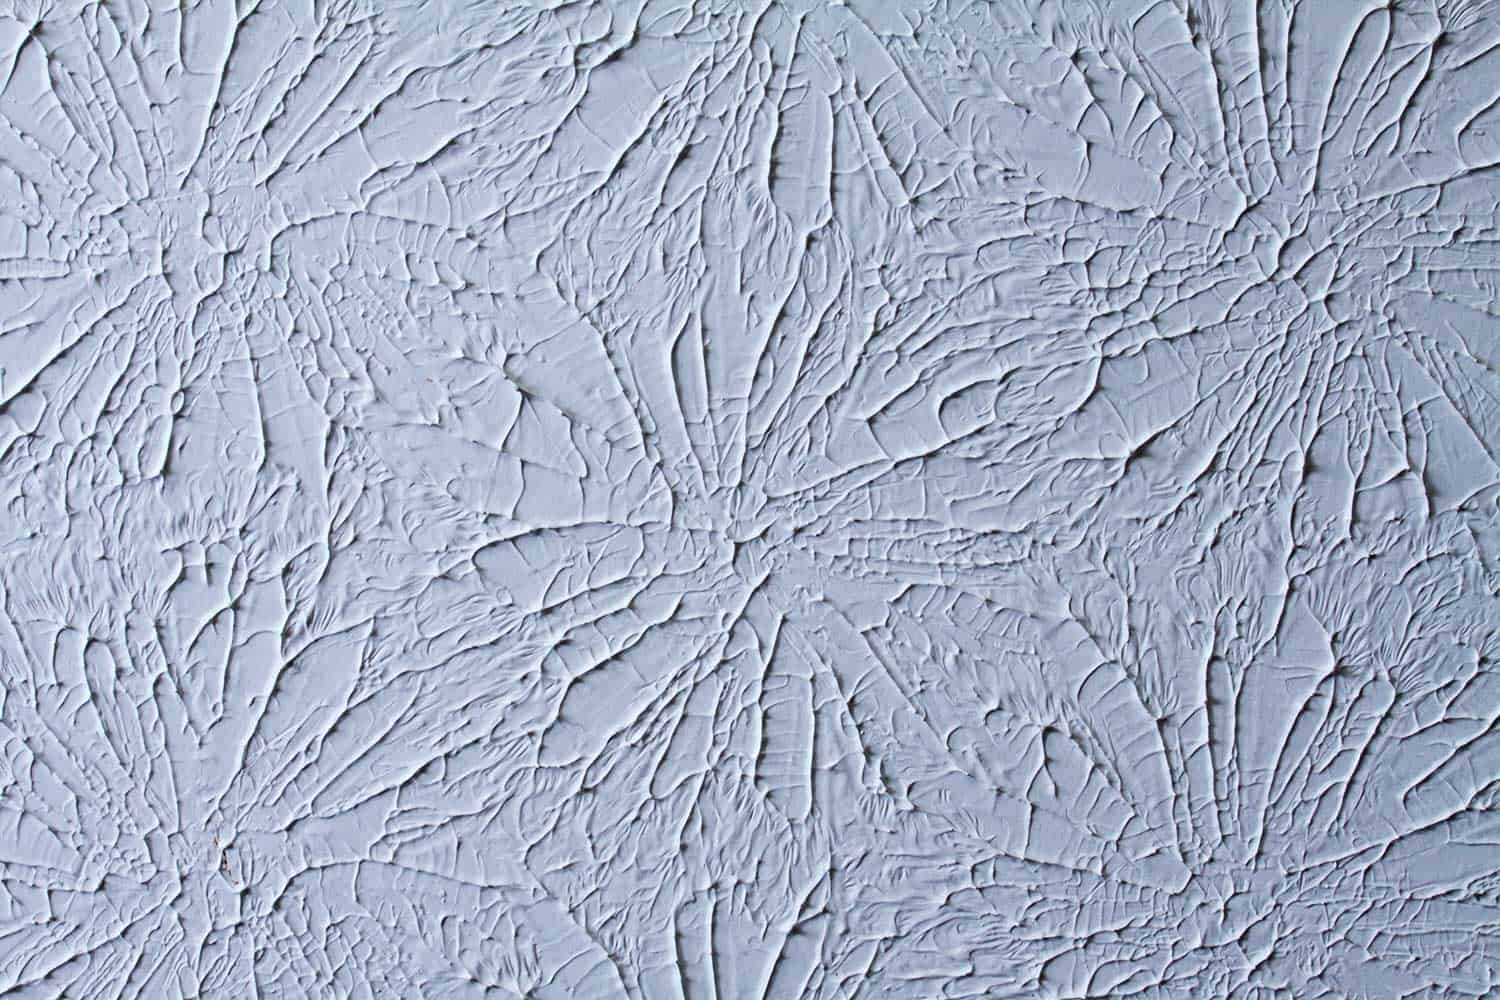
Damaged Leather

To achieve this look, cover your stipple brush with the plastic grocery bag (or any think plastic bag). After applying the texture to the ceiling, take your covered brush and tap against the surface, twisting it clockwise and counter-clockwise as you do. Do this for each row until you've covered the entire ceiling.
Knifed Plaster
To create the knife plaster pattern, first, apply the texture to the ceiling. Next, grab your putty knife and press it against the ceiling, dragging it about 5 to 8 inches to the left or right. Continue to do this in one direction, making sure that you overlap the new pattern with the previous one. It's best to switch up the angles a bit to make it appear more random.
Stipple (aka "Speckled" look)
This texture technique is probably the most common, and it's fairly easy to accomplish. After you apply the mixture to the ceiling, grab your stipple brush, and simply tap it repeatedly on the ceiling. You'll want to tap fairly gently to ensure that the brush does not twist while you're tapping it--this can alter the pattern.
Medusa
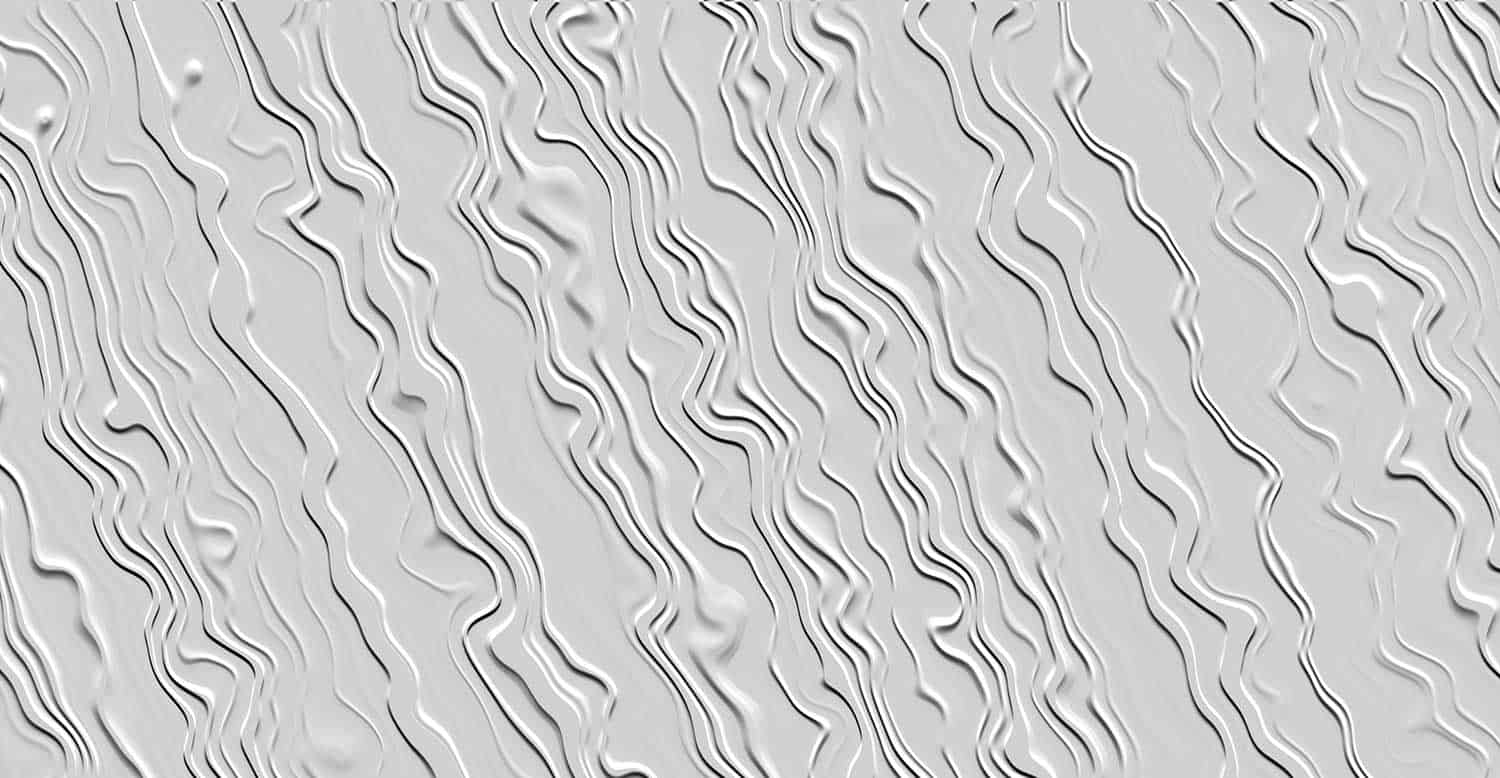
This pattern is probably the easiest of all to design. To create the Medusa look, you simply need to run your fingers across the ceiling creating any type of random pattern that you desire. You may want to put on a pair of disposable rubber gloves before starting this pattern.
Does Artex Contain Asbestos?
No, Artex finish is no longer made with asbestos, as it has been banned from use in building products since 1999. However, before this, asbestos was usually used in Artex to strengthen the finish. Though, at the time, there were still some Aretex products that didn't contain asbestos. That being stated, older homes (or buildings) with artex ceilings that were created before its ban should be tested for asbestos.
Are Artex Ceilings Outdated?
For the most part, yes, artex finish ceilings are fairly outdated. More often than not, you'll find people looking for ways to cover their Artex ceiling or repair it. However, many homeowners do use Artex ceiling patterns to create unique retro-styled room decors for their homes. So, is it the go-to ceiling style option that it was in the '70s? No. But, it can still be used as a great way to add a specific look to a room.
Can You Paint Over An Artex Ceiling?
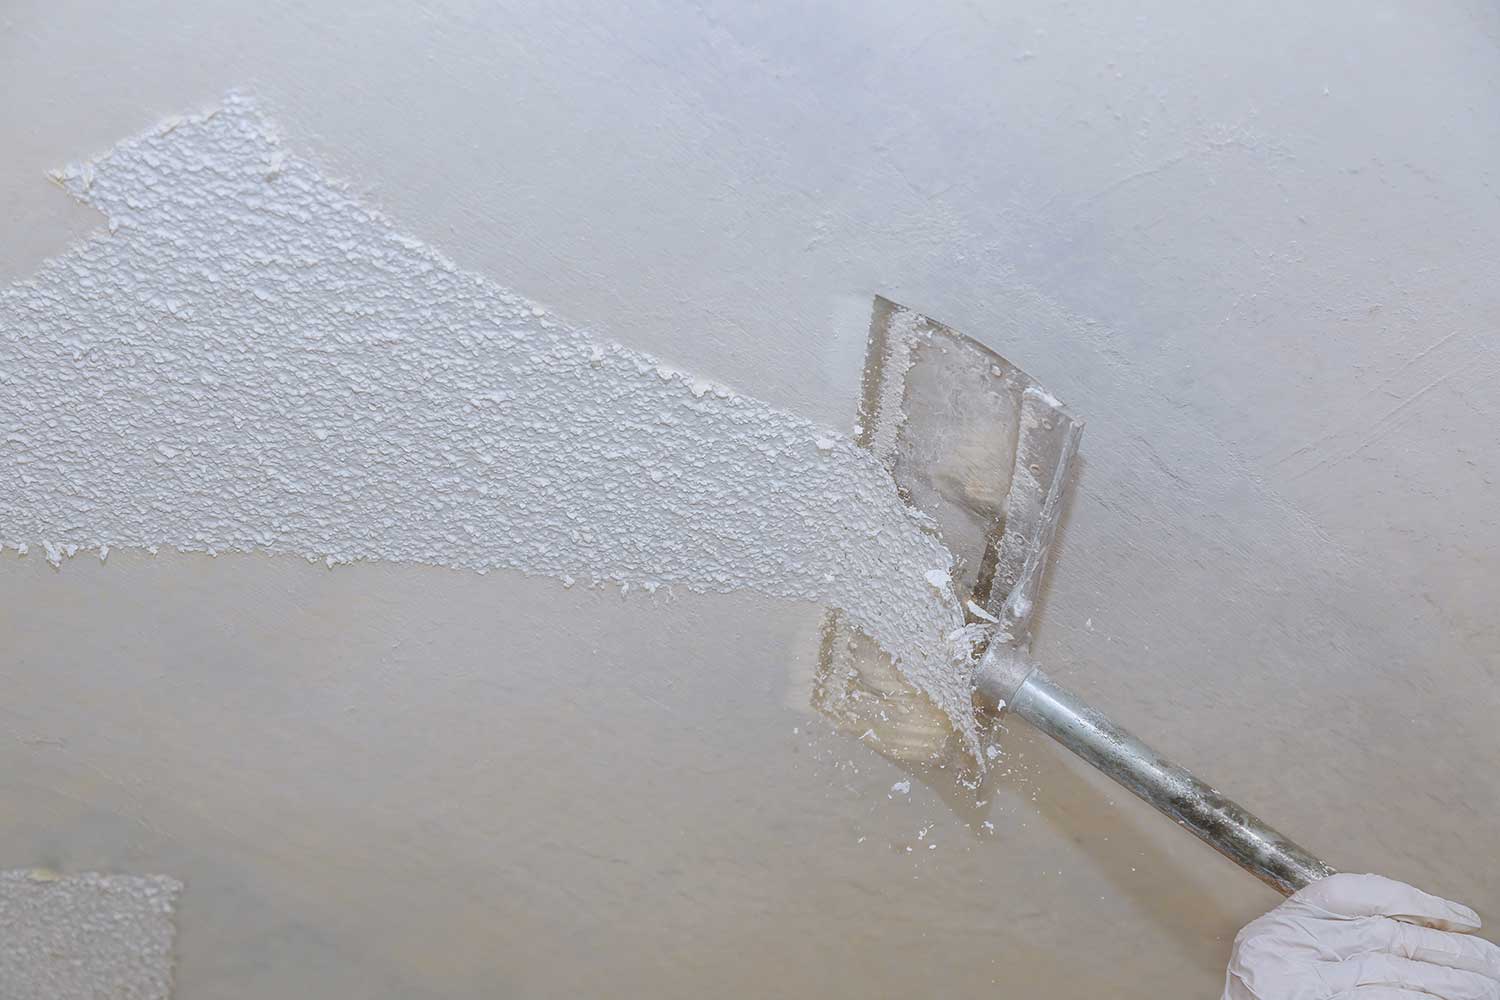
It's typically best to first either steam or scrape-off the Artex finish before applying paint to the ceiling, as it would be very difficult to get good coverage over the textured patterns. You can simply use a metal putty knife to remove the texture from the ceiling. Or, you can also use a "filler" to skim over the ceiling first and make the texture a bit smoother before applying a fresh coat of paint.
These types of fillers can usually be purchased at your local home improvement store for about $10-$15. Before attempting to scrape off the Artex finish, be sure to take appropriate precautions by wearing a pair of safety goggles as well as a dust mask.
What Roller Is Best For An Artex Ceiling?
A traditional mohair painter roller will work well to apply Artex finish on a ceiling or wall area. However, if you are going for specific patterns, a putty knife or plaster comb may be needed to apply the finish.

Buy this Mohair roller on Amazon.
What Causes Artex To Crack?
Similar to ceiling paint, Artex finishes are also prone to cracking either with age or under certain conditions. There are actually quite a few reasons why an Artex finish can crack. Let's take a look at a few of them.
Straight (Fine) Cracks
These types of cracks are usually caused when drywall joints are not properly mudded or taped. It can be the result of the tape not adhering to the drywall strongly enough and causing a crack near its edge. Oftentimes, a bit of putty can correct this.
Horizontal Cracks Near The Wall Edge
These types of cracks are often caused by a truss uplift. This occurs when the trusses that stabilize your roof move upward. While these trusses are designed to slightly adjust from time to time (as a result of temperature changes), larger movements may cause the ceiling to move with it, creating a crack. In which case, you'll likely need a professional to repair it.

Check out this spackling paste on Amazon.
Larger Cracks
Larger cracks can often be the result of an influx of moisture in the room or the adjacent room. You can easily repair these cracks by applying more Artex finish to the ceiling. If the cracks are causing the finish to peel, then you may need to scrape off the entire area and replace it with a new section of drywall.
Discolored Cracks
If there is a brown or yellow crack in the Artex, it's usually the result of a water leak in the space above or adjacent to the room. After the leak is repaired, new drywall will need to be installed on the ceiling along with a new layer of Artex finish.
Wrapping Things Up
Applying Artex to your ceiling gives a cool retro feel and adds a bit of style to your rooms' decor. It's always best to first plan out this type of project so that you can know the specific tools you'll need for the Artex pattern that you're going for.
Before you go, be sure to check out our other posts: