
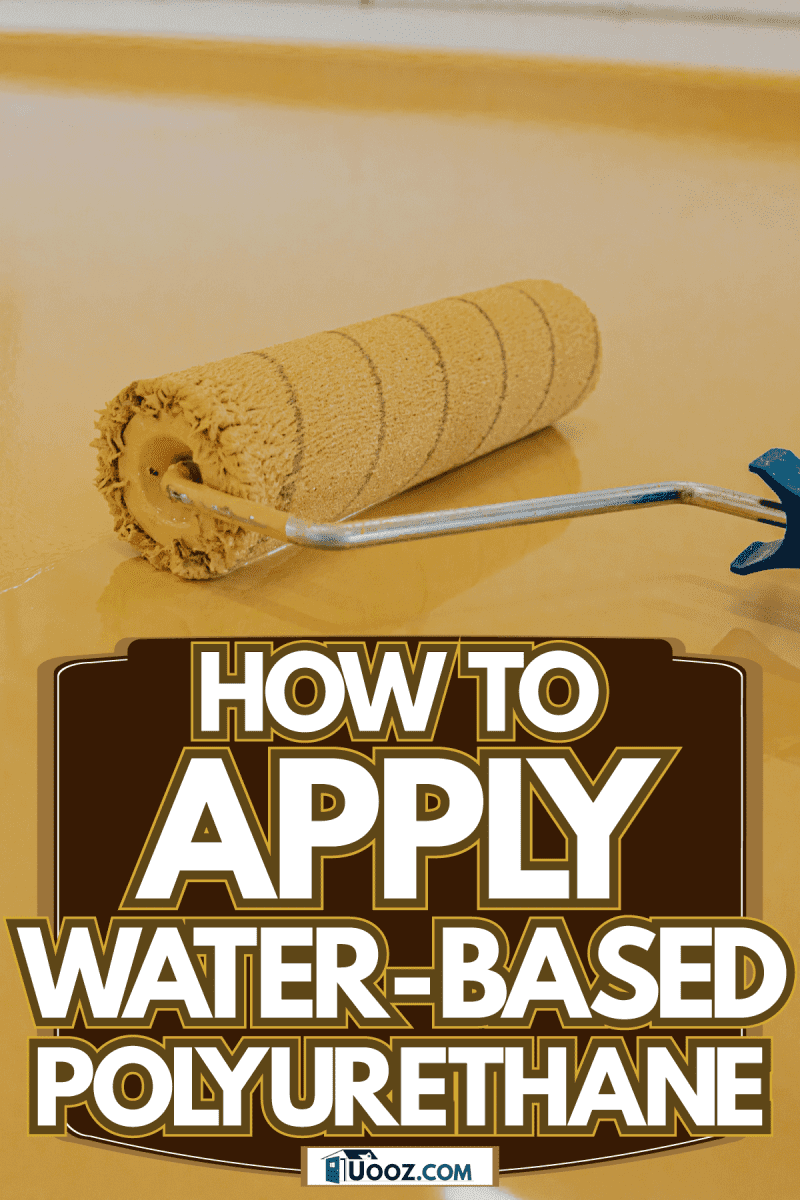
Without a finish, wood doesn't have protection from the elements. So, it becomes easy for it to look lifeless over time. For this reason, people coat wood with polyurethane. There are two types: water-based and oil-based. If you're wondering how to apply water-based polyurethane, let us go over the steps!
Applying your first coat of polyurethane involves a few simple steps. The process will go as follows:
- Remove blemishes and clean the surface.
- Prepare the wood by sanding it.
- Wipe away the dust and sand one more.
- Apply your first coat of polyurethane.
- Sand once more and apply your second coat.
Applying polyurethane doesn't need to be complicated. It's a simple process that involves a lot of sanding. Of course, it's easy to mess up. So, if you'd like a more in-depth guide, keep reading ahead. We'll also cover other concerns along the way.
Before You Apply the Polyurethane
There are a few details we should discuss before you apply the polyurethane. Some of the details will relate to the look of the finish, how it will react to the stain you use, and some necessary preparations. This way, you end up with a result you won't regret.
The need for water-based formulas came because of restrictions on VOC emissions. Water-based polyurethane is distinguishable from oil-based formulas in a few different ways. When you open the container, water-based polyurethane has a milky look.
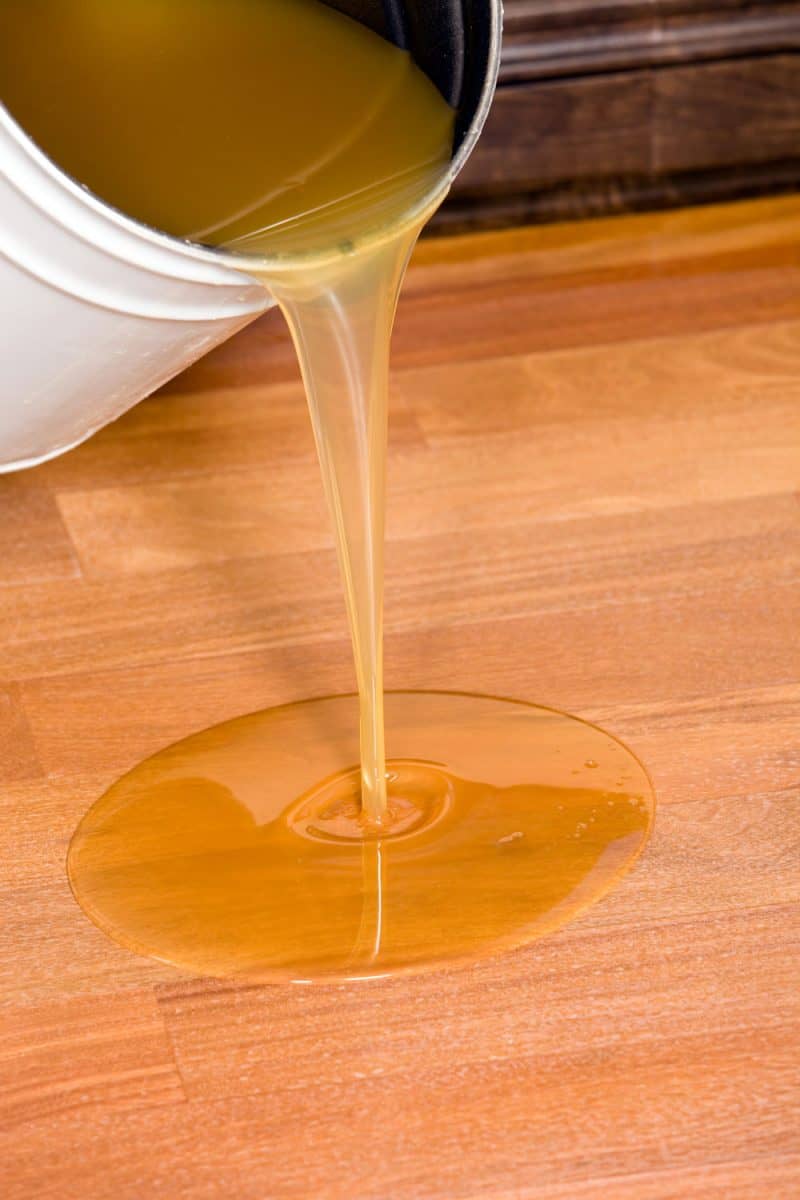
It shouldn't alarm you. Once you apply it, it dries crystal clear. Thus, the water-based formula is good if you're trying to preserve the wood's color. This aspect differs from oil-based formulas as oil-based polyurethane turns slightly amber.
Regardless, the water-based version tends to dry quickly. However, since it's more watery, you may need to apply a few more coats. While it also has lower VOC emissions, you still need adequate ventilation. Once you finish the project, you can clean the remaining polyurethane with soap and water.
Will Water-Based Polyurethane Work with Oil-Based Stains?
The next topic we'll have to cover is wood stain. If you've applied an oil-based stain, you might get concerns that there will be some trouble applying a water-based finish. As you already know, water and oil do not mix.
So, will you run into problems if you're applying polyurethane over an oil-based finish? The short answer would be, no, you wouldn't. It's as long as you let the stain cure entirely.
Curing Vs. Drying
If you're not familiar with the terminology, there's a clear distinction between curing and drying. While many people use the term interchangeably, each refers to a different process.
When a varnish or stain is "dried," it refers to an initial phase. More specifically, it's the process where the coating shrinks due to the loss of the solvent component. Curing would be the second phase. It takes much longer.
Curing refers to the process where the stain changes physically and chemically. Once it cures, the oil polymerizes. At this stage, the polymerized oil will be akin to resin. In other words, it's no longer oily. So, water-based polyurethane should work without problems at this point.
If you're applying polyurethane to raw wood, there's no need to wait. That should cover all the details you need to know. Now, let's go over how to apply polyurethane.
Remove Blemishes And Clean the Surface
Before starting the project, you'll need to ensure you're working with a good, clean surface. Clean the surface of any blemishes. If you're using open-grain wood, you can use a filler to provide a level surface before applying the polyurethane.

Click here to see this wood grain filler on Amazon.
Regarding stains, let them cure completely. As for finishes, it would depend. If you have a coat of lacquer on the wood piece, you need to remove it. The reason is that polyurethane and lacquer do not bond.
Water-based polyurethane should work well with oil-based stains or finishes. If you're not sure what top-coating you have on the wood, remove it to ensure you get the best results.
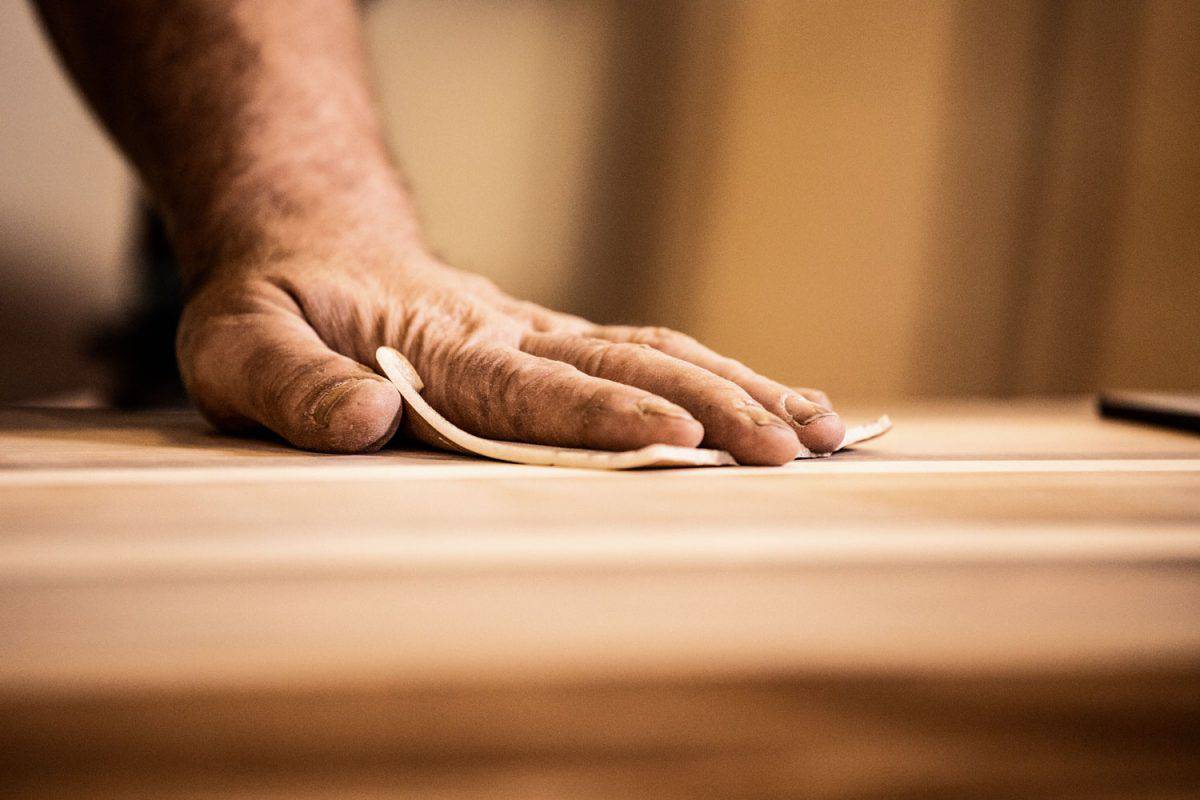
Prepare the Wood By Sanding It
Once you remove the old finish, you can prep the wood by sanding it. You can use 120-grit sandpaper for refinished wood pieces and 80-grit for new wood. If you've decided to leave a pre-existing coat, lightly sand the surface.
You want to create a strong mechanical bond between coats. Still, it's better to remove the pre-existing finish. This way, you can apply additional coats without the worry of messing up.
Wipe Away Dust And Sand Once More
After the initial sanding, use a clean cloth to wipe away the dust. The 120-grit sandpaper will have likely left some marks. So, you'll need to sand once more with 180-grit sandpaper. Once the surface appears to be level, it should be ready for polyurethane.
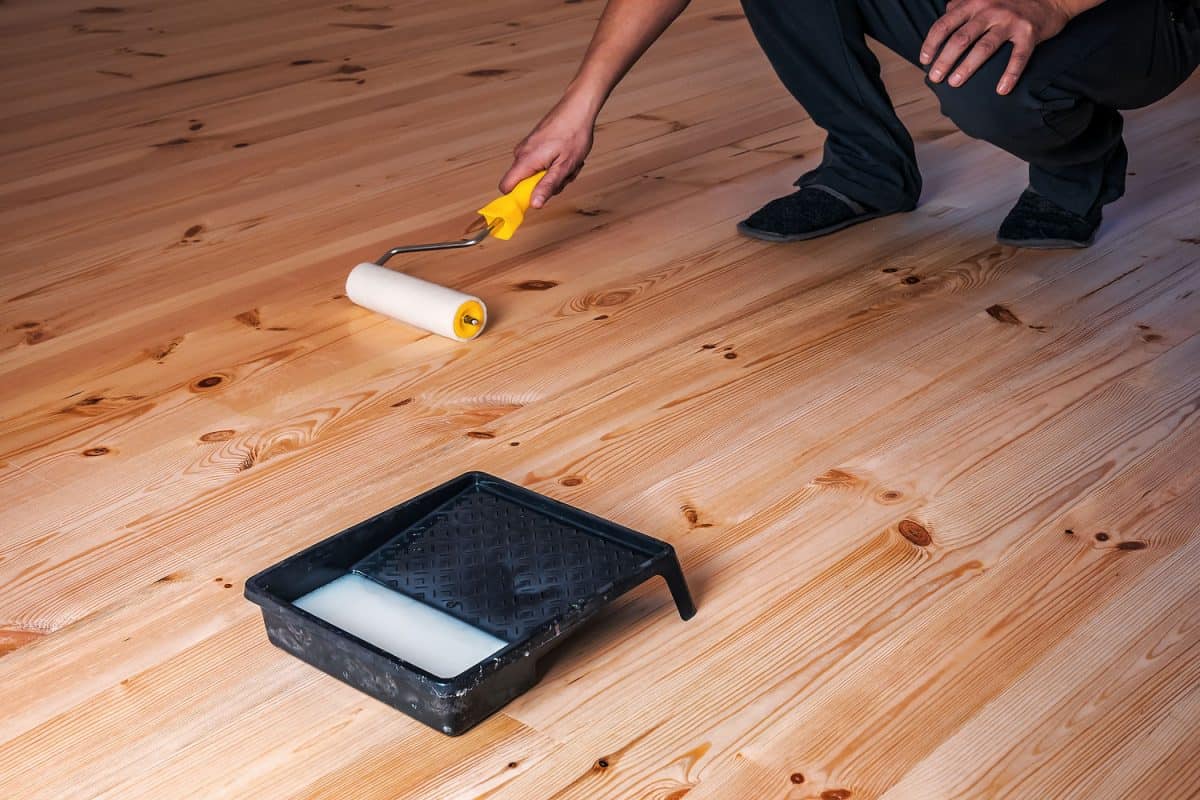
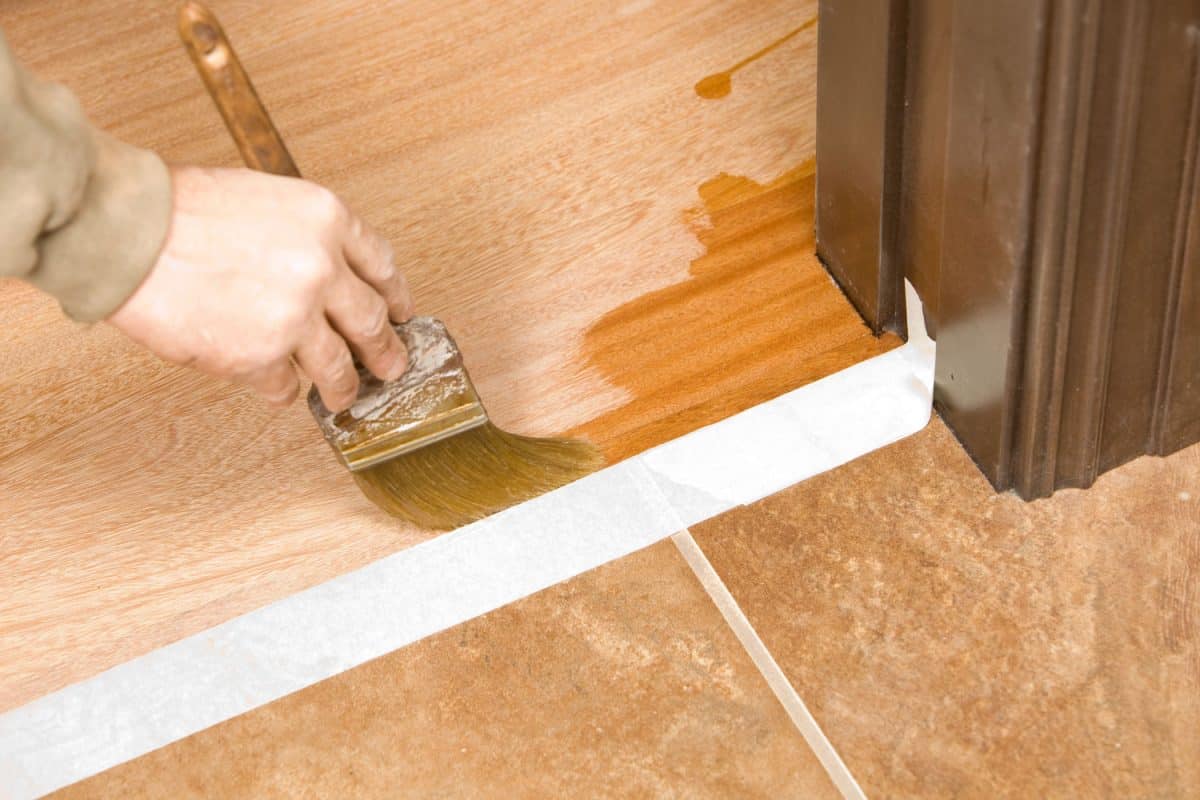
Apply Your First Coat of Polyurethane
The best way to apply the first coat of polyurethane will depend on the surface of the wood item to be coated. You can use a bristle brush for flat surfaces. If you're working with rounded, contoured, or vertical surfaces, use a clean cloth to wipe the polyurethane going with the grain.
Once you finish, follow the instructions of the polyurethane product you're using. Let it dry as long as recommended before you apply additional coats. You'll usually need to wait 24 hours for another coat.
Sand Once More And Apply the Second Coat
After 24 hours, you'll need 180-grit or 220-grit sandpaper. Sand the surface to remove drips, bubbles, and any uneven spots you may find. If you'd like some help on doing this efficiently, here's a YouTube video about sanding after applying the first coat:
Once you remove any imperfections, you can apply a second coat of polyurethane. Allow the second coat to dry. Then, you can sand again and spread a third coat. Repeat the steps as you see necessary.
If you need a visual recap of all the steps, here's a YouTube video with similar actions:
What Is the Best Method for Applying Water-Based Polyurethane?
It's easy to mess up if it's your first time working with a finish. Of course, most people won't want to mess up on their first try. So, they look for the best methods to reduce the chances that they will have to redo the job.
Unfortunately, there isn't a method where you are guaranteed success. It will take practice. Applying water-based polyurethane will become easier as you learn over time.
Even if you mess up, it isn't too big of a deal. There are many ways you can fix the errors that might show up. Of course, the process will take longer if you make mistakes. But, you'll know the mistakes to avoid for future polyurethane applications.
How Do I Get a Smooth Finish With Water-Based Polyurethane?
There are a lot of imperfections that will show up after applying your first coat of polyurethane. The flaws can be brush marks, bubbles, and uneven spots. If you want a smooth finish, you will have to pay close attention to the sanding process.
After applying the first coat, you will notice some swelling. The reason is that the wood fibers swell up after absorbing the first coat of polyurethane. So, if you want to make it smooth again, you will need to sand it.
However, as you're sanding, it's easy to miss imperfections. In the sanding video above, they recommend using both hands. One looks for flaws. The other will move the sandpaper along.
As you apply more coats of polyurethane, you will have to keep searching for imperfections. The fewer flaws the previous coats have, the more likely the final coat will be smooth.
Of course, there's still a chance that imperfections will show up. But, they will be minor. Thus, they're easier to fix.
Do You Have To Sand Between Water-Based Polyurethane Coats?
According to Home Depot, sanding between coats isn't necessary. But, as mentioned above, that's if you don't care about the final product. There's a reason many choose to sand in between coats.
It usually produces a smoother finish. If you're big on detail, you'll want to sand the previous coat before applying a new one.
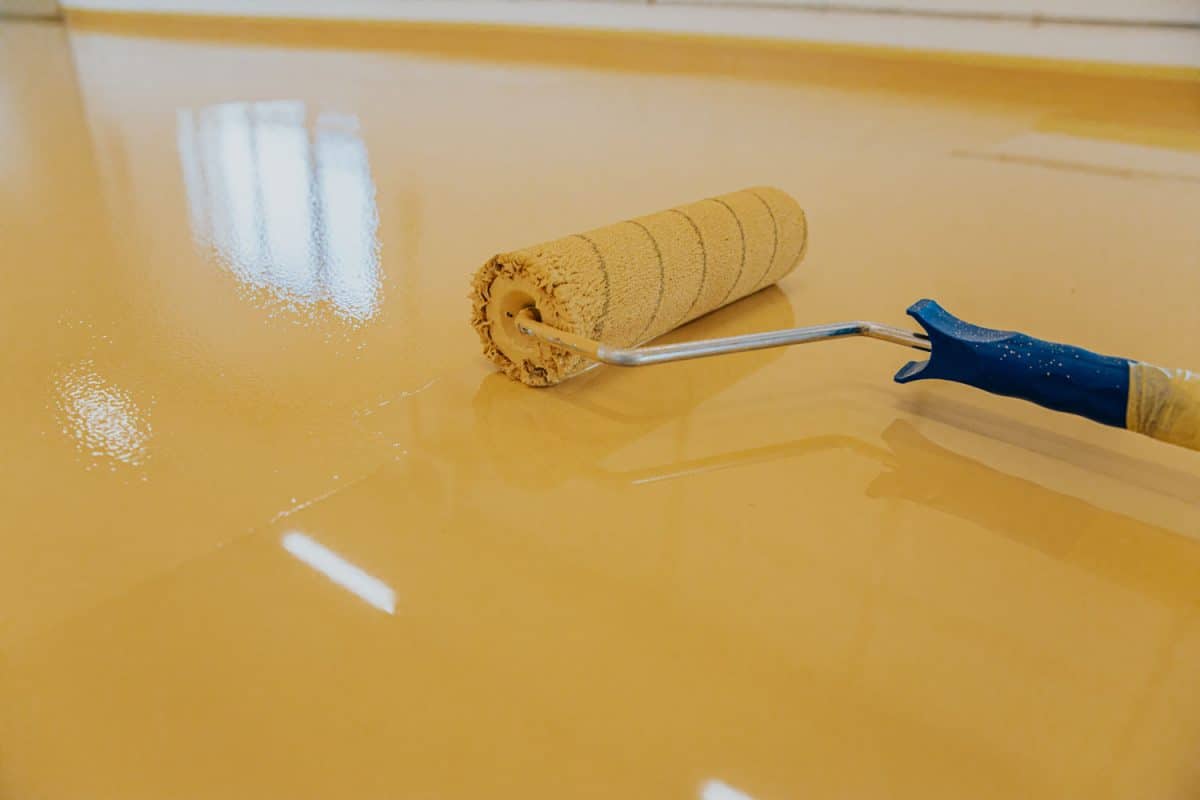
What Type of Applicator Is Used for Water-Based Polyurethane?
The best applicator to use for water-based polyurethane depends on the surface. If you're working with flat surfaces, a brush will suffice. If the wood you're coating is rounded, contoured, or vertical, you will want to use a cloth to avoid drips.
When trying to coat inaccessible areas, you can use aerosol polyurethane.
How Many Coats of Water-Based Polyurethane Should I Use?
There are many reasons people choose to work with water-based polyurethane instead of the oil-based version. However, the water-based formula does have its downsides. Water-based polyurethane is more watery and thinner than the oil-based variation.
For this reason, you'll need to apply more coats. If you want to ensure you get the best out of it, you should spread at least three coats on furniture. Four or five coats will be necessary when you're working on floors.
In Closing
Working with a product you aren't familiar with can be scary at first. As long as you consider all the factors, you will have no problem applying water-based polyurethane to the wood. Now, it's all up to you to put this information to practice. Good luck with your project!
Before you go, do you have other polyurethane concerns? Did your last project turn out too shiny? You can find out why in our post:
"Polyurethane Floor Too Shiny - What To Do?"
Does the wood you're working with have a coating on it already? If you'd like to know what polyurethane can bond with, check out our post: