
Nothing compares to deck boards and balusters that add elegance to your home. But how many screws do you need per deck board? How many screws for a deck baluster? Don't worry! We've researched comprehensive answers to these questions.
Generally, there are 350 screws in every 100 square feet of a deck board. This means you need 3-4 screws in every square inch. However, you need 1-2 screws for each end of a baluster.
In this article, you'll learn how many screws a deck board and baluster need. You'll realize why the screws are essential and what are its different types. We'll also discuss other related topics. There's more to learn ahead. So let's keep reading!
![Carpenter installing a wood floor outdoor terrace in new house construction site, How Many Screws Per Deck Board [And Deck Baluster]](https://uooz.com/wp-content/uploads/2022/10/87.-How-Many-Screws-Per-Deck-Board-And-Deck-Baluster12.jpg)
How Many Screws Per Deck Board?
Deck boards are significant supporters, usually installed on the front or around the house's exterior. The purpose of a deck board is to resurface the flooring to make the walkway flatter and more stable. Also, the deck board lifts the front steps away from uneven ground or soil.
You need an accurate number of screws to maintain the stability of a deck board. On average, you need 350 screws in every 100 square feet of deck board. A lack of screws might cause the deck board to dangle and be weak. However, too many screws do not mean a stronger deck board. Just the right number of screws is dependable enough to carry human weight.
A deck board usually comes with a handrail, also referred to as a baluster. The baluster supports the deck board and prevents a person from falling. You need 1–2 screws to keep the baluster stable. This may be determined by factors such as the shape and material used on a baluster. For instance, a baluster with a complex design and shape may require you to use more screws.
Why Screws and Not Nails?
Screws are more tensile, which refers to their capability to resist tension or pressure without breaking. On the other hand, nails are more flexible, which is suitable for joining different surfaces.
It's better to use screws for the deck board and baluster since we often apply pressure when we walk on the deck board and lean on the column of the baluster. Using nails may hold the wood permanently. Unlike screws that you can remove for quick repair.
What Size of Screw Should You Use?
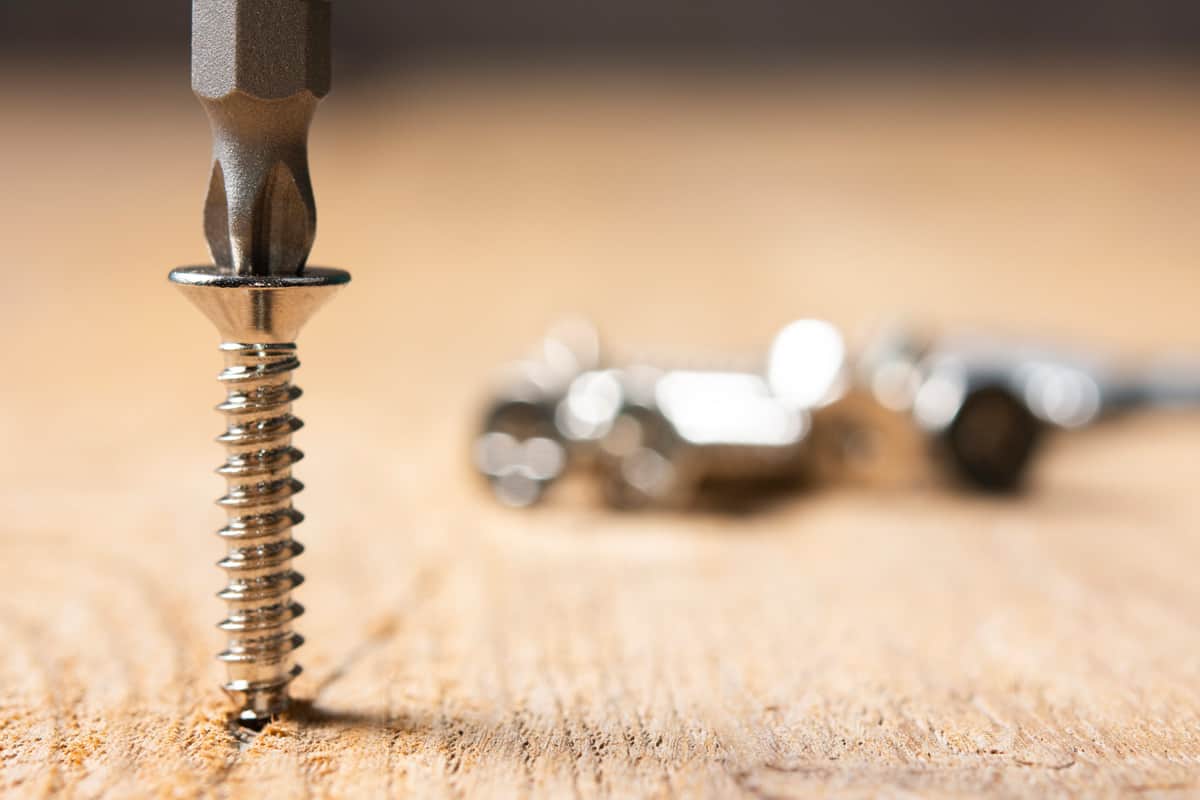
You need at least 2.5 inches of screws to hold the deck board and joist together. Also, you may consider a three-inch screw to hold the board tighter. However, the size of the screws will depend on how thick the deck board and baluster are. The thicker surface needs longer screws.
Types of Screws for Decking
Ideally, stainless steel screws are best used to prevent corrosion. It's important to know the different types of screws, as they may serve different purposes. See below for some common types of screws used for decking.
Truss Head
It has a wide, round-like head that protrudes from the surface. Truss head screws are ideal for securing, for instance, an accidental wide hole in a surface. However, using them may change the texture of the wood because of their protrusion.

See these truss head screws on Amazon.
Flat Head
Contrary to a truss head, a flat head screw does not protrude. It's the most common screw that has a cross in the middle, suitable for a screwdriver. Also, it appears almost invisible when you paint the deck to hide its flat head.

See these flat head screws on Amazon.
Trim Head
A trim head screw is smaller than most screw types, yet it's strong enough to hold the fascia board. It's suitable for finishing the look of a surface without being seen from a distance. Trim head screws also have a single line on the head for screwing.

See these trim head screws on Amazon.
Hex Board
It has a hexagonal head that adds weight and holds two surfaces firmly. You can use it for joists and ledgers to distribute loads over a wider area. However, you might need a small wrench instead of a screwdriver to turn its head.

See these hex head screws on Amazon.
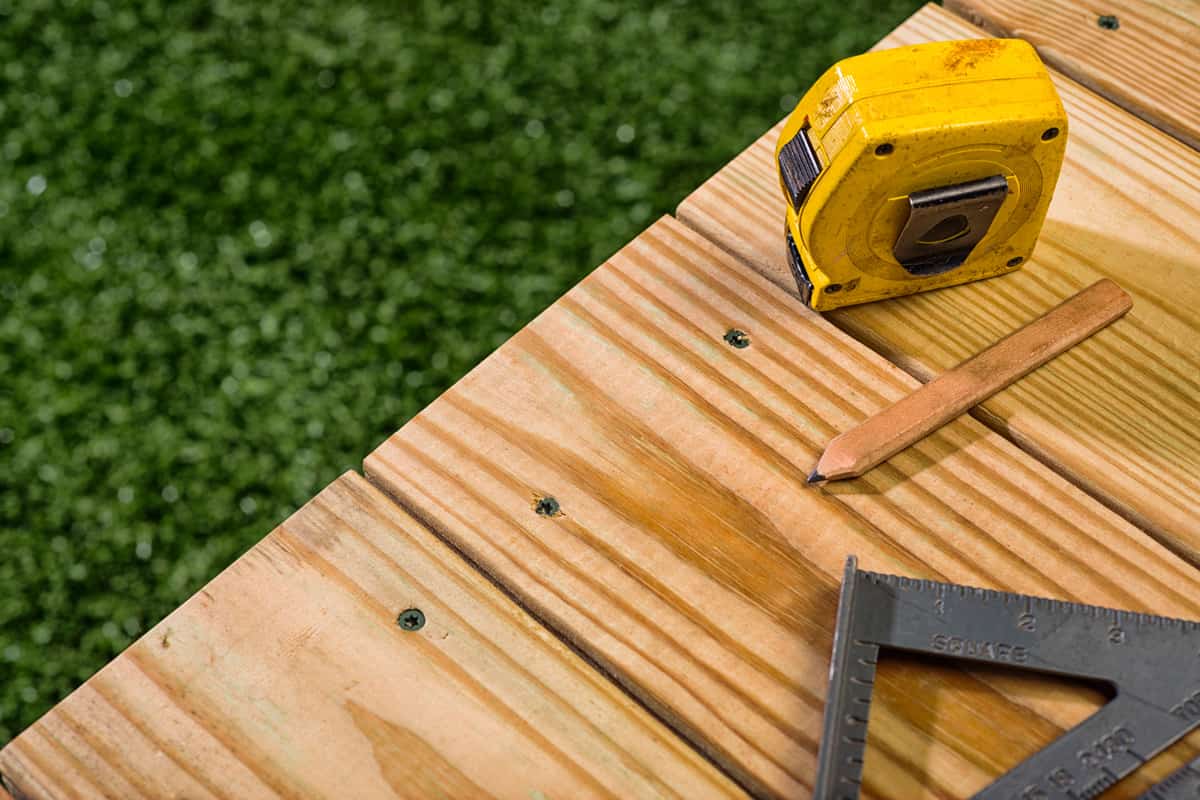
How to Screw the Deck Board
Before you lock the deck board in place with screws, make sure the deck board is aligned and measured correctly.
You can ask a carpenter for assistance, but we'll show you how to do it yourself. See the steps below:
- Use a long wooden piece that has straight edges as a guide to align the screws.
- Gently pierce two screws for every piece of deck board. Don't lock the screws yet to see if they will align together.
- Using a screw gun, pierce the screws on the deck board.
To help you visualize the steps, you can watch the video here:
https://m.youtube.com/watch?start=06&end=59&v=yuM2jLNBKZU&feature=youtu.be
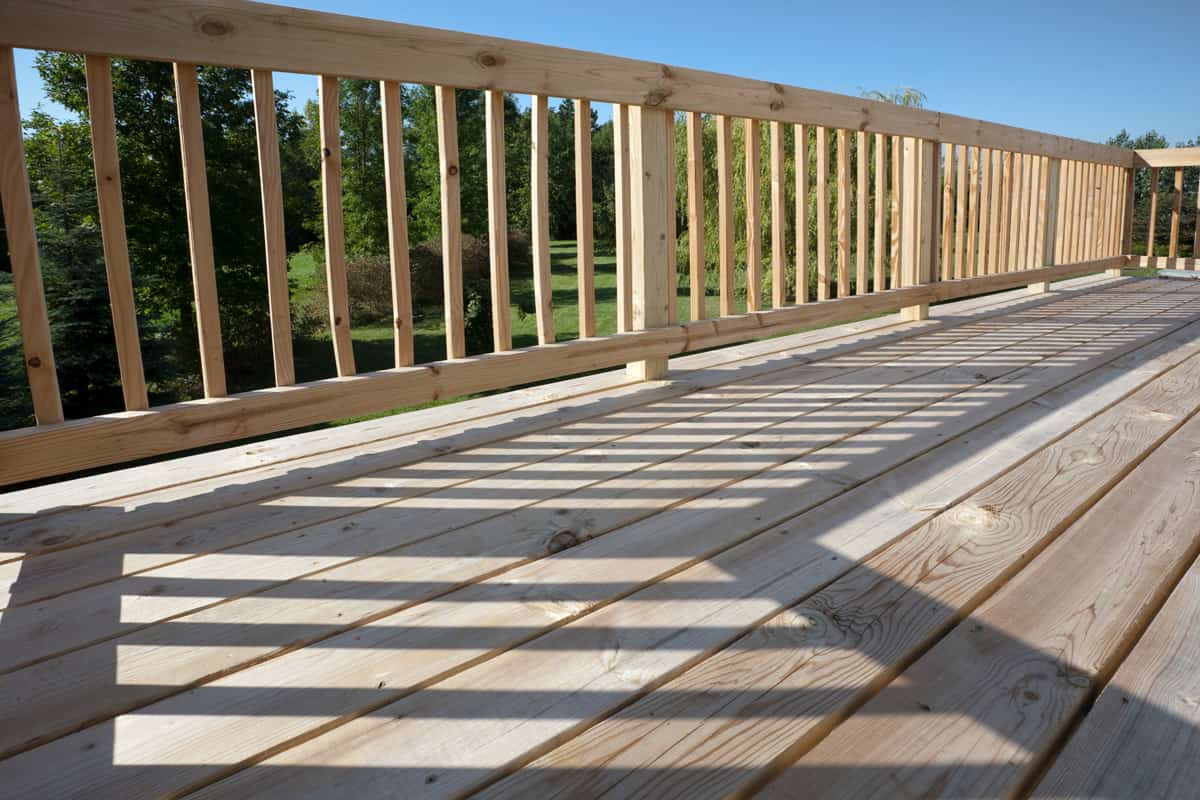
How to Install the Deck Balusters
Once you finish the deck board, you can start installing the balusters. The balusters may differ in shape and design. Some look like cylinders, and some are plain rectangles.
It's best if there's an expert to help you install it, but you can follow these steps below:
- Cut the piece of baluster to allow it to fit vertically on the handrail frame.
- Install the guardrail posts. These posts protect the frame of the baluster and are usually located on the four corners of the frame. Use longer screws, at least 3-4 inches, for diagonal fittings on corners.
- Attach the baluster inside the frame. Fit every piece and align them with each other.
- Using a screw gun, pierce 1-2 screws on top of every baluster, depending on how wide the baluster is.
- Finish the frame by adding a layer on top of it. You can also design the baluster by installing a cap.
You can watch the video here to visualize the steps:
How Wide Is the Gap Between Balusters?
It is a common practice to leave a four-inch gap between balusters. This allows air to flow while giving security from falling through the hole. It's even a part of the residential house code in the U.S.
What is Deck Board Overhang?
The overhang is a small extension of the deck board, surpassing the outer fascia board. Overhang prevents moisture from destroying the deck board by allowing the rainwater to exit. Otherwise, not having an overhang will cause the wooden deck to rot sooner.
Ideally, the deck board overhang should be around 1.75 to 2.75 inches. It can also hide the point of screws that pierce through the deck.
See this illustration of a deck board overhang:
How High Should Deck Boards Be From the Ground?
The deck board should be at least 18 inches high above the ground to allow proper air ventilation in the space between. It's impractical to put the deck board on without space from the ground, as this will sink the deck board when it rains.
Why Is the Deck Slanted?
A slanted deck is quite dangerous. You must fix it, or at least avoid walking through the deck if possible. There might be a broken post beneath the deck that lifts it up. You can ask a professional to reinstall a new post to support the deck.
It's good to assess the deck's structure further, as it's also possible that the house's foundation is weak. Check if the walls are moving away from the ceiling, which indicates that a heavy load is pulling them down. If that's the case, you must leave the house immediately and plan a renovation. Otherwise, the entire house might collapse.
Another reason the deck slants down is soft soil. It can be due to excessive water absorption from leaking drainage or rain. Home builders may tell you to reinstall the deck by hardening the ground with cement. Depending on their assessment, they may even suggest raising the ground and completely removing the deck.
Conclusion
This article taught us a lot about deck boards and balusters. We learned that there are around 350 screws for every hundred square feet of deck board and 1-2 screws per baluster.
We also discussed the different types of screws for decking. We then provided steps for screwing the deck and installing the baluster.
Finally, we mentioned what an overhang is. You learned how high the deck should be from the ground and some reasons and solutions for slanting decks.
Do you want more articles like this? Check these out: