
Are you worried about the thinset that settled on the grout lines? How could you get the thinset out of the grout lines? Worry no more! We'll help you with our well-studied research that answers your questions.
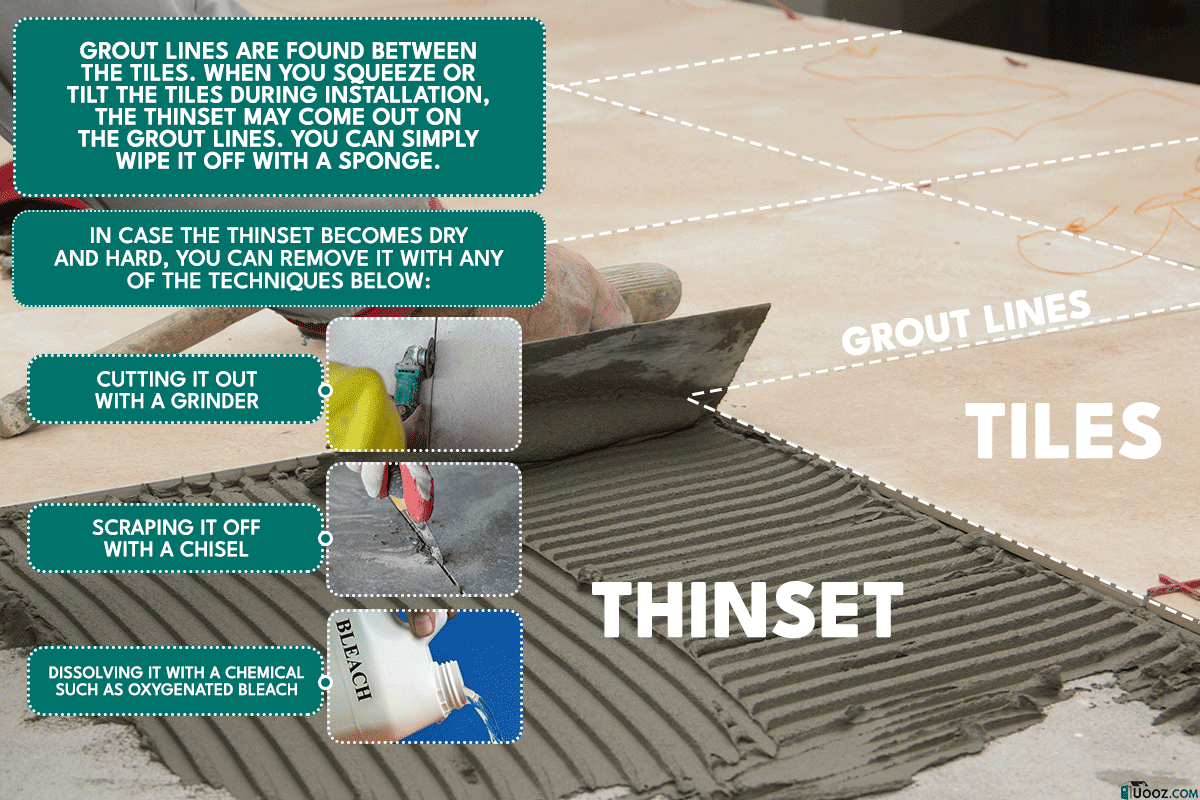
Grout lines are found between the tiles. When you squeeze or tilt the tiles during installation, the thinset may come out on the grout lines. You can simply wipe it off with a sponge. In case the thinset becomes dry and hard, you can remove it with any of the techniques below:
- Scraping it off with a chisel
- Dissolving it with a chemical such as oxygenated bleach
- Cutting it out with a grinder
By the end of this article, you'll learn how to remove the thinset that got dried on the grout lines. We'll share with you why this happens, as well as talk about other relevant matters. We're thrilled to learn again with you. So let's read up to the end!
How to Get Thinset Out of Grout Lines
Thinset is a mortar mixture that's used as an adhesive for the tiles. On the other hand, grout lines refer to the gap between the tiles where the thinset becomes dirt. Such dirt looks unattractive, especially in areas where tiles are more visible.
If the tiles are newly installed and the thinset is still fresh, you can simply wipe it with a sponge. However, you can see other techniques below if the thinset becomes hard and dry.
1. Scraping Off
This could be the cheapest technique, as you just need a screwdriver or chisel. However, too much hard dirt may require you to use a mallet to force it to come out.
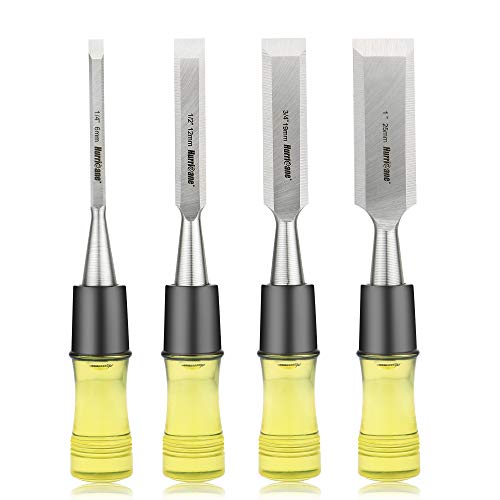
See this chisel set on Amazon.
Simply follow the steps below:
- Wet the tiles to soften the dirt.
- Scrape off the dirt with a screwdriver. Thump its handle if necessary.
- Wash the tiles with a sponge and a liquid detergent.
- Scrub the remaining dirt between the tiles.
- Let the tiles dry.
2. Dissolving Method
This method uses strong dissolvent to eliminate the dirt between the tiles. A good option is an oxygenated bleach that's often used in cleaning hard stains.
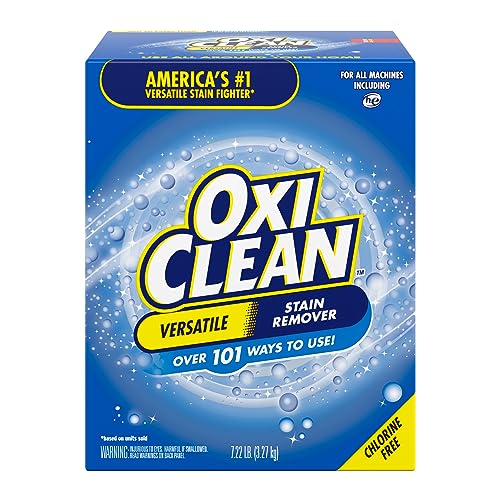
See this oxygenated bleach on Amazon.
Refer to the steps below:
- Avoid inhaling the bleach by wearing a mask. Wear gloves as well.
- Mix at least two cups of warm water and two tablespoons of oxygenated bleach.
- Test a small amount of the solution, as this may cause discoloration on the surface. You can add warm water to reduce the concentration of bleach.
- Pour the solution along the grout lines, then brush immediately to avoid having to dry the floor.
- Brush the grout lines thoroughly.
- Finish by mopping the floor with water and liquid solution. Dry the floor afterward.
3. Cutting Hard Grout
If the dirt is so hard that the first two options don't work, you can cut the grout lines with a grinder. This way, you'll be able to pull the dirt off the tiles.

See this grinder tool on Amazon.
Follow the steps below:
- Plug the grinder into the power supply.
- Cut the dirt by grinding it along the tiles' edges.
- Scrape off the remaining dirt with a screwdriver.
- Sweep off the dust with a soft broom.
- Clean the grout lines with soap and water.
You can watch a video here for cutting the hard grout:
Why Do the Grout Lines Become Dirty?
Grout lines accumulate dirt in areas with high foot traffic or those that are often exposed to daily activities. Examples are the front porch, the driveway, and the bathroom floor.
Tiles that frequently get wet will absorb the water, resulting in bacterial growth in the grout lines. That's why it's important to maintain cleanliness in those areas to reduce health risks.
Alternatives to Grout
Grout is very common in tile installation. However, there are other options you can consider to fill the gaps between the tiles. See below these options.
Silicon Caulk
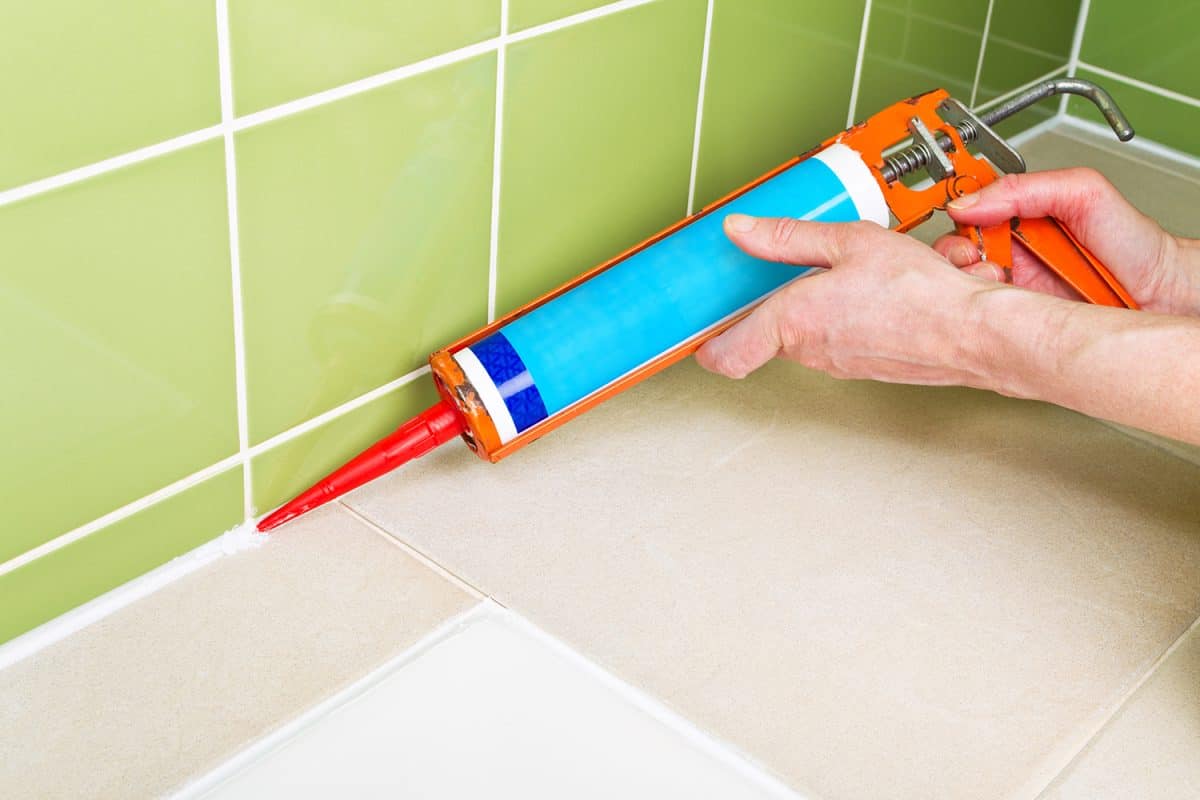
Applying silicon caulk between the tiles will help prevent moisture and block dirt. It can also enhance stability, as well as make tiles easier to clean.
See this silicon caulk on Amazon.
However, this is advisable after installing the tiles. The sealant may not adhere along the grout lines if they become too dirty. Yet, you can still try it to see for yourself if silicon caulk will be effective.
Simply refer to the steps below:
- Open the caulk based on product instruction.
- Squeeze the caulk along the gaps between the tiles.
- Remove the excess sealant, then let it dry.
Epoxy Grout
Compared to traditional grout that's usually made of cement, epoxy grout is composed of resin and filler powder. Also, epoxy grout is non-porous, smooth, and can resist discoloration.
Epoxy grout comes in different colors, giving the tiles a shade of gold, bronze, and other primary colors. This gives you a lot of options for customizing your look, unlike regular grout, which is often grey or brown.

See this epoxy grout on Amazon.
Urethane Grout
This type of grout uses polyurethane resin and polymer as the binding agents. Urethane grout is so sticky enough that it will be hard to remove once applied. You'll want to consider this ability before choosing urethane grout over other options.
Proper Way of Mixing the Thinset Mortar
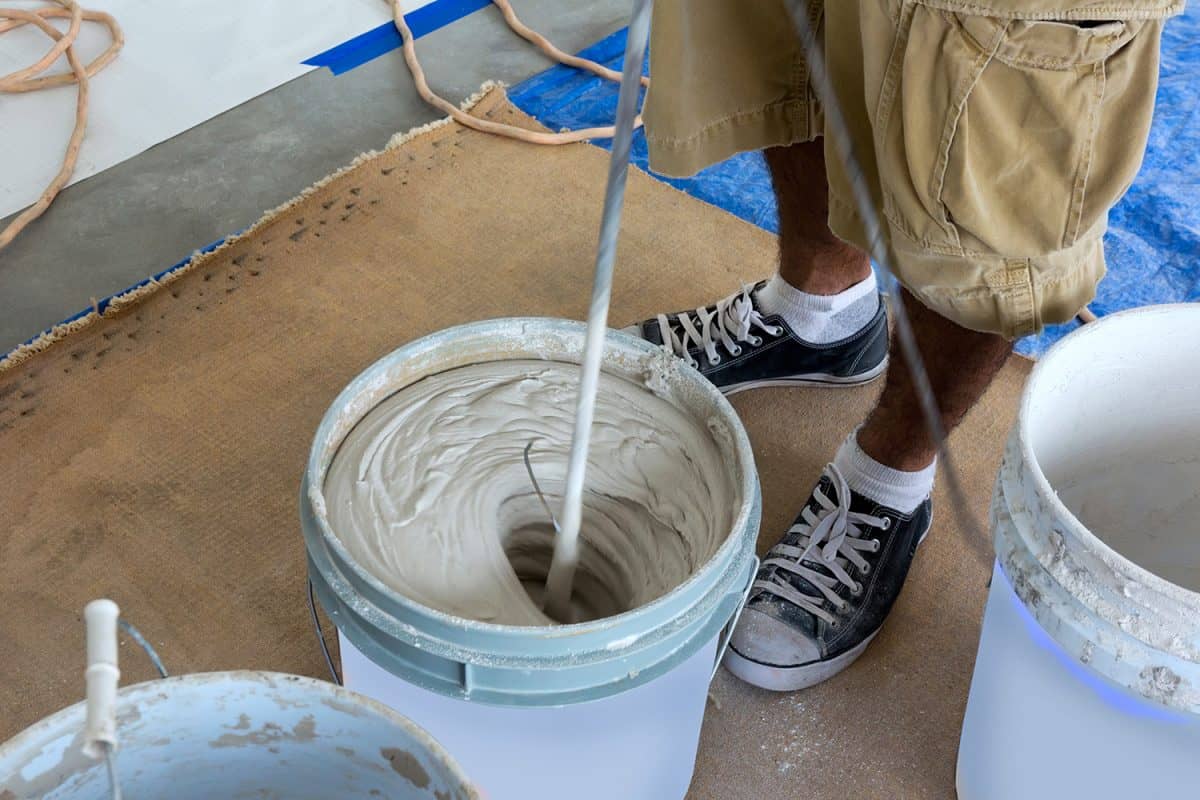
Mixing is a key way to achieve the appropriate consistency for an adhesive, like a thinset mortar. It affects the bond between the tiles and the subfloor.
That's why you should know the proper way of doing it. Simply refer to the steps below:
- Get a bucket, then pour clean water into it.
- Add the bag of mortar. It usually weighs 50 lbs.
- Use a drill to stir the mixture until it becomes smooth.
- Continue stirring for 2-3 minutes, then let the mixture sit for five minutes.
- Stir again with a drill for a minute. If needed, add a bit of water while mixing to achieve a smooth texture.
- You can now apply the thinset mortar. Otherwise, cover the bucket with its lid to prevent it from getting hard.
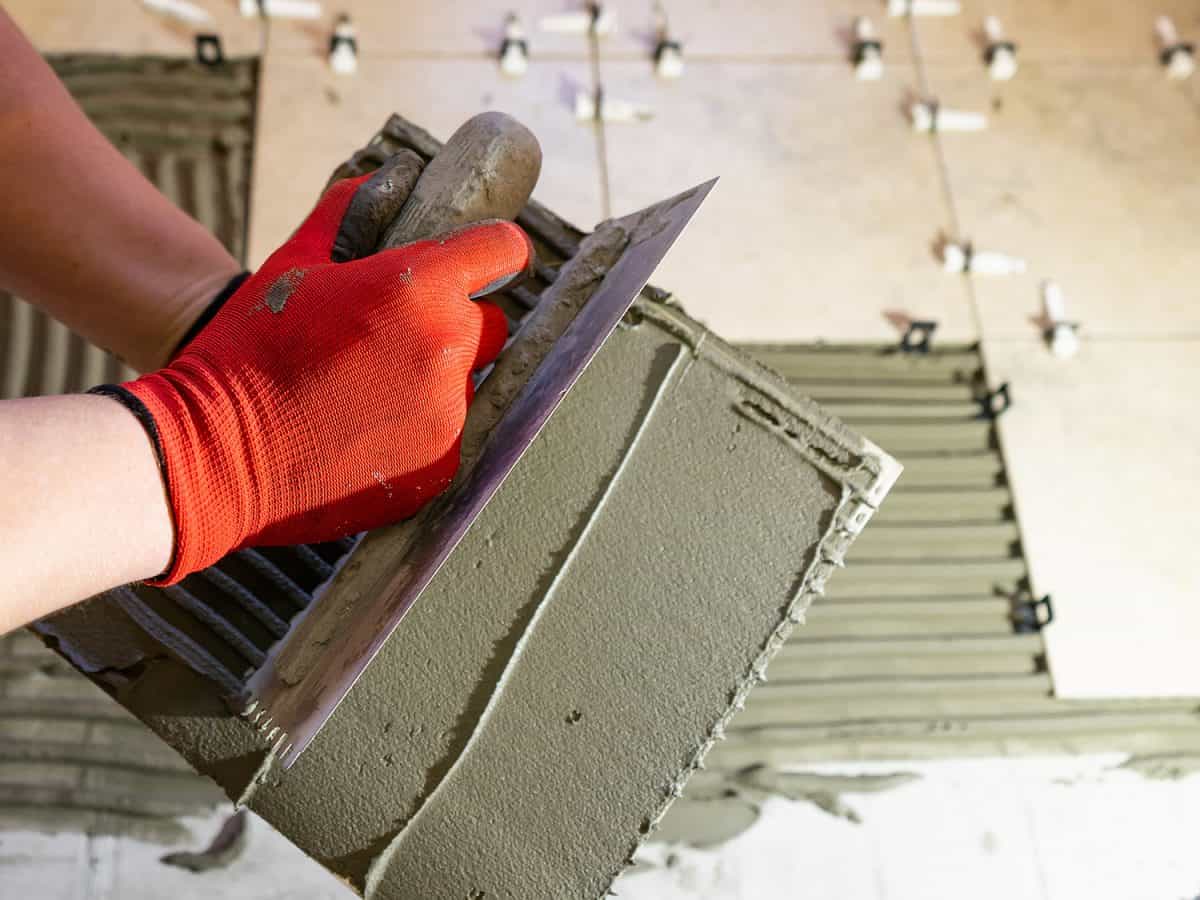
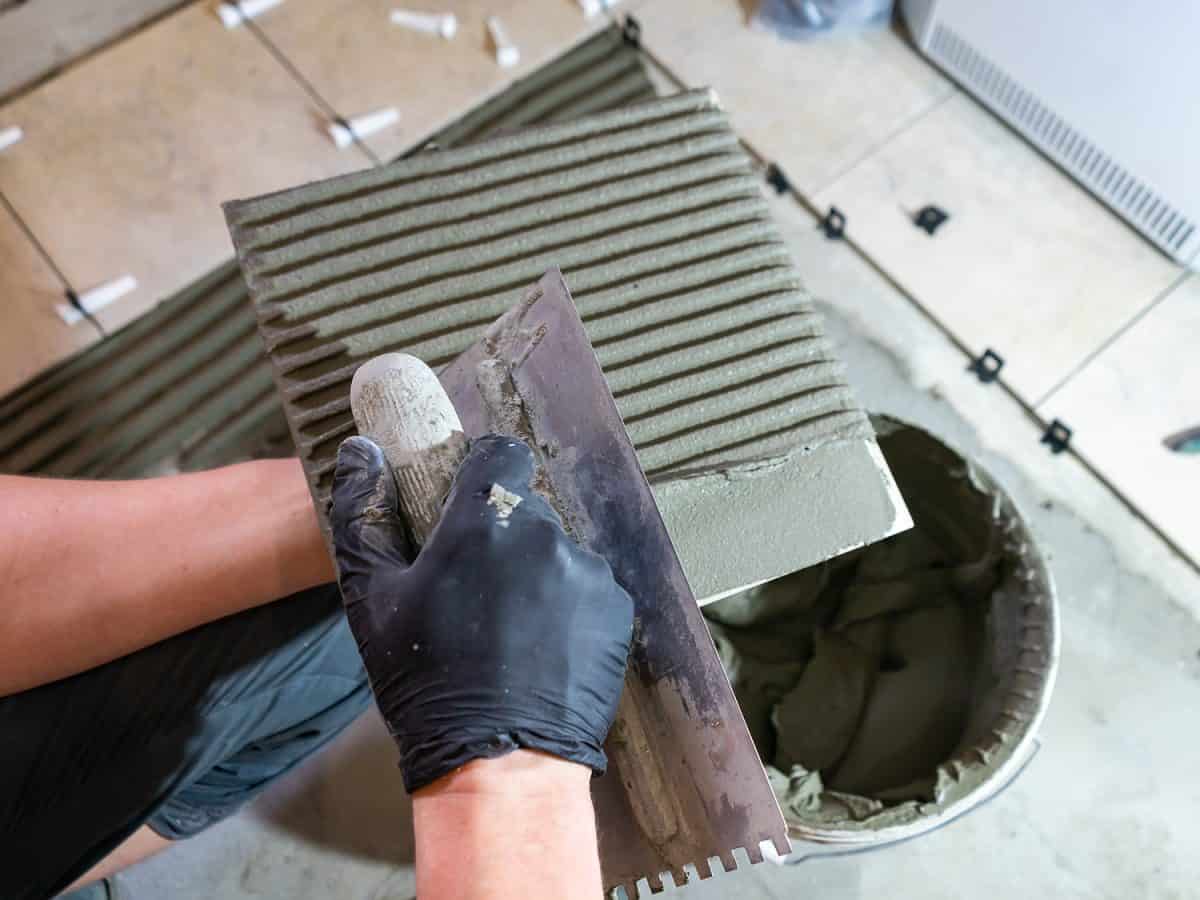
Why Should You Shake the Tile When Installing It?
Did you know that you should shake the tiles a bit when you're installing them? It's because the thinset mortar may not effectively bond the tiles if you just put them on top. Installing tiles incorrectly may cause them to break easily, even with minor movements.
So, we're sharing with you the correct way of applying the thinset mortar and why you should shake the tiles.
Ensure that you have a trowel that has some teeth. It helps create lines for the tiles.

See this notched trowel on Amazon.
Follow the steps below:
- Scoop the mixed thinset mortar into the tiling area.
- Flatten and spread the mixture with a trowel.
- Use the trowel's teeth to make some lines.
- Lay down the tile, then slowly shake it sideways.
- Thump the tile to hold it firmly. Continue until you install all the tiles.
You can watch a demonstration here:
Thinset Mortar Buying Guide
It's important to understand what product to buy so that you can cut costs and get the right specifications. You can consider some factors below.
Quality
Some good qualities of a thinset mortar are moisture resistance, reduced mold growth, and convenience in applying. Thinset mortar is composed of cement, silica sand, and additives. It is smooth and has strong adhesion. These qualities are what you should look for in a product.
Quantity
A bag of 50 lbs of thinset mortar can cover an area of up to 95 square feet. So to calculate how much you need, simply measure the area and divide it by 95.
For instance, the area is 185 square feet. By dividing the area by 95, we will need 1.94, or approximately 2 bags of 50 lbs of thinset mortar. However, the quantity may differ in your case. It's best to ask an expert on how much you need.
Price
Thinset mortar costs $5 to $25 per 50 lbs depending on the type and quality. Some manufacturers may charge you higher, especially if the product is branded or comes from a far location.
You will want to spend a bit more so that you'll get the right quality of the product. Instead of being too cheap for an ineffective one.
Conclusion
In this article, we learned how to remove the thinset or of the grout lines and even discussed what causes the grout lines to get dirty. Remember that the mixing and applying properties of thinset can affect its adhesiveness.
If you found this post helpful, be sure to check out these informative articles: