Drywall is an integral part of any home. It lines the walls and ceiling, covering up a home's unsightly bones. If you need to patch or otherwise install drywall, you might be wondering if it can bend or if it breaks easily. For your convenience, we've consulted with the experts, and here’s what they have to say.
Drywall sheets can be somewhat brittle when dry. However, with a little bit of moisture added, drywall sheets can be bent to cover the contours of your ceiling and walls.
Despite its fragility, drywall promotes different benefits, such as securing and adding flair to arched doorways. Moreover, bending drywall without breaking it is possible when following the right steps. Keep reading as we tackle these topics in greater detail.

Can You Wet Drywall To Bend It?
Wetting the drywall can allow you to bend it. But it’s important not to wet drywall more than necessary because it can increase the risk of mold and mildew growth.
Additionally, excess moisture can get into the wall’s gypsum, softening it and turning it into mush if you're not careful.
It’s also possible to bend both sides of the drywall if the material is too tight or thick.
Here are the steps to bend drywall the right way:
1. Define the frame radius
Use a tape measure to determine the curvature radius of the drywall to use. The Gypsum Association shows the recommended bending radii for the different drywall thickness types, which include:
- ¼-inch thick: 5 x 15 feet
- 5/16-inch thick: 6-1/4 x 20 feet
- 3/8-inch thick: 7-1/2 x 25 feet
- ½-inch thick: 10 feet lengthwise*
- 5/8-inch thick: 15 feet lengthwise* *Not ideal to bend widthwise
2. Wet the drywall
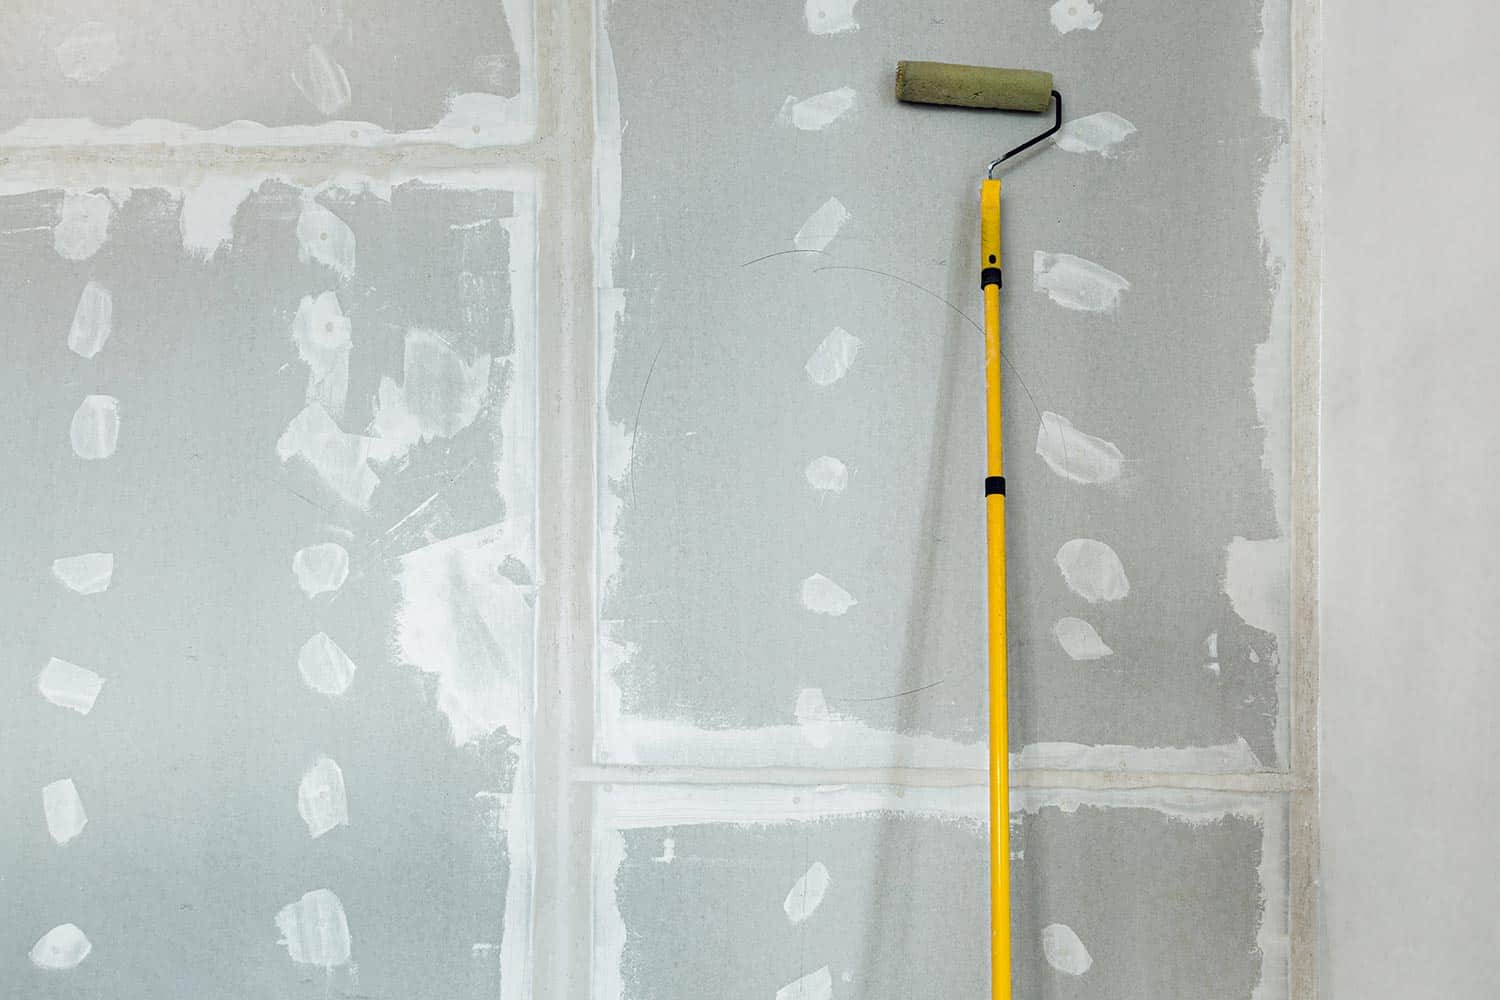
It only takes a small amount of water to bend the drywall. One way to wet the drywall is to dip a paint roller in water. Then, use the tool to help moisten the material.
3. Test the wall
Bend the drywall slightly with each pass of the roller. Stop using the roller when the recommended bending radius is achieved.
The following video will also show how to bend the drywall properly:
How Drywall Breaks

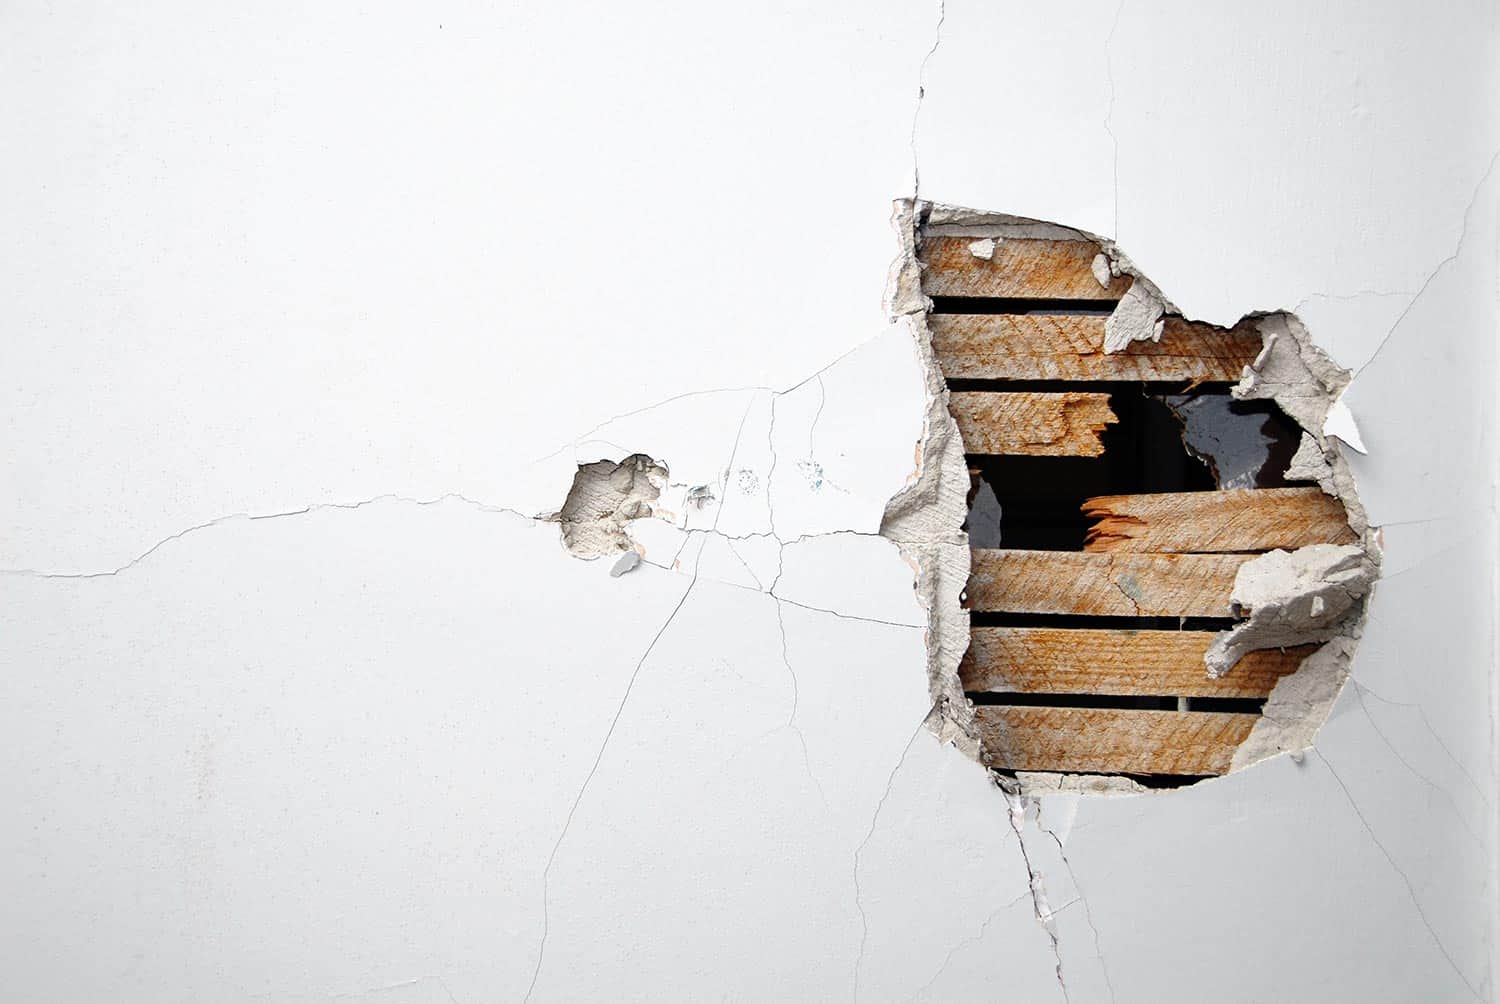
Drywall can break easily, but it still depends on the force applied. For instance, thin drywall, such as ½- and ¼-inch variants, can usually break by punching through it with a fairly standard amount of punching force, which is around 150 pounds per square inch (psi).
However, thick pieces of drywall, such as 5/8-inch models, are generally more resistant to force than their thinner counterparts.
It can require more force to punch a hole and break thick drywall. Still, thick drywall sheets are tougher to bend than thin ones, making them difficult to apply and install in certain building scenarios.
How Do You Drywall An Arched Doorway?
Take note that projects concerning the covering of arched doorways with drywall may need slightly different tools for each operation and might have different steps depending on the challenges.
But a typical drywall installation to an arched doorway can require the following items and steps:
What You’ll Need
- ½-inch thick drywall
- ¼-inch thick drywall
- Router
- Screwdriver
- Screws
- Mud or joint compound
- Paper tape
Step-By-Step Guide
- Fasten the ½-inch thick drywall over the arch. If the drywall’s length extends over the arch’s maximum distance, cut the material with a router to ensure the edges of both frames match.
- Add screws to the curve of the drywall to secure it. Use as many screws as needed to secure the drywall in place.
- Measure and add two layers of ¼-inch thick drywall under the arched doorway.
- Screw the two new drywall layers in place.
- Apply thin layers of mud or joint compound. Let the substance dry, and sand it down to ensure a smooth surface.
- Tape the drywall layers.
You can also watch the following video for a visual representation of the steps mentioned above:
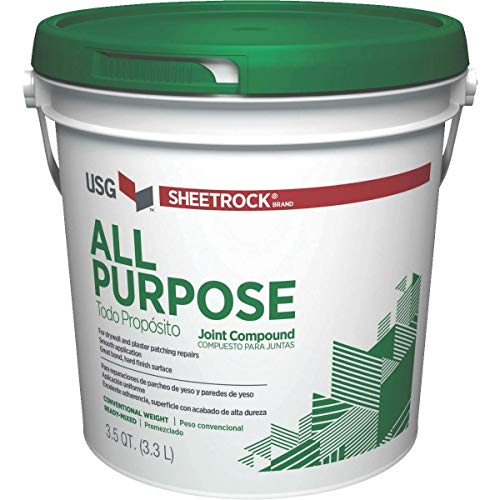
Check out this Gypsum all-purpose joint compound on Amazon.
Why Use Drywall?

Drywall offers the following advantages:
- Easy to work with - Drywall doesn’t take a significant amount of effort and time to cut and form, unlike many wood options.
- Easier to install than plywood - Although both drywall and plywood are fairly thin materials, the former is generally easier to fix than the latter. Also, repair jobs on drywall may only require minimal patching, whereas plywood often needs an entire portion to fix.
- Cheaper than plywood - Drywall costs about $15 per panel on average for a 4 x 8-foot panel, whereas a piece of plywood of roughly the same size can cost up to $55 per sheet.
- Fairly easy to form and decorate - Hassle-free DIY tasks are in order when working with drywall, thanks to its fairly thin construction. Plus, drywall has a flat surface, reducing and even eliminating the need for sanding and leveling when adding paint or wallpaper to it.
- Excellent fire resistance - Gypsum, the material that drywall is made of, is resistant to high heat. But take note that it can still burn once it reacts to the temperatures above the boiling point of water.
Is Drywall Required By Code?
Drywall, particularly the moisture-resistant model known as "green board," is no longer required by code as of 2006.
Changes made to the 2006 International Residential Code (IRC) mentions that this type of drywall can help prevent moisture-related issues in residential bathrooms.
However, builders and remodelers may choose other moisture-resistant options instead of drywall for these locations.
How to Make Drywall Waterproof With Paint

Drywall is already fairly resistant to moisture, but it's possible to enhance the water-resistance of this material further with paint. Here are the steps to waterproof drywall.
- Clean the drywall sheet with a vacuum cleaner or wipe it with a microfiber cloth.
- Pour latex- or oil-based waterproof primer into a paint tray.
- Use a roller to prime the drywall. Make sure to use a thin and even coat.
- Let the primer dry completely.
- Pour the waterproof paint into another tray.
- Use a fresh roller on the waterproof paint and roll it on the drywall.
Take note that you can apply as many coats of waterproof paint on the drywall as you want. But each coat will add to the thickness of the material, which might not be suitable in certain DIY projects.
Find out more about a drywall’s ability to absorb or resist moisture in this post: Does Drywall Absorb Water Or Moisture?
Is Drywall Stronger In One Direction?
Drywall is generally more durable in its longer direction than its shorter side. Expect to see drywall last longer than normal when hung in its long direction. In turn, the drywall has fewer risks of sagging as opposed to when attaching it perpendicular to the ground.
How Much Gap Should Be Between Sheets Of Drywall?
Installing drywall sheets requires a 1/8-inch gap (at least) between each layer. Installers can use thin 1/8-inch thick wooden strips when placing drywall against each other to create a gap.
Pushing drywall sheets together tightly can run the risk of running mud out of their backs, wasting the gob. On the other hand, drywall sheets that are far apart will require running over the same seam with several coats of mud, increasing the effort and costs.
Read the following post to learn more about how to install drywall in the ceiling: Does Ceiling Drywall Need To Be Staggered?
How Much Does It Cost To Put An Arch In A Wall?
HomeAdvisor explains that the costs to install an arch in a wall ranges from about $1,000 to $5,000.
The fees can depend on the arch's size and its functionality. Arches that are larger and require more load to bear than usual might be more expensive than installing one that is purely aesthetic.
Final Thoughts
Drywall can bend or break easily, depending on the amount of water and force applied. Careful DIY practitioners can use the fragility of drywall to their advantage by securing surfaces and enhancing their aesthetics.
Also, take note that different drywall variants have varying thicknesses. These dissimilar thickness levels have different recommended radii for safe bending. Exceeding these recommendations will increase the risks of bending or breaking the drywall.
Best of luck with your project!

