
If you’re setting up a gutter system, figuring out how to make it turn a corner without reducing its effectiveness can seem like a tall order. Thankfully, we have researched this and discovered that you have several options for solving this problem.
Gutters can go around corners, and they do for many houses. However, you have to be careful to choose the right corner piece and take measures to prevent it from leaking. There are also special considerations when installing gutters for curved roof sections.
We know that’s a lot to take in, so we’ll be exploring gutter corners in more detail in this post. Keep reading for a discussion on the types of gutter corners, how you can prevent leakage, and how to install a gutter system for a curved roof.

What is a gutter miter?
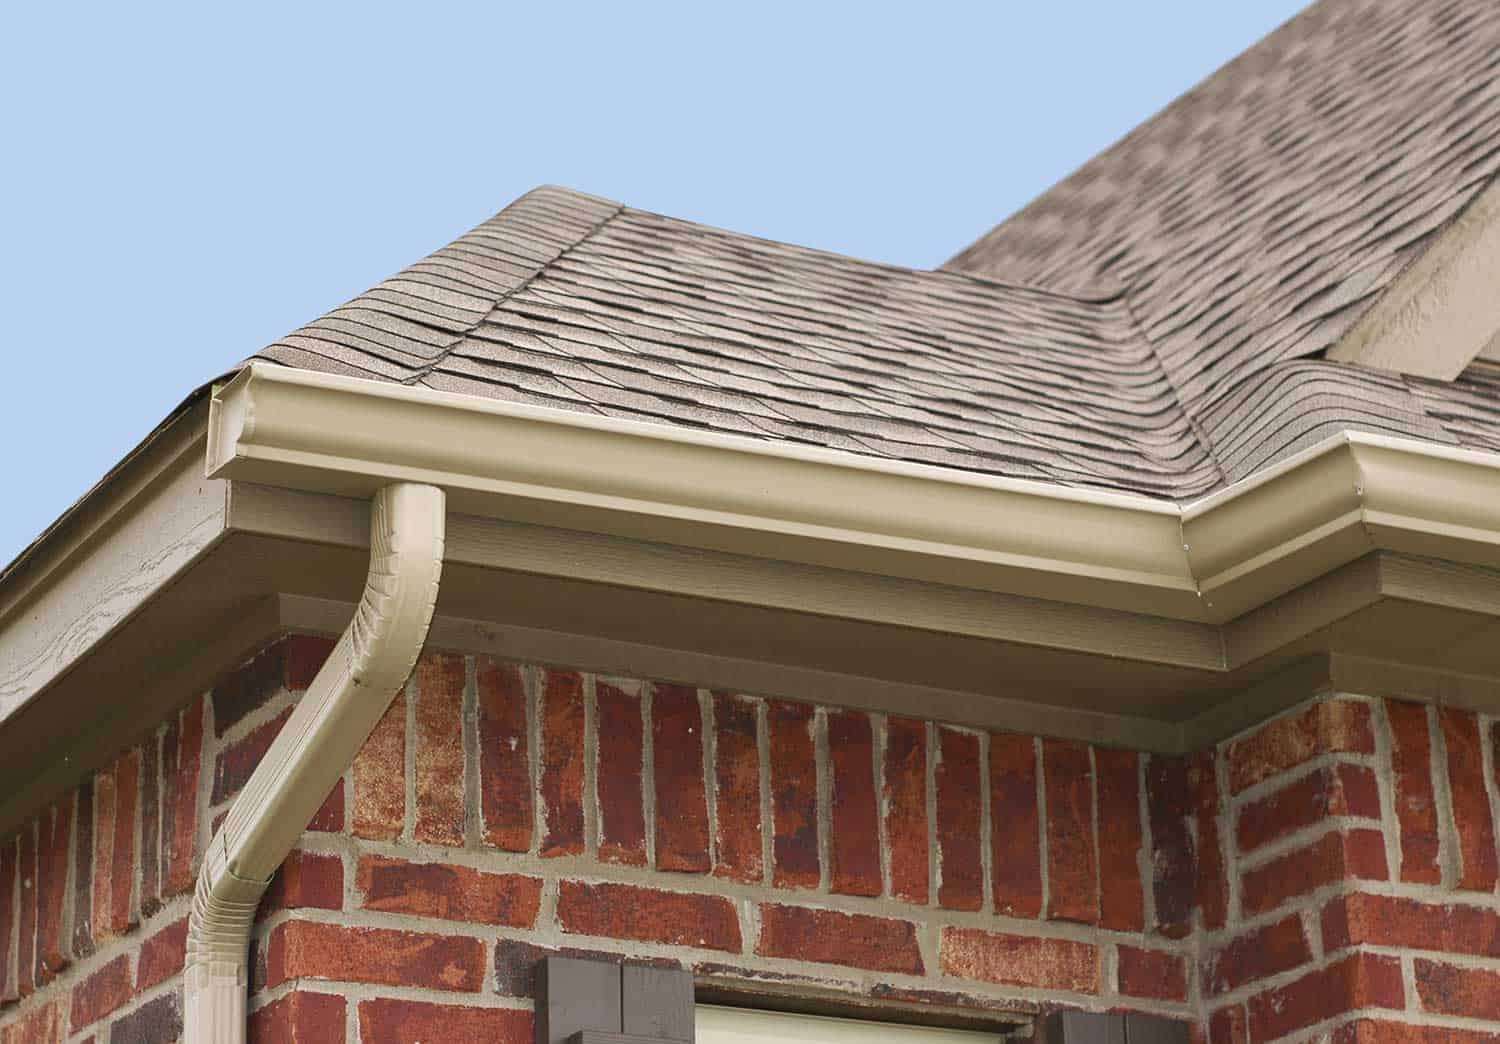
A gutter miter is the corner of a gutter system. If you research household gutter systems for long, you’ll see this term used often. There are actually three kinds of gutter miters: strip, box, and hand-crafted. Each has its own pros and cons, though one variety is generally considered higher quality than the others. We’ll discuss which variety has this distinction and why.
Box Miters
A box miter is a single, pre-manufactured piece that fits into both of the corner’s ends. Its greatest advantages are its low cost and ease of installation. No assembly, measuring, or cutting is required. You should connect the box miter to the gutter with seamers or a slip joint connector as well as screws and pop rivets. Also, be sure to seal all seams.
One of the downsides of a box miter is that you have to make sure you buy the right size, so it fits your gutters. This may not be an issue if you have a newer gutter system since box miters are made for today’s standards. Besides, a box miter must be fastened and sealed at two seams, which means more chances for leaks. Finally, it may not be the most aesthetically-pleasing option since joints and fasteners will be clearly visible.
Strip Miters
A strip miter is a piece of aluminum with a 90-degree bend. It fits over the seam between the two corner gutters and screws or rivets into both pieces. One of its best features is how its single-seam design provides fewer opportunities for leaks. It’s more likely to fit a gutter corner than a box miter, and it can be painted to match the gutter’s color. A strip miter can also help decrease temperature-induced expansion and contraction of the gutters.
On the other hand, strip miters are slightly harder to install than box miters. It also needs more sealant than other options to prevent leaks.
Hand-Crafted Miters
A hand-crafted or hand-tabbed miter, sometimes called a custom miter, is the option many contractors consider to be the best. It uses special tabs that are screwed in and overlap the two corner gutters on their inner surfaces. It has no seams, which makes it the most leak-resistant option. There are also no visible pieces on the gutter’s outside, and they can be custom-cut to look more professional and fit the gutter’s size. Overall, they’re the strongest and most durable choice.
However, hand-crafted miters are the most difficult type of gutter miter to install. You’ll probably need to hire a professional. There’s also a chance that the tabs will pull apart when the gutters expand or contract due to temperature changes.
No matter which option you choose, you should make your decision carefully as leaks are more likely to occur at the corners of a gutter system than anywhere else in it.
How do I stop my gutter corners from leaking?
Even if you choose and carefully install your gutter miter with the specific goal of reducing leaks, they can still happen. Luckily, you can fix leaks when they occur using a fairly simple process.
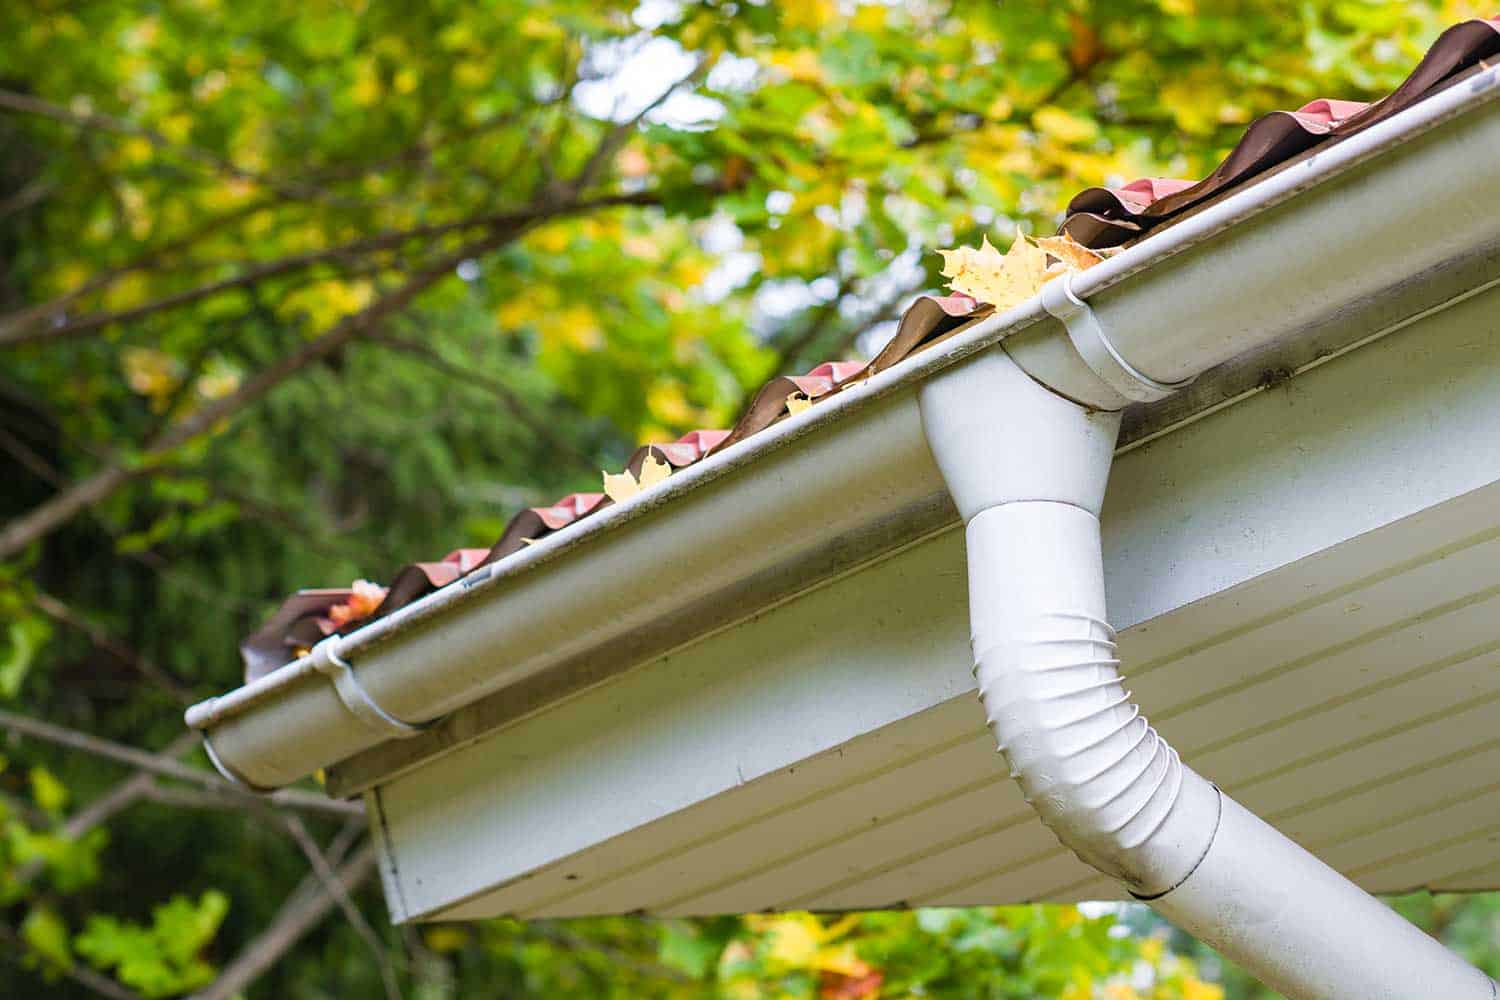
Fixing Leaks in a Miter Seam
First, get rid of any debris in the miter. If you can’t tell where the leak is, pour some water into the miter to find it. Next, clean the miter. Scrub it with a wire brush or abrasive pad, then use an all-purpose cleaner to remove any remaining dirt and grime. Finish cleaning the miter by rinsing it with water and towel drying.
Now, take a flat-razor knife or putty knife and scrape away any existing sealant from the miter seam. Apply new sealant to the seam, and use enough to cover it completely. When you’re done applying the sealant, use your finger to smooth the sealant over the seam, making sure once again that the seam is entirely covered.
Fixing Gutter Holes
Holes can appear anywhere in gutters over time, inside or outside the miter. Thankfully, the method for patching holes is also simple.
First, clean and dry the hole and the surrounding area the same way we described for miter seams. Cut a piece of metal flashing large enough to cover the hole. Apply roofing cement around the hole and the edges of the metal flashing. Put the metal flashing on and let the roofing cement dry. If you want extra protection, you can also cover the flashing with roofing cement after you’ve put the flashing on.
When you use one of these methods for any leaks, let the sealant and/or roofing cement dry for a day afterward. Try to do this method during a warm week when no rain is expected.
Are gutters curved?
Normal gutters obviously don’t bend, but a specific gutter type is meant for curved or circular roof areas: radius gutters. These are difficult to install, so we recommend you hire a professional to do so. Only attempt to put these in yourself if you’re experienced with gutter installation or feeling adventurous.
If you attempt to install a radius gutter yourself, make sure the midpoint is slightly higher than the ends once you’re finished. If it’s level with or lower than the ends, water will pool there and wear out the material faster. Instead, keep the midpoint higher so that water leaves the radius gutter more easily.
How to Measure a Curved Roof
As with straight gutters, you must know the length of radius gutters you need. If you have the house plans or can contact the contractor who built it, you might be able to get the radius measurement. Even if those options are available, it’s still a good idea to take measurements yourself or have your hired professional retake it before starting installation. Sometimes, the final construction differs from the original plan.
If you want to measure it yourself, you’ll need a 4’x8’ foam insulation board, a Sharpie, an assistant, two ladders, some ½” screws and washers, a utility knife, and an 8-foot piece of paper.
Have your assistant hold the board under the curved roof section's eave while you fasten it with the screws and washers. Use your Sharpie to trace the roof’s curve onto the foam board. You can attach it to the end of a long stick if you need more reach. Unfasten the foam board and cut out the curve with the utility knife. Use your Sharpie again to trace the curve onto the 8-foot piece of paper. Now you can easily measure the curve with some flexible measuring tape.
Conclusion
Gutter corners, leaks, and curved roof sections may seem like complex home maintenance areas at first glance, but don’t let them intimidate you. With a bit of consideration and know-how, you can choose and install gutter corners that will last for years, fix any leaks that occur, and even have gutters installed for curved roof sections. Good luck!