
Adding wood shutters to your home's siding can help give it a distinctive look and make it stand out amongst other homes on the block. But how do you install the shutters to vinyl siding? We've researched the best way to perform this project, and in this post, we will discuss it in detail.
Here are the steps to attach wood shutters over vinyl siding:
- Gather your work tools and materials.
- Measure the window frames.
- Ensure the shutters are properly sized.
- Mark the pilot hole locations.
- Drill the pilot holes.
- Attach the shutters to the vinyl siding.
Vinyl siding is fairly easy to work with. However, when installing hardware for window dressings, caution should be made to ensure that the siding is not damaged and that the hardware is attached securely. Continue reading to learn more about how to attach wood shutters to your siding.
Steps To Attach Wood Shutters To Vinyl Siding
Things you'll need:
- Electric drill with 1/4" and 1/8" drill bits
- Tape measure
- 1-1/2 to 2-inch screws
- Pencil or marker
- Phillips head screwdriver
- Shutters
- Ladder
![A low angle view of soffit, gutters, downspout and vinyl siding on a new home, How to Fix a Hole in Vinyl Siding [7 Steps]](https://uooz.com/wp-content/uploads/2021/01/A-low-angle-view-of-soffit-gutters-downspout-and-vinyl-siding-on-a-new-home.jpg)
1. Gather your work tools and materials
It's always best to double-check that you have all of the equipment you need when performing outdoor home improvement projects. This will prevent you from having to run back into the house for additional materials or tools. Once you gather all of your tools, take them outside and place them down near the siding where the shutters will be installed. Also, be sure that your ladder is tall enough to reach the shutters if you have a home with multiple stories.

Check out this ladder on Amazon.
2. Measure the window frames
Next, take your tape measure and measure the windows where you will install the shutters. Measure the height and width of the window frames as well to ensure that the shutters are the right size and not too small or too big. When measuring the windows, be sure to round up to the nearest 1/8 of an inch. This way, if your measurement is a bit off, your shutters will still be able to cover the entire window frame.
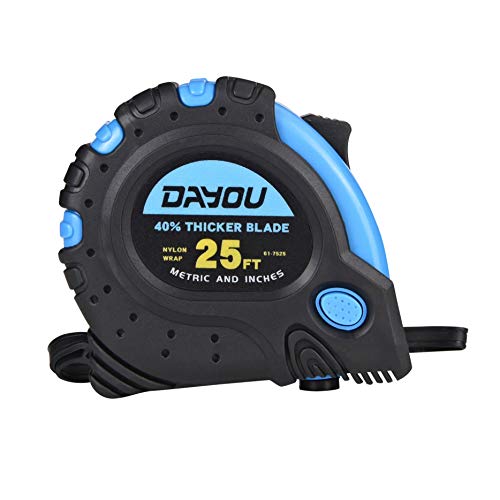
Take a look at this tape measure on Amazon.
3. Ensure the shutters are properly sized
Remove your shutters and any hardware that came with him from the packaging. Set the hardware aside and then take the shutters and line them up to the size of the windows. Grab one shutter at a time and hold it up to the side of the window frame. The shutter should be the same height as the window minus the frame.
Next, grab the other shutter and check its measurements as well. Then, measure the width of the shutters to ensure that they will fit correctly when closed in front of the window. You may not be able to hold both shutters in position while on the ladder, so it's best to measure them instead.
4. Mark the pilot hole locations
While holding one shutter at a time at its position, please mark on the area where the hardware will be installed. You'll typically need to install four to eight screws per shutter. Attention to detail is very important during the step, as you want to ensure that the shutters are perfectly aligned.
5. Drill the pilot holes
Now that you have marked the locations where the hardware will be installed, take your drill and attach the correct size drill bit according to the shutter hardware. Next, drill the pilot holes into the siding at the mark locations, ensuring that the screws reach about two inches deep into the siding.
Some shutters may also require you to drill pilot holes into the hardware locations on the shutter themselves. Be sure to check the instructions that came with them beforehand to see if this is necessary. If it is, take your screwdriver and drill pilot holes into the appropriate areas on the shutters.

Find more details about this Black and Decker drill on Amazon.
6. Attach the shutters to the vinyl siding
After the pilot holes have been drilled on the shutters and the siding, take one of the shutters and place it in position. Next, drill the shutter into place, making sure to hold it securely in the process. Next, grab the other shutter and drill it into place as well. Be sure not to drill the shutters too tightly into the vinyl siding, as it can cause the shutters to crack or the siding to warp.
Can You Screw Into Vinyl Siding?

Read more about these siding screws on Amazon.
What Screws Should You Use In Vinyl Siding?
The best screws to use for vinyl siding or galvanized steel, aluminum, or any other type of corrosion-resistant screws. You can also use staples and nails as well. The screws should be at least one and one-quarter of an inch long and typically no more than three inches. They need to be long enough to penetrate the thin layer of vinyl and the wood studs behind the vinyl.
You'll also want to check your local building codes to determine if they are or any other specific fastener requirements when installing vinyl siding to your home. Some building codes may require certain fasteners in addition to the screws. Screw fasteners can be used to prevent screws from restricting the normal contraction and expansion movement of the vinyl siding. These fasteners also come in stainless steel, aluminum, and corrosion-resistant materials.
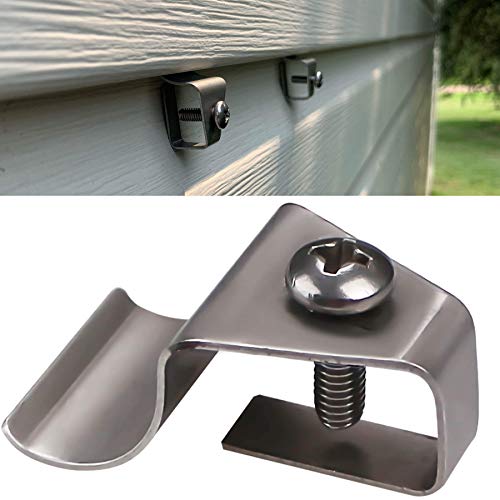
Check out these siding fasteners on Amazon.
Is There Wood Behind Vinyl Siding?
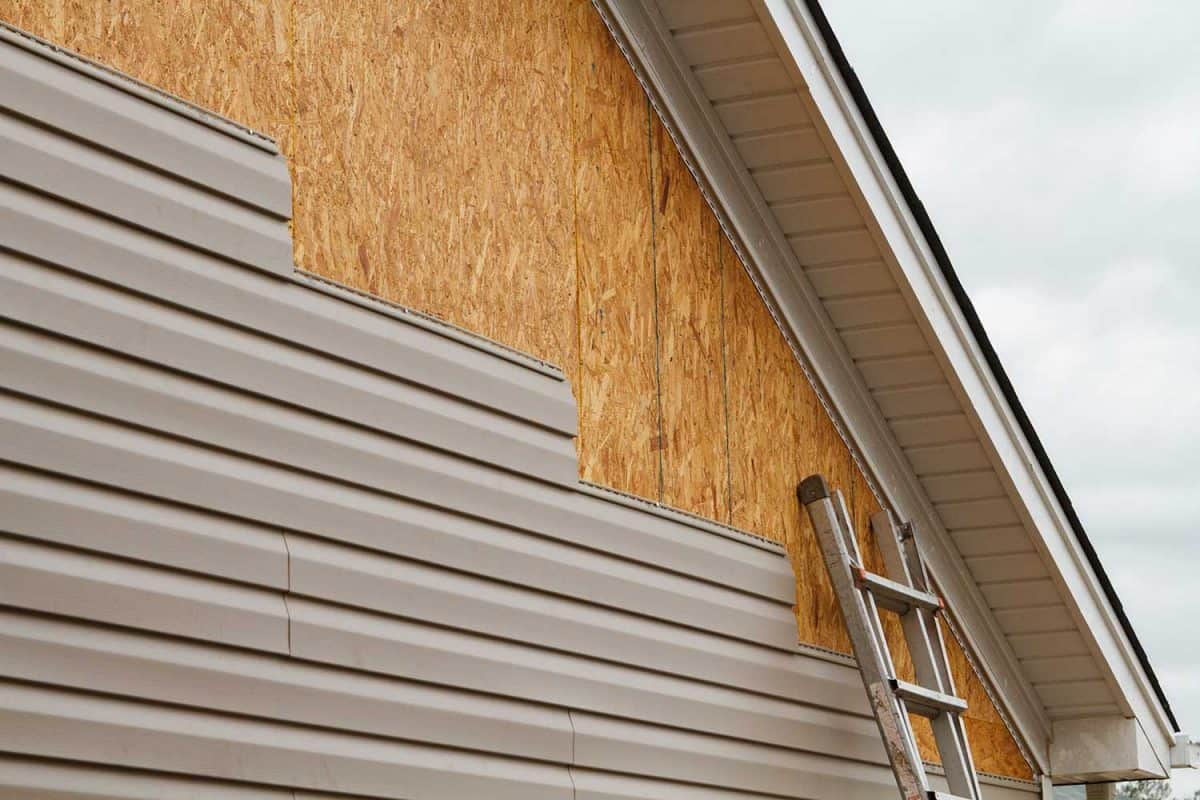
Yes, there are wood panels beneath the vinyl siding. These panels make up the structural framework of a home, and they are often made of oriented strand board (OSB) or plywood and lay on top of wooden joists. Today many home builders use OSB as it is stronger, has better waterproofing capability, and is less expensive.
These treated panels, also known as sheathing materials, add structural support, insulation, and waterproofing for the home's framing. They usually measure anywhere from 7/16 to 3/4 inches thick with a square footage of 10 square feet to a little over 15 square feet.
How Do You Find A Stud In Vinyl Siding?
Vinyl siding is typically top-nailed instead of blind-nailed, meaning that you'll see a horizontal row of nails along the top of the siding. If you're replacing the siding, you can usually nail right alongside the spots of the previous nails to ensure that you're nailing on top of a stud. However, if you're installing new siding, the easiest way to find the stud if you don't see it visibly on the wood is to simply use a stud finder. You can purchase a stud finder for under $20 from any home improvement store or online.

Find more details about this stud finder on Amazon.
Wrapping Things Up
We hope that this post has helped explain how to attach shutters to your home's vinyl siding. The most important thing to remember before installing the shutters that you'll need to adequately measure the windows beforehand to ensure that the shutters will fit the frame. Otherwise, you may find yourself making another run to the store for the correct size.
Check out our other posts before you go: