
There are quite a few reasons why bathroom faucets made leak--even newly-installed ones. But what are these reasons? We've done a bit of digging to gather these answers for you. In this post, we discuss the most common reasons for leaky faucets and how to fix them.
Here are the most common reasons that a bathroom faucet may start leaking:
- Water Pressure Issues
- Loose Parts
- O-Ring Issues
- Worn Disc Cartridges
- Loose or Damaged or Loose Washers
- Corroded Valve Seats
Read on to learn more about how to detect and fix these issues.
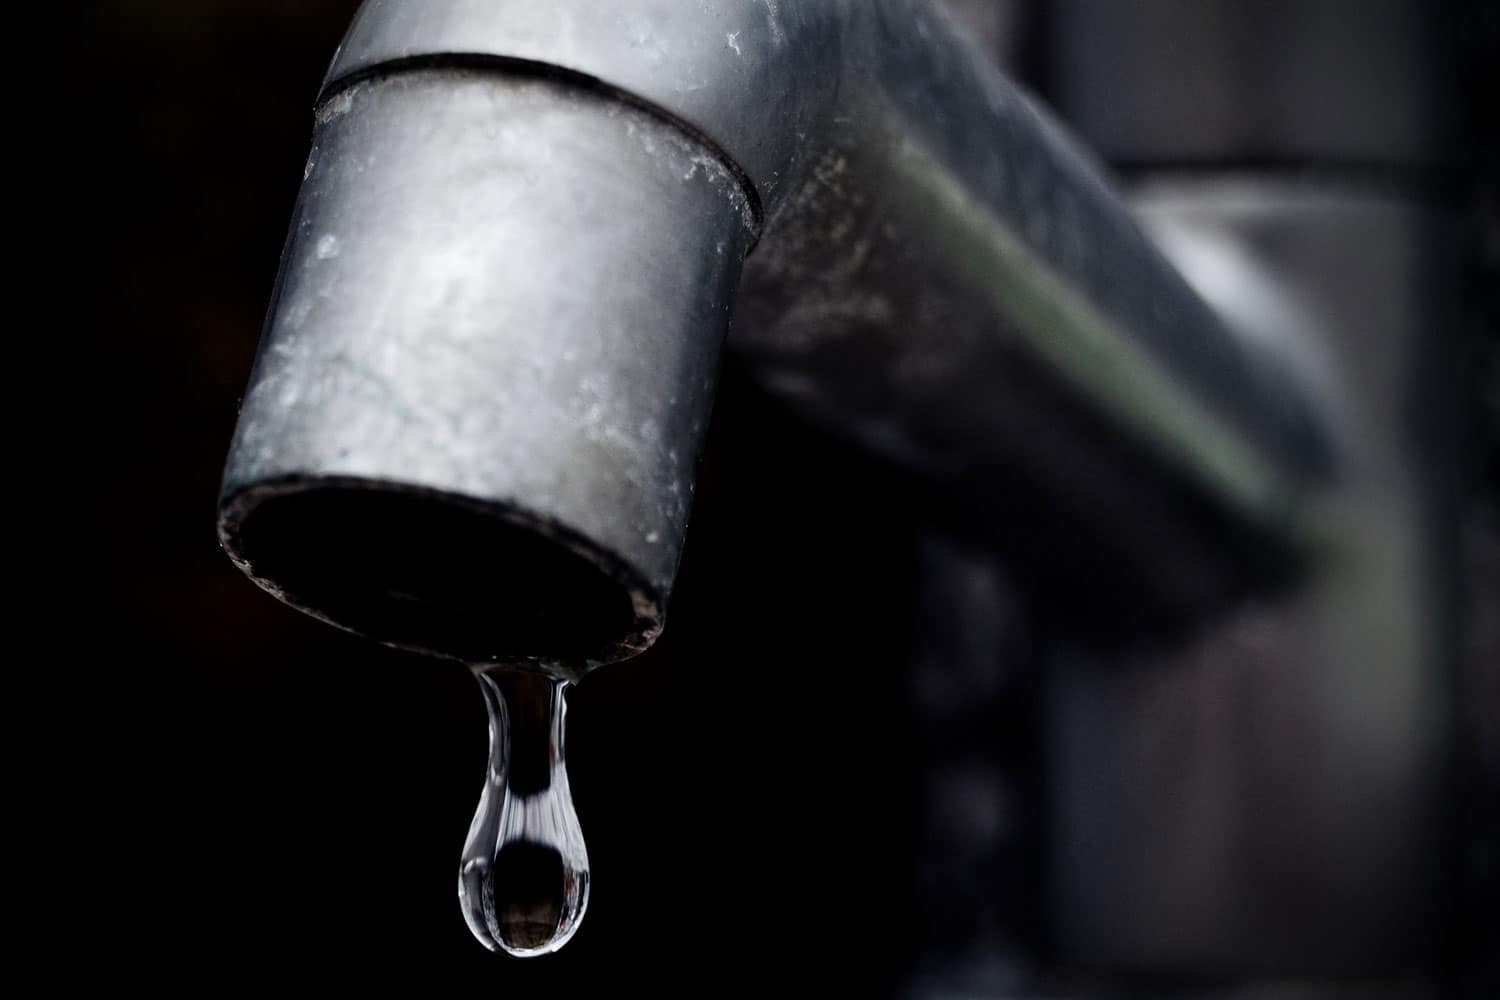
![Water dripping from leaking bathroom faucet, Why Do Bathroom Faucets Leak? [6 Most Common Problems Revealed]](https://uooz.com/wp-content/uploads/2020/11/Why-Do-Bathroom-Faucets-Leak-6-Most-Common-Problems-Revealed.jpg)
Common Reasons Why Bathroom Faucets Leak
Water Pressure Issues
If you notice that your faucet only leaks (from the spout) when the handles are positioned a certain way or that it only leaks during certain times each day, this could be a sign that there is an issue with the water pressure in your home. The fix is pretty simple, as you will need to get a plumber to adjust the pressure at the water shut-off valve for your home or check to see if clogged or corroded pipes are causing the pressure issue issues.
Loose Parts
With many faucets, the packing nuts and adjusting ring within the stream screw tend to loosen a bit over time, resulting in a leaky faucet handle. To repair the issue, the packing nut will need to be either replaced are tightened. To tighten it, try using a wrench and turn the nut about one-quarter turn to the right.

Check out this wrench on Amazon!
O-Ring Issues
O-rings will probably be the biggest culprit when it comes to leaky faucets. These small rubber rings can become damaged or loose from hard water, old neglected leaks, or everyday faucet usage. If the faucet is leaking beneath the handle, the O-ring may be the issue. And if this is the reason for the leak, it will simply need to be replaced.
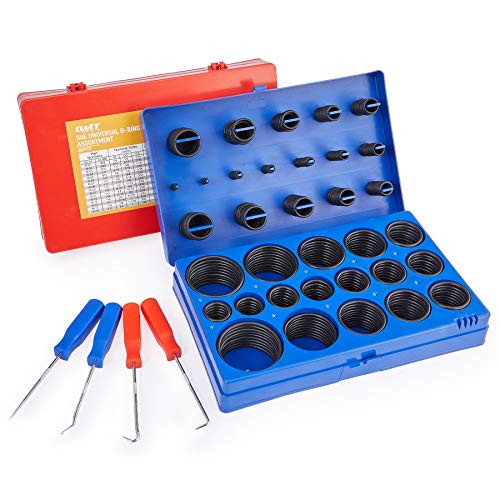
Check out this O-ring kit on Amazon!
Worn Disc Cartridges
If your faucet contains a disc cartridge, the seals on the inlets and outlets may be the cause of the leak, as they can corrode and wear out over time (usually due to hard water sediment). This can be prevented by having the seals clean by a plumber semi-annually or annually. Replacing the disc cartridges can be done within 30 minutes by a professional plumber.
Damaged or Loose Washers
When a faucet begins to drip after it is shut off, one of the most common reasons is damaged or loose seat washers. With repeated use, seat washers can loosen, causing faucets to slowly drip water at the spout. This is also a relatively easy fix, as the washer would need to be tightened or replaced.

Check out this washer set on Amazon!
Corroded Valve Seats
Valve seats are brass connections inside the compression mechanism. When the seats become old or worn, they may cause water to drip from the faucet spout. To repair, the seats can be resurfaced and placed back in their position.
How do you fix a leaky Moen bathtub faucet?
If your Moen bathtub faucet is leaking, more than likely, it's due to an insert cartridge that needs to be replaced. Moen replacement cartridges are on the more expensive side, typically costing about $30 each.
Things you'll need:
- Phillips screwdriver
- Allen wrench
- Needle-nose pliers
- Silicone grease
- Flashlight
- Moen cartridge puller (optional)
- New Moen shower cartridge
1. Turn off the water
Start by turning off the water at the shut-off valve for the bathroom. Also, be sure to drain any water remaining in the pipes by quickly turning on the faucet for a few seconds. You can also turn off the water to the entire home as well.

Check out this screwdriver on Amazon!
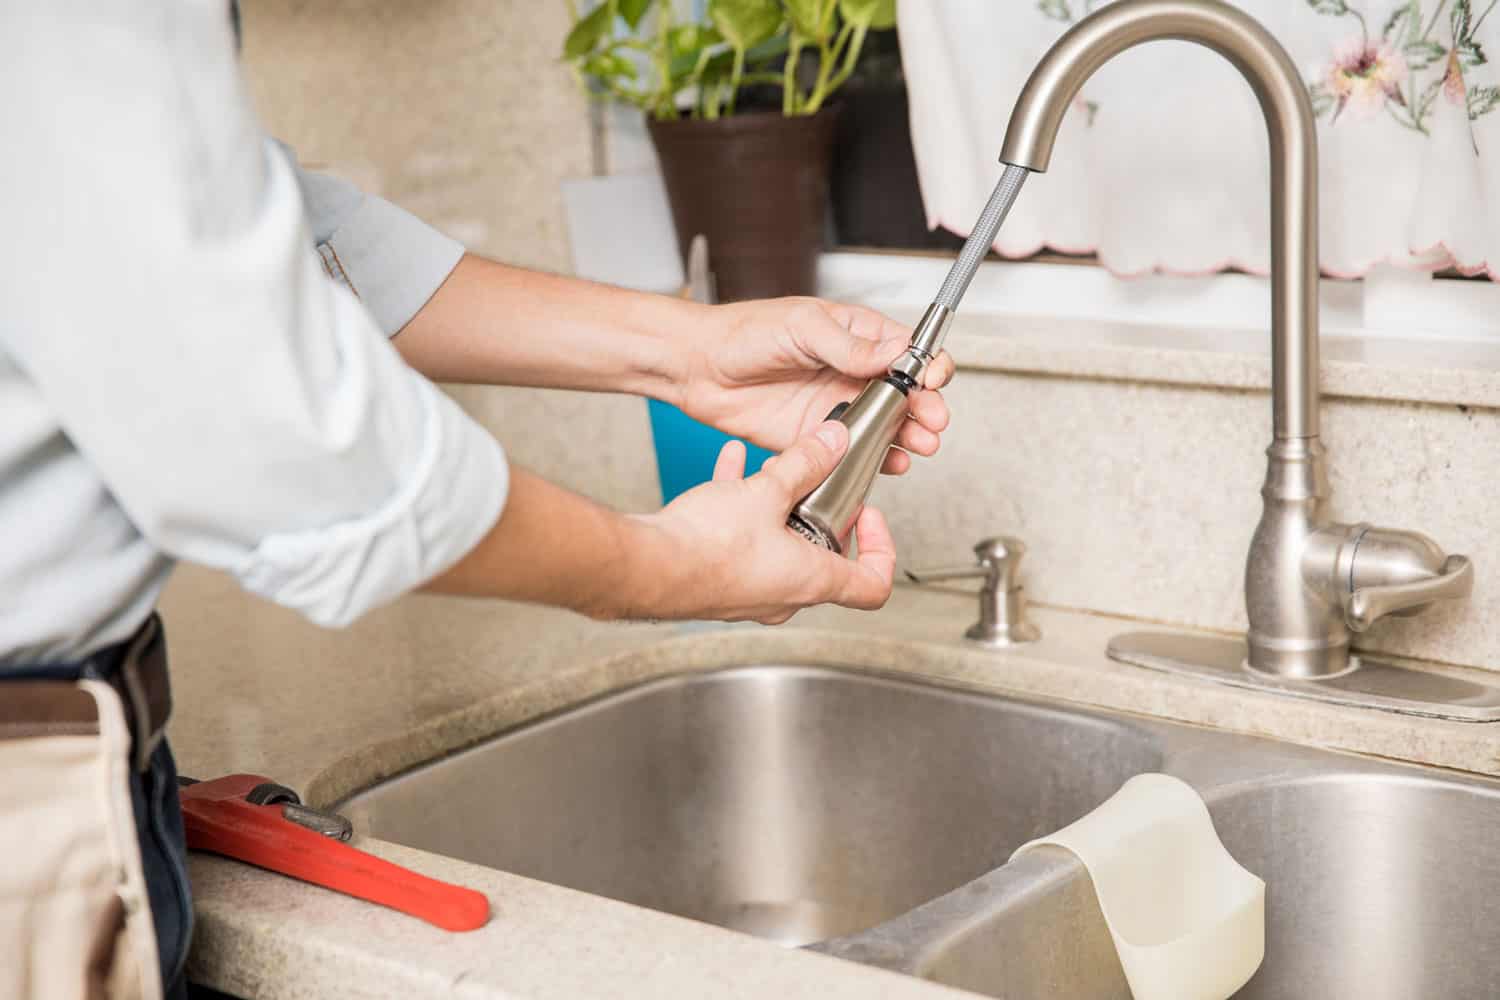
2. Remove the old handle
Place a drain stopper in the tub (or use a rag) to prevent any screws are other pieces of hardware from falling down the drain as you disassemble the faucet. Next, take your Allen wrench to remove the set screw at the bottom of the spout. Then, pull up the spout straightforward (toward you) to remove it from its place. Place the spout and the set screw to the side of the bathtub area.
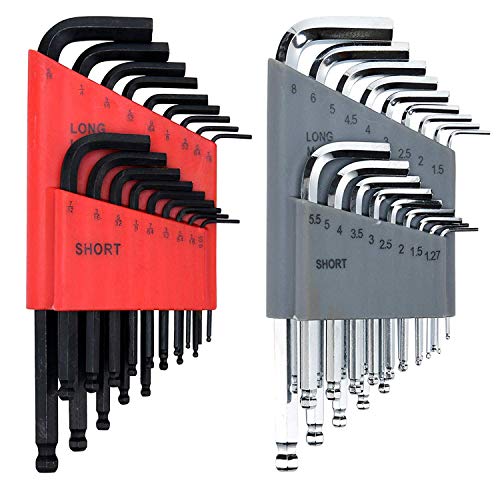
Check out this Allen wrench on Amazon!
3. Remove the hardware
Use your screwdriver to unscrew the handle adapter and pull it out. Next, pull out the two pieces of the temperature-limit stop kit (this may not be included on all Moen models) and be sure to hold the pieces together, as this will enable you to maintain the temperature setting. Then, grab the chrome sleeve with your hands and pull it out. After doing so, you should now see the retaining clip holding the cartridge in its place.
4. Remove the old cartridge clip
Take a picture or make a mental note of the retaining clip's location, as it will need to be installed in the same position once you replace the cartridge. Take your needle nose pliers and wrap them around the top of the clip, then pull the clip upward to remove it. Place the retaining clip on the side of the tub next to the other pieces of hardware.

Check out these pliers on Amazon!
5. Remove the old cartridge
Now, use your Moen cartridge puller to slide the puller screw into the valve stem. Make sure that the screw isn't crossed when it goes in. It should go in straight (so that it lines up correctly). Next, while pulling the tool, rotate it to the left and right to extract the cartridge. Next, unscrew the puller screw a bit to pull the tool away from the cartridge.

Check out this Moen cartridge puller on Amazon!
Quick note: Moen cartridge pullers are available in various sizes to fit different types of cartridges. Before purchasing the tool, it's important to know what cartridge model you have.
6. Install a new cartridge
Grab your flashlight and take a quick look inside the body of the valve. Next, place silicone grease on the new cartridge's rubber parts. Then, place the cartridge inside the valve body and ensure that the "H C" label on the cartridge's front is positioned at the top. Continue to push the cartridge in completely.

Buy silicone grease on Amazon!
There is also a plastic adapter that you can use to help secure the cartridge in the proper position. If you have trouble positioning the cartridge, use your pliers to hold the adapter in place while you rotate the cartridge.
7. Re-install the retaining clip
Now it's time to place the retaining clip back in its position. You may need to wiggle the cartridge around a little (as well as the plastic adapter) to fit it back into place. Be careful that you don't place too much force on the clip, as it could break. If its position correctly, it will slide in fairly easily.
8. Reassemble the faucet handle
Take the two parts of the temperature limit-stop kit into their original position. Next, place the black adapter on to the cartridge and use your screwdriver to secure it. Finally, secure the handle on the cartridge stem using your screwdriver to tightly screw in the set screw.
Step 9. Test the new faucet
Now it's time to test the water. Turn the bathtub faucet on, rotating the handle left and right. Look for any leakage beneath the faucet or on its sides.
How do I fix a leaking double handle bathtub faucet?
If you have experience with minor plumbing work, you may be able to fix your own bathtub faucet if it begins to leak. Let's take a look at the general way to fix a double handle bathtub faucet.
Things you'll need:
- Allen wrench
- Needle-nose pliers
- Phillips screwdriver
- Silicone grease
- New cartridge
1. Shut off your water
Shutting off the water valve to your bathroom and (if necessary) to the entire home is the first step to doing any plumbing work. Briefly turn on the handles to the bathtub faucet to let any water remaining in the pipes drain out.
2. Plug the drain
Use your drain stopper to plug the tub's drain. You can also use a rag as well.
3. Remove the handle decorations
Use your screwdriver to unscrew the handle decorations from the handle knobs. The screws are typically located beneath the knobs. Remove them and set them aside with the handle on the floor.
4. Inspect the stem and packing nut
Take a good look at the stem and the packing nut on the faucet. If they appear worn or damaged in any way, they will need to be replaced. If the parts appear to be in good condition, they are not the source of your leak.
5. Inspect the O-ring
O-rings are a popular source for faucet leaks. Take a look at your o-ring and the washer located in the valve seat. If any of the parts appear damaged or worn, they will need to be replaced.
6. Replace damaged parts
Once you've located the source of your faucet leak, repair or replace the part, and then reassemble your bathtub faucet and test it to see if the leak has stopped. If the link remains, you may need to contact a professional plumber to diagnose the issue.
What happens if you don't fix a leaky faucet?
An unchecked leaky faucet can turn into a bigger leak and eventually possible water damage to your home. It's best to get all leaks repaired as soon as possible.
Can a leaky faucet increase the water bill?
Yes, depending on the leak's frequency and volume, it can raise your water by over 10% each month.
How much will a plumber charge fix a leaky faucet?
A leaky faucet can cost anywhere between $100 to $400 to repair, depending on the cause of the leak.
Why is my new bathroom faucet leaking?
If your new bathroom faucet is leaking, the chances are that the installation was not done properly. This could mean that certain hardware pieces were not screwed tightly enough or were placed in incorrect positions.
How do you fix a leaky Moen bathroom faucet with two handles?
If your Moen double-handle faucet is leaking, replacing the cartridge will fix the issue more often than not. Here's a quick overview of how to replace it.
- Shut off the water supply to the bathroom (and if necessary) to the entire home before starting the project. Next, open the faucet so that any remaining water will drain out from the lines.
- Use a flat-head screwdriver to take the cap off of the faucet handle. Next, use your screwdriver to remove the screw on the handle, then remove the handle from the faucet.
- Next, use your wrench to unscrew the brass nut located around the handle, turning it in a counterclockwise motion.
- Use your wrench to grasp the cartridge and rotate it to the left and right to wiggle it out of its position.
- Insert the new cartridge and reassemble the faucet.
How do you remove a single handle bathtub faucet?
The fastest way to remove a single-handle bathtub faucet is to use a handle puller (which looks and functions like a corkscrew). Here's how to use them to remove a faucet.
- Turn the top of the handle puller to the left to open up its jaws.
- Attach the drawers to the back of the faucet handle and thread the setscrew rod through the hole. Next, tighten the grip by turning the puller's handle to the right.
- As you turn the handle to the right (clockwise), you will notice that the ride will begin to press up against the valve stem, eventually pushing the handle off.
Wrapping Things Up
Please note that while some leaks may be easy and simple to repair, others may require a professional plumber.
Before you go, be sure to check out our other posts: