
Baseboards are essential for keeping dirt off your walls and floor. But what kind of nails should you use for baseboards? How long should the nails be? Fear not! We've researched the answers to these questions.
Depending on the thickness of a baseboard, you should use nails at least 1/2 inch longer. For boards with an average thickness from around 1-3 inches, you should use nails with a length of 1.5 to 3.5 inches.
In this article, we'll elaborate on what size of nails you should use for baseboards. We'll provide steps on how to install baseboards and why they're important for your home. You'll learn all of these and other related matters. Just keep reading!

Choosing The Correct Nails For Baseboards
It's safe to use nails half an inch longer than the baseboard's thickness. If your wall is made of wood, the nails may pierce through the other side if they are too long. That's why the correct nail size is important.
To give you further ideas about the size and type of nails you need, follow these steps.
1. Measure the Baseboard
With a measuring tape, measure the thickness, height, and length of the baseboard. You need to be accurate so that you'll know how many nails you need for each piece of baseboard.
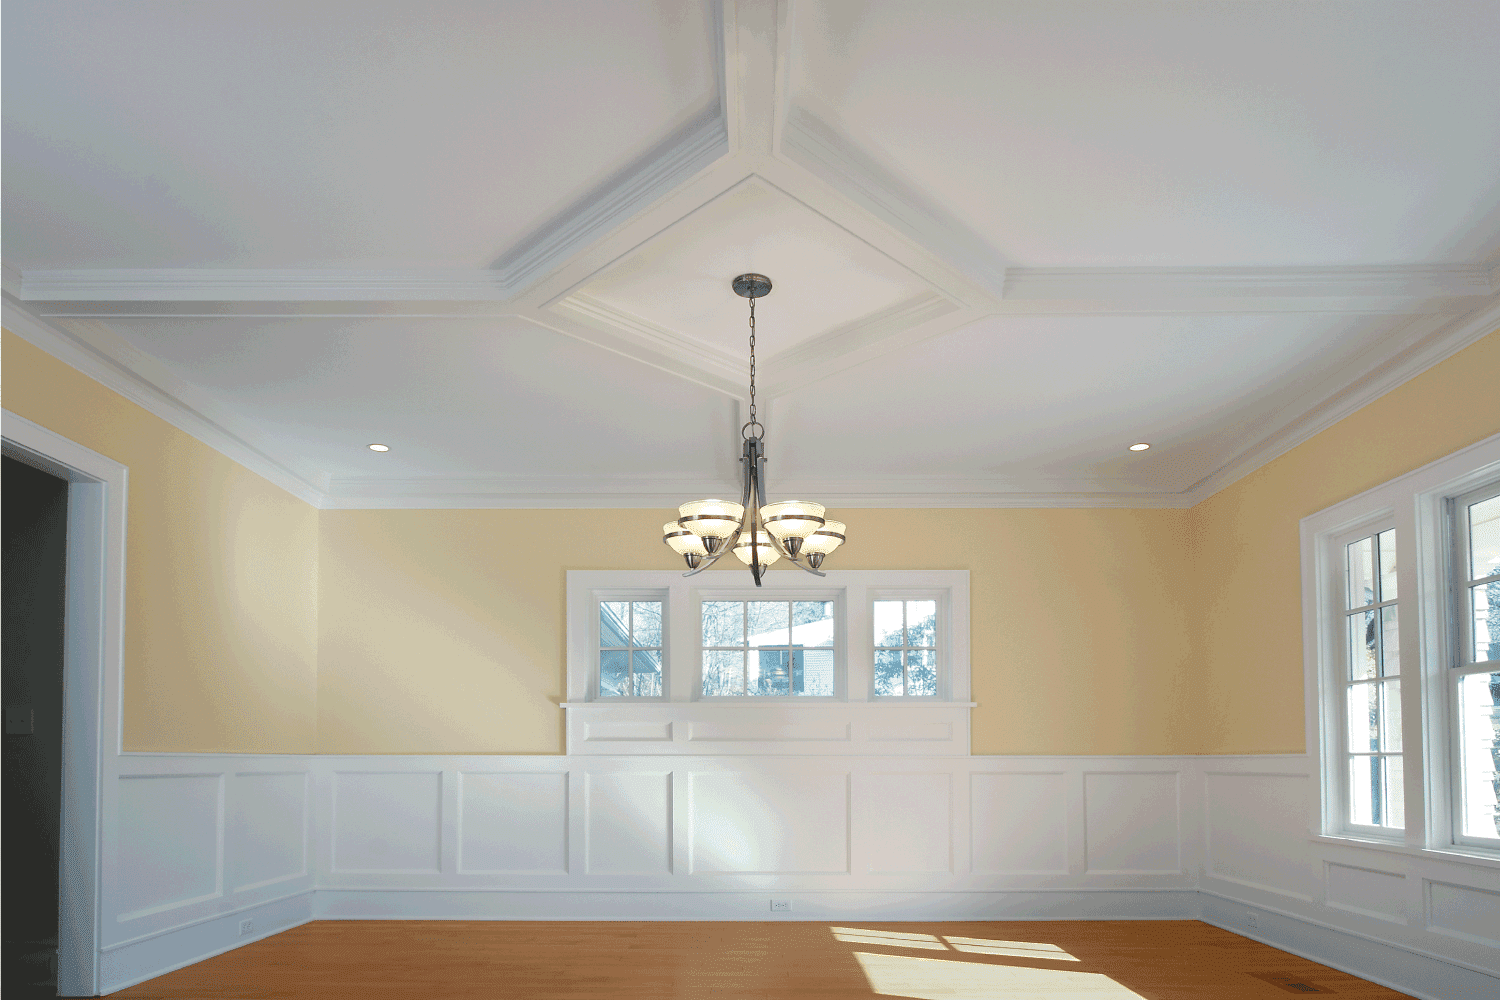
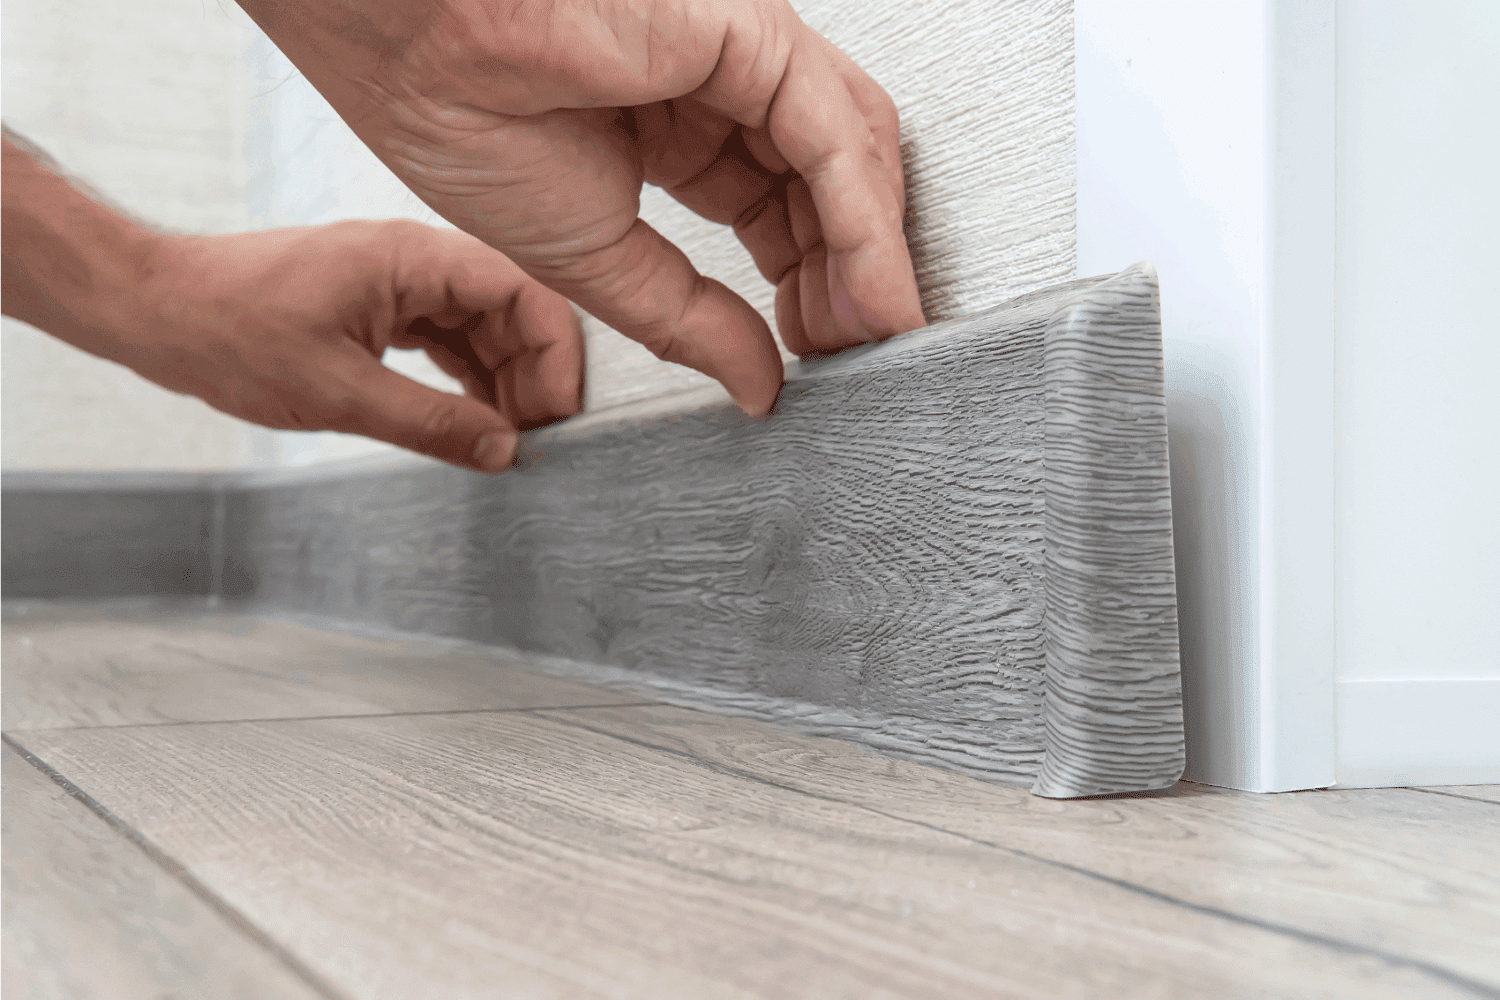
Check if the baseboard has shoe molding, which refers to the additional strip layer to secure the gap between the baseboard and the floor. See also if there's a cap molding, which is an additional edge to secure the gap on top of the baseboard.
Refer to image below to see what do shoe and cap moldings look like.
2. Find Where to Nail
Be careful when nailing the baseboards. There might be active wires hiding behind the walls, or some spots that may be too weak.
In ideal situations, you should nail near the bottom and top corners of the baseboard. While only a few nails are needed along the entire surface of the baseboard.
We'll elaborate later with this article on how many nails you'll need.
3. Choose the Type of Nail to Use
Now that you measured the baseboard, you should consider what type of nail you can use. See below for some common nails you can choose from.
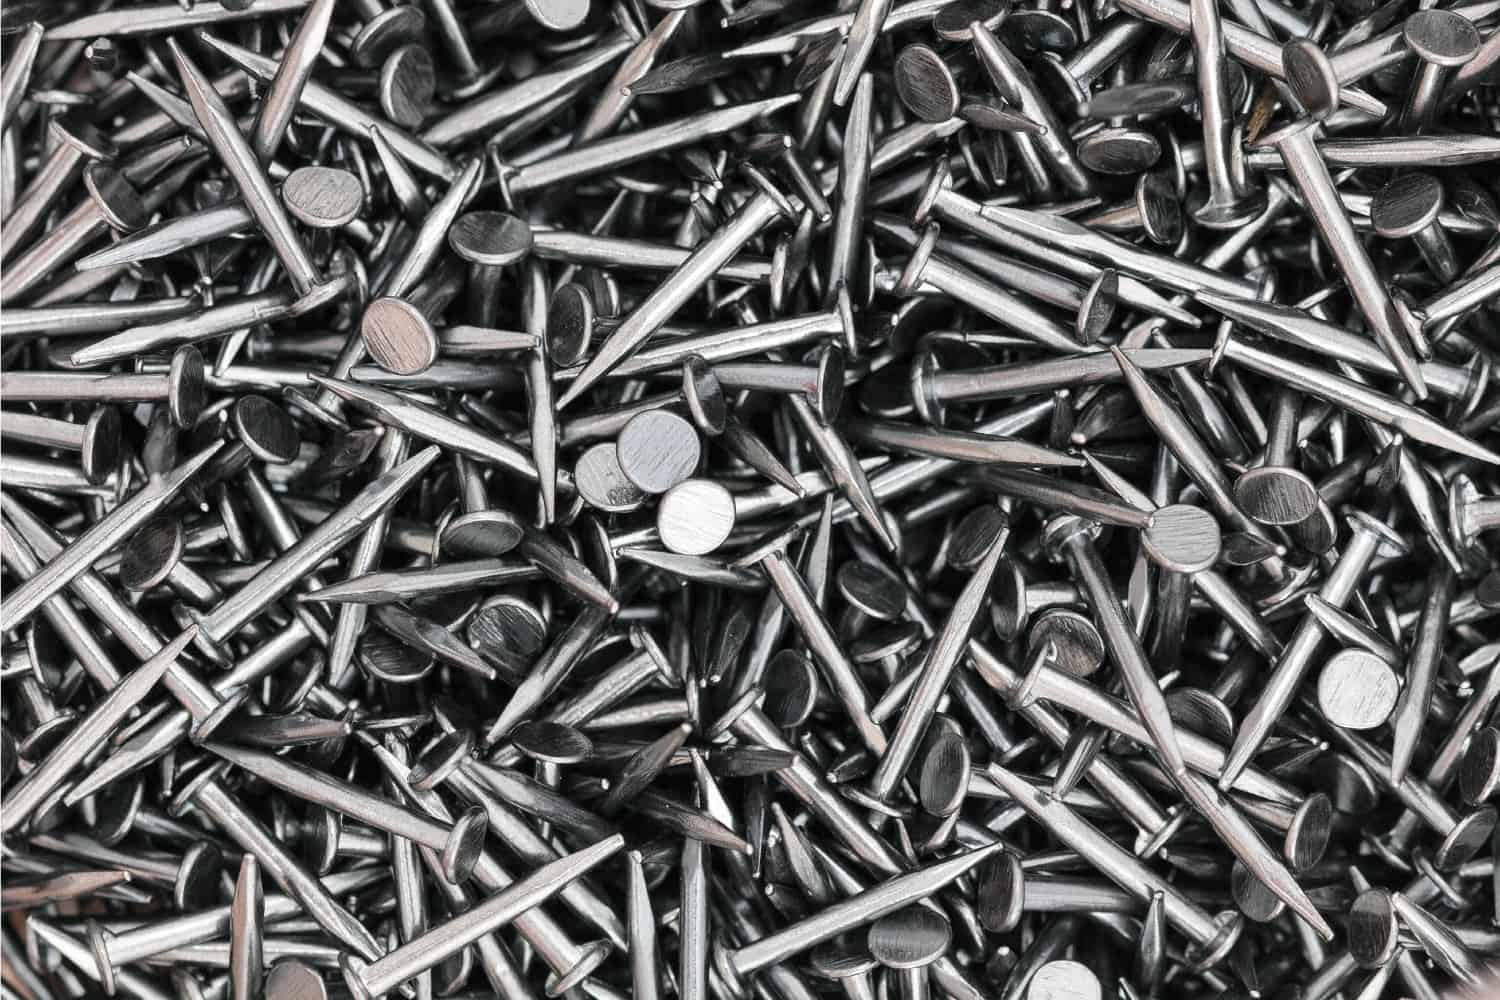
Regular Nails
These are the most common nails, which can pierce through both hard and soft surfaces, like wood. Regular nails are easy to bend with a hammer since you need to nail the shoe and cap moldings diagonally.

See these regular nails on Amazon.
Masonry Nails
These are used for cement, brick, and stonewall construction. These nails are a bit thicker than wire nails. Compared to wire nails that are nice for wood, masonry nails are good for cement walls.

See these masonry nails on Amazon.
Finishing Nails
Finishing nails are quite uncommon, but these nails have a tiny head that will lock upon hammering through the wood, stone, or metal sheet. These nails will not be visible, especially if you paint them the same color as the baseboard.
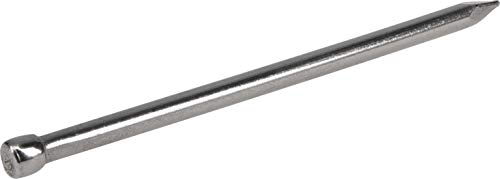
See these finishing nails on Amazon.
How Many Nails Should You Use?
It's important to know how many nails to use so that you can keep the remaining for other purposes. It's also practical not to use too many nails, as the baseboard may degrade the wall's quality.
In a single baseboard, you need at least four nails near each corner—two nails for both ends of the shoe and cap moldings. For every 20 inches of length, you should also nail the top and bottom edges.
In most cases, you will need around 8–16 nails for a single baseboard depending on its length.
How to Install Baseboards
Installing baseboards is not as simple as just nailing them on the wall. There's a process you need to follow from assessment to completion.
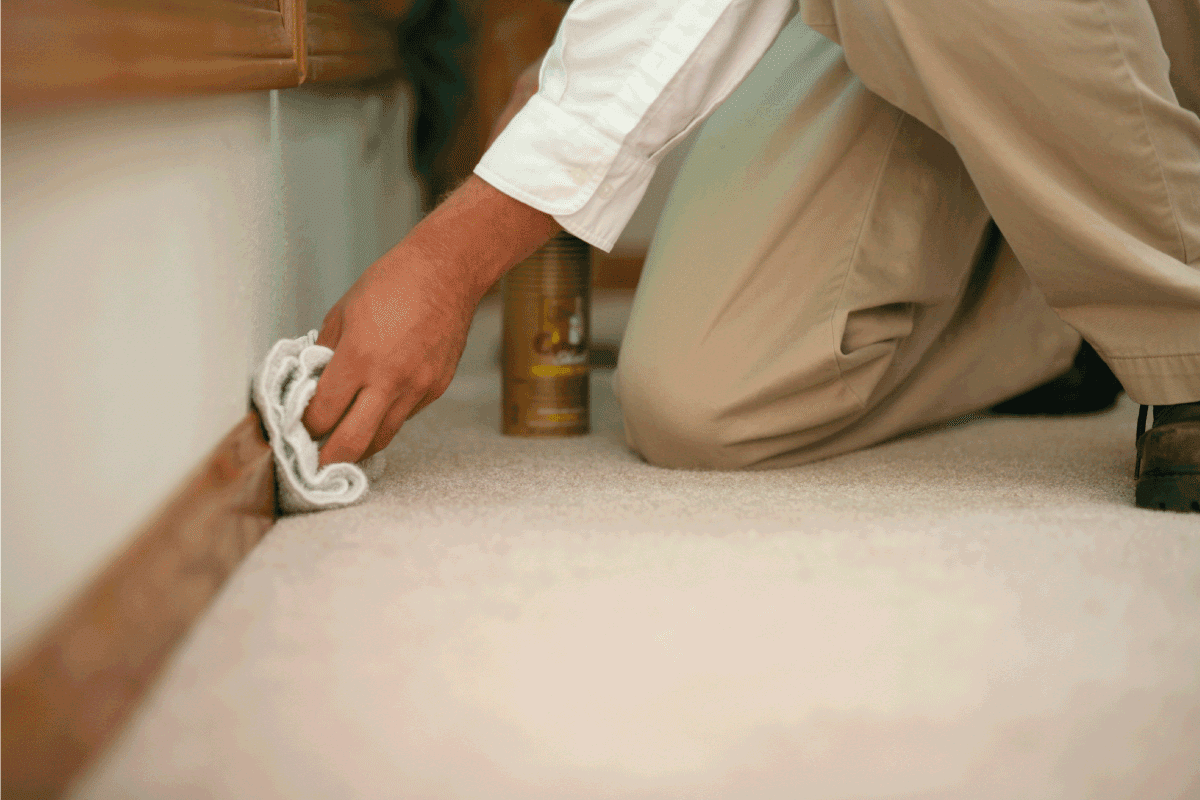
See if the wall is strong enough to withstand hammering, as you need some force to pierce the nails. It's best to clean and dry the wall first so that mold and dirt will not accumulate behind the baseboard. Also, repair any minor damage on the wall, such as cracks or holes.
Now for the tools. You need to prepare the following:
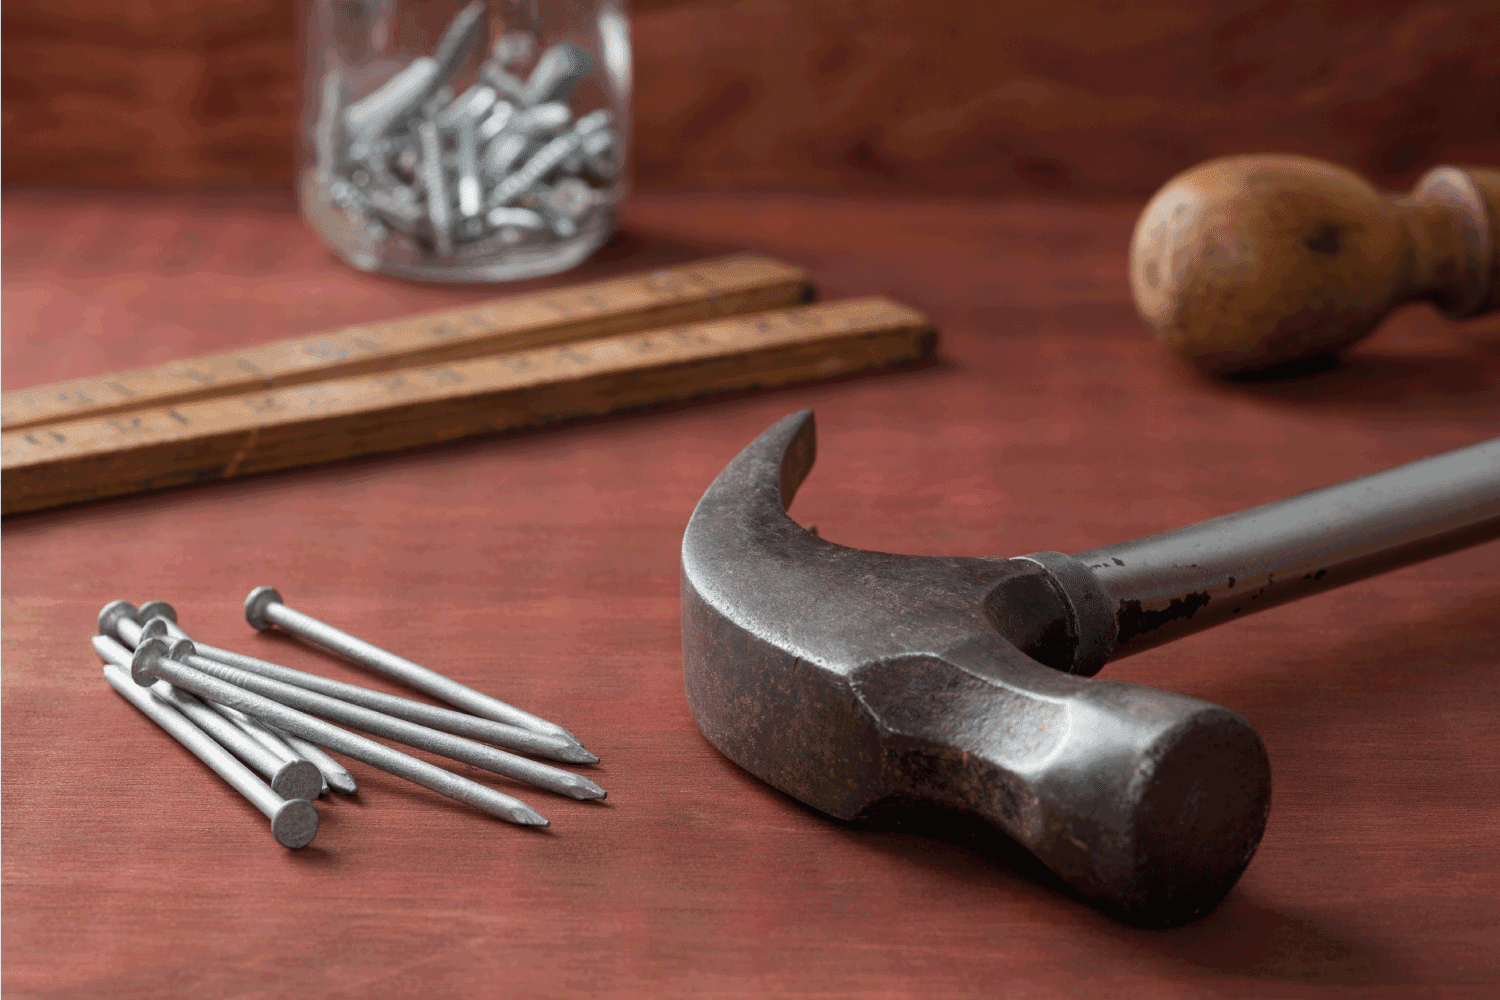
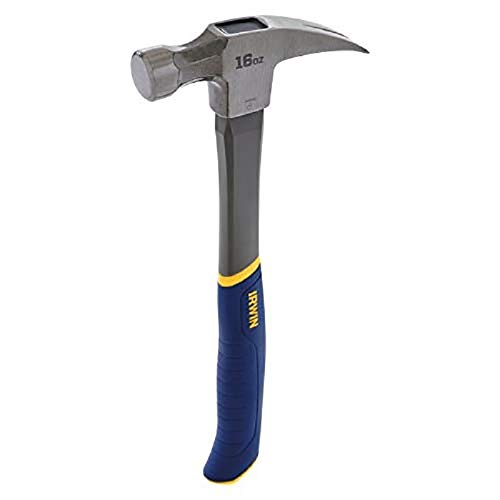
Nails and Hammer
You can use a common hammer to drive the nails. You can also use a nail gun for more ease and efficiency.
Nylon String
This is important to ensure that the baseboard will align correctly with the floor.

See this nylon string on Amazon.
Caulk
Caulk is good to secure the edges, especially if the baseboard has no shoe or cap moldings.

See this caulk sealant on Amazon.
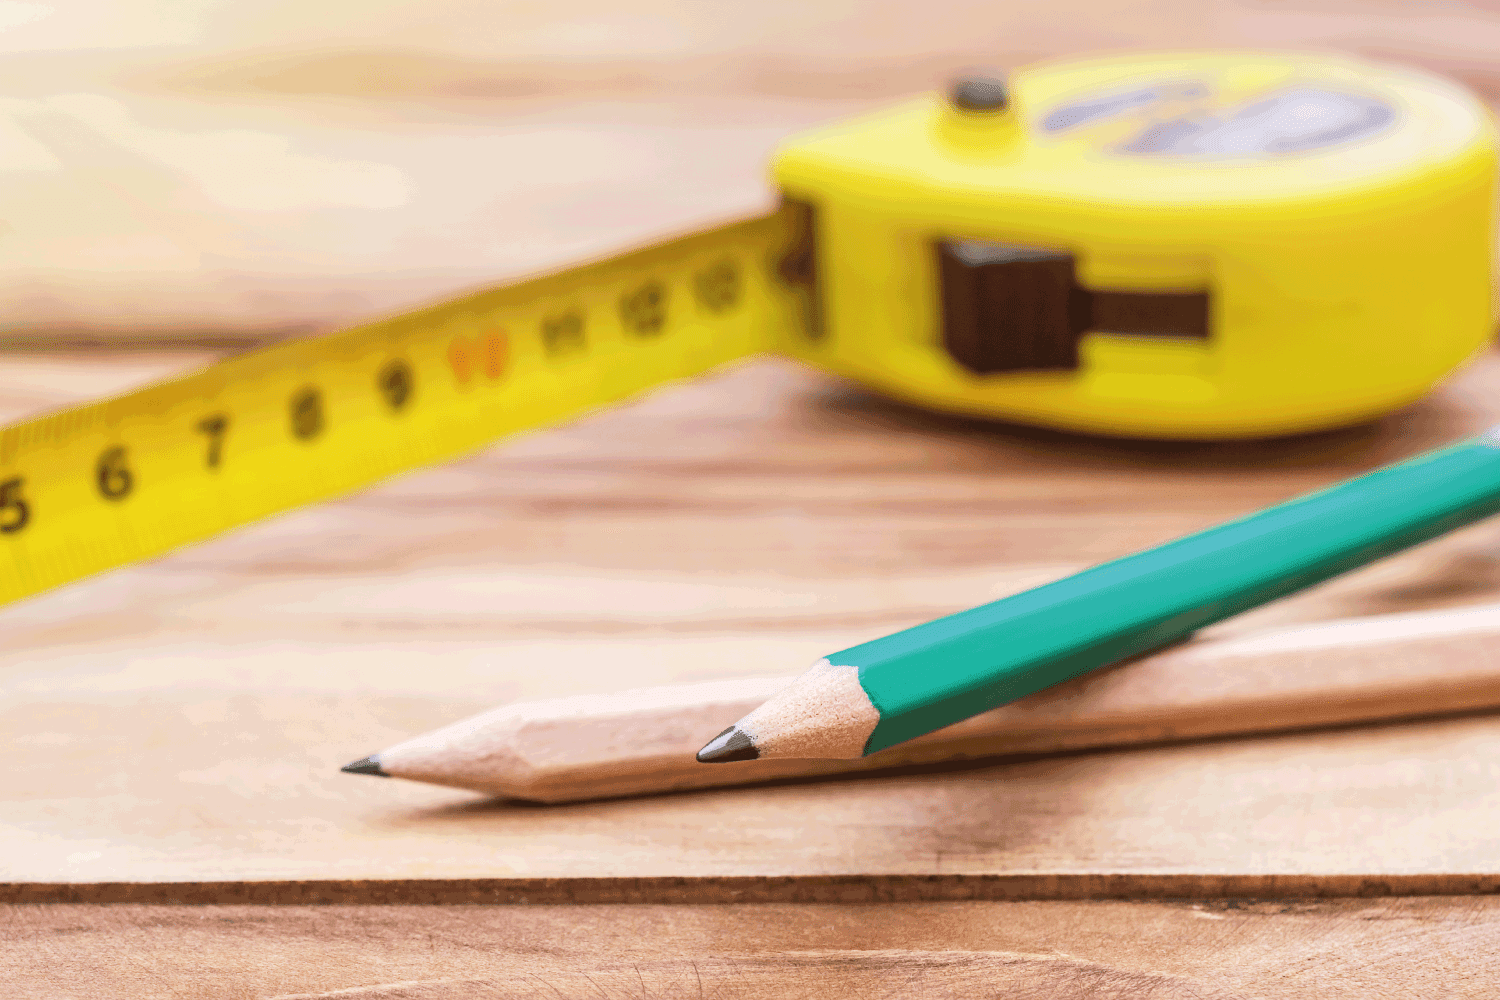
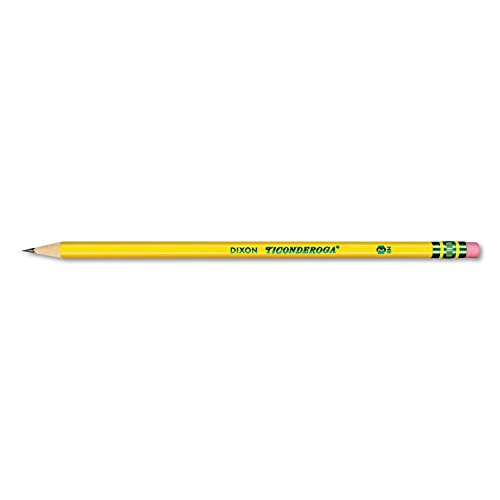
Pencil
You need to trace some lines and mark the spots for nailing.
Measuring Tape
Use a measuring tape for accurate markings.

See this measuring tape on Amazon.
Saw
Use a saw to remove excess portions of the baseboard. You can use a heavy-duty table saw, but simple saws work just as well for most baseboards.
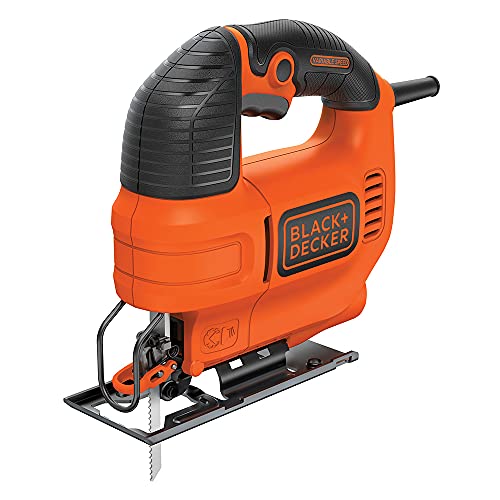
See this woodcutter on Amazon.
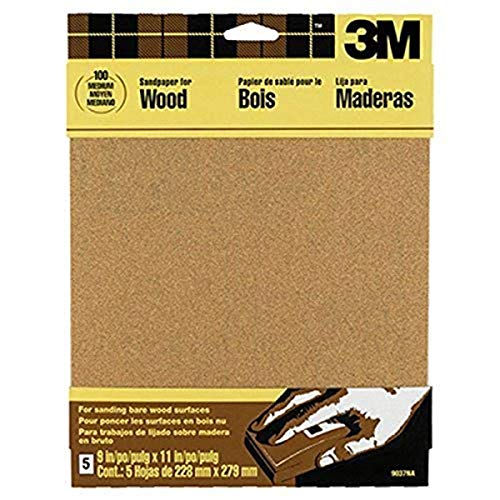
Sandpaper
Prevent splinters by using sandpaper on the edges and corners.
Gloves
Wear your gloves for safety.

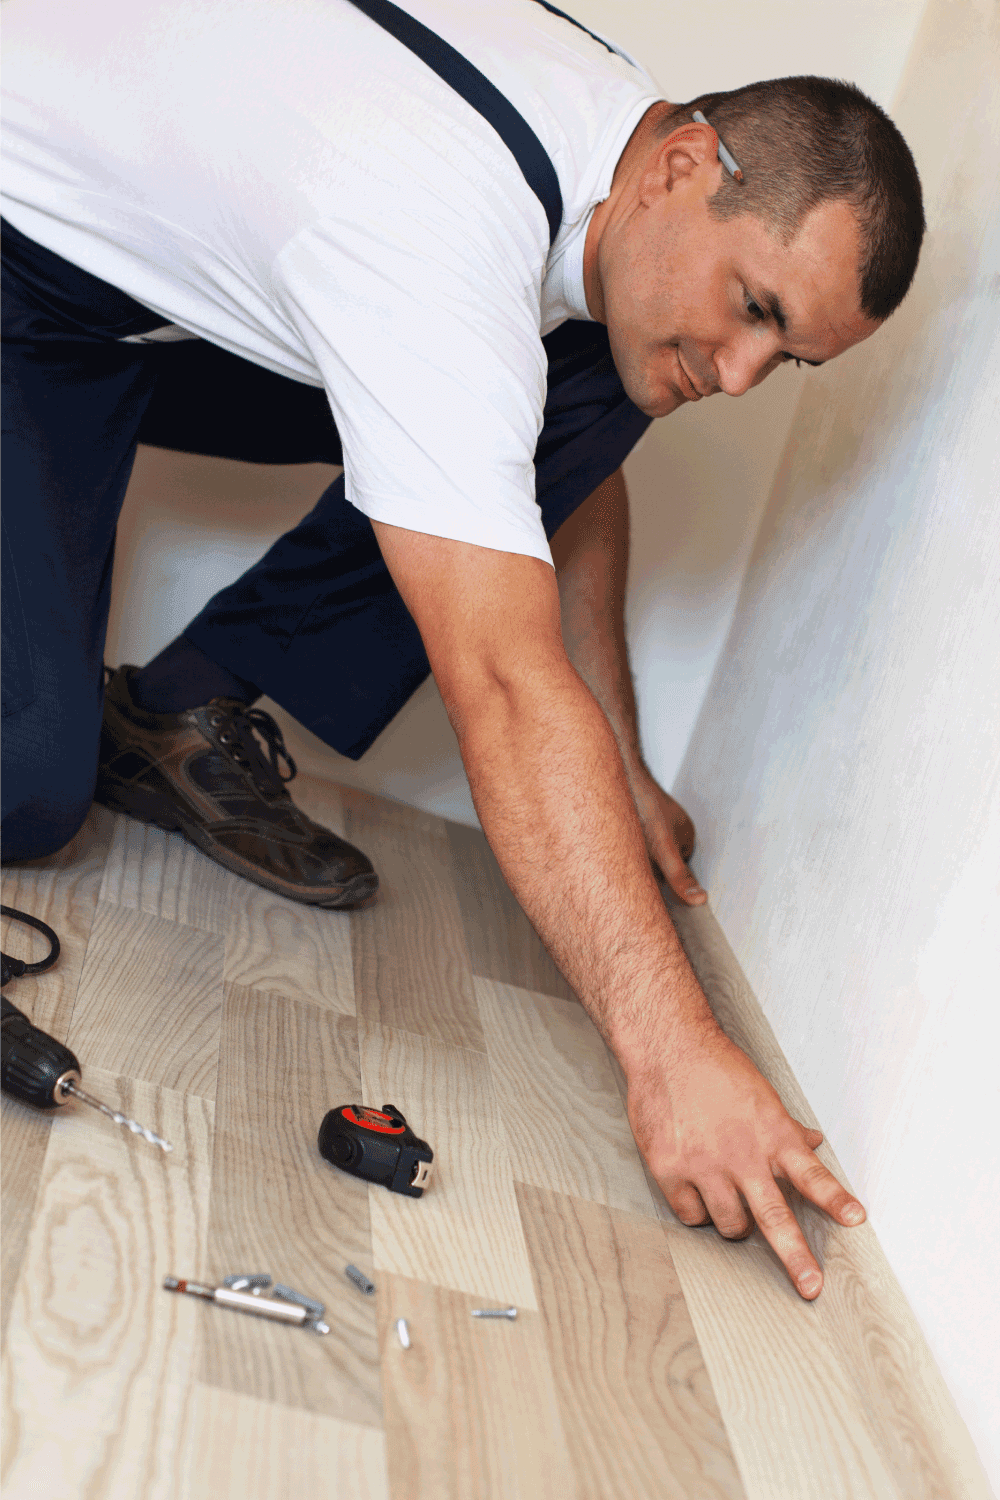
So, to start the installation, follow these steps:
- Place a nylon string along the surface of the wall where you want to install baseboards. This will serve as a guide for aligning them with the floor.
- Measure the length of the wall with a measuring tape.
- Use a pencil to mark the cutting lines on the baseboard depending on the wall's length.
- Cut the excess portions of the baseboard.
- For the nailing spot, use the pencil and measuring tape to draw dots every 20 inches along the edges.
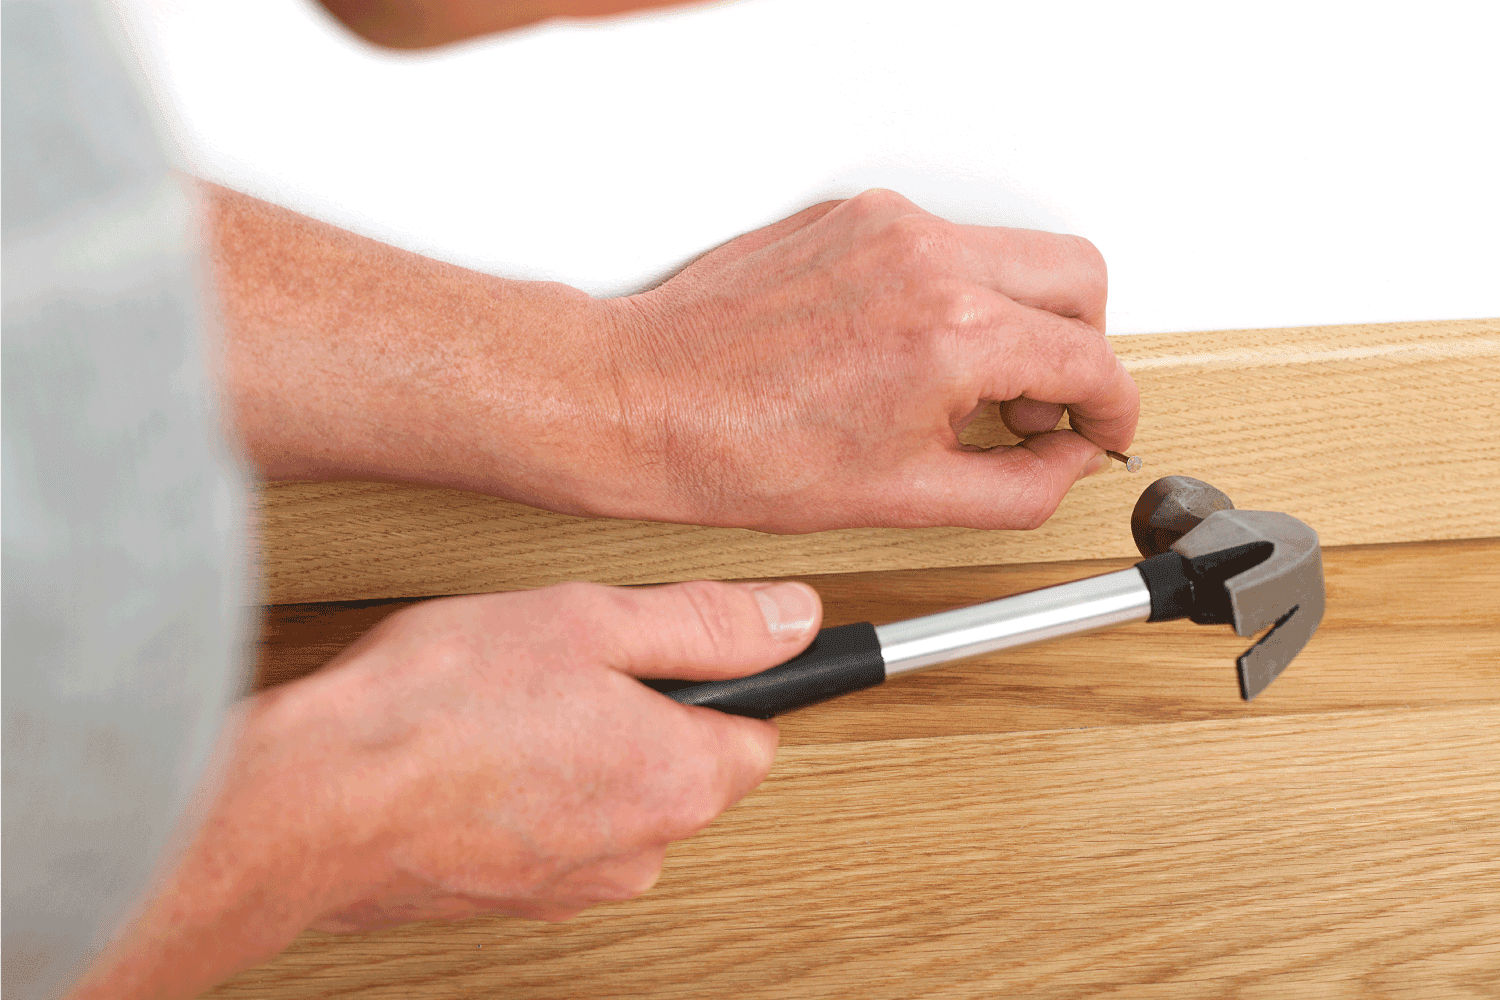
- Start by nailing the corners. For the shoe and cap moldings, nail them diagonally, hitting the surface of the baseboard.
- Apply the caulk along the edges to close the gap.
- Use sandpaper to smoothen the edges and corners.
You have the option to paint the baseboard. You may use water-based paint or latex.
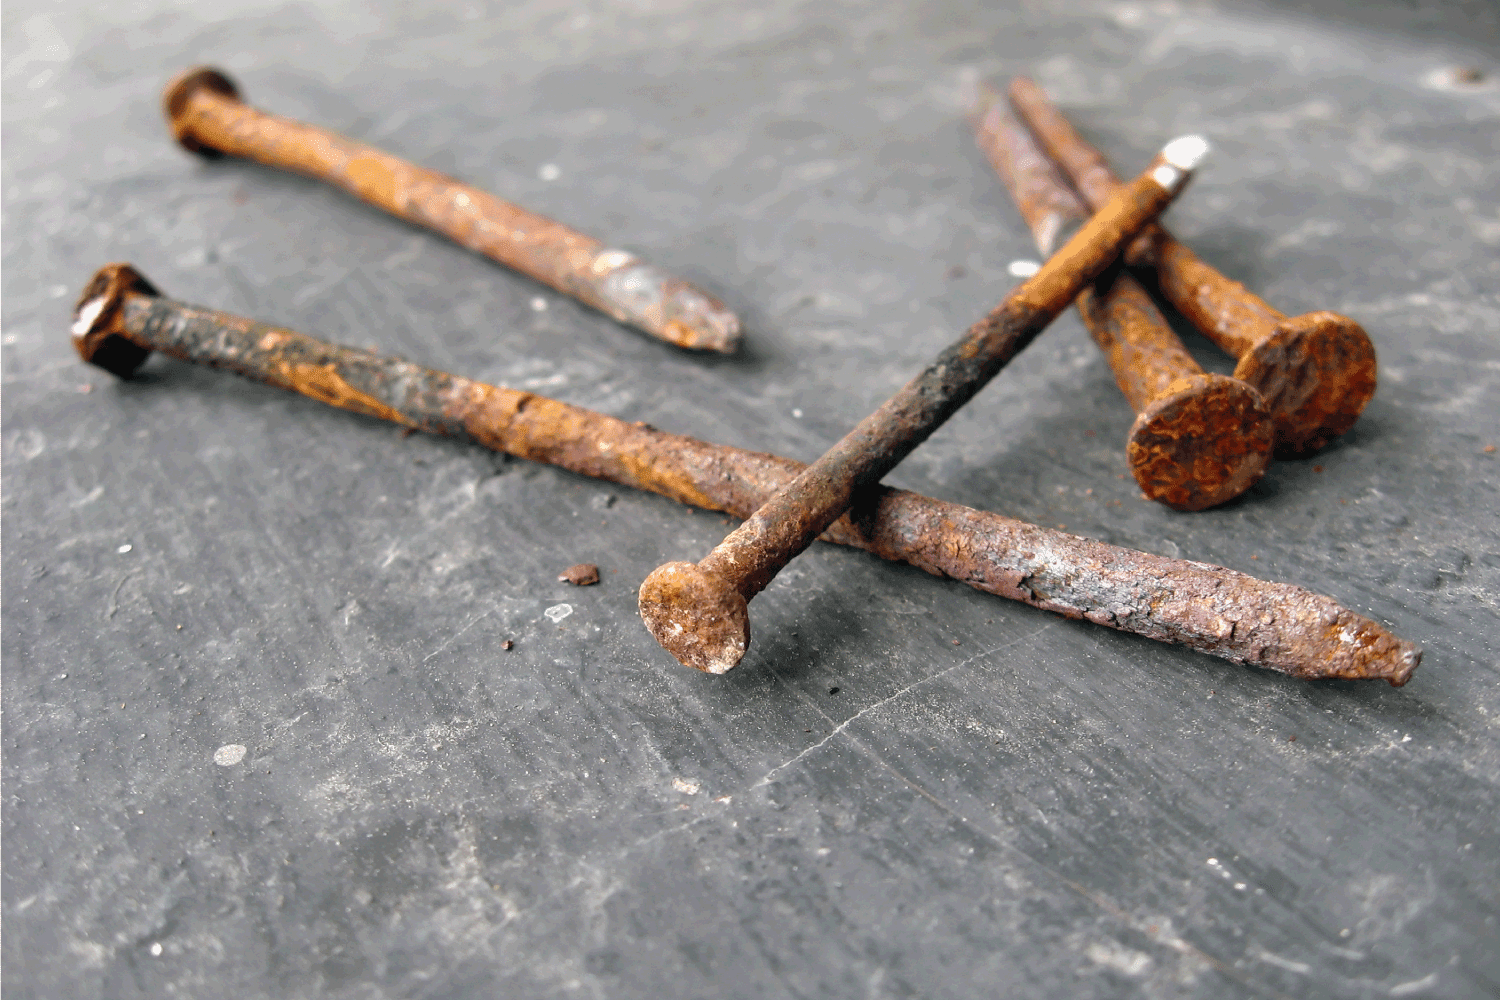
Should You Replace Old Nails?
Nails may rust over time, and you should replace them to avoid worsening the damage. It may be difficult to remove the nails without scratching the baseboard.
Additionally, it's better to use a nail gun the second time you nail the baseboard. Using a hammer again for nail replacement may weaken the baseboard.
You may use a nail puller to remove old nails.
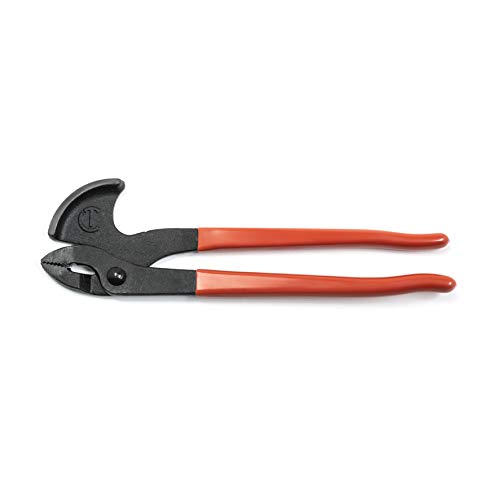
See this nail puller on Amazon.
What Can Baseboards Do?
Aside from improving the look of your walls, baseboards actually serve as protection against many things. Baseboards can make walls last longer. See below for the list of what baseboards can do.
Protection Against Impact
Your walls will be stronger against impact with the help of baseboards. The layer they add can resist heavy impact and scratches. Baseboards also support the wall's foundation by increasing its weight.
Reduced Moisture and Heat
You may see water particles coming out between the walls and floor. Baseboards can reduce the moisture from the outside.
Heat can also be blocked from passing through the spots where baseboards are installed. Since the heat will find a way to spread the temperature to other surfaces, baseboards can slow down the heat transfer.
Preventing Mold Growth
Considering that baseboards prevent moisture, mold cannot grow. Your walls will be easier to clean. However, extreme weather conditions can still trigger moisture. It's important to keep the room warm to eliminate moisture and stop mold growth.
Can You Use Something Other Than Nails On Baseboards?
You can certainly install baseboards without nails, although the bond may be weaker. You may use a mortar mixture as an alternative to nailing. However, there's a risk that baseboards will detach over time. You need a very strong bonding agent to make baseboards nailless.
If you insist on not nailing the baseboards, prepare a mortar mix.

See this mortar mix on Amazon.
Now see these steps:
- Spread the mortar mix throughout the wall where you'll place the baseboard.
- Attach the baseboard, aligning it with the floor. Cut the excess portions.
- Thump the baseboard with your hands. You may also lean heavy objects, like chairs, against the baseboard to make it firmer.
Conclusion
You've learned how long the nails should be for baseboards, and that's at least half an inch longer than the baseboard's thickness. Remember that nails that are too long can cause problems.
We've provided the steps on how to nail the baseboard. We have also provided some types of nails you can use.
You should realize how important it is to replace old nails. Keep in mind all the other things you've learned throughout this article, even the consequences of not using nails.
Did you find this article useful? You might also like to read these: