
If you own a home with vinyl siding, you know that damage can come quickly, without any warning. When you inevitably find yourself in a situation that requires you to fix your home's vinyl siding, you may be wondering if it's possible to avoid hiring costly home improvement contractors to perform the job. While the task may seem daunting, it is absolutely accomplishable with a little patience and our guidance. How do you prevent vinyl siding seam separation and fix or repair vinyl siding? We've done the research and have found answers for you.
There are three instances, and coincidentally three methods that you can employ, to repair the damage to your home's vinyl siding:
- Repairing Holes In Vinyl Siding With Caulking Compound
- Repairing Vinyl Siding With A Patch
- Replacing Entire Vinyl Siding Panels
With the possible methods laid out before us, let's go ahead and get busy. Please continue reading for our more detailed instructions on how to complete these repair methods to remedy your home's undesirable vinyl situation. We'll also discuss tips to keep your vinyl in top form to prevent separation.
Tools And Materials Required
As with any home improvement project, the first thing to do is to make sure you have all the necessary tools and materials to accomplish the task at hand. The tools required for any and all vinyl repair jobs, big or small, are as follows:
- Hammer
- Caulking Gun
- Utility Knife
- Tape Measure
- Pry Bar (Flat)
- Tin Snippers
- Zip Tool
- Vinyl Siding Panels
- Ladder (if working with high up panels)
With your equipment prepped and ready, it's time to get to that project!
Vinyl Repair Methods
1. Repairing Holes In Vinyl Siding With Caulking Compound
If the hole is small enough, you can simply use a matching caulk to fill the hole or gaps. Follow the steps below:
Clean The Area
The area surrounding the damage needs to be cleaned to remove dirt, grime, and buildup that may impede your ability to repair properly. Be sure to allow time for the area to dry before proceeding to the next steps.
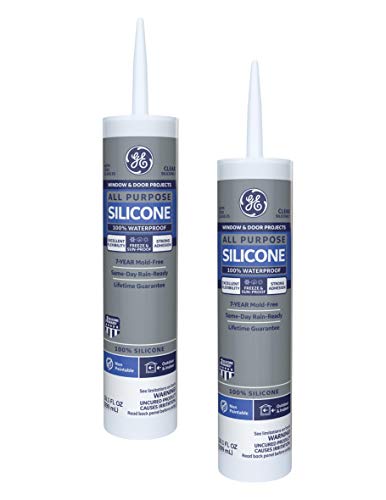
Prepare Caulking Gun
Remove the tip from the caulk and load it into the "gun" or plunger.

For more products like this, visit Amazon.
Fill The Hole
Insert the nozzle into each respective hole or gap in the siding and fill it up until there is a slight overflow of caulk. You want to ensure the entire hole is being filled. Let sit for approximately 24-hours.
Dry Caulk
When you return to check your handiwork, scrape away excess caulk, and the hole should be fixed!
2. Repairing Vinyl Siding With A Patch
If the damage is greater than small holes and cannot be concealed with caulking and concealing, then patching is the next best option. It is slightly more time-consuming but will create a much more polished and touched-up look in the project's final stages.
Clean The Area
Start by cleaning the affected area to eliminate dirt and buildup.
Measure And Cut Patch
Measure and cut a piece of vinyl to match the size of the damaged area. When you start cutting, make sure to leave the perforated upper edge of the vinyl intact.
Test Patch
Check the fit of your vinyl patch, being mindful to notice how the curled lips and edges match up. The more flawless the cut, the better off you will be. Proper measurement and fitting are essential to a successful outcome.
Patch The Damage
Load up and apply silicone caulk to the rear of the patch and the exterior edges of the hole being filled. Insert the patch into the damaged area with sufficient pressure to hold firmly in place. The caulk should adhere the patch to the wall with little difficulty.
For more products like this, visit Amazon.
Dry Caulk And Touchup
After the caulk has dried, you are now able to clean the surrounding area of the excess and inspect work. If more caulk is required to create a better seal, then by all means, repeat the caulk, dry, and scrape step until you are satisfied with the outcome.
3. Replace Entire Vinyl Siding Panels
This last method is the least quick fix of all the methods and requires the most steps and patience. Unfortunately, this option is typically necessary because significant damage has likely occurred to your home's siding.
Disconnect Damaged Panels
You will start this task with your zip tool. Use your zip tool to hook the panel directly above the damaged one about to be replaced. In doing this, you will be able to create enough separation to swipe your zip tool horizontally and pop the panels out and off their mounts. Once the panels are removed, use a tool of your choice to remove all the nails and screws that held the panels in place.
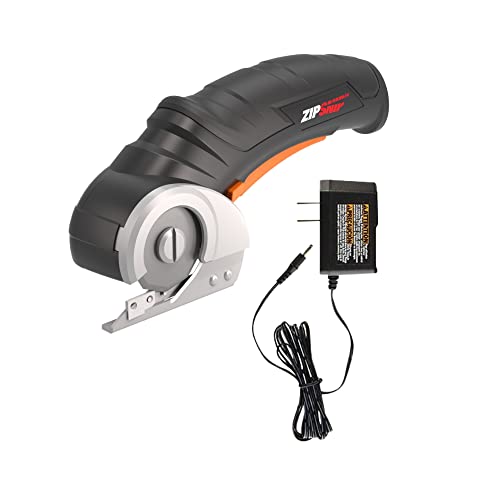
For more products like this, visit Amazon.
Prepare The Replacement Panels
With your panels and attachments removed, you will need to measure replacement panels. Cut the panels to the appropriate size using your old panels as a template or reference for an exact fit and swap. Place the new panel into its allotted space, starting with the lower edges to verify that the panel hooks into the correct setting.
Install New Paneling
By now, you should have found the nail track you will be securing the new panel into. Bear in mind it is tremendously important to afford space for the panels to breathe. Expansion and contraction of materials during the seasonal changes can cause buckling if there is not enough room. Proceed to screw and or nail the panel into its new location.
Secure, Connect And Check Paneling
With the panels in place, you can slide your zip tool one last time between the newly situated panels to ensure that they are locking to one another correctly.
How To Prevent Vinyl Seam Separation?
Not surprisingly, a lot of your home's vinyl seam siding problems can be avoided by doing a couple of things. The first thing you should always do is create a plan. Having a clear and coherent plan for your renovation, installation, or update will simplify this task. If you are thorough in the planning stage, the odds are in your favor that the final product will come out better and thus require less attention. That said, always be aware of your home's condition. If you can identify potential issues in advance, you may be able to get ahead of it and fix small issues before they become big and costly issues.
Should Vinyl Siding Seams Be Staggered?
In order to allow for "breathing" or movement of our homes' vinyl panels, there is a staggering effect that must be incorporated during installation. To minimize any potential cosmetic dissonance, accurate measurements will allow you to account for where overlap will take place and therefore conceal it -with the help of the home layout features like sightlines and outdoor features like bushes, fencing, etc.
How Do You Fix A Loose Piece Of Siding?
Fixing loose siding can be completed in a few simple steps. The steps are:
1. Use Pry Bar
Take your pry bar and situate it underneath the lower edge of the loose piece of vinyl siding.
2. Locate Areas Of Disconnect
Work across the panel's length with the pry bar pushing upwards to locate where the panel or panels have become separated from their mount or secured points.
3. Re-Secure Panel
After finding all the loose points, snap the loose edges back to one another via the locking point or hooks.
4. Silicone Caulking Completion
After all the panels have been re-secured, to ensure that the panels don't loosen again, you can fill the grooves along the connection points with silicone caulk so that they are more firmly in place. If you do choose to caulk the panels, be sure that you don't leave excess caulk visible. It will make for an unsightly end project.
Can You Glue Vinyl Siding?
Glue and specialized adhesives can be used when repairing vinyl siding but at no point should glue be your go-to solution.
Vinyl Siding - The Pros and Cons
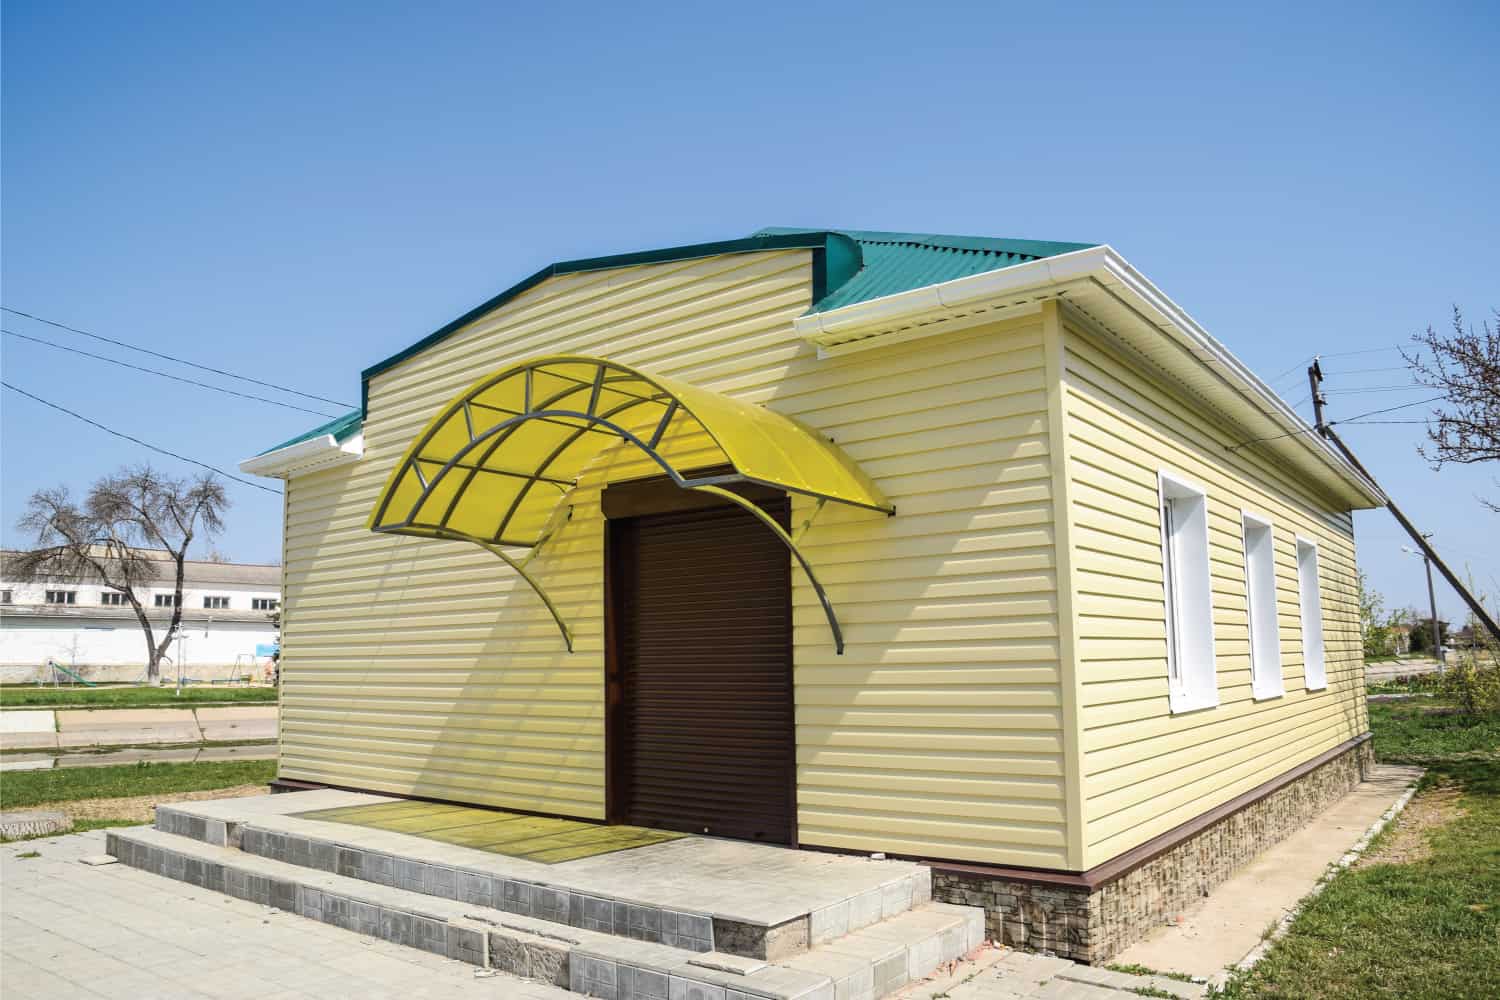
The vast majority of newly constructed homes today utilize some form and style of vinyl panel siding. Why is this the case, and what are the pros and cons of using this type of material for construction? Before highlighting the pros and cons of vinyl siding, it will be beneficial to clarify what we refer to when we are talking about vinyl siding.
Vinyl siding is a flexible and extremely durable form of plastic that has been pressed and molded into connectable panels to be used on the exterior of homes. While vinyl can provide a much-needed cosmetic boost to a home's overall aesthetic, more importantly, it fulfills the role of a protective barrier to the structure (or bones) of the home. Since it is a newer material but not the only type of exterior available for use, we have listed the most commonly identified pros and cons of vinyl siding for your consideration.
The Pros:
No Painting Required
Vinyl siding has its color pallette baked throughout the material, so over time, the color may fade or dull, but it cannot be scratched or stripped away.
Inexpensive
From a cost standpoint, vinyl siding will typically cost you less than half as much as other fabricated composites like wooden bevel siding, shingles, engineered wood siding, etc.
Low Maintenance
Repairing and cleaning vinyl siding is significantly easier and requires fewer special tools and time to manage.
The Cons:
Potential Installation Issues
Though it is easy to purchase and install, it's paramount to complete all installations to the highest possible standard. Vinyl paneling is only as effective as the installation, so homeowners opt to hire home contractors to complete the task on their behalf.
Possible Premature/Ongoing Maintenance Issues
Vinyl siding is advertised to have a lifecycle of up to 30 years. That being said, the region in which you live will have an impact on that sticker advertised longevity. Rapid, fluctuating temperatures and constant exposure to direct sunlight can half the expected lifetime of your vinyl.
Impact On Home Value
This is a hard point to qualify and is really dependent on the location of your home or potential home. If you are looking to update with vinyl, your home's value could drop for prospective buyers. Its argued that vinyl distorts desirable home features and angles. If most comparable homes in the area are vinyl sided, you are less likely to face this dilemma.
Moisture Trapping
Since vinyl paneling shields the home's insides, it all the more important that the installation is executed properly. Incorrectly installed vinyl can trap moisture and vapors in the walls, which would likely create and stack multiple issues that in time would compound and jeopardize the overall integrity of your home.
In Closing
If you choose to follow our provided recommendations in this guide, you should be more than well-equipped to handle the task of fixing and repairing your damaged vinyl panels and separation woes. As always, be sure to exercise the utmost caution when handling home repairs. If you feel uncomfortable performing any of the necessary requirements/tasks, do not hesitate to seek the advice of certified professionals.
For more guides and tips regarding vinyl side paneling, check out these articles as well: