
Home renovation projects always involve more work than you initially planned on. If you’re painting wood surfaces, one of these problems that you will usually be encounter is knicked, scratched, or chipped wood. Luckily, these surface imperfections are easily fixed with wood filler. But how do you use wood filler before painting? We’ve researched this to help you out.
When preparing wood for painting and applying wood filler, here are the steps you should follow:
- Sand and clean the wood surface.
- Apply the wood filler.
- Let the wood filler dry.
- Sand the filled area to create an even surface.
- Paint the entire surface.
Applying wood filler to damaged areas is a necessary step toward making your wood surfaces look their best. This article will cover all of the details you need to know for using wood filler. Continue reading to learn more.
Types of Wood Filler
Before we get into how to use wood filler, you should know that there are different types. The different types of wood filler have different formulas for different uses. For example, some are better to use indoors, some are better for outdoors, and some are better for staining instead of painting. The type that you choose should ultimately depend on the project you’re undertaking.
- Water-based wood fillers can work for both painting and staining, but they are better used for indoor projects such as repairing molding or cabinetry.
- Solvent-based wood fillers are more heavy-duty and are intended to be used for outdoor projects such as patio furniture, siding, or trim.
- Stainable wood fillers work better if you are staining wood instead of painting it because they accept wood stain without the repaired area being noticeable.
See also: How To Repair A Hole In Exterior Wood Siding.
How To Use Wood Filler
Now that you’ve chosen the type of wood filler that you need for your project, the steps for using it are pretty much the same. In addition to the wood filler, there are several other materials that you’ll need.
Materials
- Sandpaper or electric sander
- Microfiber cloth
- Tack cloth
- Wood filler
- Putty knife
- Paint or stain
- Polyurethane sealer (if staining)
Sand and Clean the Surface
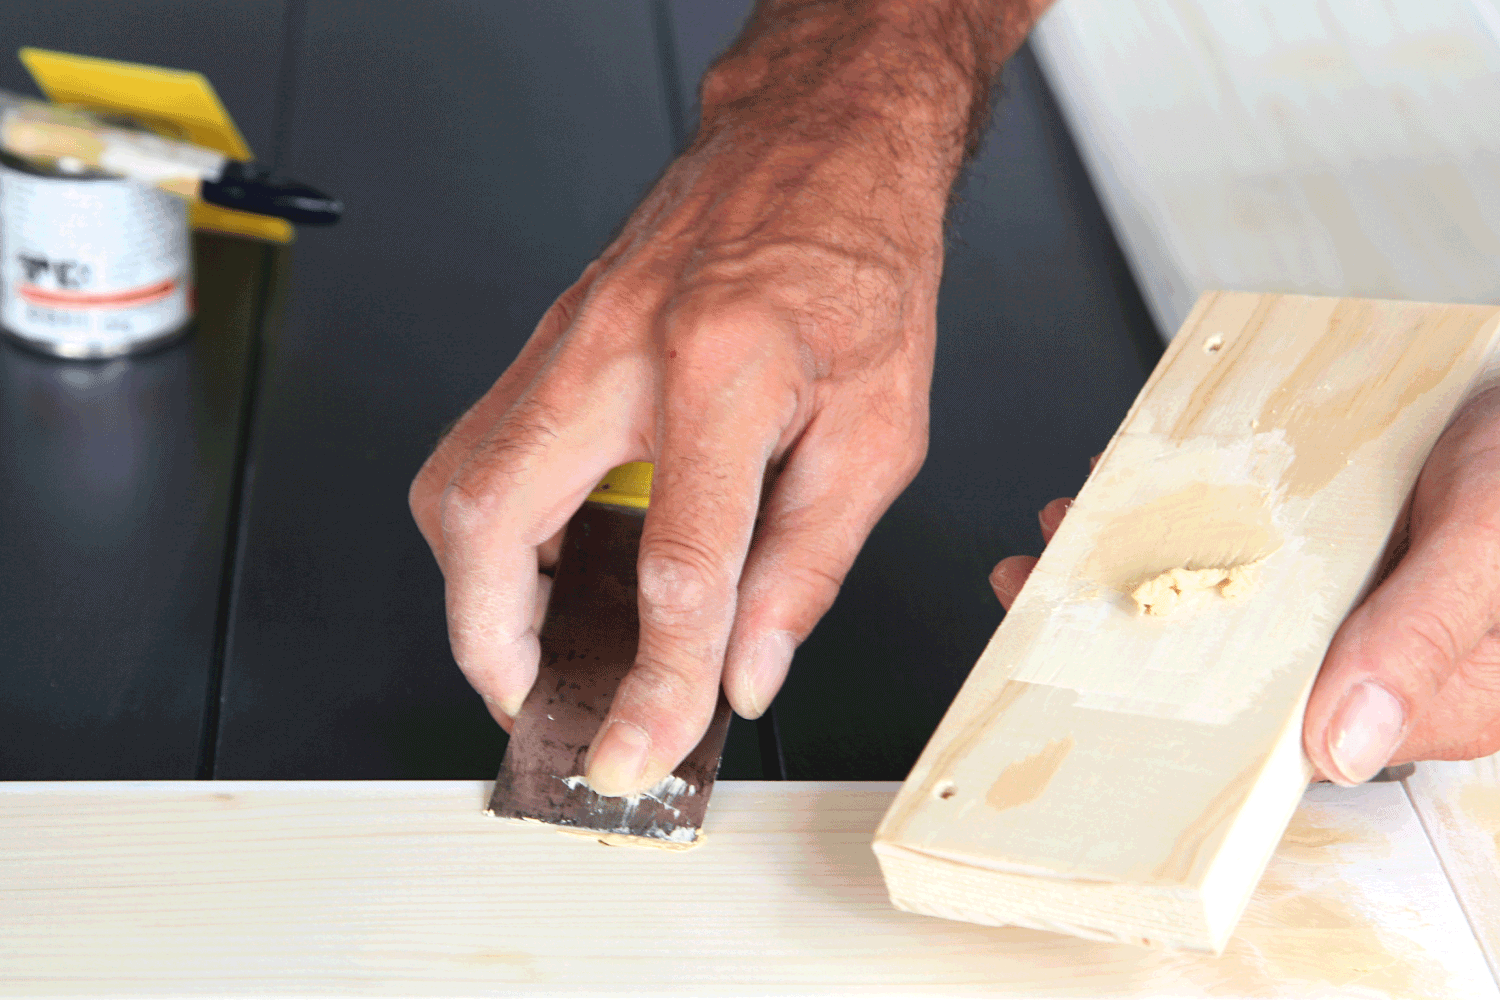
The first thing you will want to do is properly prepare the surface. If there are any loose chunks of wood, use your putty knife to remove them. Then, use your sandpaper or an electric sander to sand the entire surface that you intend to paint, especially the areas you will repair with wood filler.
Sanding the area will help to remove any rough or uneven edges. After sanding, use a microfiber cloth to remove the dust that remains from sanding. Then, use a tack cloth to remove any remaining dirt, dust, and residue that remains.

Click here to see this tack cloth on Amazon.
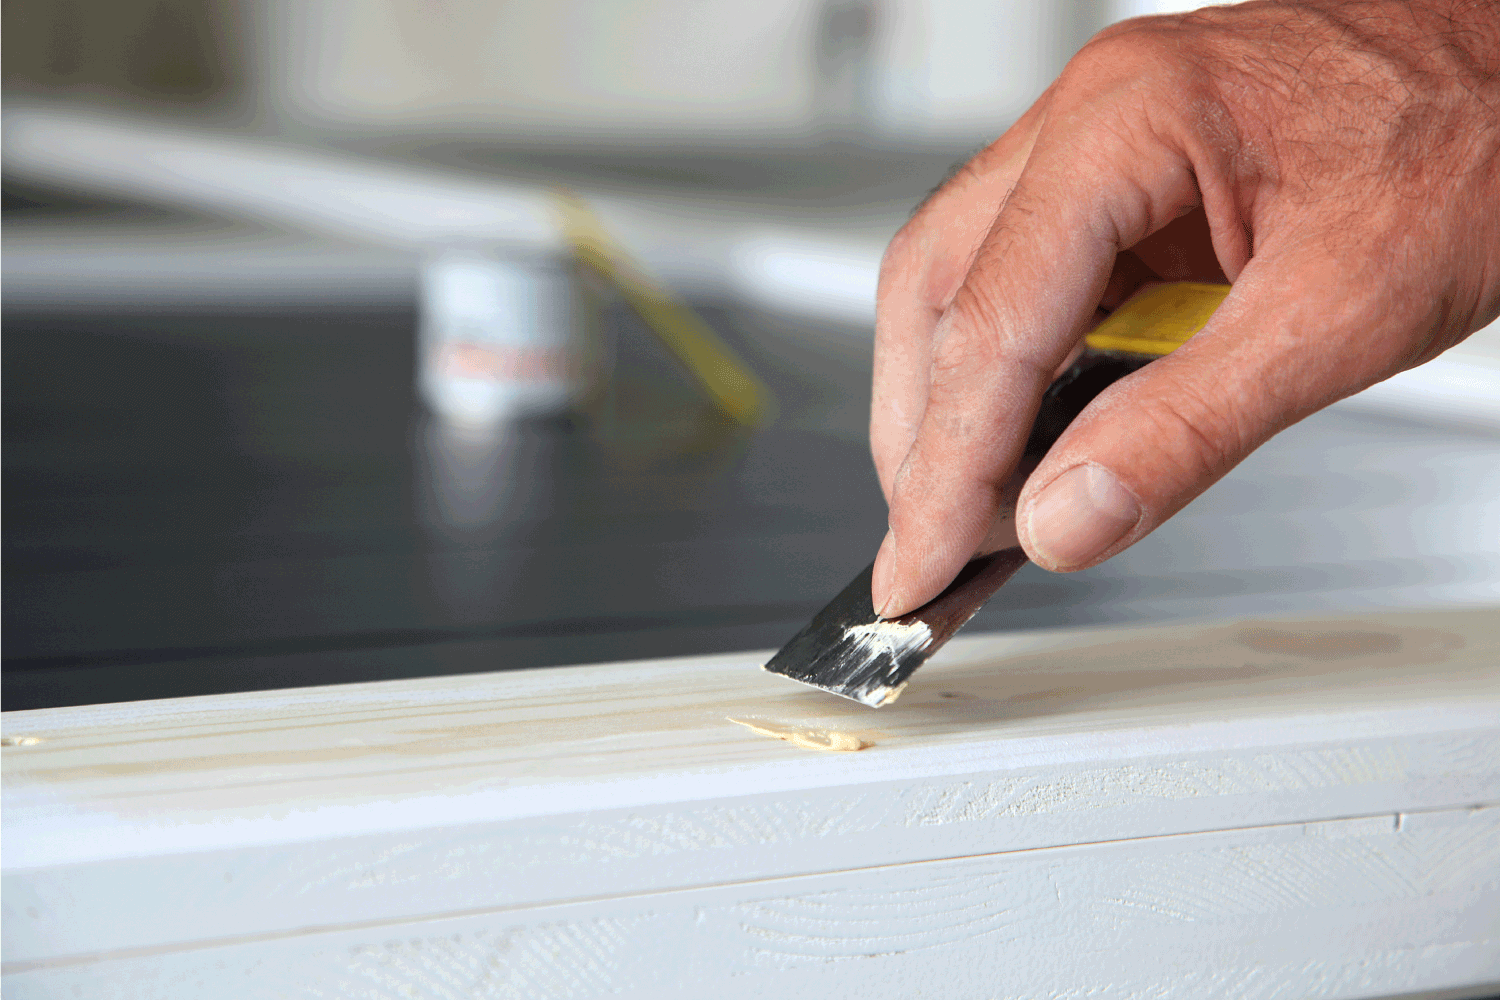
Apply the Wood Filler
Use your putty knife to scoop out enough wood filler to cover the damaged area. Then, start at the edge of the damaged area and press the wood filler in. You will want to use a little more wood filler than is actually necessary because it will shrink some when it dries. After filling in the damaged area, use the putty knife to smooth out the wood filler as evenly as possible.
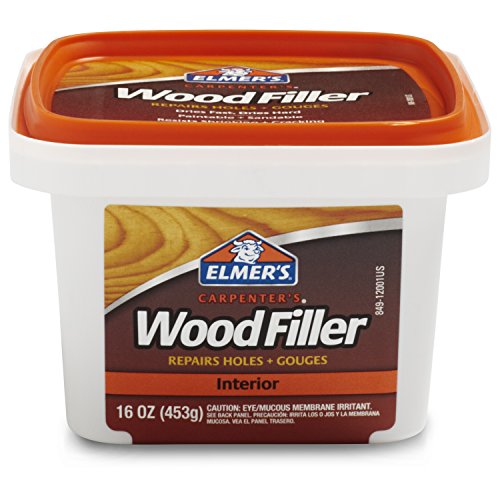
Click here to see this interior wood filler on Amazon.
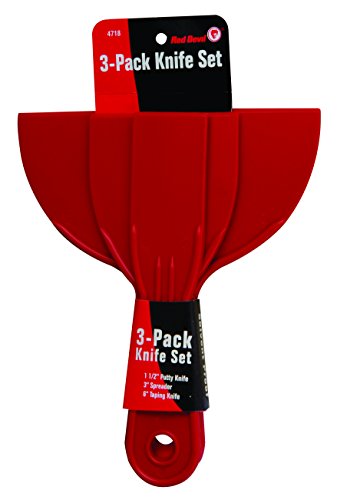
Click here to see this 3-piece putty knife set on Amazon.
Let the Wood Filler Dry
Allow the wood filler to dry completely before doing anything else. The time that it takes for wood filler to dry will depend on the type you have. The instructions on the packaging should give you an estimated drying time. But drying time will also depend on the size and depth of the damaged area. Usually, though, most types of wood filler should be dry within a few hours.
Sand the Area Again
If you follow recommendations to overfill the damaged places, they should feel slightly raised after the wood filler dries. Once you’re sure that the wood filler is completely dry, you will want to sand over any repaired areas again.
Sanding is necessary to create an even surface for painting. Sand the area until you can run your hand over it and feel very little difference between the two surfaces.
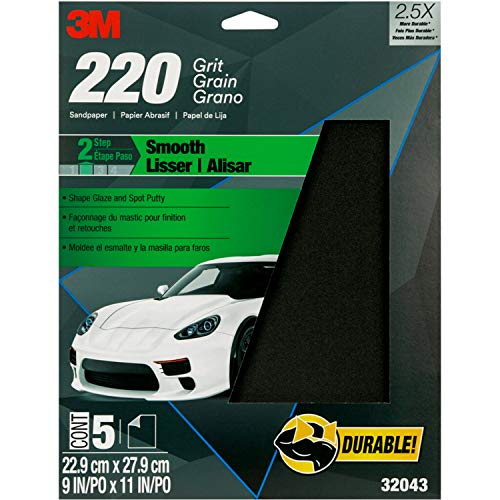
Click here to see this 220 grit sandpaper on Amazon.
Paint the Surface
Now that you’ve made the necessary repairs, it’s time to paint the surface. If you’re painting the entire surface for the first time, then the repaired area should blend in flawlessly. But if the surface has already been painted and you only intend to conceal the repaired areas, be sure to paint over them using the same shade as the surrounding paint color.
This video will show you how to choose and use wood filler.
What Is the Difference Between Wood Putty and Wood Filler?
Both wood putty and wood filler can be used to repair imperfections in wood surfaces, but there are a few key differences between the two. For starters, wood putty is usually oil-based and contains more chemicals. On the other hand, most wood fillers are water-based and are made with wood fibers. The composition of wood filler and wood putty determines their use.
Wood filler also hardens, whereas wood putty does not. Because of this, wood filler is better for indoor wood surfaces where temperatures don’t fluctuate. Wood putty is better for outdoor surfaces where temperatures and weather conditions change. Since wood putty doesn’t harden, it will expand and contract with the wood.
Since wood filler dries, it can be sanded. It is best to use wood filler on unfinished wood surfaces. Wood putty can’t be sanded since it doesn’t harden. It is recommended to use wood putty on finished wood surfaces.
Is Bondo a Good Wood Filler?
Bondo is a putty that is designed for automobile body repairs. But it is actually a great wood filler as well. If you have large sections of wood that need to be repaired, such as huge chunks of wood that are missing, you can use Bondo because it is buildable.
Bondo comes as a putty with a separate hardener. You have to mix the putty and the hardener before you can use it as a wood filler. The instructions on the packaging will tell you how to do so.
Once mixed, though, you can apply it using a putty knife the same way you would normal wood filler. You can even sand it afterward as long as you wait for it to dry completely. Then, just paint over it.
See More: How To Fix A Hole In A Door.
How Long Does Wood Filler Need to Dry Before Painting?
Ultimately, the time it takes wood filler to dry depends on the size and depth of the damaged area. For shallow areas, wood filler can dry in as little as 15 minutes if you buy the fast-drying. Or, it can take as long as two hours. For deeper areas, wood filler may take anywhere from two hours to eight hours to dry completely.
Do I Have To Prime Wood Filler Before Painting?
You don’t have to prime wood filler before painting, but it is a good idea. The reason is that there could be a difference in the normal wood surface compared to the repaired surface with the wood filler. The paint could adhere differently to the two surfaces, so priming the wood filler and the rest of the wood ensures that the surface is consistent.
What About Before Staining?
You should not prime wood filler if you are staining the wood. Instead, you can buy stainable wood filler. After applying stainable wood filler, letting it dry, and sanding it, then you should be able to stain over both the wood and wood filler to create a consistent look.
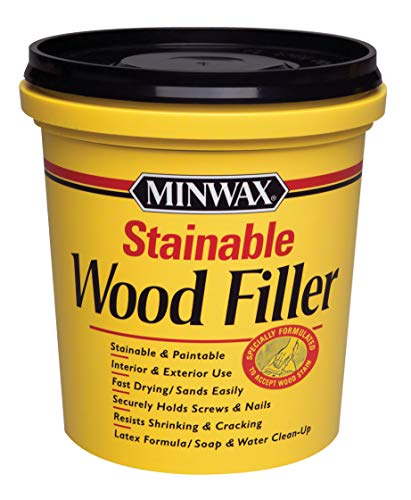
Click here to see this stainable wood filler on Amazon.
Should You Color Match Wood Filler?
It is not necessary to try to color match wood filler if you will paint the wood anyway. As long as the surface is prepared and primed properly, the wood filler will not be noticeable because the paint will create a consistent look.
If you are staining wood for the first time or restaining in a different color stain, you do not need to color-match wood filler. On the other hand, if you are just trying to repair the wood without restaining, you will want to color match the wood filler to the existing wood color.
In Closing
We hope this article was helpful in teaching you how to use wood filler before painting. Remember to properly prepare the surface before using wood filler and before painting to conceal the damaged areas. This includes sanding, cleaning, and waiting until the wood filler is completely dry before you paint. Thanks for reading!
Thank you for sharing this informative article! All the information provided by you is really very helpful for all. I would like to say that we should use tack cloth for removing small dust particles from the surface because it gives you the perfect finishing. Keep posting! Keep sharing!