
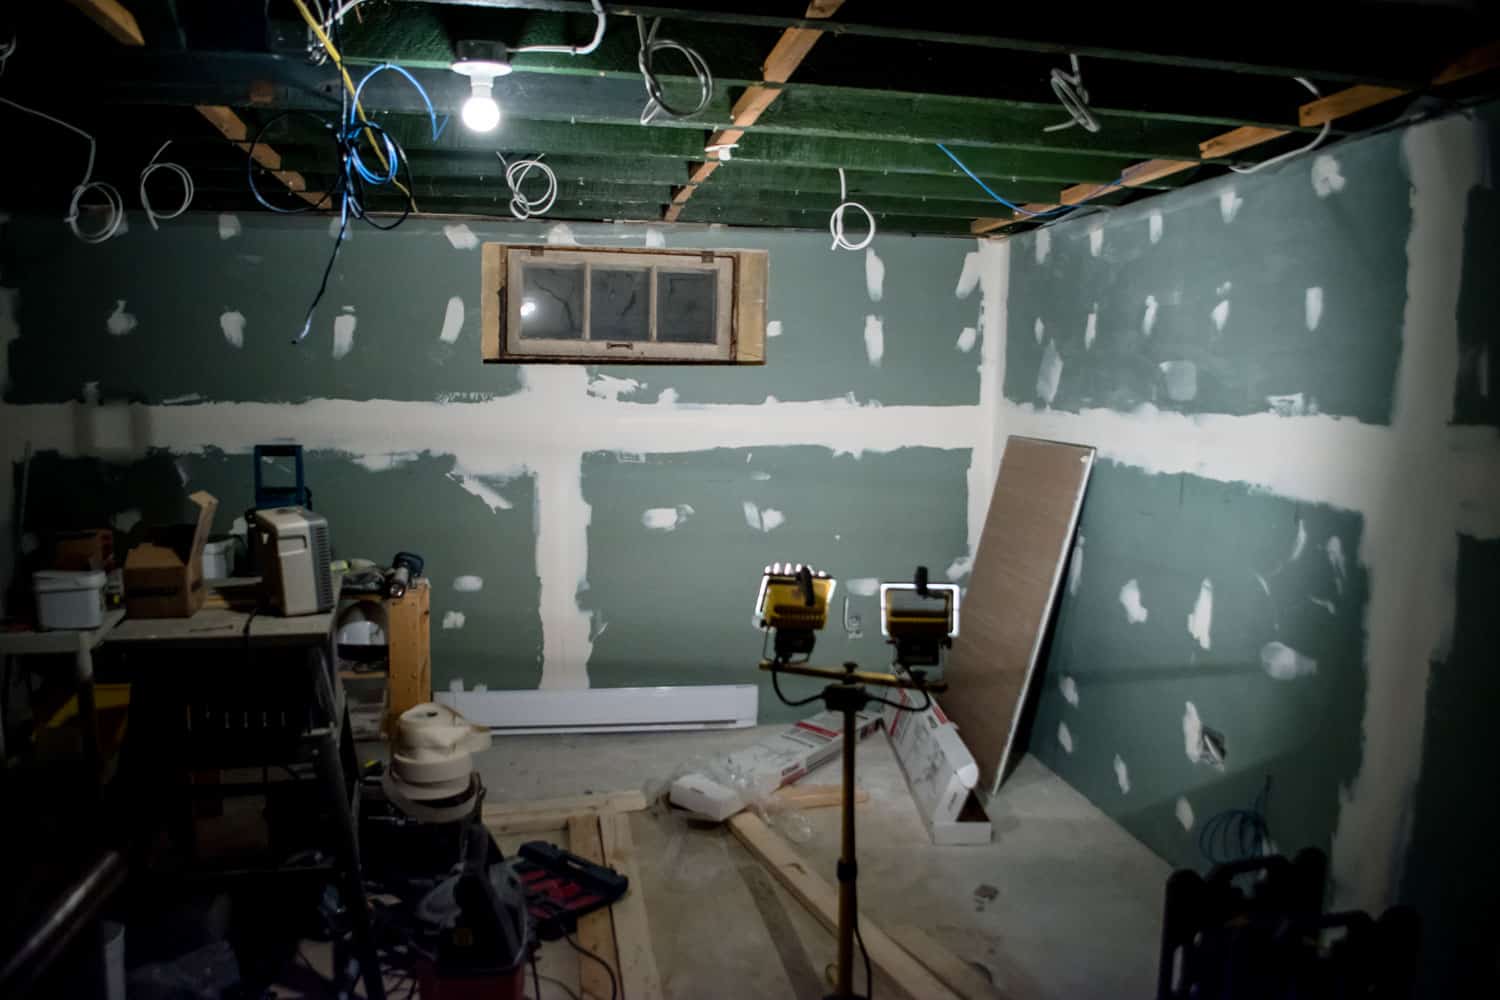
One of the smartest moves you can make as a homeowner is to finish your basement, increasing your home's value and adding comfort and utility. You can transform your basement into a family room, home gym, sauna/spa, office, spare bedroom, sewing room, workshop, children's playroom... the possibilities are endless! So, what should the walls look like in your remodeled basement? We've done the research, and we have the answers for you!
Basement walls can be finished using any of the following materials:
- Drywall
- Cement board and tile
- Plywood paneling
- Plastic paneling
- Wood planks
- Beadboard
- Pegboard
- Stucco/dryvit
- Brick or stone veneer
- Modular panels
- Basement finishing system
The option you select depends on several factors, including the purpose of the new room, your style preferences, and your budget. This article will describe each option, explain how it's installed and its average cost, and discuss its advantages and disadvantages. We'll also alert you to several things you should know before you begin your basement project. Keep reading to learn more!

Prior to Installation
As you plan your project, it will be helpful to know what your basement's structural walls are made of, the role of moisture control, and the importance of following codes and regulations.
Basement Structural Walls
Contemporary basements have floors of poured concrete and structural (or foundation) walls made of masonry, pre-cast concrete panels, or poured concrete. These walls must be strong enough to maintain their structure under the enormous pressures of earth, water, and the elements.
Waterproofing
Before you begin work on your basement, it is critical to ensure that no moisture is seeping in through the walls or floor. Your basement must not just be damp-proof; it must be waterproof. You can determine whether any moisture is penetrating by conducting this simple test:
- Cut a 1' x 1' square of plastic wrap and adhere it to the basement wall with duct tape.
- Leave it undisturbed for 24 hours.
- Remove the plastic wrap from the wall and check the wrap for condensation.
If there is condensation on the plastic, you will need to seal your walls with a masonry sealer, such as Drylok. If there are visible leaks in the wall or standing water on the floor, you may need to have a drainage and sump pump system installed. This will add to your remodeling project's expense, but it will ensure that your basement stays dry, saving you money and aggravation in the long run.
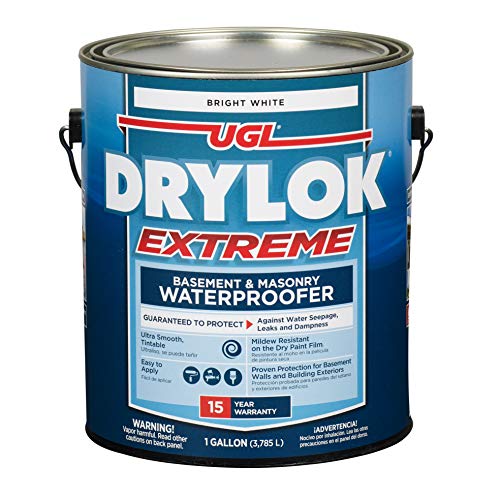
Click here for Drylok on Amazon.
Code and Permits
Many people think that they do not need to obtain permits or follow building codes when working on their basements. This is generally not true, particularly if your project calls for framing walls or for running wiring, plumbing, or HVAC ductwork. Make sure you speak with your local building inspector, pull all required permits, and follow building codes.
Types of Basement Walls
Because basement structural walls are in close contact with the earth and thus vulnerable to moisture seepage, experts strongly recommend that finishing materials should not be applied directly against the structural walls.
For the first nine finish materials in this list, you should frame a new interior wall 2" in front of the structural wall and attach the finish material to this frame. Place a vapor barrier over the structural wall, and add insulation (polystyrene, batt, or foam). You should expect to pay $1 to $3 per square foot of wall space for this framing.
If you choose to install prefabricated wall panels, you do not need new framing; rather, you will purchase special cleats designed to hold the panels in place.
1. Drywall
Drywall is 4' x 8' sheets of gypsum encased in a strong paper-like envelope. After installation, it is usually painted or wallpapered. It can be covered with a thin veneer of plaster for a more textured appearance and then painted.
- Material: Use drywall specially designed for moisture-prone parts of the house: greenboard, purple board, or basement board.
- Installation: Use drywall screws to attach sheets of drywall to the framing. The joints between the sheets require tape and joint compound to create a smooth finish.
- Cost: $2 to $5 per square foot for materials and labor.
- Prevalence: Drywall is the most common material used for finishing basements.
- Advantages: Drywall is inexpensive, easy to install, and easy to patch if it is damaged.
- Disadvantages: Installing drywall takes time due to the multiple coats of joint compound required. Sanding the joint compound can also be messy and inconvenient.

Click here for drywall screws on Amazon.
2. Cement Board and Ceramic Tile
Cement board is waterproof and is the recommended backer for ceramic tile in moisture-prone areas of the home.
- Material: Cement board comprises a mixture of cement, water, silica, and fiberglass strands. It comes in 3' x 5' sheets.
- Installation: Screw sheets of cement board to the wood framing. Then install ceramic tile on the cement board, using adhesive.
- Cost: Expect to pay from $6 to $12 per square foot for cement board, tile, and installation.
- Prevalence: Cement board is widely used as a backer for tile in bathrooms, kitchens, and basements.
- Advantages: Cement board is waterproof, so it protects the wood framing from moisture; also, it resists mold and mildew as drywall cannot. Tile adds a striking, sophisticated look to your basement.
- Disadvantages: Cement board is heavy and tricky to cut. Additionally, the combination of cement board and tile is among the most expensive options.
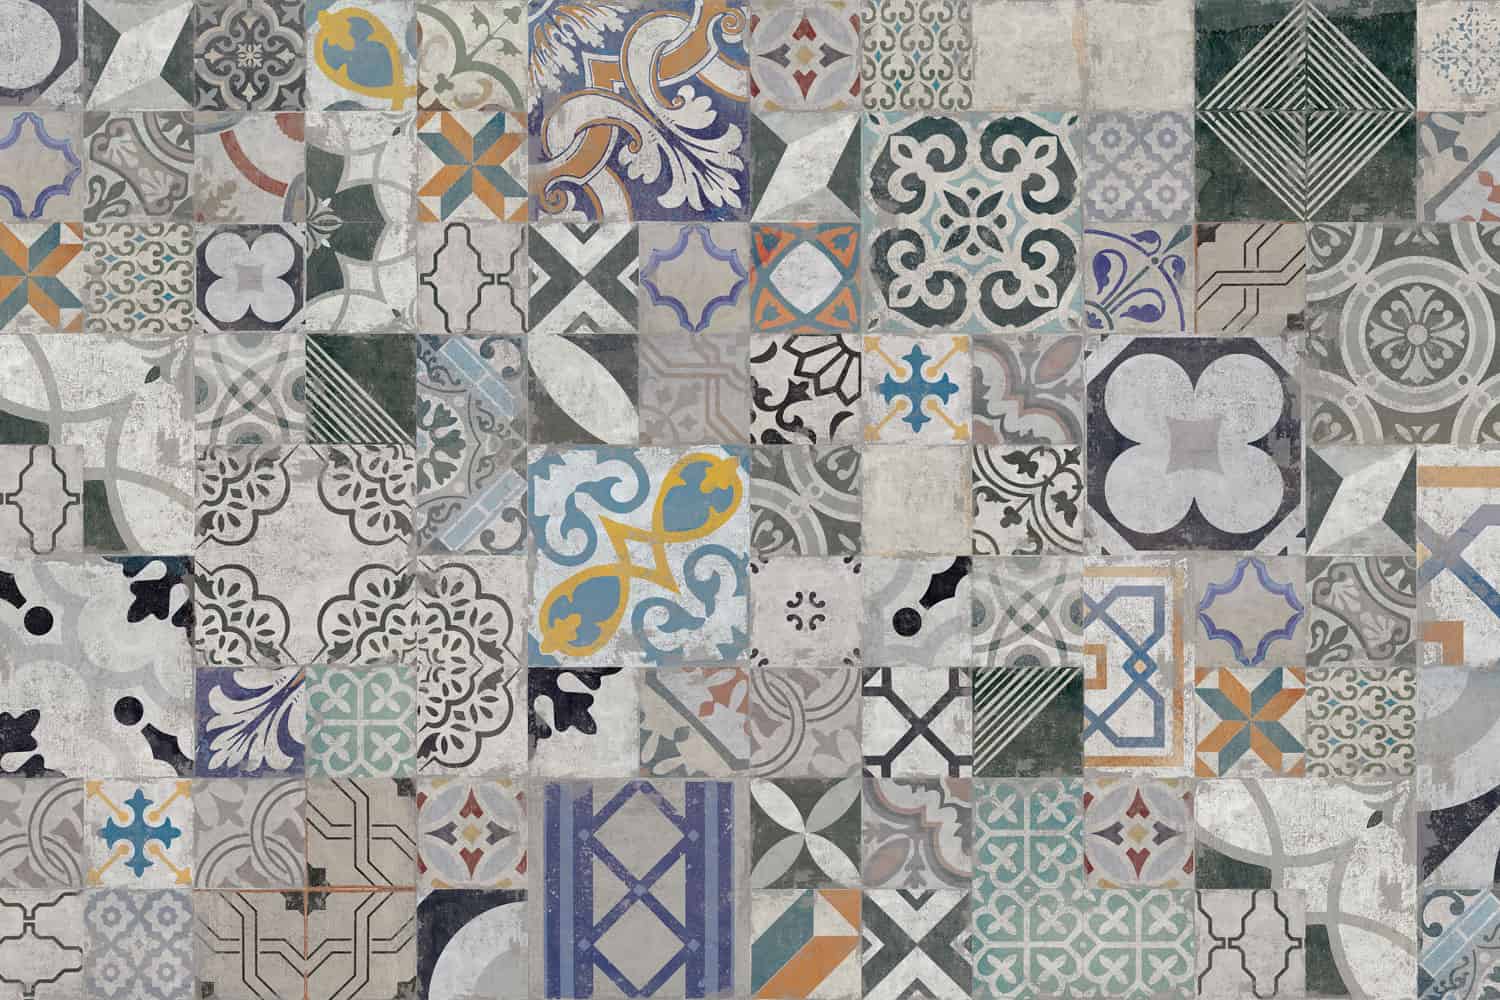

Click here for black-and-white porcelain tile on Amazon.
3. Plywood Paneling
You can choose panels of sanded plywood or thin laminated sheets printed with a faux wood grain. Both come in 4' x 8' sheets.
Sanded Plywood Panels
- Material: Constructed of multiple thin layers of wood veneer glued together. Select 1/2" or 3/4" cabinet grade wood for the best-looking finish.
- Installation: Attach to the framing with adhesive, supplemented by nails. The joints between plywood sheets can be concealed by gluing 1" x 2" furring strips over them.
- Cost: Expect to pay from $3 to $8 per square foot for materials and labor.
- Prevalence: Sanded plywood panels have gained popularity over the past decade for their rustic chic look.
- Advantages: This thick plywood is stronger than drywall and other forms of paneling. It can be stained, painted, or left unfinished.
- Disadvantages: The rustic look of sanded plywood panels is not appropriate for every type of room. Also, plywood is not fire-resistant.

Click here for birch plywood sheets on Amazon.
Laminated Plywood
- Material: Constructed of a very thin layer of wood veneer, with faux wood grain printed on one side. Sheets are thin and flexible.
- Installation: Attach a 1/2" thick underlayment of OSB to the framing, using wood screws. Then glue the paneling atop the OSB.
- Cost: $2 to $5 per square foot for materials (including OSB) and installation.
- Prevalence: Laminated plywood has been widely used for decades.
- Advantages: Laminated plywood panels are inexpensive and come in many styles. It is not necessary to conceal the joints, which saves time in installation.
- Disadvantages: Due to their thinness, they are easily damaged. They often appear cheap and flimsy.
4. Plastic Paneling
- Material: Thin plastic panels in a variety of sizes, colors, and styles.
- Installation: Attach a 1/2" thick underlayment of OSB to the framing, using wood screws. Then glue the paneling atop the OSB.
- Cost: $3 to $5 per square foot for materials (including OSB) and labor.
- Prevalence: Plastic paneling is rapidly gaining popularity due to the wide range of styles now available.
- Advantages: Plastic paneling is inexpensive and easy to install. Joints do not need to be concealed.
- Disadvantages: The thin plastic is easily damaged.
Click here for plastic wall panels on Amazon.
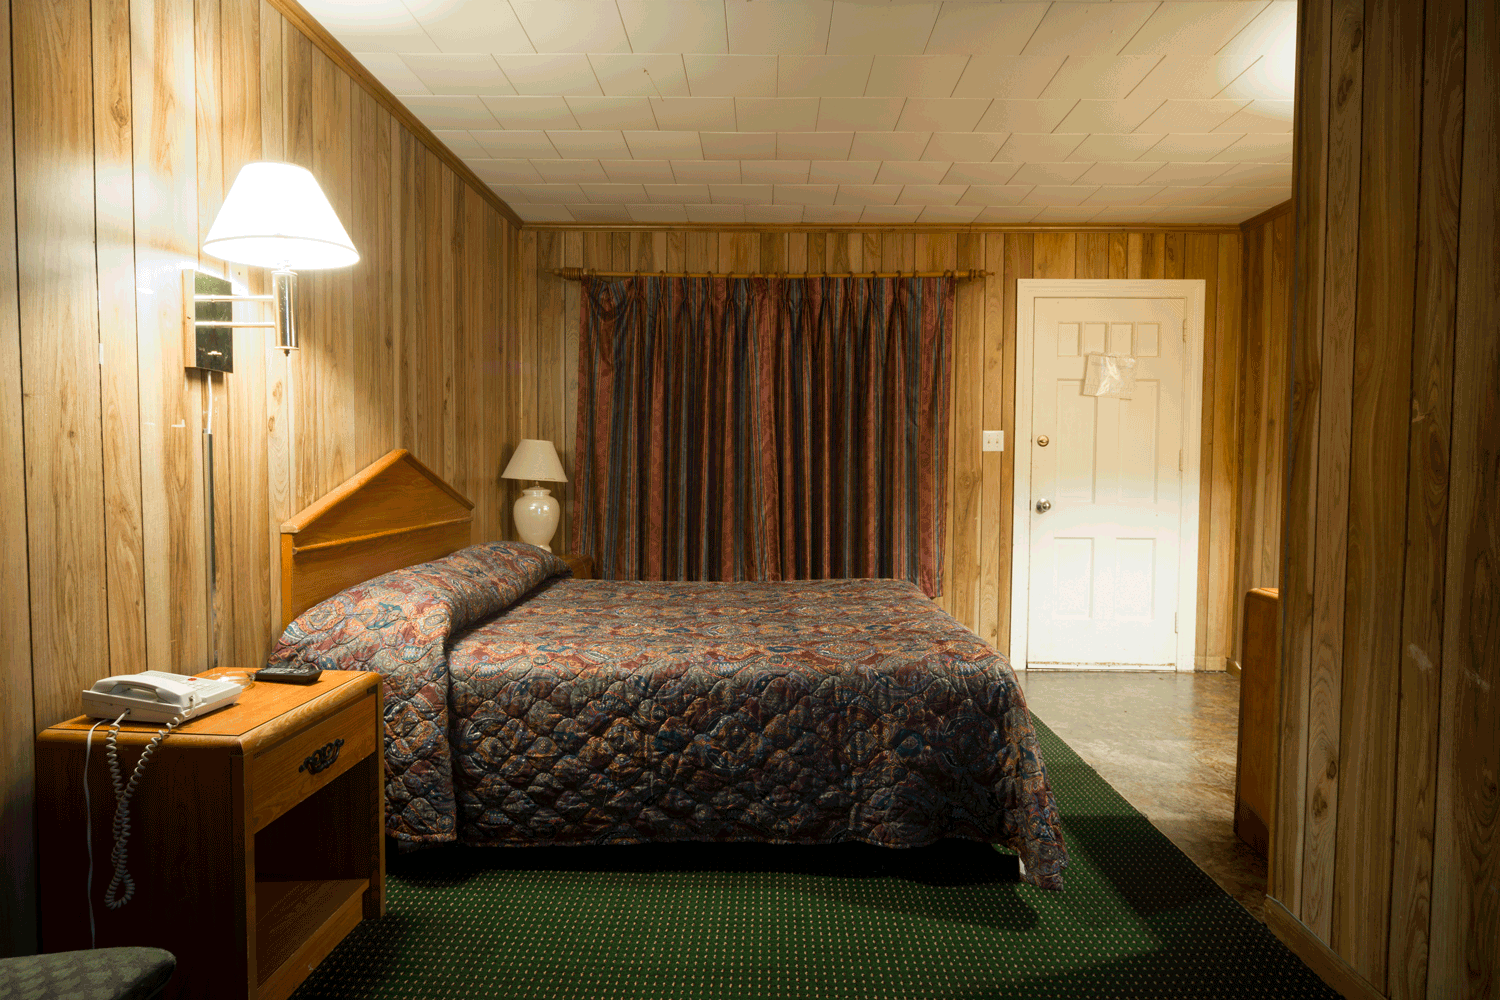
5. Wood Planks
- Material: A wide variety of species can be used, including cedar, knotty pine, birch, and redwood. Styles include shiplap, tongue-and-groove, and board-and-batten.
- Installation: Boards can be nailed directly to the framing. Joints are left exposed, contributing to the rustic ambiance.
- Cost: From $6 to $15 per square foot for materials and installation.
- Prevalence: Knotty pine has been popular in basements for years; shiplap and reclaimed barn wood are currently in high demand.
- Advantages: Wood adds a homey, rustic ambiance. It is also sturdy and durable.
- Disadvantages: Wood is among the most expensive options. It is also not fireproof.

Click here for reclaimed wood on Amazon.
6. Beadboard
- Material: Wood in vertical tongue-and-groove slats; can also be made of PVC.
- Installation: Attach 1/2" thick OSB (or drywall if beadboard will not cover the wall floor-to-ceiling). Then nail the beadboard to the underlayment.
- Cost: $5 to $13 per square foot for the material (including the underlayment) and installation.
- Prevalence: Beadboard is typically used to cover the lower 36" to 42" of the wall, with painted or wallpapered drywall above it.
- Advantages: Beadboard conveys a classic, sophisticated look. It is sturdy and long-lived.
- Disadvantages: Wood beadboard is among the most expensive options. PVC is cheaper but lacks the authentic charm of wood.

Click here for knotty pine beadboard on Amazon.
7. Pegboard
- Material: Pegboard is typically 1/4" thick particleboard with holes drilled at regular intervals. It can also be made of galvanized steel or PVC.
- Installation: Nail or screw the pegboard directly to the wood framing.
- Cost: $2 to $10 per square foot for materials (PVC is cheapest; steel is most expensive). Installation cost is minimal.
- Prevalence: Pegboard is widely used in workshops but has limited use in other settings.
- Advantages: Excellent for organizing tools. Strong and sturdy material.
- Disadvantages: Outside the workshop, the pegboard has limited uses.

Click here for steel pegboard on Amazon.
8. Stucco/Dryvit
- Material: A cement-like compound that dries to a pebbled surface.
- Installation: Sprayed or troweled onto a fine wire frame.
- Cost: $6 to $10 per square foot.
- Prevalence: Rare.
- Advantages: Creates a Spanish or Greek Island style look.
- Disadvantages: Must be installed by an experienced professional.

9. Brick or Stone Veneer
- Material: Thin slats of brick or stone.
- Installation: Screw 1/2" thick cement board to the framing. Then affix the brick or stone slats to the cement board, using mastic and mortar.
- Cost: $8 to $20 per square foot for materials and installation.
- Prevalence: Partial brick/stone veneer walls are popular in executive-style homes.
- Advantages: Sophisticated, rich look. Sturdy and long-lived.
- Disadvantages: Expensive.
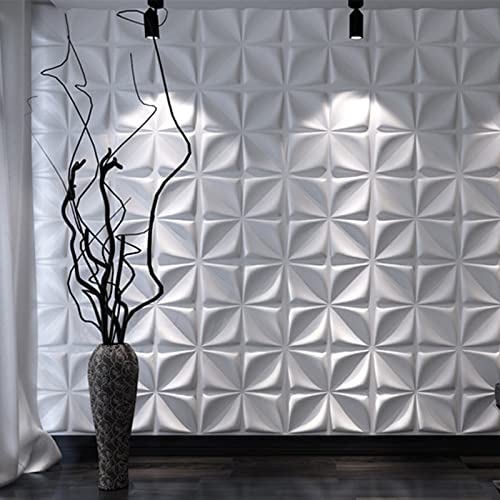
10. Modular Panels
- Material: Pre-manufactured panels, including insulation, vapor barrier, and finished face (usually fabric or vinyl).
- Installation: Panels are installed on a metal track. Cleats at the top and bottom hold the panels in place.
- Cost: $5 to $8 per square foot. Typically DIY.
- Prevalence: Growing in popularity
- Advantages: All-in-one panels; no need to frame new wall or install insulation and vapor barrier.
- Disadvantages: Seams between panels show; these panels can look cheap.
11. Basement Finishing System
- Material: Comprehensive system for waterproofing and finishing basement floor, ceiling, and walls.
- Installation: Professionally installed by companies specializing in basement finishing systems. The entire process takes about two weeks.
- Cost: $10,000 to $30,000
- Prevalence: Growing popularity in executive-style homes.
- Advantages: High-end product; finishes entire basement, including walls, floors, ceiling.
- Disadvantages: Expensive.
In Conclusion
If you are considering finishing your basement, there are many options for transforming the walls from bare concrete into warm and cozy, or dramatic and eye-catching, elements of style. Depending on your new room's purpose and the style you want to convey, get creative and turn your drab basement into an integral part of your home!
You may also enjoy:
Can You Put A Hot Tub In A Basement? [Here’s what you need to know]