
Pressure-treated wood is one of the most commonly used building materials, both inside and outside the home. More often than not, many homeowners choose to stain the pressure-treated wood instead of leaving it bare. But do you have to stain it? And what happens if you don't? We've researched the answer to this question, and in this post, we will discuss it.
While you don't have to stain pressure-treated wood necessarily, it does offer the wood many benefits. The most important one being the longevity and appearance of the wood. Over time, even pressure-treated wood will begin to fade and appear grey, especially if exposed to sunlight. Staining helps to protect the wood and prevent it from splitting and cracking.
Here are the steps to stain pressure treated wood:
- Prepare the pressure-treated wood
- Repair any damaged areas
- Apply wood conditioner
- Apply painters tape
- Prepare the wood stain
- Apply the wood stain
- Apply a wood sealant (optional)
Pressure-treated wood is filled with preservatives that help to protect it from insect damage and wood rot. However, it is still vulnerable to damage from dirt, moisture, wind, and sunlight. If you're looking to improve the appearance of a new deck or porch, staining the wood is a way to do it. Continue reading to learn the steps to perform this project from A to Z.
Steps to Stain Pressure Treated Wood
Before deciding on the day to stain your pressure-treated wood, keep in mind that you'll need to clean it first and give it a few days to dry. The time that it takes to dry will depend on the current temperature outside, but it can take anywhere from 24 to 72 hours.
You also want to ensure that the temperature outside is at least 50 degrees before treating the wood; otherwise, you'll find that the stain will not be absorbed well into the wood's surface and that it will simply trip down the sides of the wood. If it's located on the inside, it can take 1 to 2 months.
Things you'll need:
- Scrub brushes
- Deck cleaning solution
- Pressure washer
- Paint roller
- Paintbrushes
- Wood & deck stain
- Wood sealer

1. Prepare the pressure-treated wood
Be sure to remove any furniture or personal items from the surface of the wood before cleaning it. If the wood is located outside, start by cleaning the pressure-treated wood with a pressure washer or deck brush. If the wood is located inside, you can use the cleaner with a rag or sponge.
After cleaning the exterior wood, rinse it thoroughly with the pressure washer or a garden hose with a spray attachment. Next, allow the wood (interior or exterior) to dry anywhere from 24 to 72 hours before applying the stain.

Read more details about this pressure washer on Amazon.
2. Repair any damaged areas
This is the perfect time to inspect the wood's surface to check for any dents, holes, or scratches. If you find any damaged areas, apply wood filler to them and then sand them down using a sanding block or sandpaper. Ensure that the final surface lays flush with the rest of the wood to prevent bumps from appearing when you apply the stain.
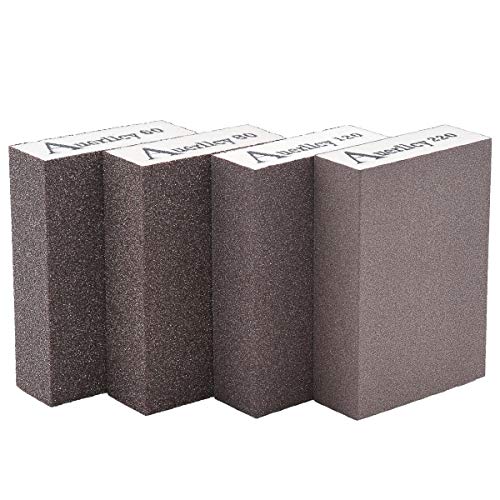
Find more details about the sanding block on Amazon.
3. Apply wood conditioner
Some woods with softer textures can become a bit blotchy when they are stained for the first time. For this reason, it's always a good idea to do a quick patch test on an inconspicuous area that wood.
If you find that this is the case, you can apply a wood conditioner before applying the stain. The wood conditioner will allow for better absorption of the stain and help to prevent blotching. You can apply the conditioner using a paintbrush or a paint roller, depending on the surface area of the wood.

Read more details about his wood conditioner on Amazon.
4. Apply painter's tape
Next, take your painter's tape and apply it to any areas around the wood that you do not wish to stain. This can include the siding of your home and any fixtures or ornamental sections of the wood.

Find painter's tape on Amazon.
5. Prepare the wood stain
Wood stains typically come in paint cans of either a few ounces or a gallon, similar to wall paint. Be sure that you have enough stain to accommodate the total surface area of your pressure-treated wood. If you are unsure, you can ask for assistance at your local hardware store. Keep in mind you'll need to account for a second or third coat of stain, which is usually recommended.
Next, agitate the stain for about 15 seconds to help mix up the solution. Then, pour the stain into a paint tray until it is about 2 inches high.
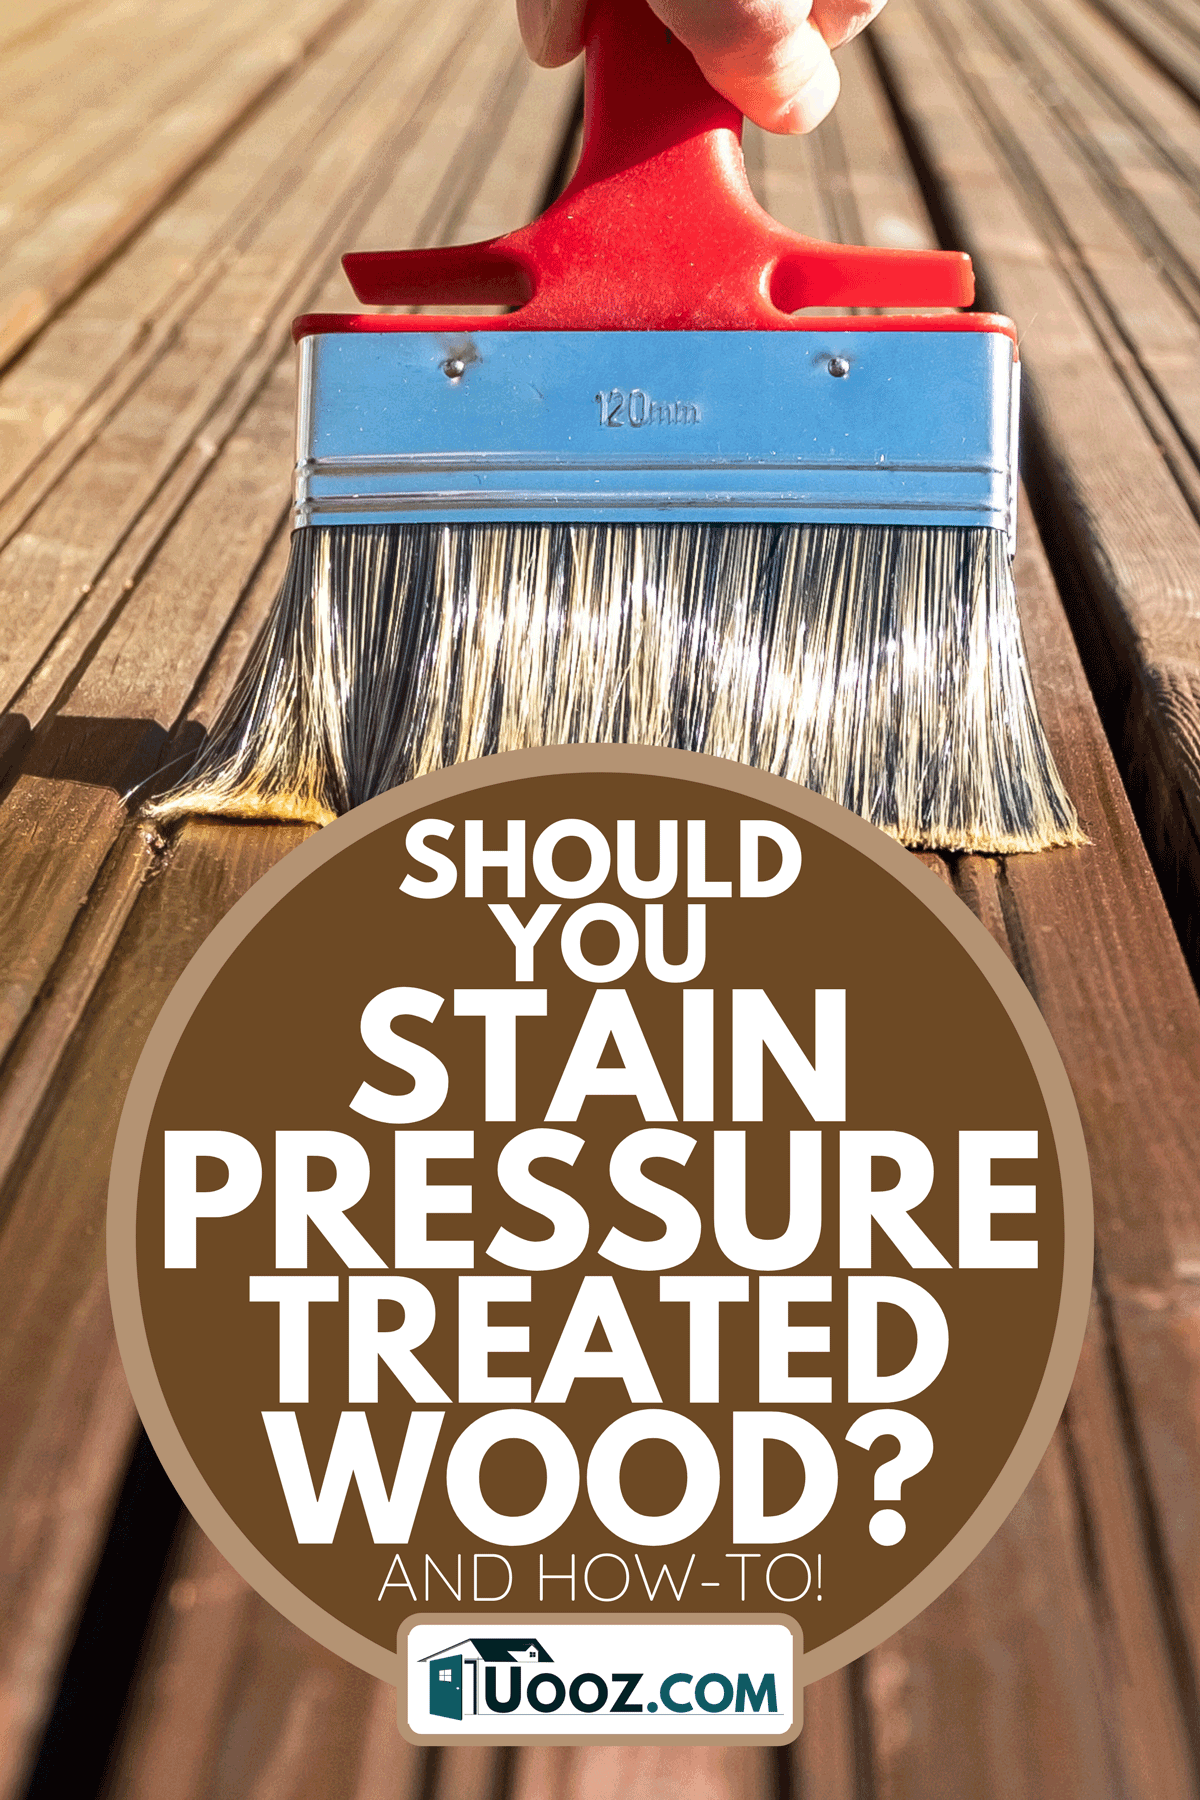
6. Apply the wood stain
Next, take your paintbrush and apply the stain to the wood using long zigzag strokes. If you are staining a large deck or porch, it's better to use a pressurized sprayer or a paint roller to make the process quicker. You can apply one to two coats of stain to the surface, especially outside the deck or porch area. Finally, let the stain dry for 1 to 2 days.

Check out this wood stain on Amazon.
7. Apply a wood sealant (optional)
You can also apply a wood sealant after the stain to help seal in and protect the finish of the wood. This is especially beneficial if the wood is located outdoor in an area prone to scratches and dents from traffic. You should apply the sealant in the same manner you did the stain, using a paintbrush, roller, or pressurized sprayer.
If using a sprayer, be sure to hold the end of the nozzle at least 8 to 12 inches away from the wood surface to avoid drips. Allow the wood to dry for at least 24 to 48 hours.
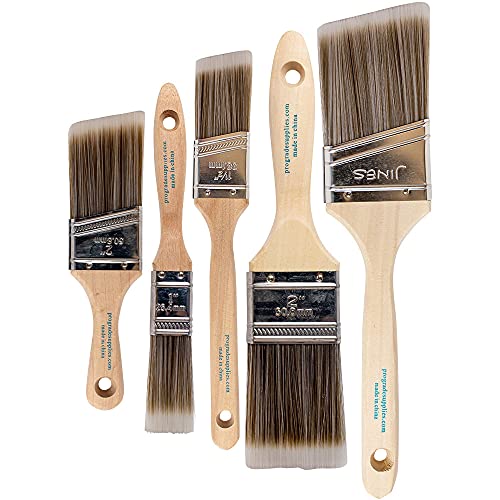
Check out this paintbrush set on Amazon.
Check out this video on how to do it!
Is it necessary to stain pressure-treated wood?
No. However, it is recommended to keep the wood looking its best and to prevent it from fading. Ultimately wood will turn silver or a greyish hue if it is not stained or sealed. This can make it look unsightly and out of place with the rest of the home. Staining it helps to retain the wood's natural color and enhances its aesthetic.
Can you stain pressure-treated wood to look like cedar?
Yes. You can stain pressure-treated wood to look like cedar. To do this, you'll need to find a stain that is a solid cedar-colored stain. You can find several types of these stains with the top paint and stain providers such as Miniwax, Behr, and Varathane.

Find out more details about this cedar-colored wood stain on Amazon.
What type of stain is best for pressure-treated wood?
There are different types of stains that you can use for pressure-treated wood. The first thing that you need to decide on the color of the finish. For example, do you want the finish to be light or transparent? Or would you rather it be dark?
Darker stains complement older wood surfaces better, while lighter stains last longer on wood surfaces located indoors. You can use water-based or oil-based stains. You can also opt for natural or colored stains to change the overall appearance of the wood's texture.

Check out this oil-based stain on Amazon.
How long do you have to wait to stain pressure-treated wood?
The amount of time you'll need to wait to stain the wood will depend on the type of treatment the wood received and the current temperature. However, it's recommended to wait anywhere from 1 to 3 months before staining the wood in most cases.
Keep in mind that you can always test a small patch of the wood to check the absorbency and appearance of the stain. If the water beads up after being applied, you'll need to wait longer to apply it.
How often do you stain pressure-treated wood?
If the wood is located on the interior of your home, you can re-apply the stain as soon as it becomes dull or begins to peel. This can be anywhere from five to seven years or more. However, if the stain is on an exterior surface, you may need to re-apply the stain every one to three years--or whenever it begins to fade.
What happens if you don't stain wood?
If you don't stand exterior wood surface, you may find that the wood will lose its natural tone and begin to fade or turn grey within about 5 to 6 months, especially if it's located in an exterior area. Staining can help to prevent this.
Wrapping Things Up
We hope this post has been helpful and illustrating the importance of staining pressure-treated wood and how to go about doing it. Before you go, be sure to check out some of our posts: