If you're starting a new project and considering brad nails, you might already know that they're a bit thinner and smaller than common nails. The small size is why they're recommended for certain projects, after all. But if you're not sure that they're the right choice, you might have some practical questions. Like the very obvious - how big are brad nails? How deep can they go? We did the research to get you this important information.
Brad nails are 18 gauge nails, which is relatively slender compared to most other nails. They come as short as 1/2 inch, up to a maximum of 2 and 1/2 inches long. They can go as deep as the nail is, and it's even possible to countersink brad nails slightly below the wood's surface with the right tools. Because they aren't very long, they're mostly useful for less than an inch thick materials.
Read further to learn more - we'll cover what size brad nails you need, depending on the project. We'll give you some tips on picking the right size, whether you're using it for trim or furniture. Then, this article covers whether you need a brad nail or a finishing nail- and what's the difference, anyway? Finally, we'll explain some basic features of brad nailers, like setting the pressure or adjusting the depth.

What Size Brad Nails Do I Need?
Brad nails come in lengths ranging from 1/2 inch to 2 and 1/2 inches. The size that you use depends on the project. But there's an easy rule of thumb to help you decide.
Pick a brad nail that is three times thicker than the surface you're nailing it into. For example, if you're using the brad nail for 1/4 inch trim, use 3/4 inch brad nails. This gives you enough of a nail to get through the top wood. And there's still plenty left to grip into the surface you're nailing into.
Some projects, of course, don't require this much extra nail power. If you're worried the nail might stick out the other side, you might be able to get away with a shorter nail. But in most cases, it's better to give yourself extra power by using a nail with three times the depth of your wood.
What Size Nail For Baseboard Trim?
To install baseboard trim, you might need finishing nails, not brad nails. Both are smaller, thinner nails. They're more delicate and less noticeable than the common nails used for general construction.
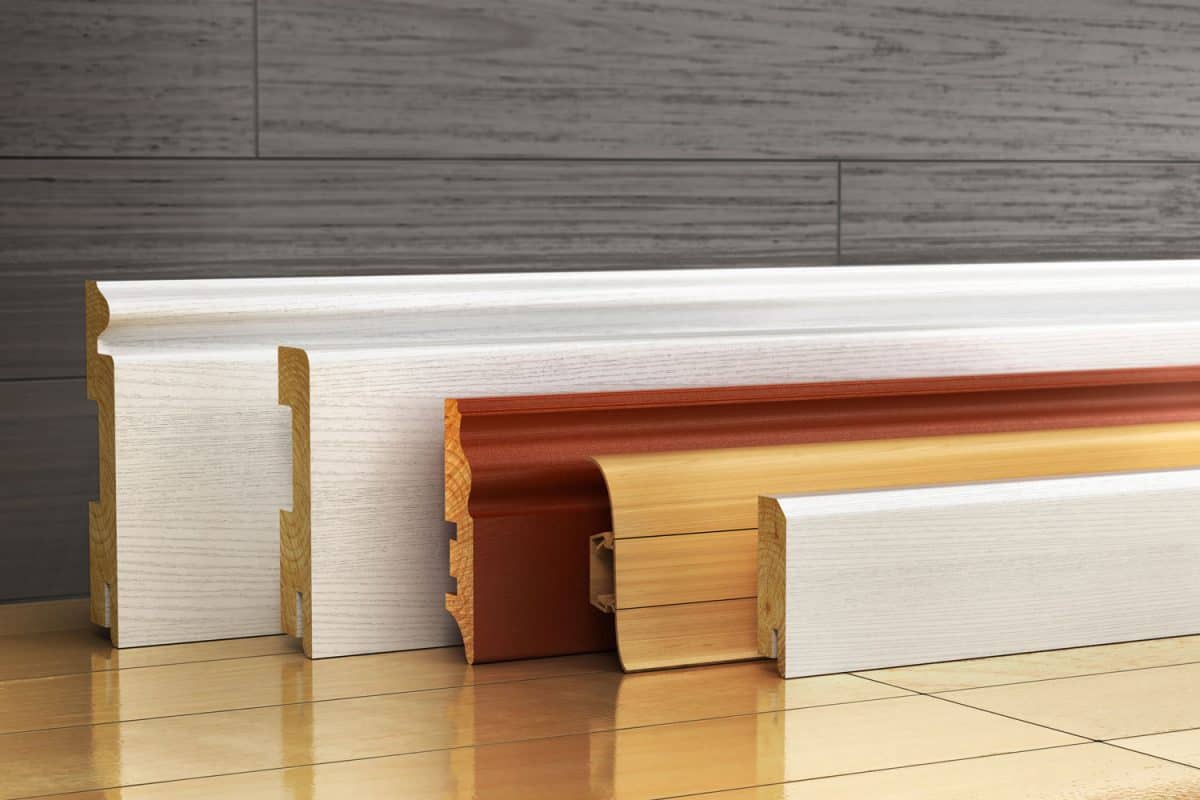
Baseboard trim is a fairly broad term that many people use to refer to many different things. It includes the baseboard itself, thick pieces of wood (or similar material) that run the length of the wall near the floor. On average, these are 7 inches high and 1/2 inch to 1 inch thick. For this kind of baseboard, you really should use finishing screws.
On the other hand, brad nails are sometimes perfect for the smaller trim around the baseboard. Two common examples are shoe molding or quarter round. The smaller head that brad nails have means that you might not have to spend hours filling in the holes when you're done. And if you're using a brittle or delicate material or very thin molding, brad nails are less likely to split the wood.

In either case, using a nail that is three times the depth of the wood still applies. If your baseboard is an inch thick, use a 3-inch finishing nail. If you use a smaller nail to avoid cracking the wood, you can always use glue in addition for a better hold.
For specific project examples and advice, see: What Size Brad Nails Do I Need? [By Type Of Project]
The Difference Between A Finish Nail And Brad Nail
Brad nails are 18 gauge, which is thinner than most nails. Because they have such a small profile, they're less noticeable in most projects. When looks count, a brad nail can blend in easily, in many cases even being covered by paint.
Finishing nails are a bit thicker, usually around 15 or 16 gauge. That extra heft makes them a little better suited for specific jobs. They're sturdy and more able to hold something big in place (like a heavy baseboard).
Brad nails also tend to bend easily. For this reason, they can be tough to work with if you have to hand nail them. If you have a nailer, it tends to give much more consistent results. Though, it's not impossible to use a hammer - see Can You Use A Hammer With Brad Nails?
But finishing nails, since they're bigger, can't be used on very thin wood. If you're trying to put something small or delicate in place, use a brad nail. Some people also use brad nails on just the very ends of trim, as that's the area most likely to split. Finishing nails might be fine for the rest of the trim but too large at the sides.

Also, finishing nails are recommended if you're nailing through a piece of drywall. Brad nails lack the grip to keep anything in place against drywall for long - both the nails and the drywall are too soft, and there's too much give there. Some people still use brad nails anyway, as they like their low visibility. In this case, it's often recommended to use an adhesive or glue for extra staying power.
How Thick Will A Brad Nailer Work?
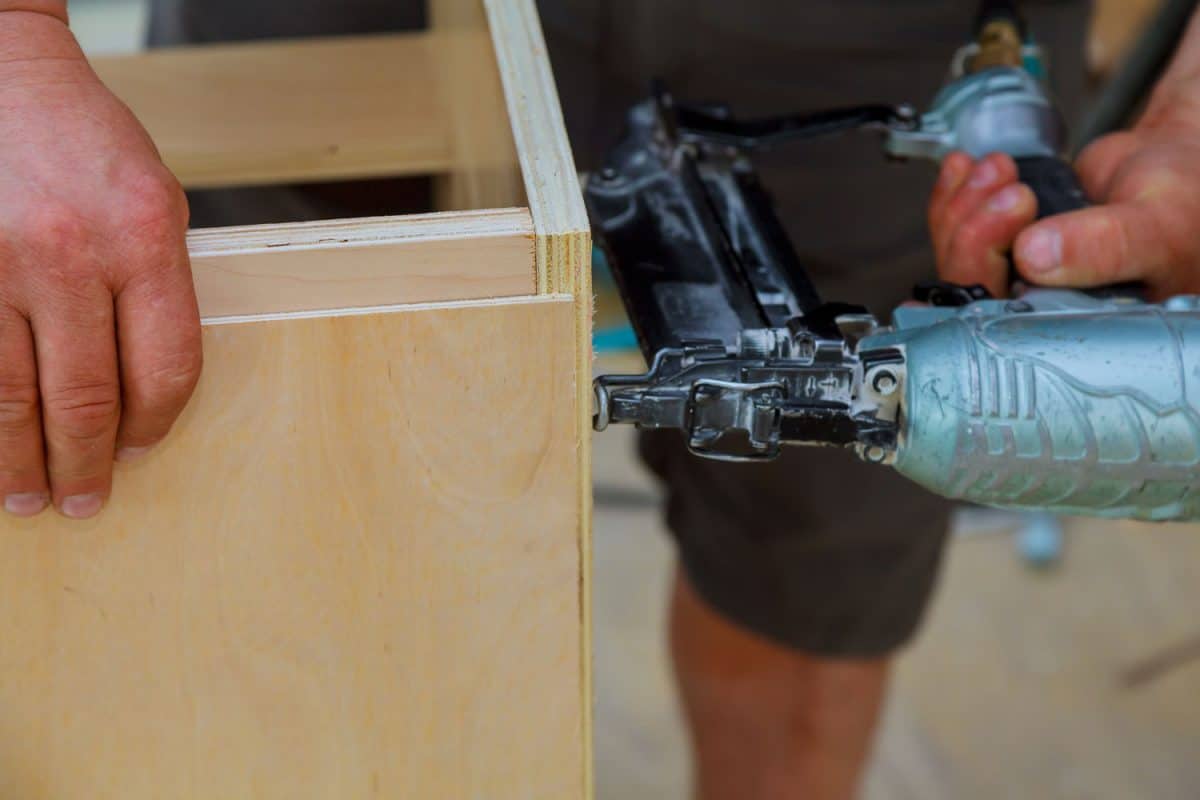
Most brad nailers only fire 18 gauge brad nails. They come in lengths up to 2 1/2 inches, and good brad nailers work in any appropriate material.
But keep in mind - that means your material already needs to be less than 2 and 1/2 inches thick. Quite a bit less, in fact. The depth rule of using nails at least 3x longer doesn't leave much room. Even the biggest brad nails and the best brad nailer can only drive through material less than 5/6 of an inch thick.
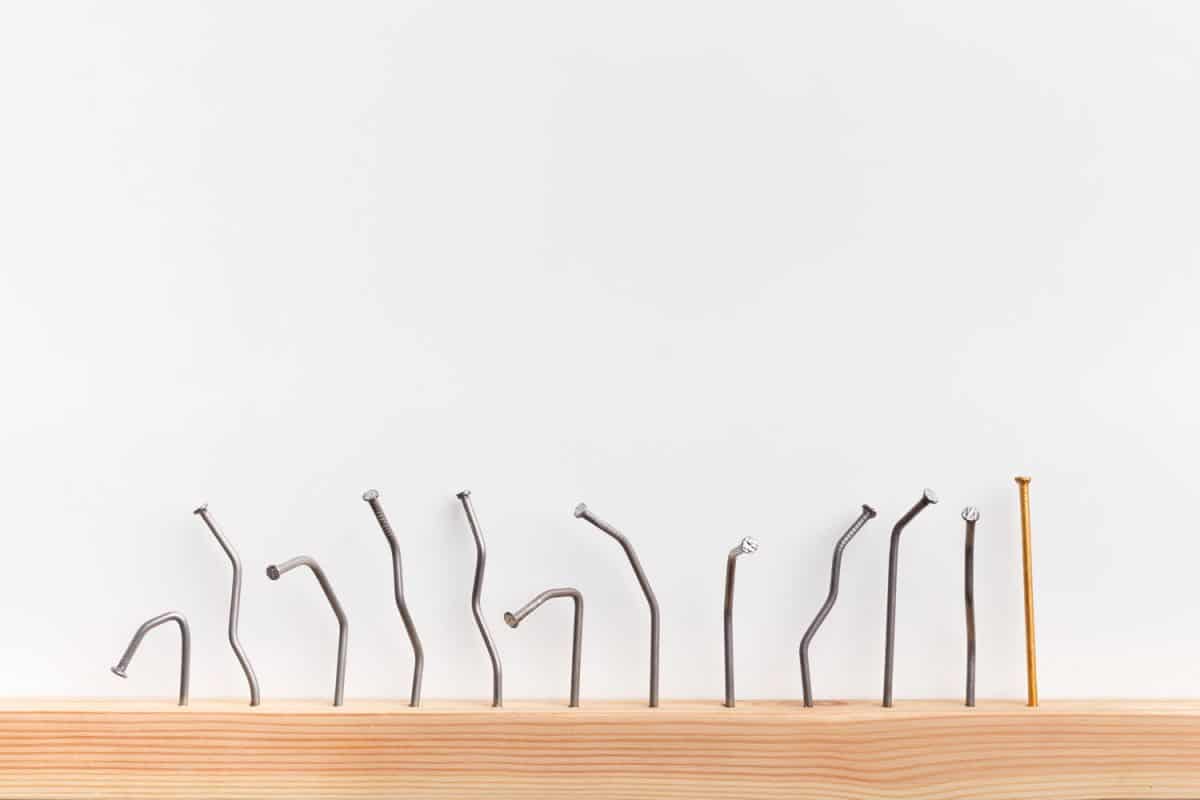
And there's a reason brad nails don't come longer than that. 18 gauge is a fairly thin, slender metal. It bends easily when there is too much force.
This means that it isn't really about thickness - it's density. A brad nail will go through a soft fiberboard fairly easily. If you're talking about dense hardwood, a brad nail may not even penetrate half an inch without weird twists and turns.
If you have any doubts, always test the brad nail on the material ahead of time. Testing out on a scrap piece of material ensures that you're getting the expected results, not just some wonky half-bent nails.
If you're struggling, make sure that your nailer is working at the highest air pressure setting. Also, check that there are no kinks in the hose.

How Do You Adjust The Depth Of A Brad Nailer?
Every nail gun is a little different, but somewhere around the trigger is a depth setting. Check the manual on your nailer for help if you can't find it.
The depth setting typically slides up and down. There may be a lock on the side of the handle that you'll have to unlock or hold down before you can adjust the setting. Changing the depth can allow you to countersink the nail.
Just be aware that changing the depth isn't always the answer if your nails aren't sinking into the wood all the way. The real problem might be the pressure setting, which can also be adjusted. If the hose is twisted or the pressure is low, it doesn't have enough force to drive the nail in all the way.
In Closing
Brad nails are 18 gauge nails, slightly thinner than a finishing nail. They come in lengths ranging from 1/2 inch to 2 and 1/2 inches long. The general rule is always to use a brad nail three times longer than the thickness of the material you are nailing. As a result, this means that at least most of the time, brad nails are only suitable for material 5/6 of an inch thick.
However, brad nails are very soft and bend easily - for very dense or hard materials. They might not even be able to go that deep. If your brad nailer is struggling to get through the material, try adjusting the depth setting or pressure setting on the gun. If that still doesn't work, you may need to try a finishing nail instead, which is a bit thicker and sturdier.
